

Rye
Green manure? “What’s that?” was my thought just a few months ago. A very simple explanation is that green manure is a crop which is planted to protect the soil from eroding and losing nutrients, while adding to the goodness of the soil. 🙂

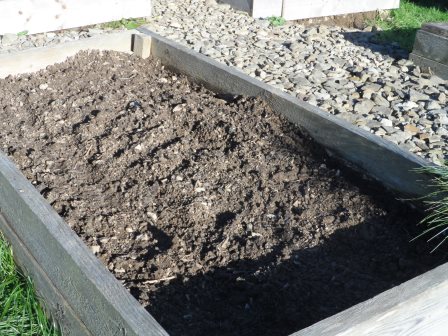
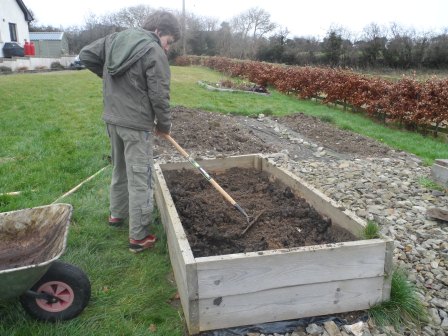
A whole bag of Rye (green manure)
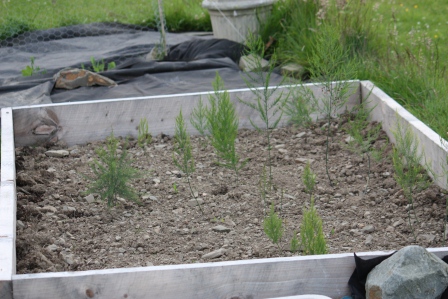
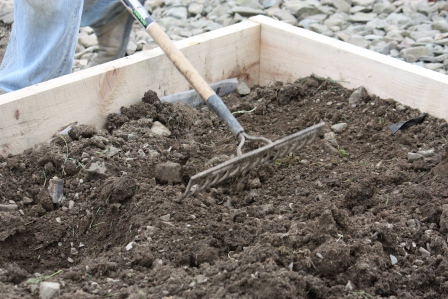
I am learning this as I go along! I spoke with a very helpful gentleman at Fruit Hill Farm in Cork http://www.fruithillfarm.com/ . I loved how patient he was with me, and how he seemed to really enjoy sharing his knowledge. He suggested planting rye given the time of year and when I want to plant again. Planting it in the fall after my summer harvest, I can leave it for a few months. When it reaches about 18 inches high I should cut it back (so it doesn’t go to seed). Then in February/March it should be dug deep into the soil. The bed will then be “good to go” in April.

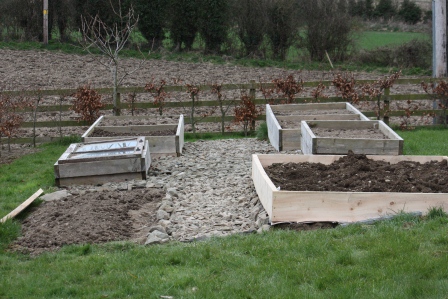
One of the beds after digging up the soil and planting rye.
“The Complete Gardener” by Monty Don gives a great description of the scientific process of what is actually going on in the soil. (note to self: return Susan’s book to her!) Yeah, what I understand is that nitrogen is added to the soil, which is good, and the organic material of the rye plant is broken down by the healthy organisms in the soil, which is good for the soil structure. So there is no need to add compost to the soil after this process. The plan is that the rye will grow in place of weeds which would inevitably grow. Win. Win. Win.

A new bed planted with rye.

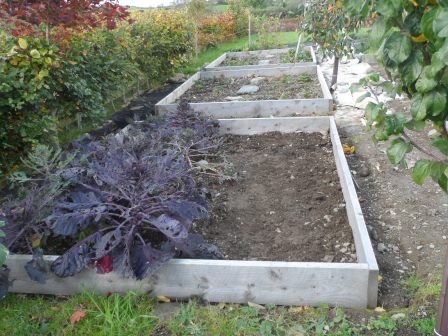
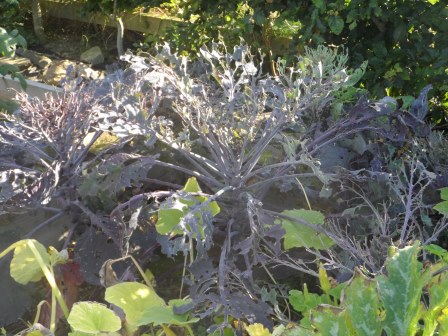
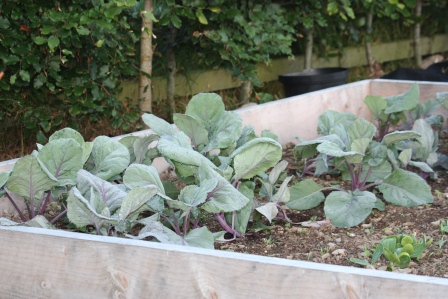
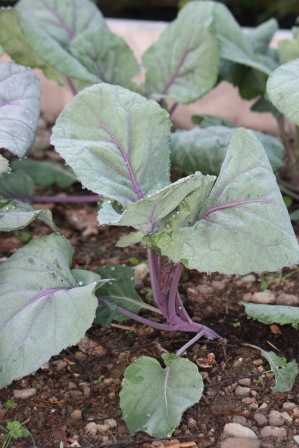
Fall look at the veggie beds.
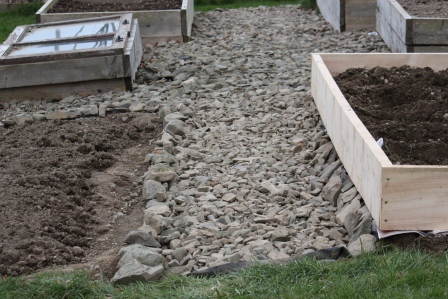
Well, let’s just wait and see (with fingers crossed)! The beds looked nice after I dug up the soil and planted. That is rather funny to re-read. Nice lookin’ soil there!
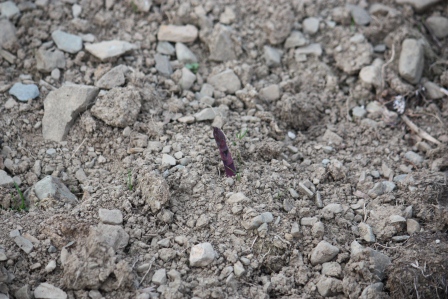
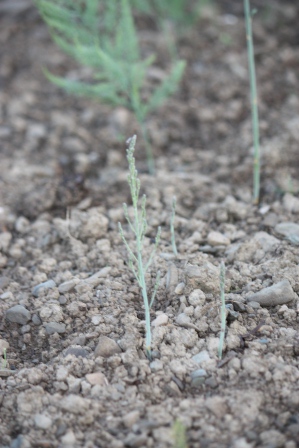
Rye planted in the former garlic bed.
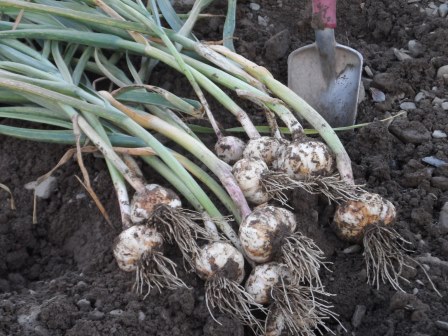
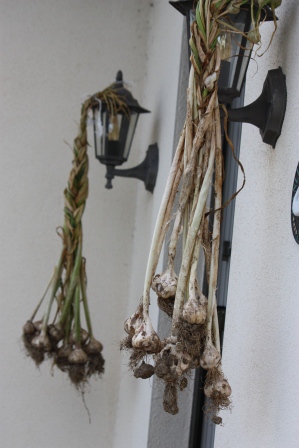
I was also planting garlic. It is more common here to plant garlic in the fall than in the summer. So this is the year I’m going to give it a try. What also helped to spur me on is that I told another blogger that I’d do it! Thanks Claire from Promenade Plantings!

Organic Autumn Planting Garlic – Vallelado in front bed. Swede (turnip) are in the back bed.
I didn’t actually take any pictures of the garlic itself. Hmm, that was silly. But the above photo is where I planted it – a lot of it! 🙂 With every planting I always have that teeny tiny bit of doubt! But I try to overpower it with lots of hope!
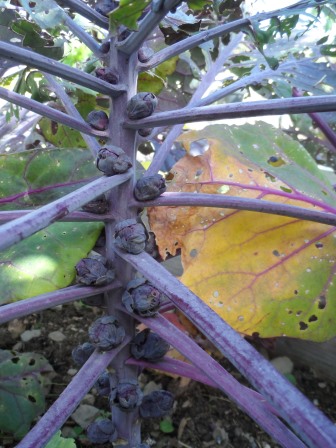
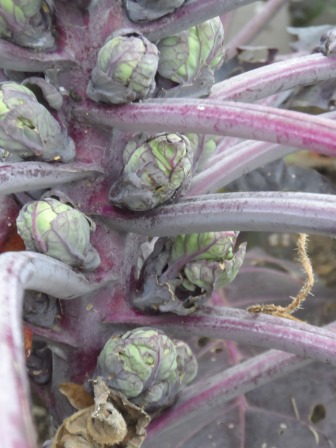
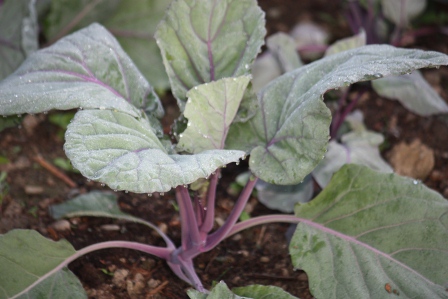
Organic Autumn Planting Garlic – Vallelado planted next to the Brussels Sprouts.

Rowan tree
I have a Mom in the Garden facebook page (of course!) and posted a couple of pics of our Rowan tree.

Rowan tree.
It has orange berries that really stand out at this time of year!
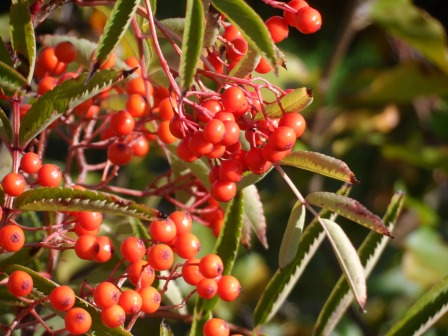
Rowan berries from October.

Rowan berries from November.
A quick on-line search reveals all sorts of recipes for making Rowan berry jellies & jams & wine! We’ll have to see about that … another day.

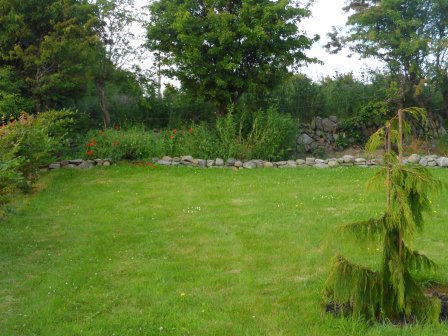
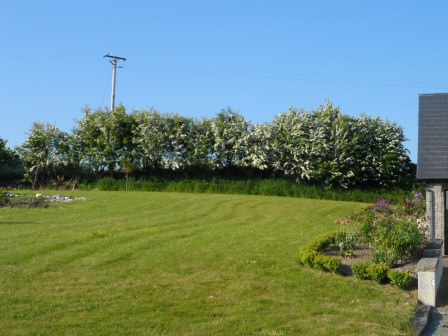
November look at the garden.
We’ve had some beautiful weather lately. I hope you have too!
Happy fall!
Dana


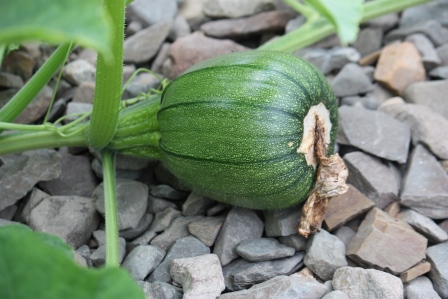
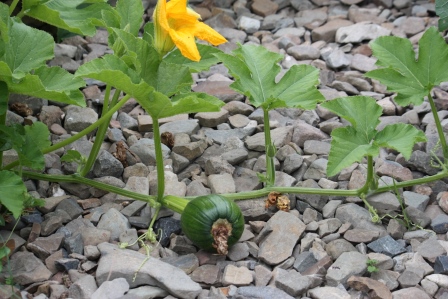

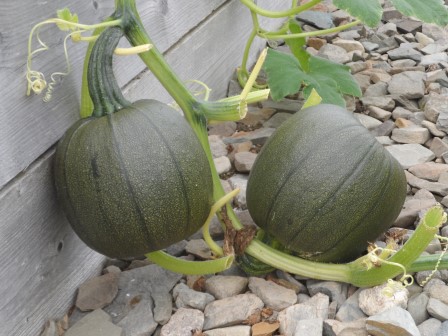
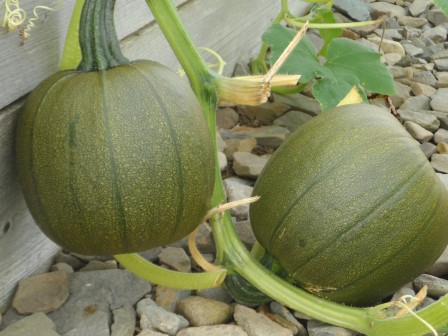


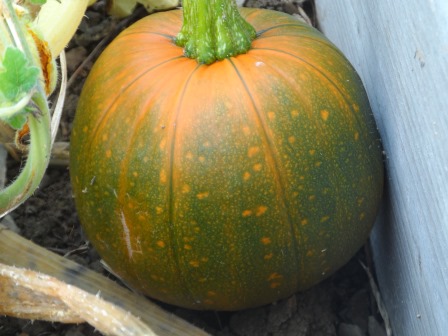


 Pumpkin.")


 Pumpkin.")


