

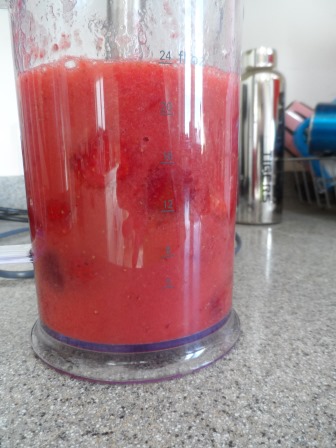
fresh strawberries
Strawberries: growing this fruit in the garden works for us. When we first moved into our home and looked out onto the open space of our lawn, my husband and I both saw potential for “growing our own”.

Our side garden in 2010 with only the two apple trees we planted. They are to the right of the very ugly sewer pipe (which I yarn bombed last summer).
Getting the garden ready to “grow our own” would require a little bit of work! It is now five years later and we can really see a transformation. There has been quite a bit of learning involved, too. Learning, making mistakes, learning, making mistakes: you get the picture. We’re not done with either the transforming or the learning!

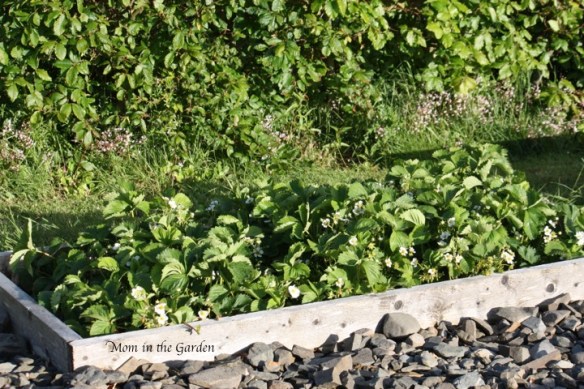
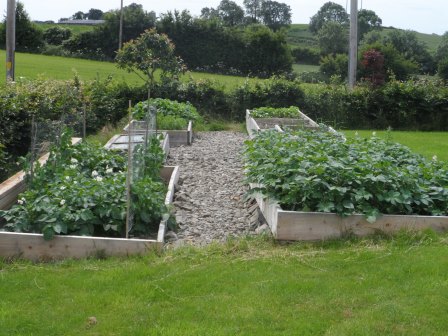
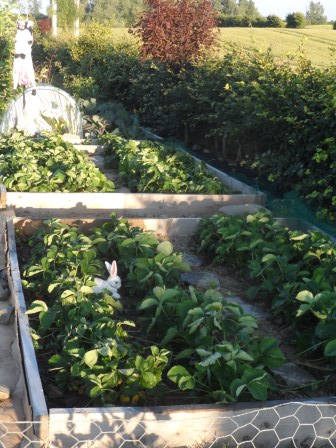
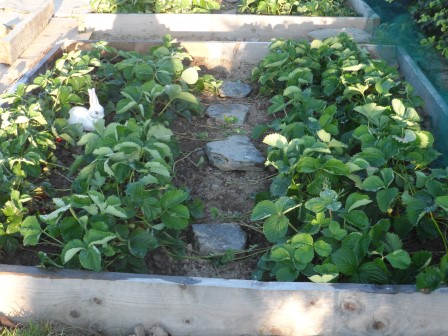
a look at the beds in May; on the left is asparagus, on the right are strawberries
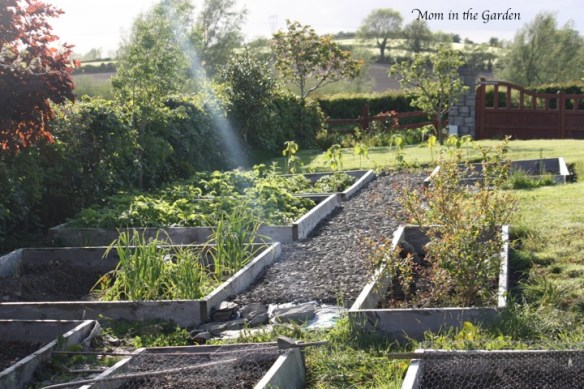
The above picture isn’t the same view as the one above it, but it is the same space, just all filled in! (Note that we have since moved both apple trees, a perfect example of learning, making mistakes, learning!)

June view of the beds (slowly extending the stone pathway, too)
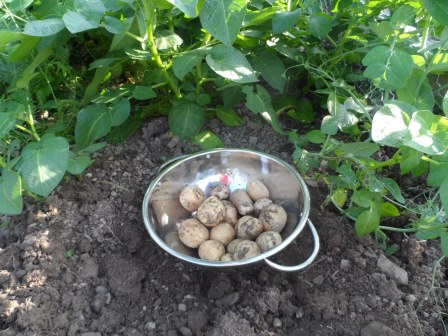
We’ve decided to grow veggies and fruit that are the least amount of maintenance because like everyone else in the world, time is precious and always in short supply.
our newly added this year, third strawberry bed
It is important to do what is right for you and your family. Right now, this is right for us.
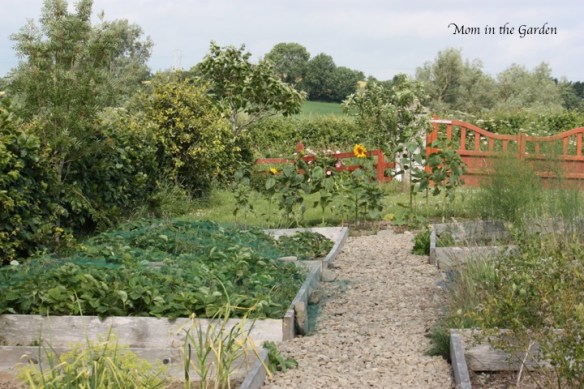
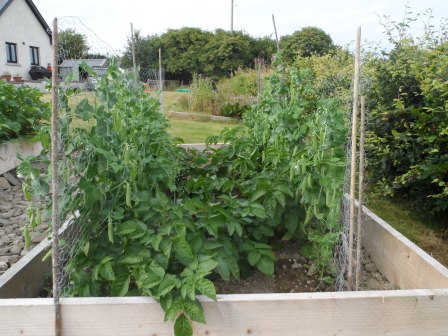
A sunny view in June. On the right are blueberry plants, on the left is garlic
Strawberries do require a bit of work. In the fall the plants should be thinned out and divided to provide a mix of mature plants and new plants. Those new plants, formed from the “runners”, really do run rampant, so you’ll have plenty to share with friends, family and neighbours!
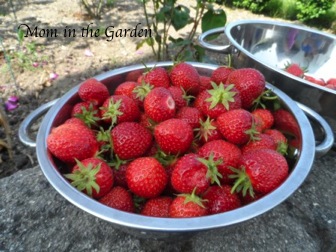
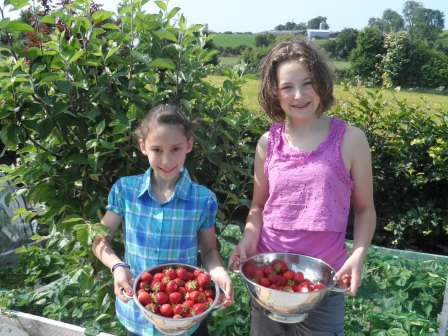
lots and lots of strawberries
It is good to have space between the plants, too, for air circulation.

a tiny detour from topic with a pic of one of the sunflowers about to bloom
For some reason, basically family life, we weren’t able to work in the garden at all last fall. That made for a messy strawberry patch this winter. Very early this spring my husband divided the plants and cleaned up the beds. I was worried we’d left it too late, but thankfully that was not the case and we have plenty of strawberries. Our beds this year are more full than I would have liked. (Did I mention that my husband is in charge of the strawberry beds?) 🙂
We cover our strawberries with netting after the fruit has formed. It does keep out the birds for the most part!

behind the sunflowers are the covered strawberry beds
I think they are a bit later this year, as usually June is strawberry month. Our last bumper crop was two years ago, but this year is nearly as good as then. Most importantly, they are incredibly sweet! Some of them, well actually most of them, are not a deep red, but nonetheless taste delicious!

the sunflowers are slowly starting to bloom now
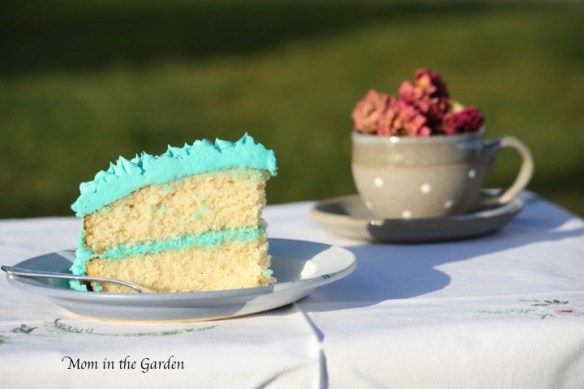
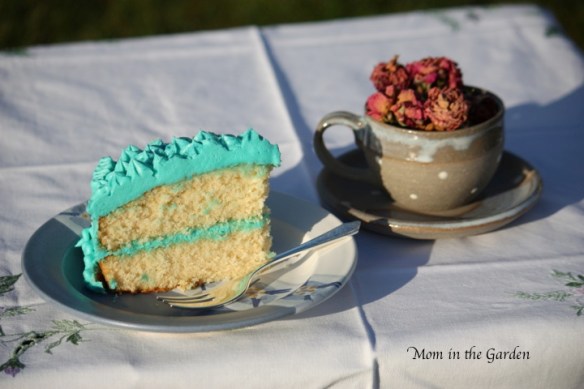
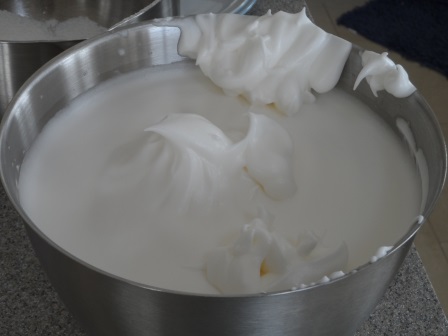
I posted a wonderful recipe for angel food cake during our bumper crop season. That year we had neat and tidy beds, too! You can have a look here: https://mominthegarden.wordpress.com/2013/07/15/bumper-crop-of-strawberries-an-angel-food-cake-recipe-with-strawberries/
This picture was taken this morning. I see a little more yellow coming from the sunflower plants!
I would highly recommend growing strawberries! You don’t need a lot of space as they can even be grown in containers. What’s the point of my post? To encourage “growing your own”, because it is much easier than you think, and so tasty!
Happy Planting!
Dana


")


.")

 Roses at the front gate in November.")
