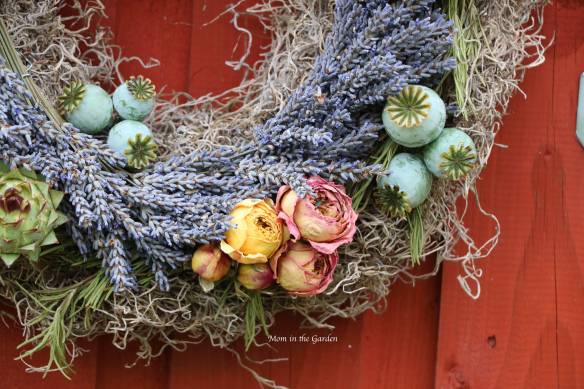
Morning sunshine gives a warm hue to the hydrangea wreath
Everything we do, and how we choose to do what we do, comes down to our individual personalities. For me, my personality is such that I like to find second uses for things. I don’t like to waste, or get rid of something if it can possibly have a second life. What better way to give a second life to flowers than arranging them in a wreath or a floral arrangement? None, I say! 🙂

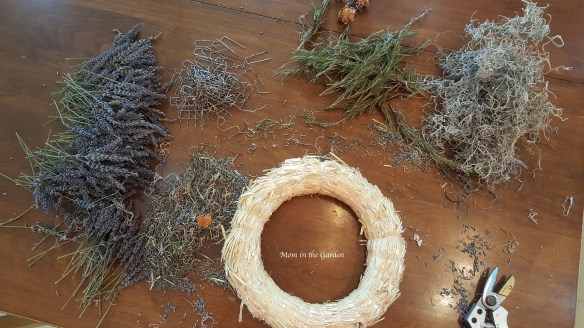
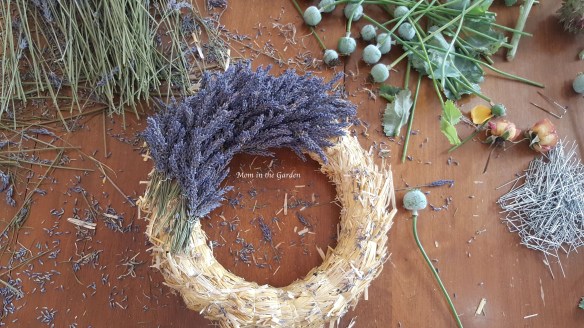
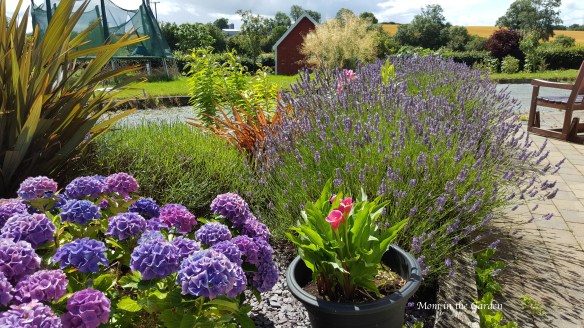
This is how I dry my flowers 🙂
Hydrangea are great for drying. It is best to use “mature” blooms, which have a more substantial (papery) feel to them. If they aren’t mature, then the leaves tend to curl. There isn’t anything wrong with curled leaves, I just don’t think they are quite as pretty (although my wreath has some of them, too!)

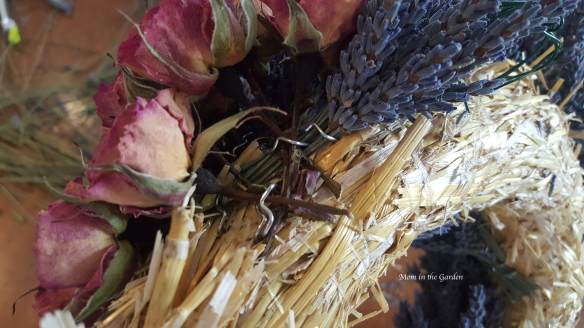
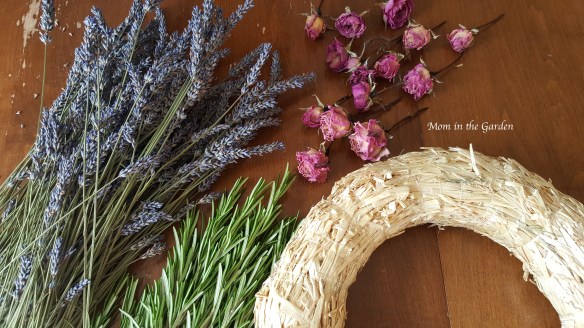
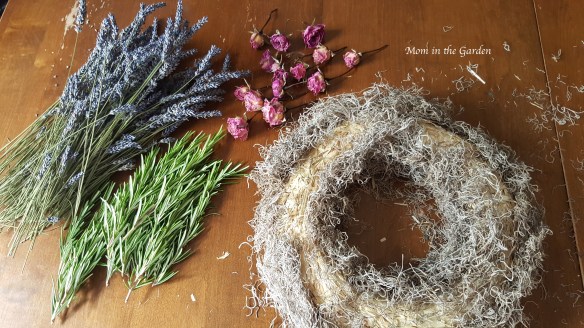
It all starts with a straw wreath frame and some floral “u” pins.
Wreaths are so easy to make! In my book, it is essential to have a straw wreath frame, floral “u” pins, and some Spanish moss. Anything goes for the rest! My hydrangea didn’t flourish this year, due to the drought this summer I presume. So I did get some lovely deep cherry colored blooms from a friend. I traded her zucchini bread for hydrangea blooms, that’s fair isn’t it?

These green colored blooms are hydrangea Incrediball.
I have all of my colors on the table, or hanging on my Flower Tree, and I just dive in. The hydrangea paniculata ‘Vanille Fraise’ had very small, beautiful blooms this year, but their stems weren’t very strong and most of them broke while pinning them. That was a bummer, as they were really pretty!

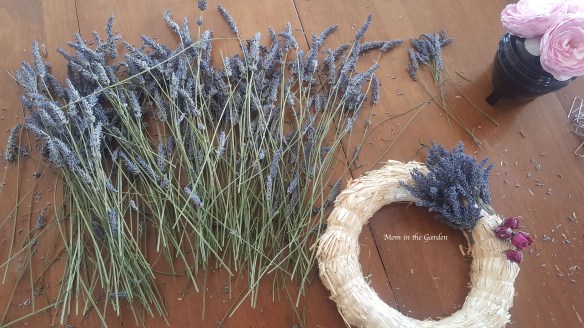
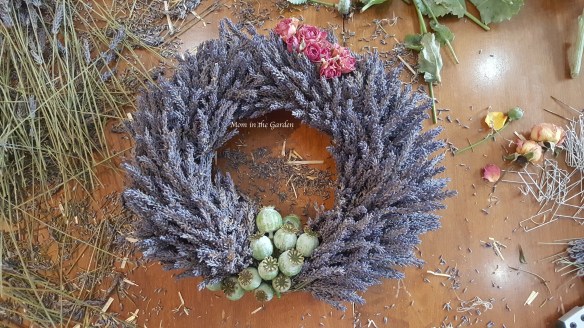
Piece by piece the wreath comes together.
I made this one night after work this week. I felt the need to create something! Since I don’t have anything on my crochet hooks, it had to be with dried flowers. I still have loads of lavender around my house, too! (See what I did with that further down the post.) I really enjoy working with my hands, and I’m glad to have such beautiful materials around me to create with.

Ta-dah! This is where my wreath will reside in our kitchen.
Purple, cherry, green, blue, pink: it’s all in there.

Inside lighting doesn’t give the exact coloring.
Nothing beats natural lighting, but then of course there is morning sunshine and evening sunlight, both of which slightly change the coloring again! You can see for yourself in the following photos.

Bright daylight, but no direct sunlight: This coloring is probably the closest to reality!

This picture has the tiny pink hydrangea paniculata Vanille Fraise.
The dried hyrdrangea is mostly hardy to work with. The green stems are actually doubled-up stems that I have smushed together after taking off brown markings on them. You can really do anything with them (as long as their stems are strong!).

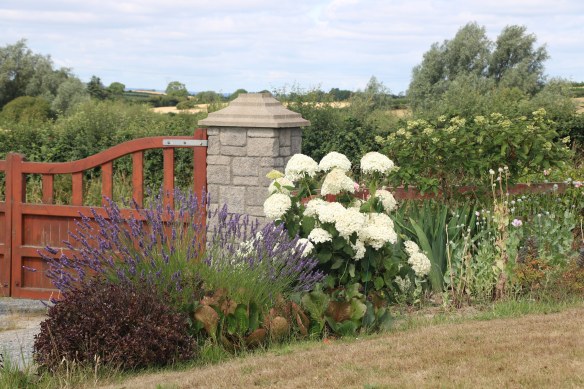
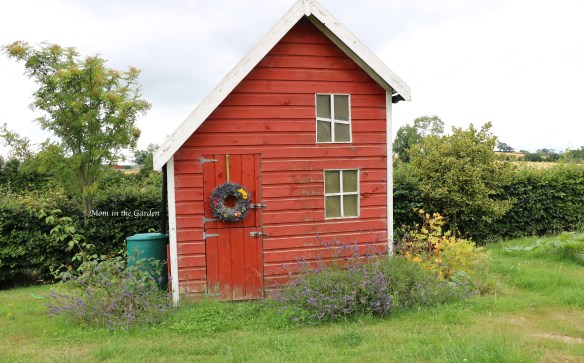
My go-to photo place for wreaths is our playhouse door! This is just for photos as I wouldn’t leave this outside…
Morning sunshine gives a warm hue to the hydrangea wreath
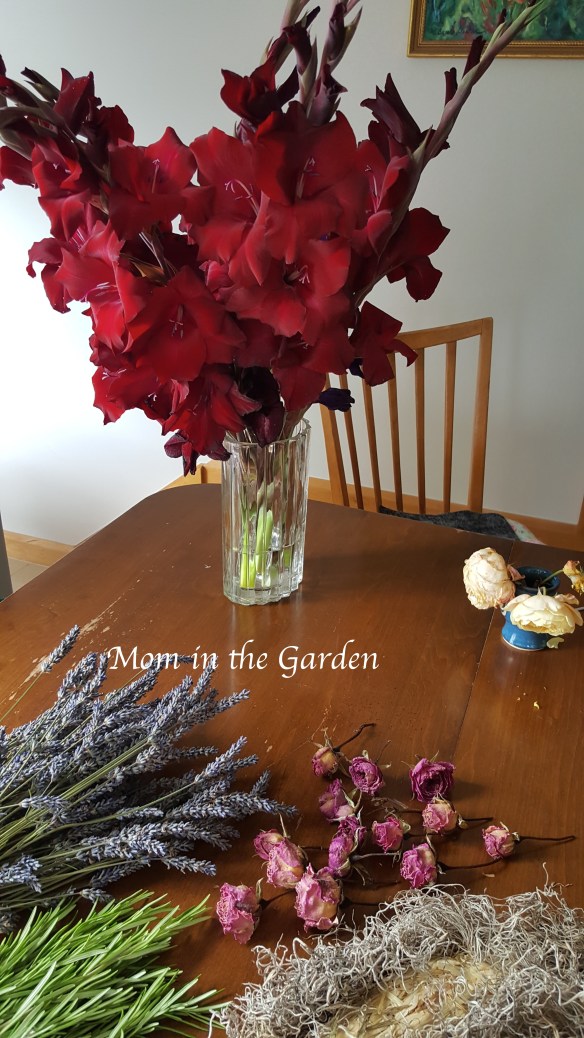
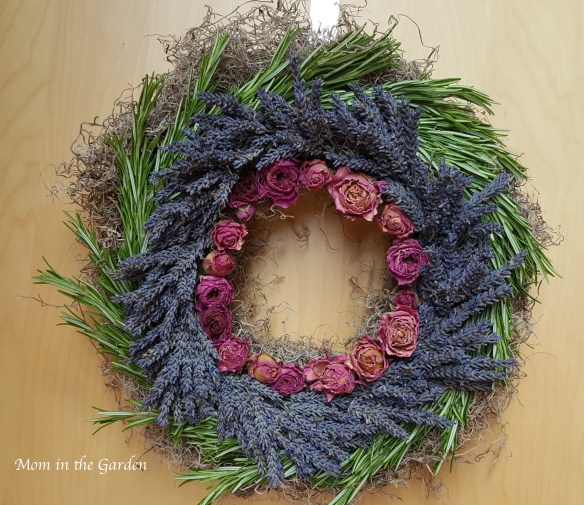
Like I mentioned, I still have loads of lavender “drying” around the house (that I really need to put away!). I decided to create a simple arrangement, using a magenta colored vase which happens to perfectly match some of my dried roses. Yes, these little things just get me all excited! First of all, I was able to use a lot of lavender to fill this vase, and secondly, that magenta color is *gorgeous*!

Dried Lavender + Roses = beauty

magenta colored roses and vase
And here is where they will live:

Home sweet home for my vase of lavender + roses.
It’s the little things! I’m glad to give a second life to my flowers, and the lavender and roses really do have a beautiful fragrance. This is me, this is who I am, and this is my personality. 🙂
What’s your personality like?
In peace,
Dana

Our playhouse in the morning sunlight.