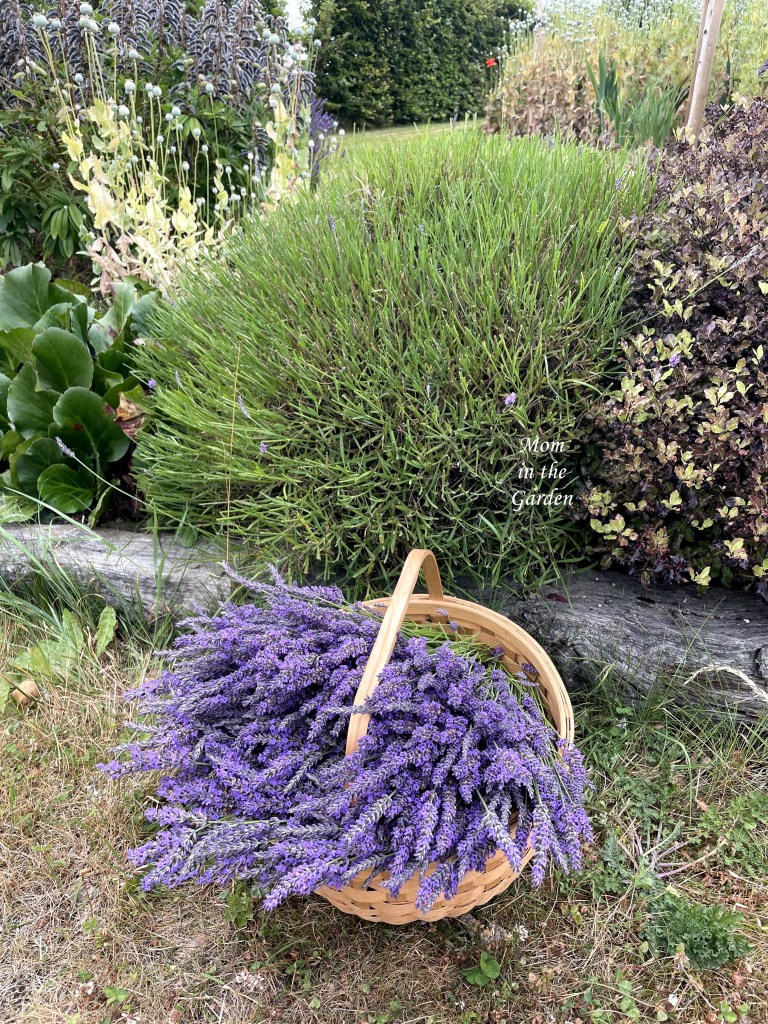
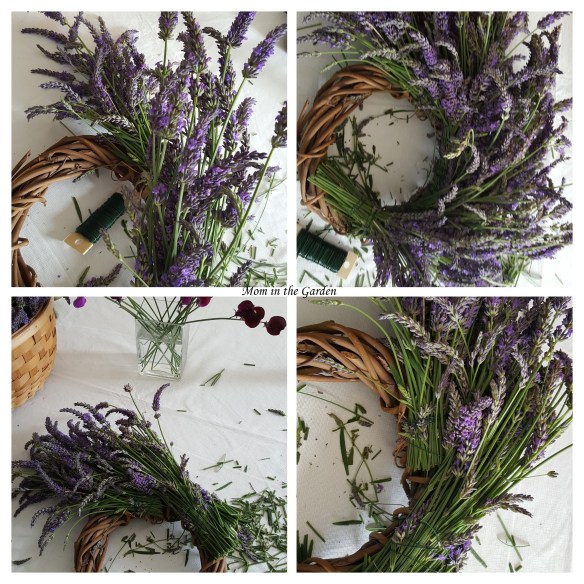
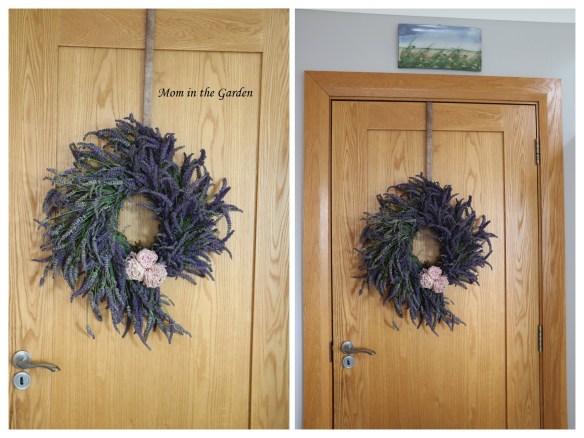
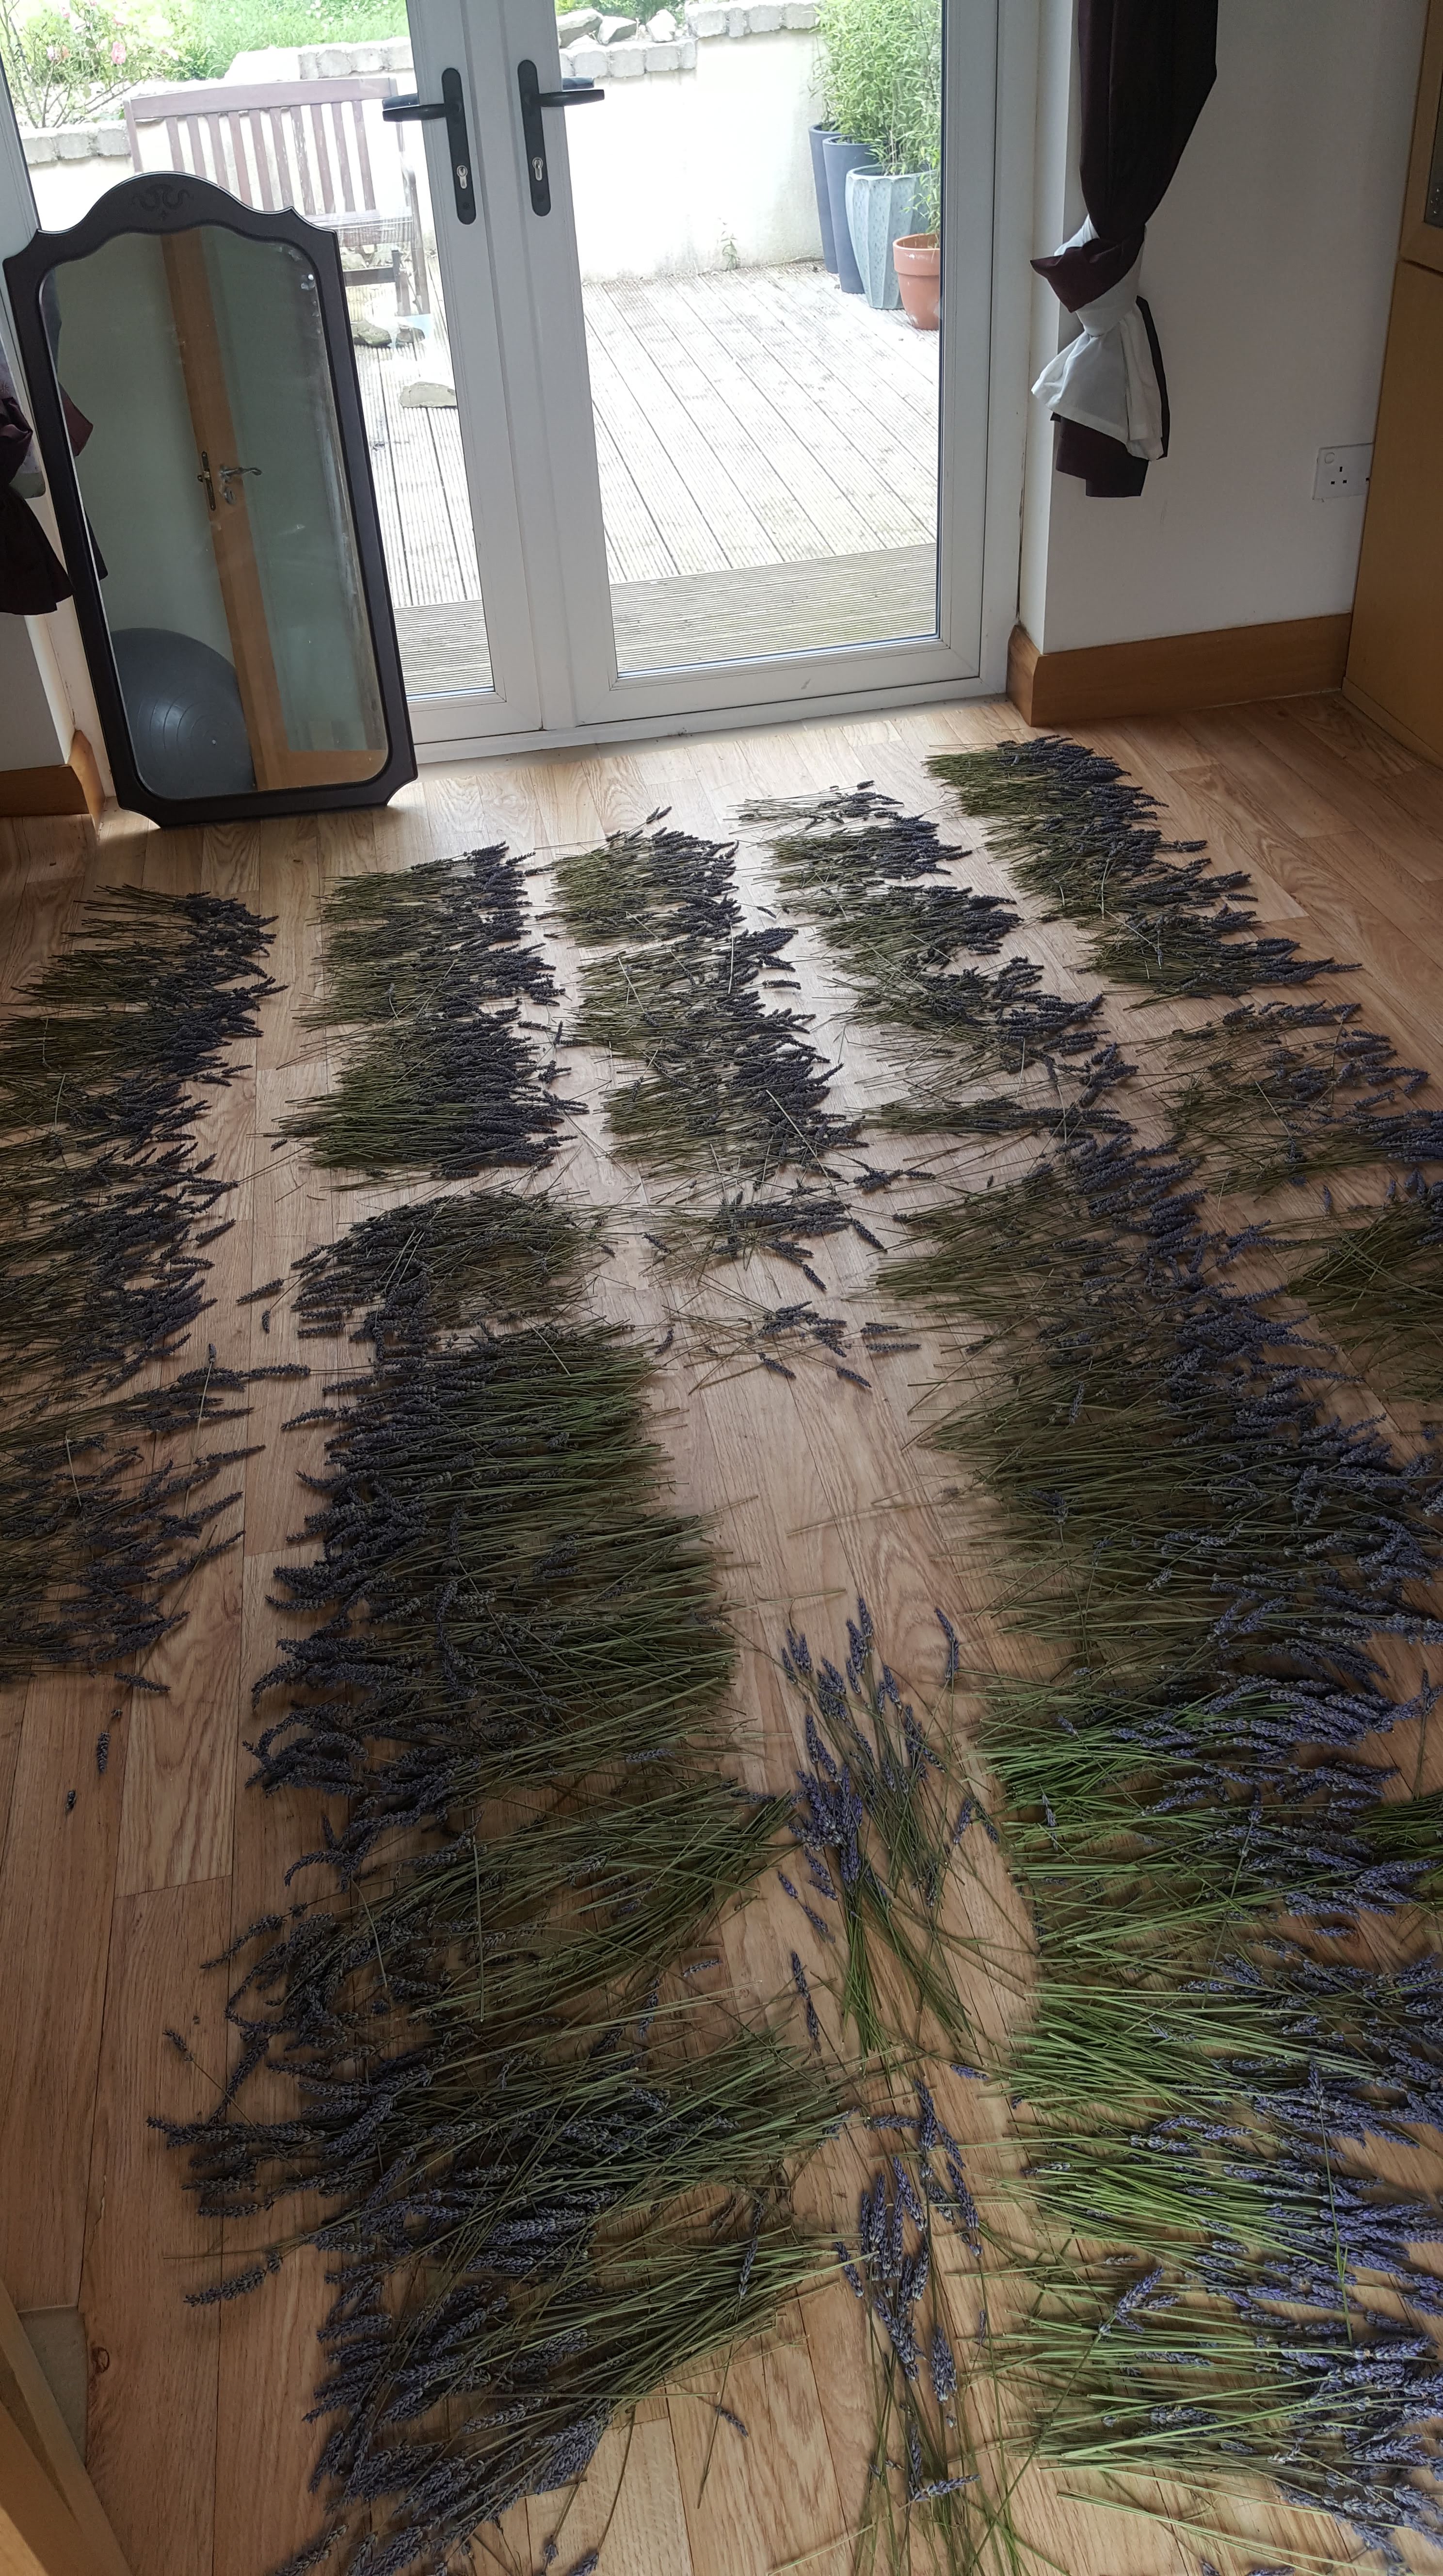
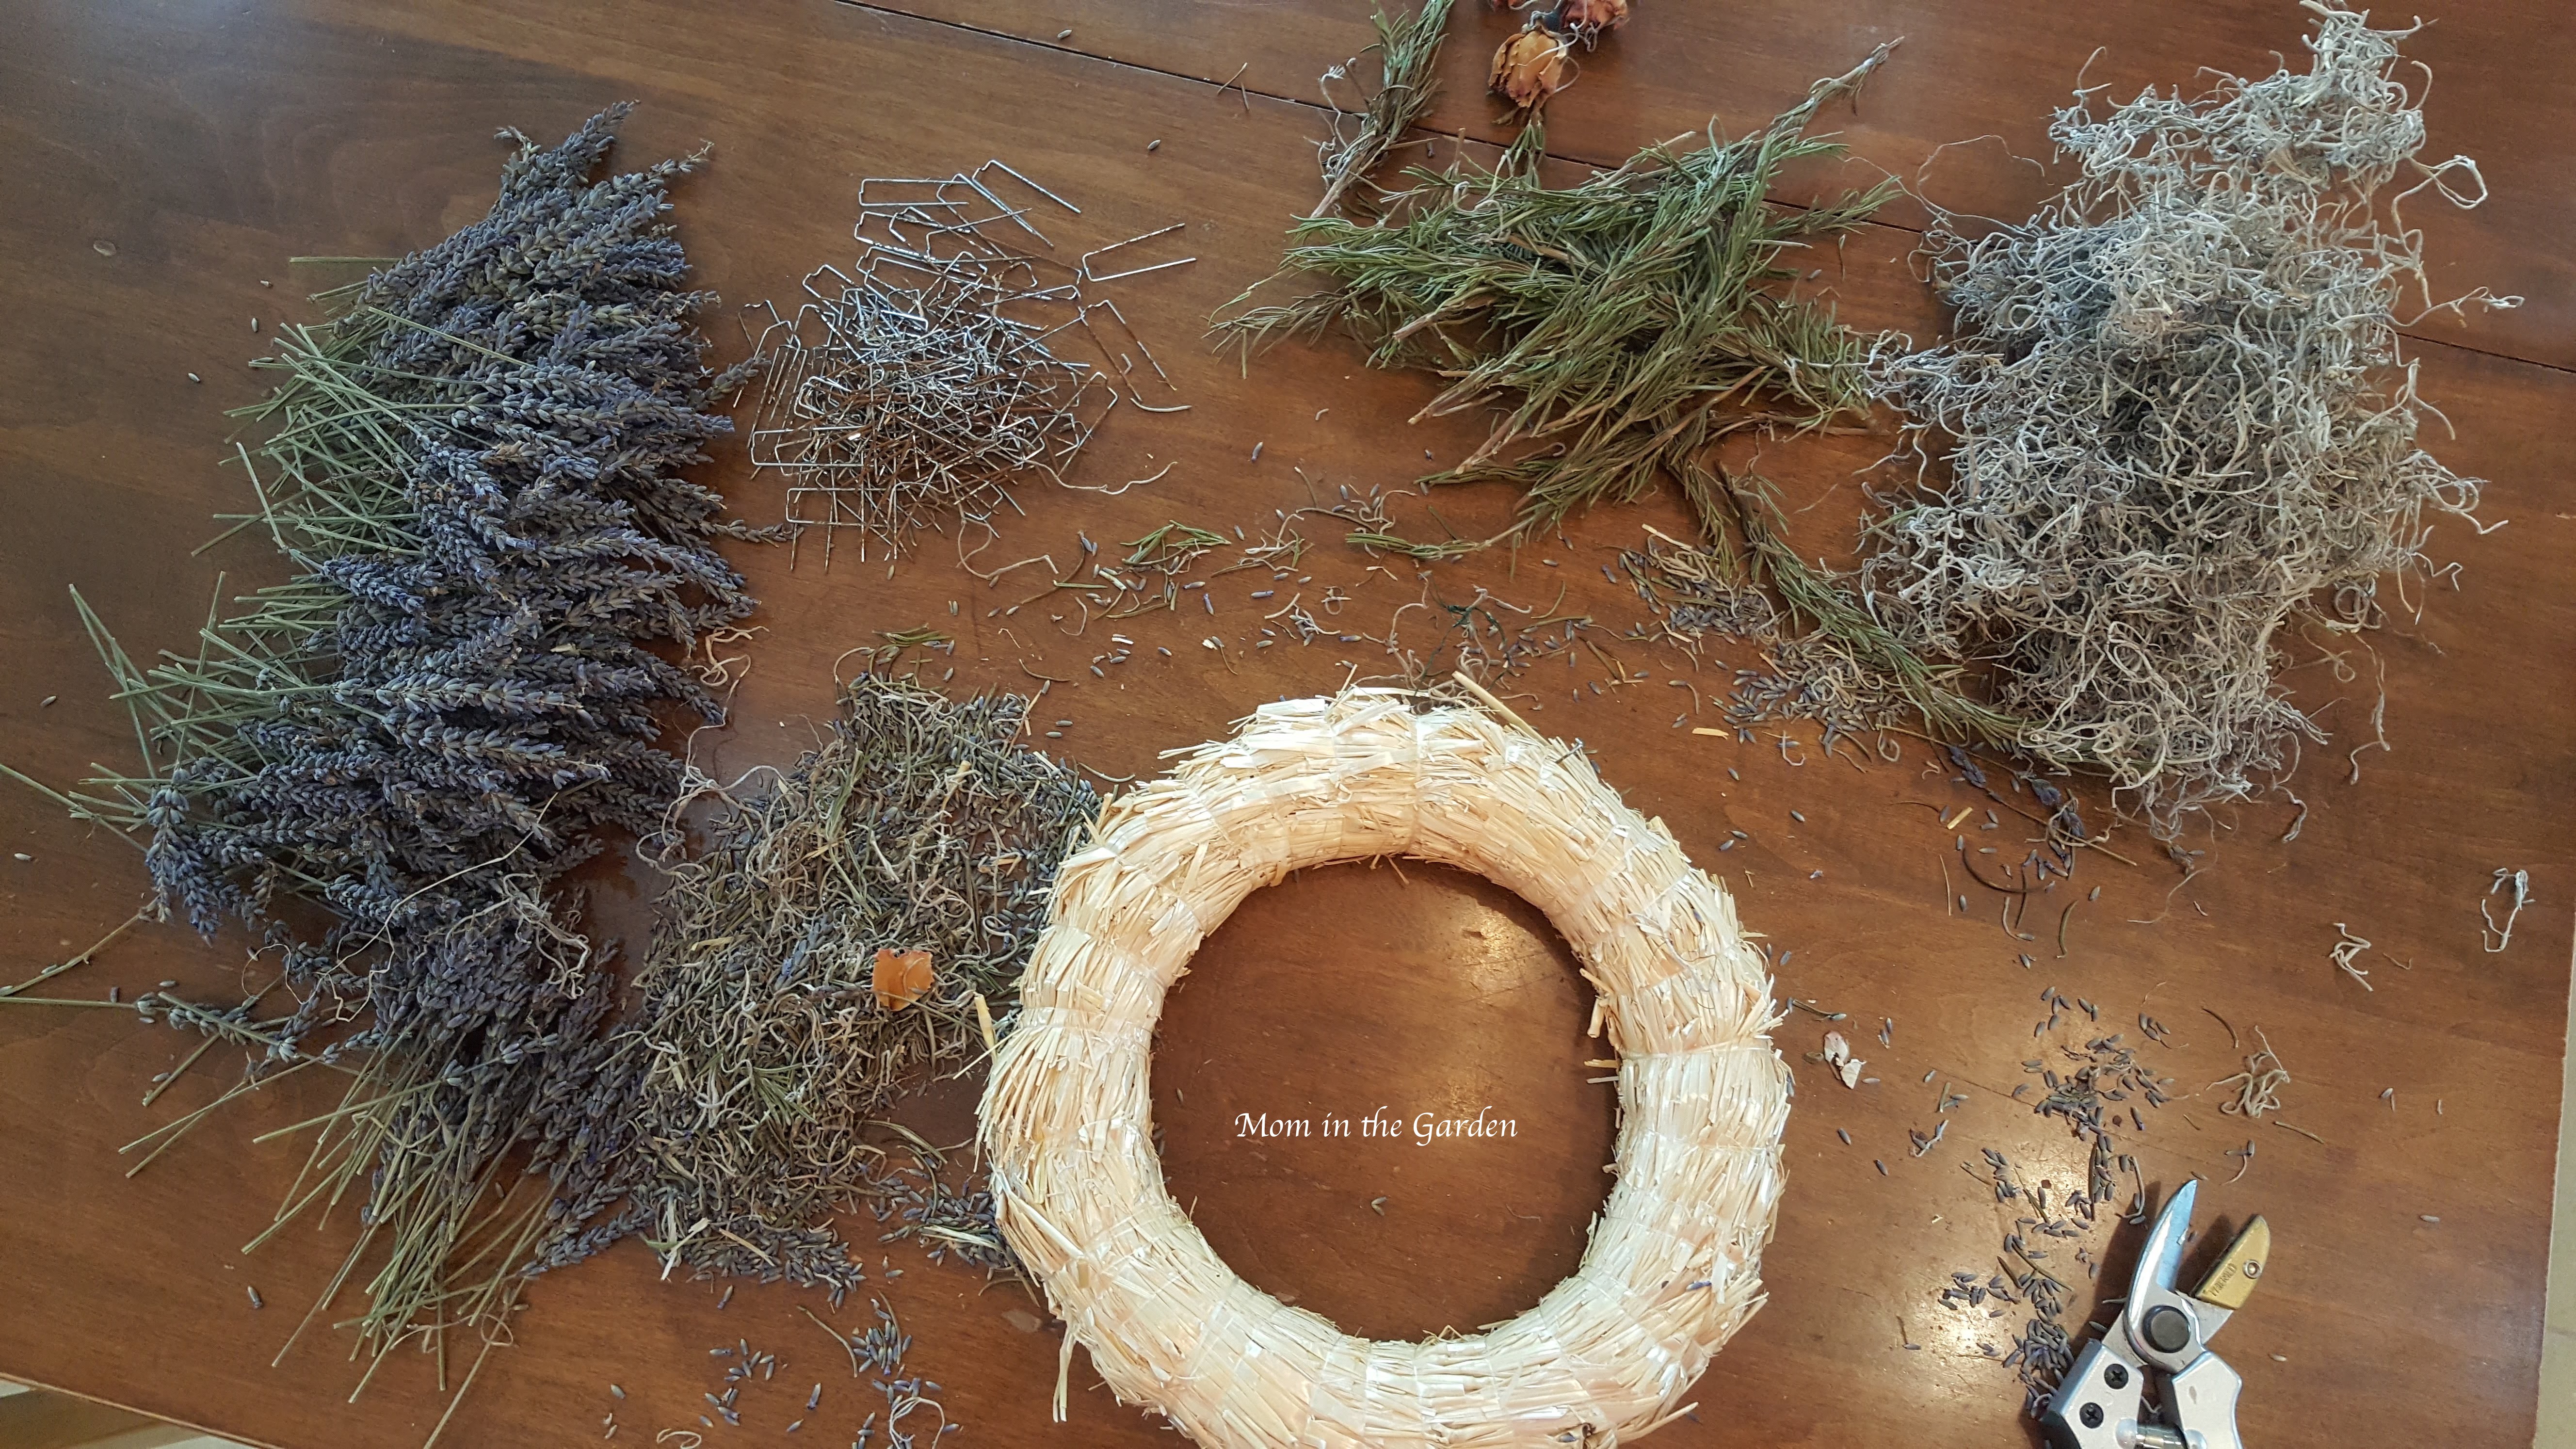
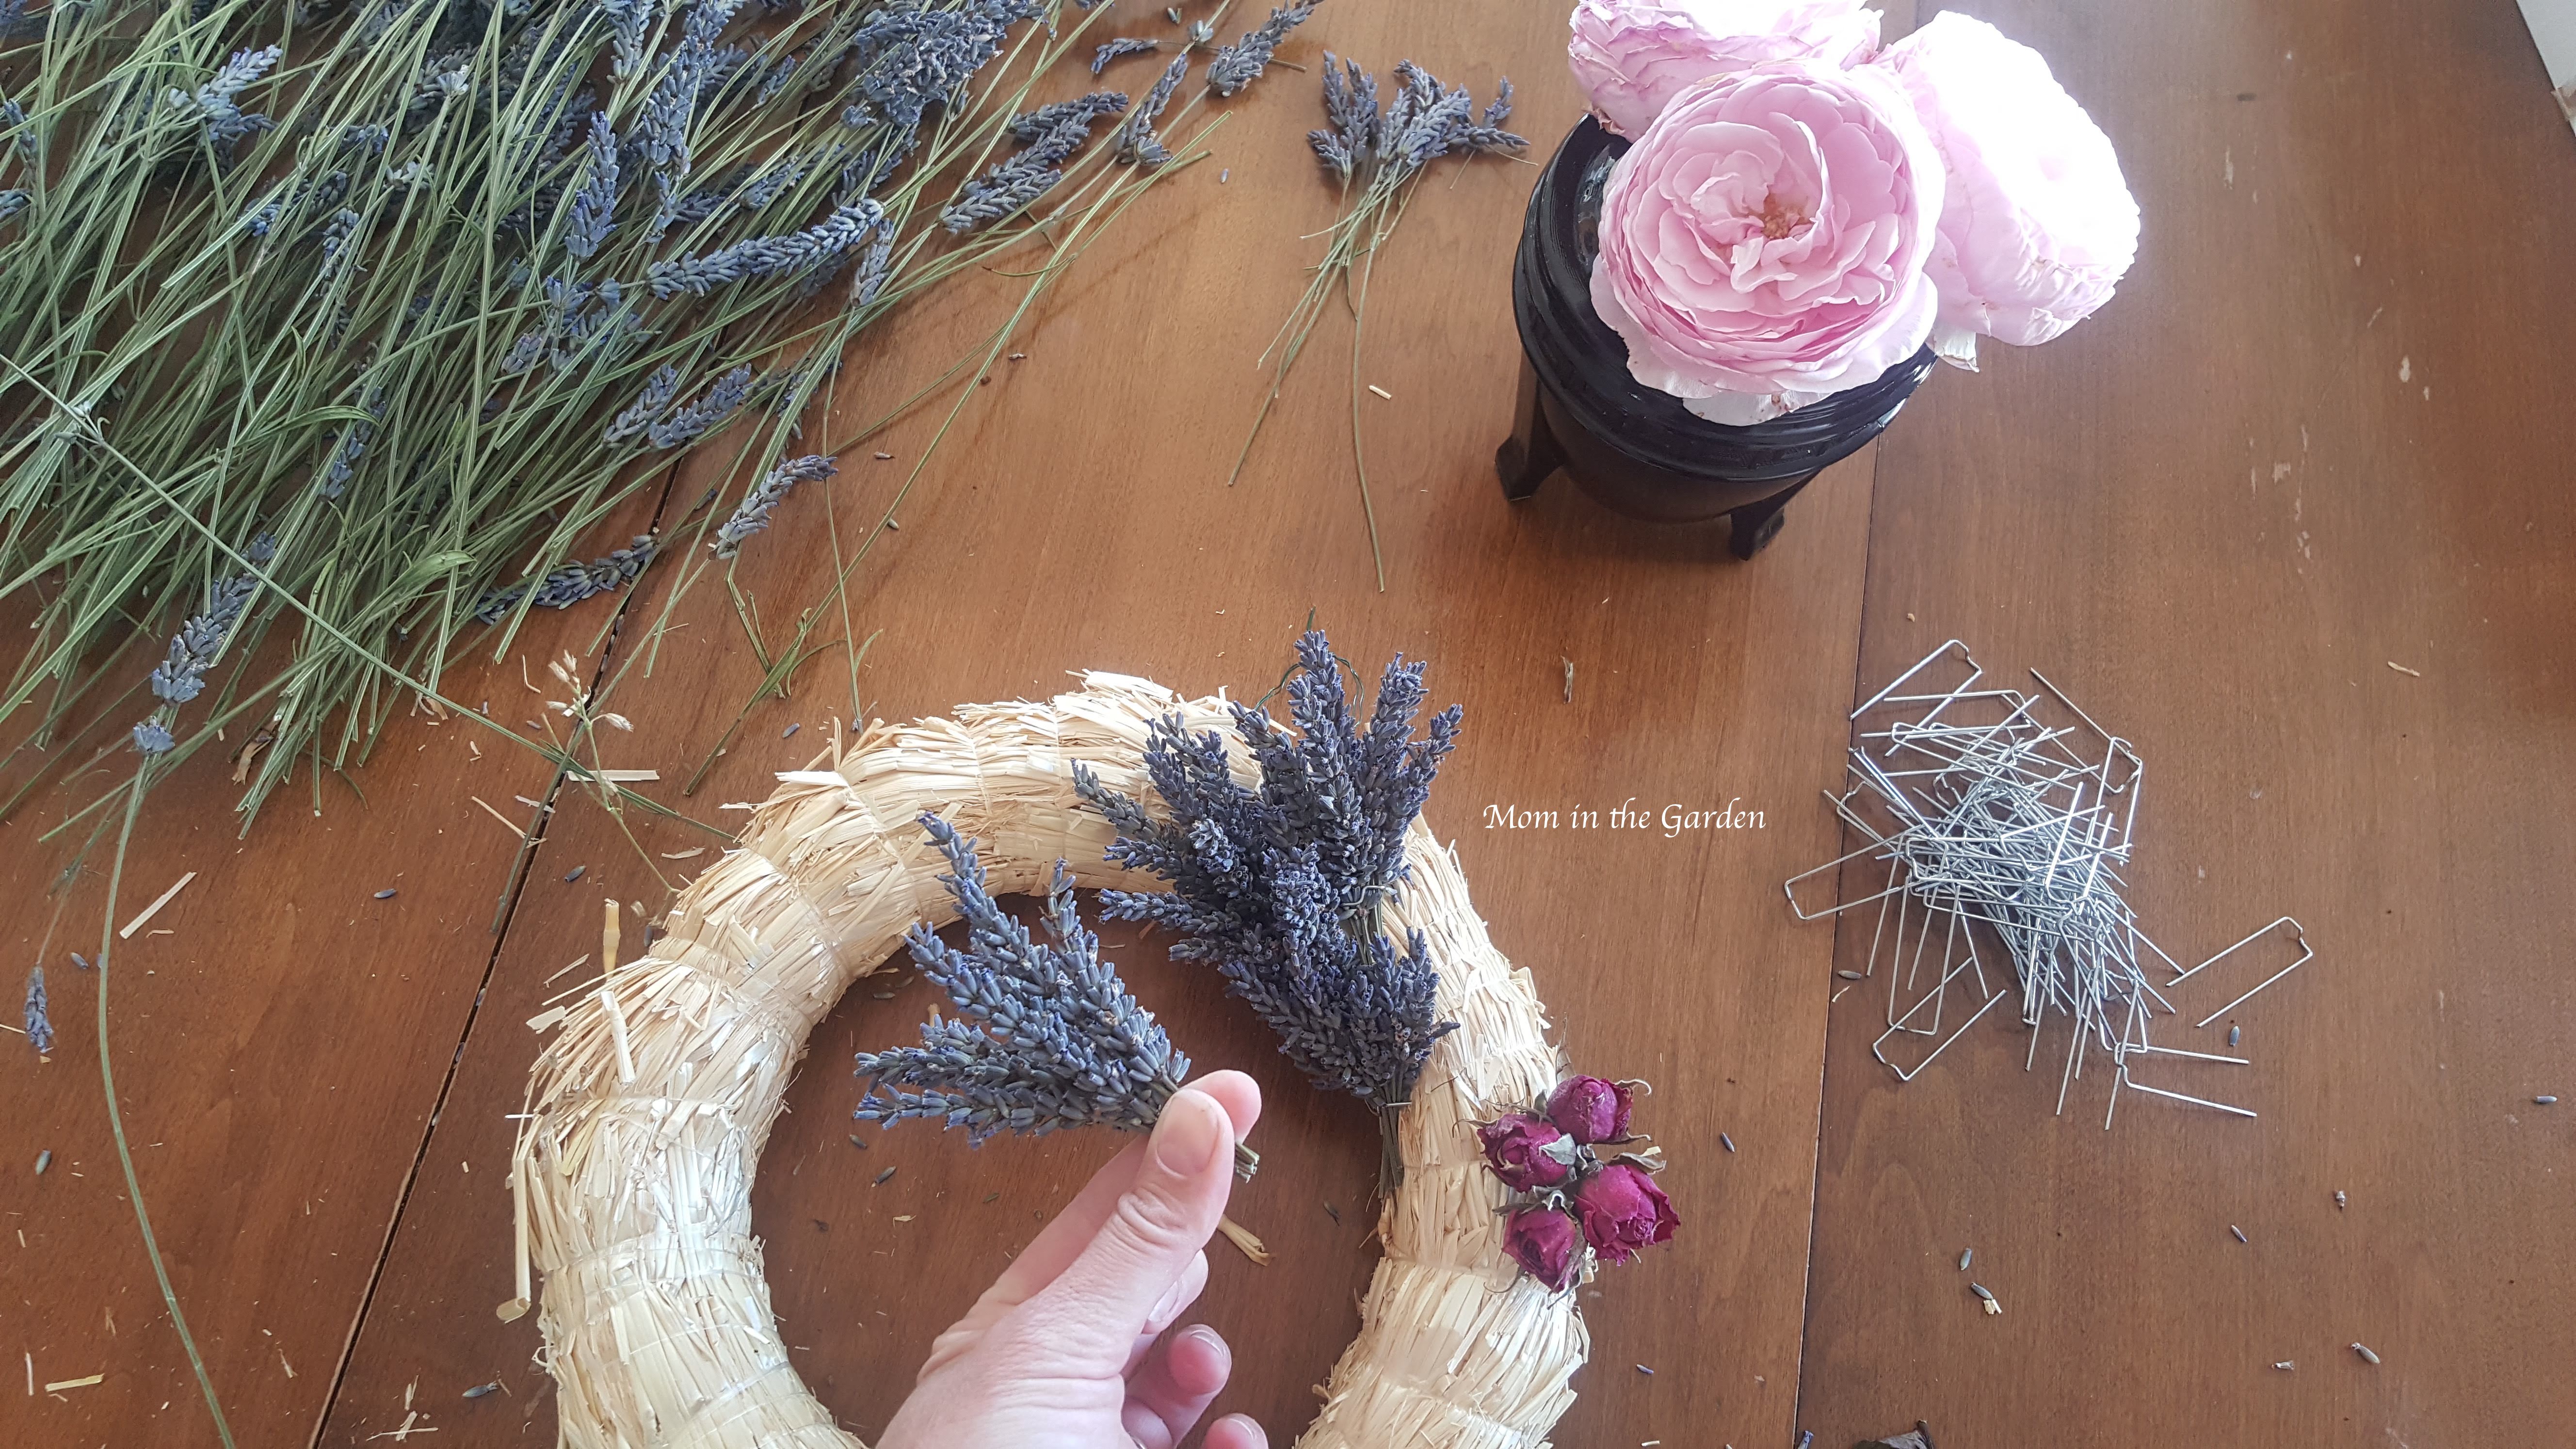
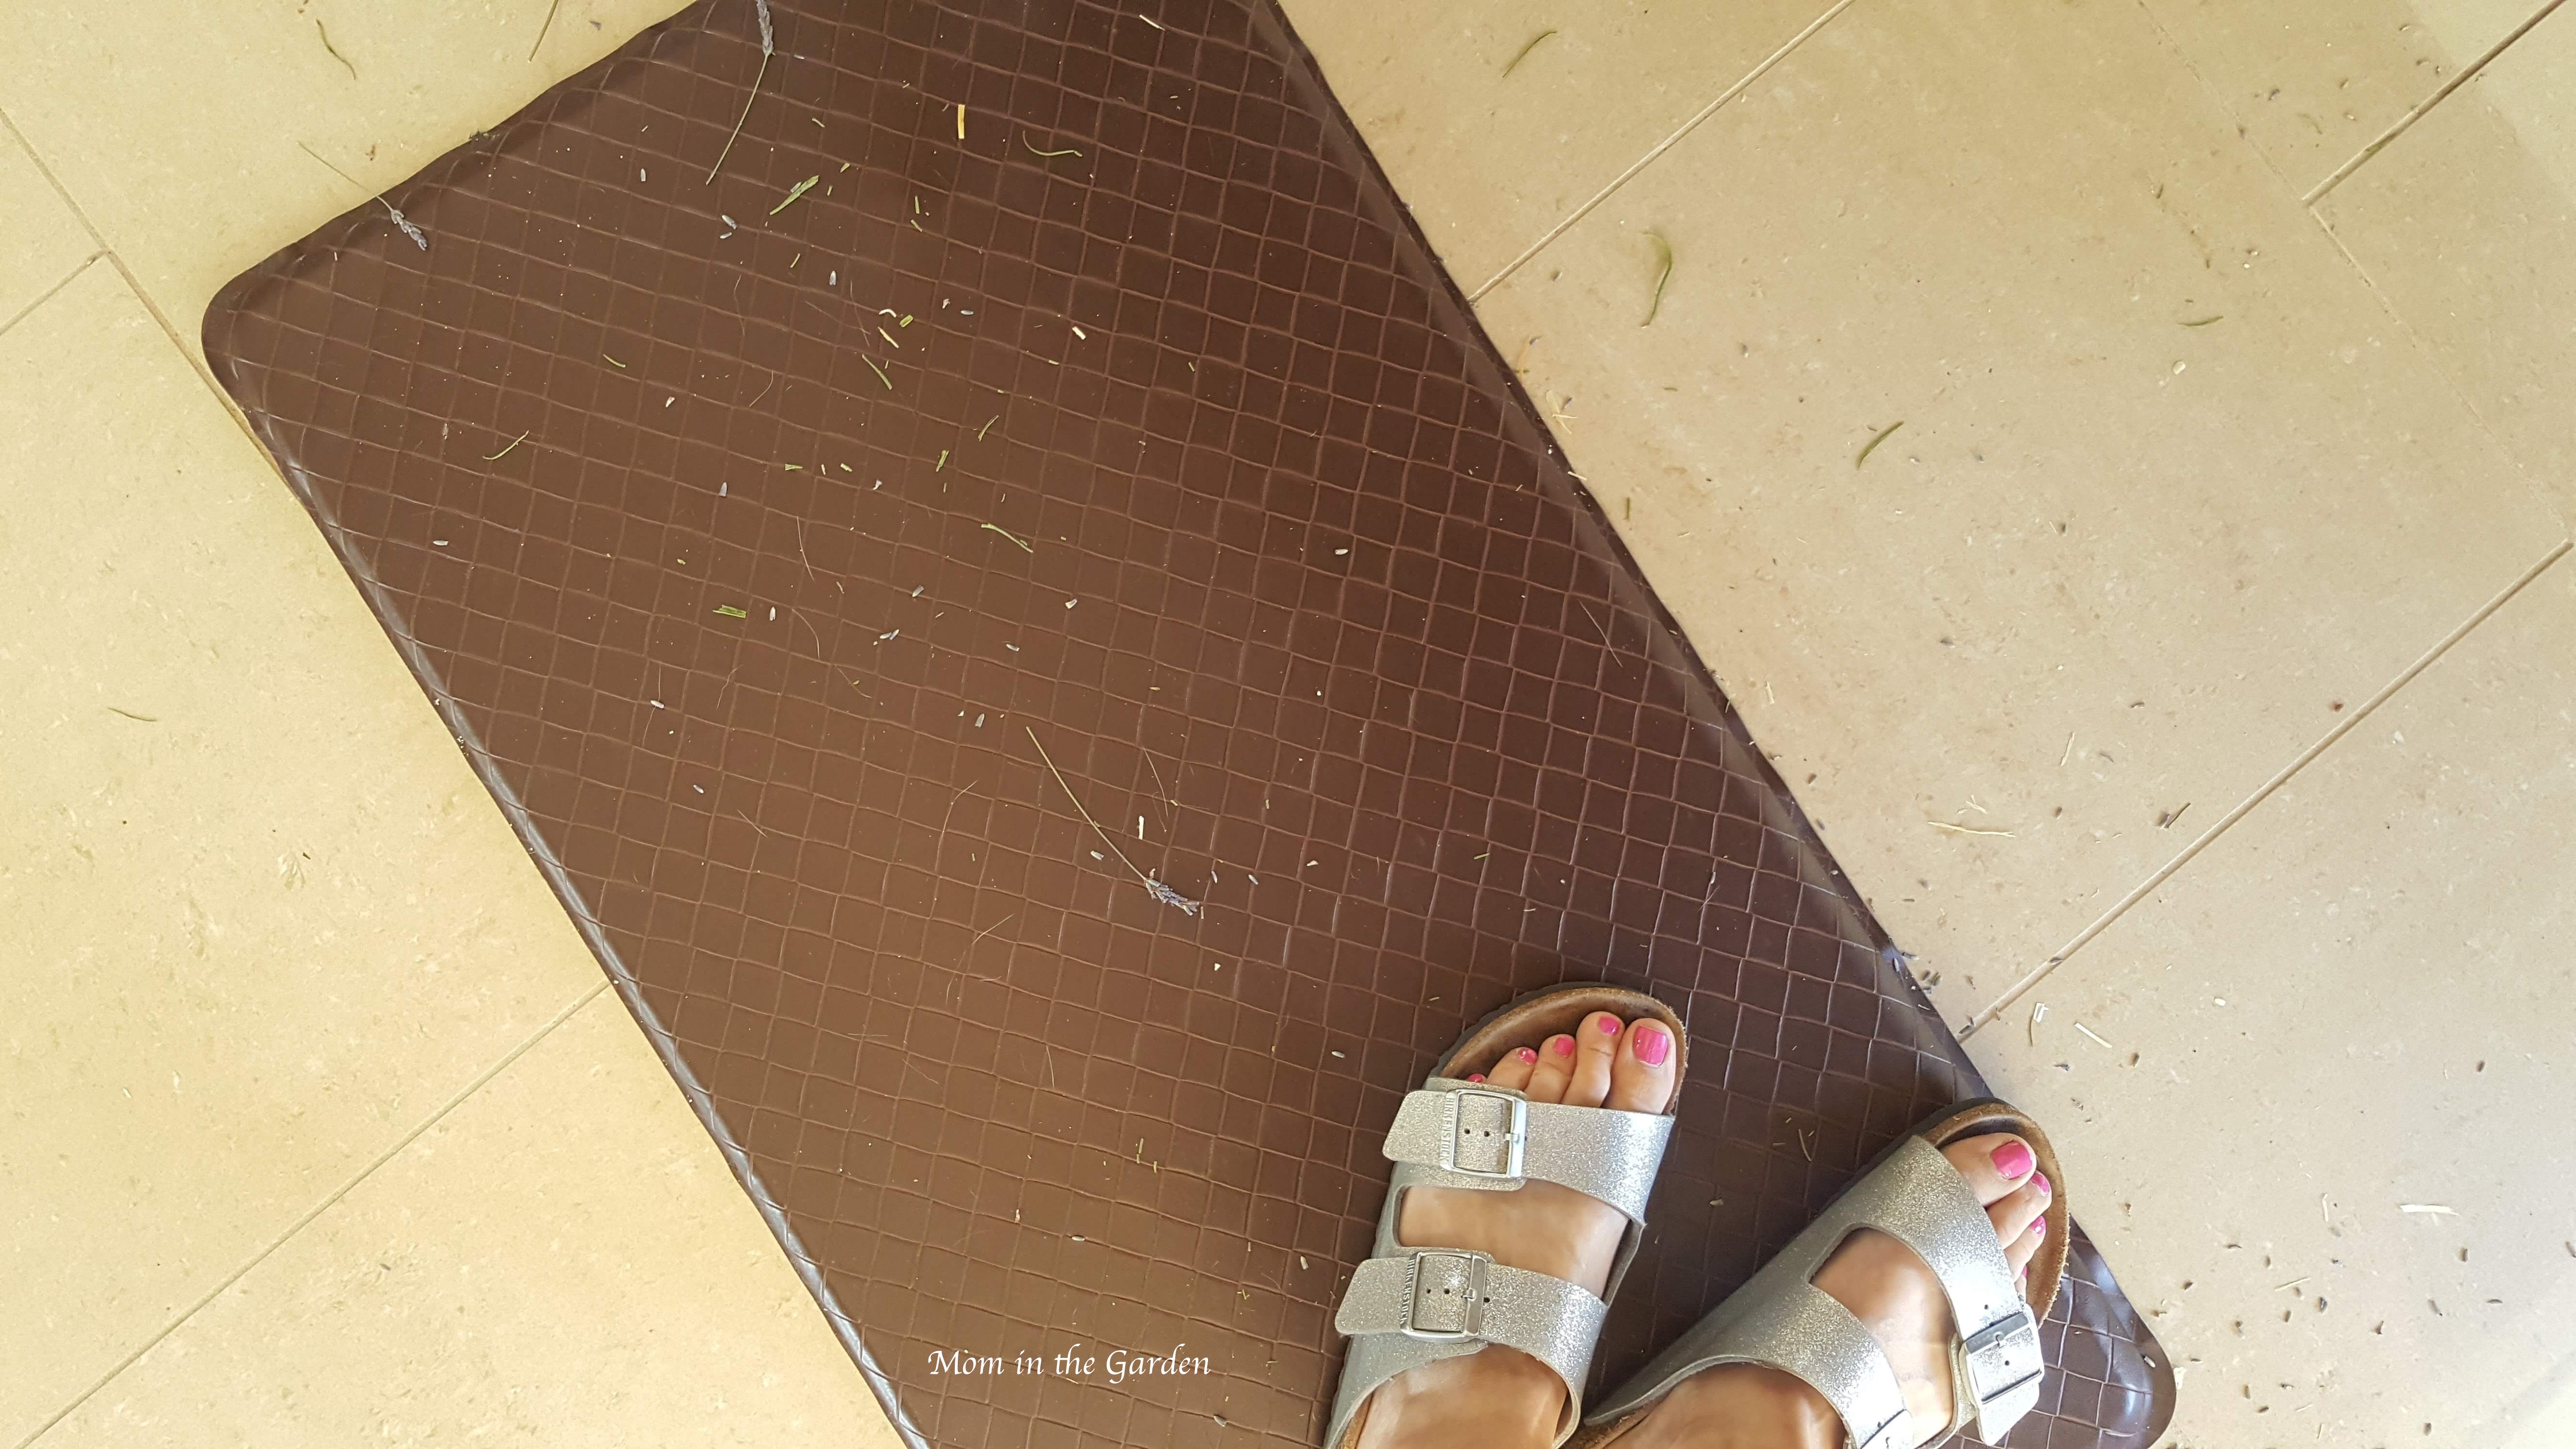
Hi there! That’s right, July is the time to harvest lavender. I also know this from how many visitors I’ve had to my ‘Step by step instructions to make lavender wands‘ blog post! After our trip last week to Nashville, Tennessee, for my daughter’s Irish dancing, I arrived home to lavender perfectly ready for harvesting. But I was too tired! And then the seemingly non-stop rain began. It became a case of second guessing when the rain would stop, when the lavender would dry out enough after the rain stopped, and then when to actually cut it. I’m happy to report that I was finally able to harvest quite a bit of lavender. There’s still more, but the rain has returned again and has been relentless.
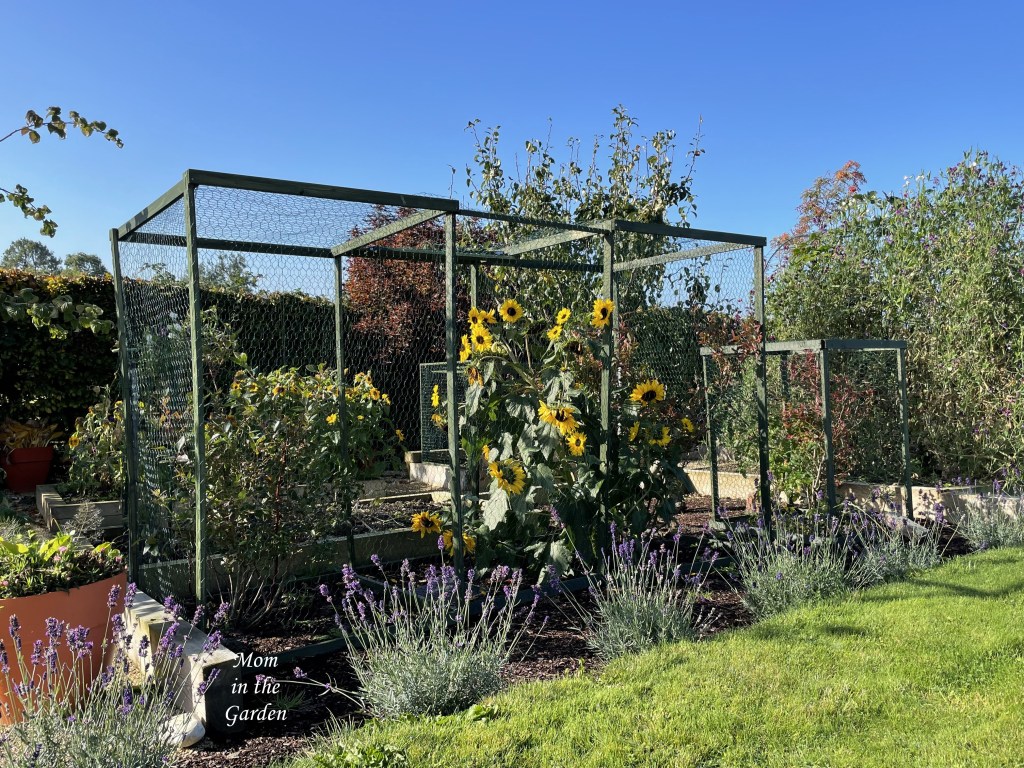
I’m so thankful to have had the chance to go to Nashville with my daughter, and we had a wonderful time (and same with our trip last month to New England). But boy do I feel that I’ve missed so much in my garden this year. I’m glad we had a couple of days where we were able to get a lot done to tidy it up. And all of my plants have been happy about the rain! Hopefully, we’ll get some more time to enjoy our summer and time in the garden. I think everyone’s fingers are crossed that the good weather will return!
I’ll be joining Garden Ruminations for the Six on Saturday meme. I hope you enjoy the tour!
In Peace,
Dana

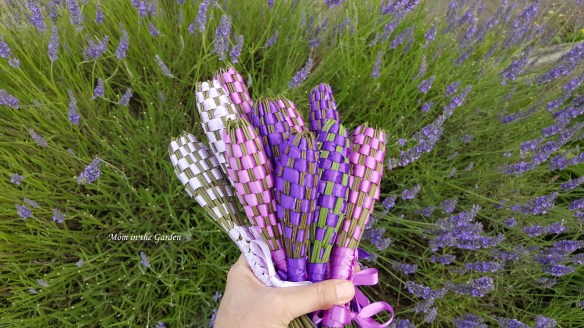
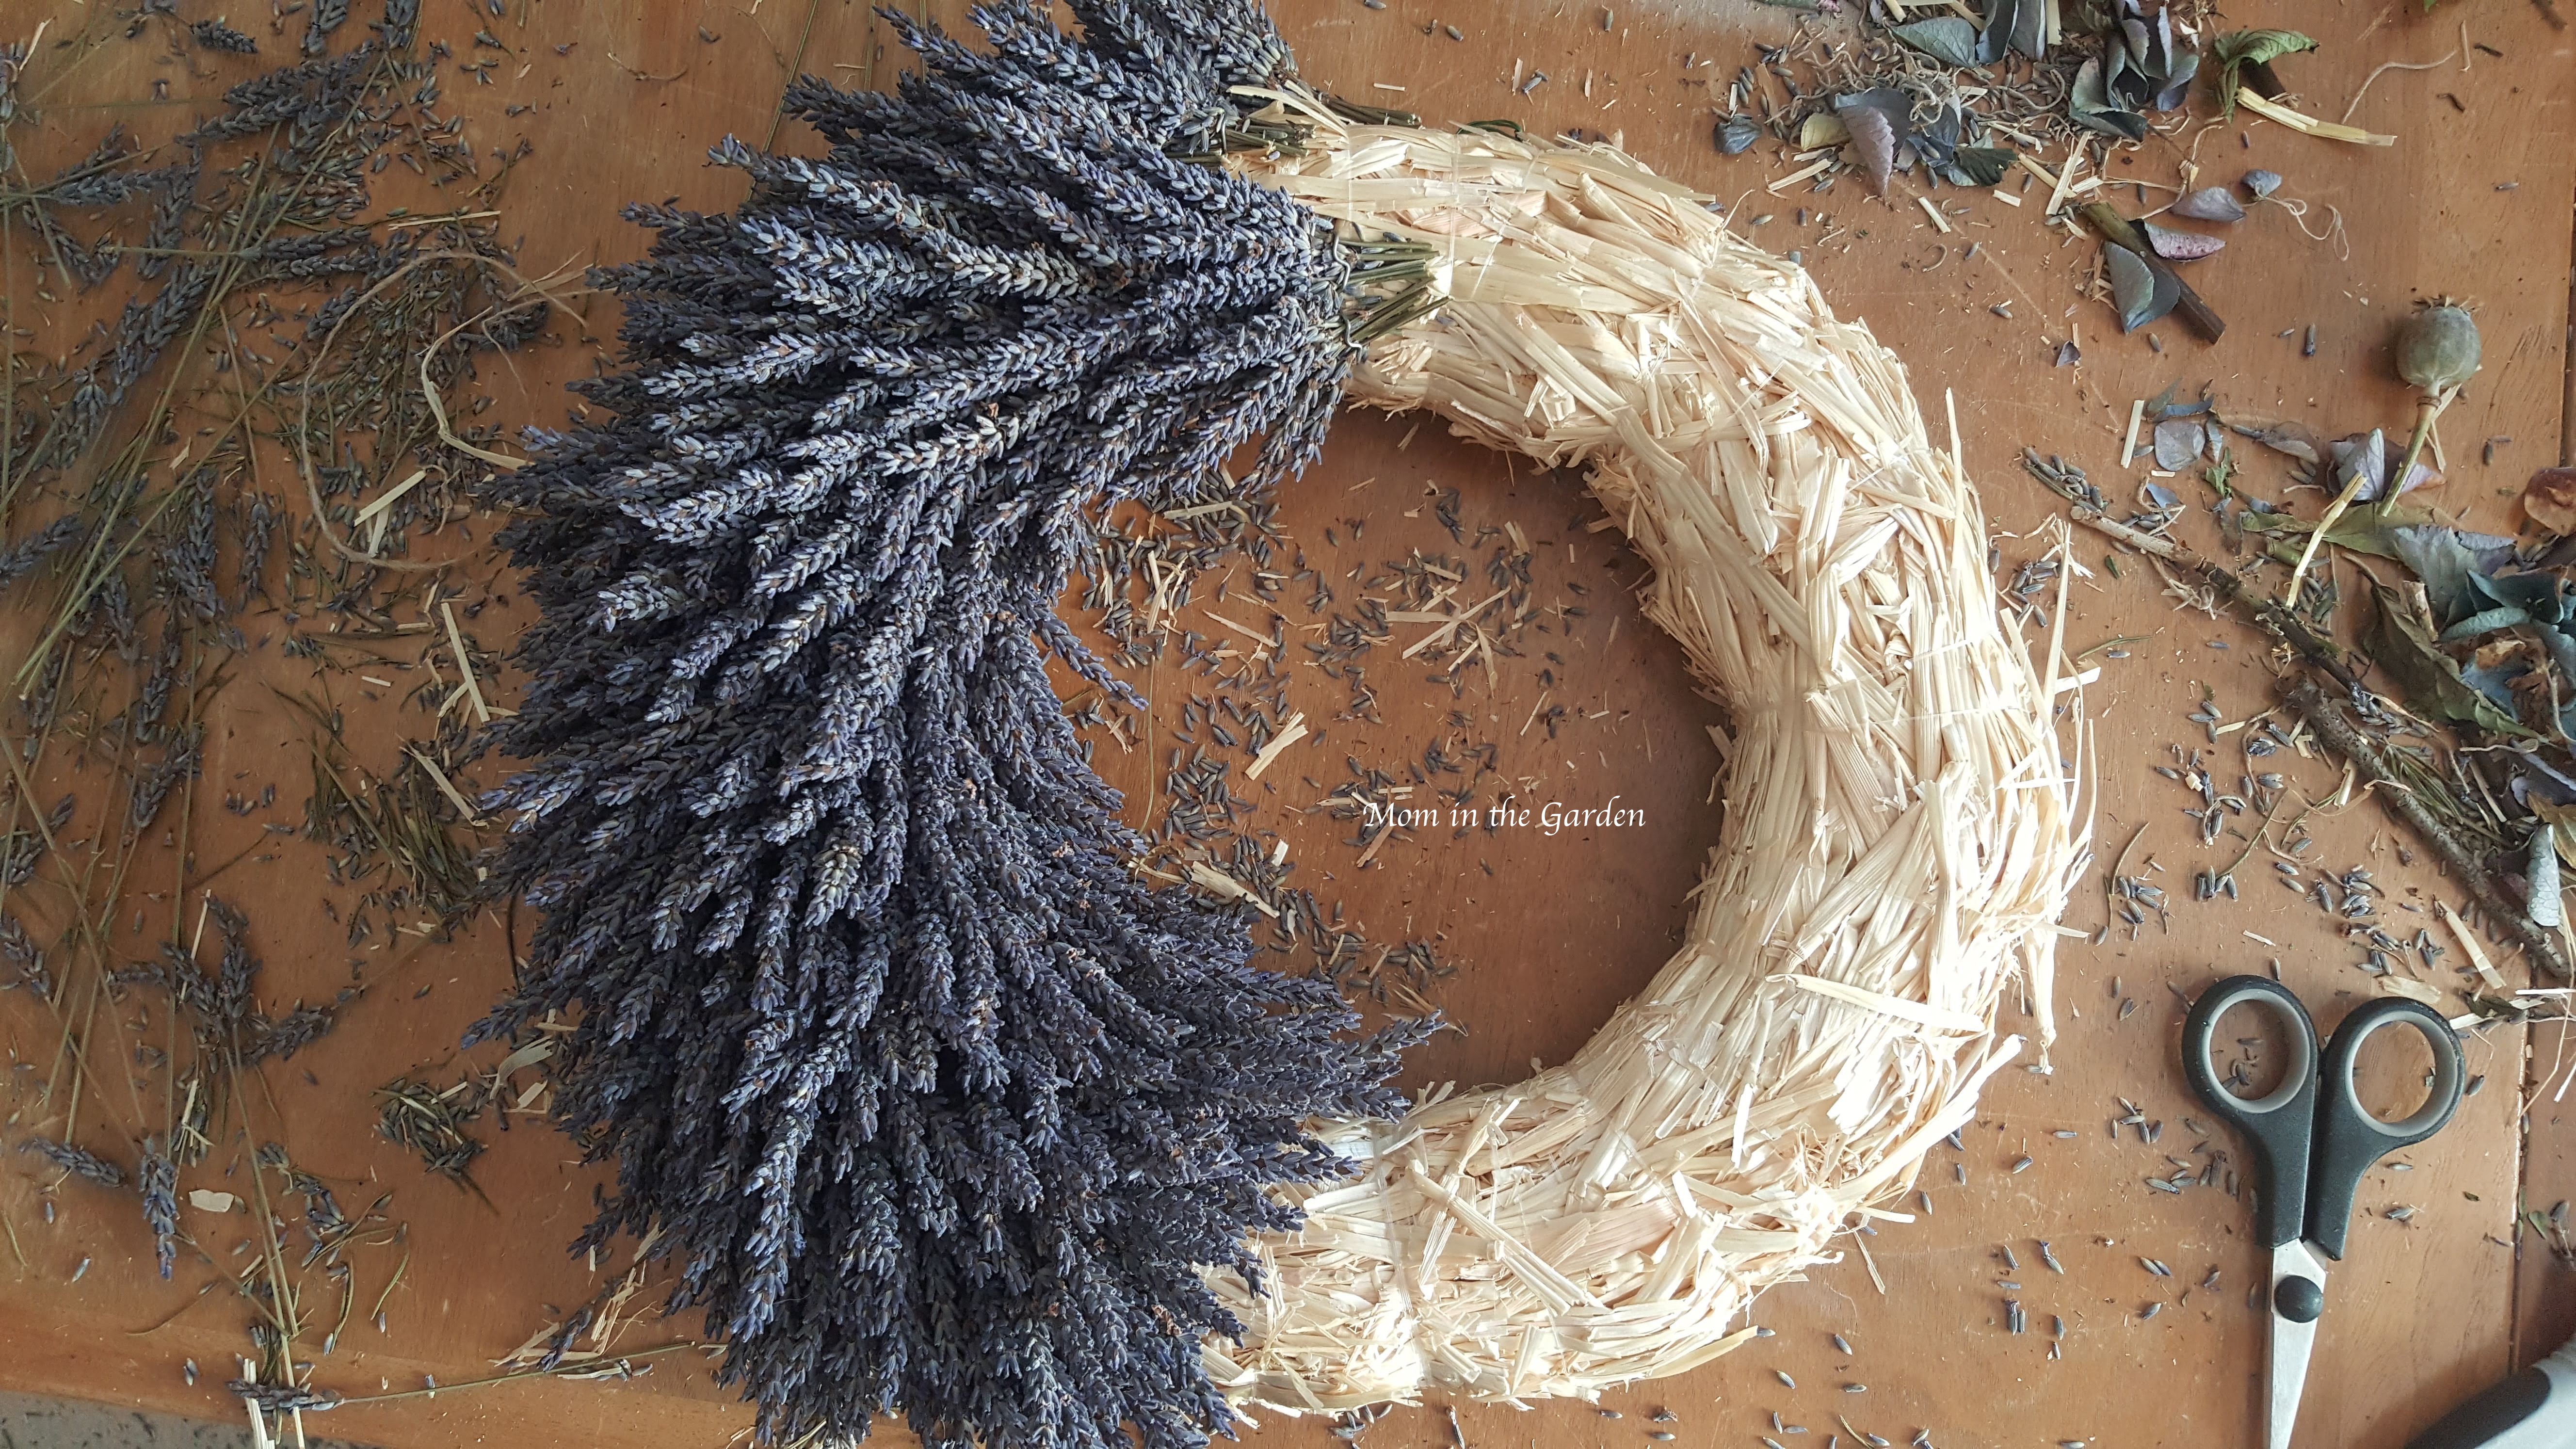
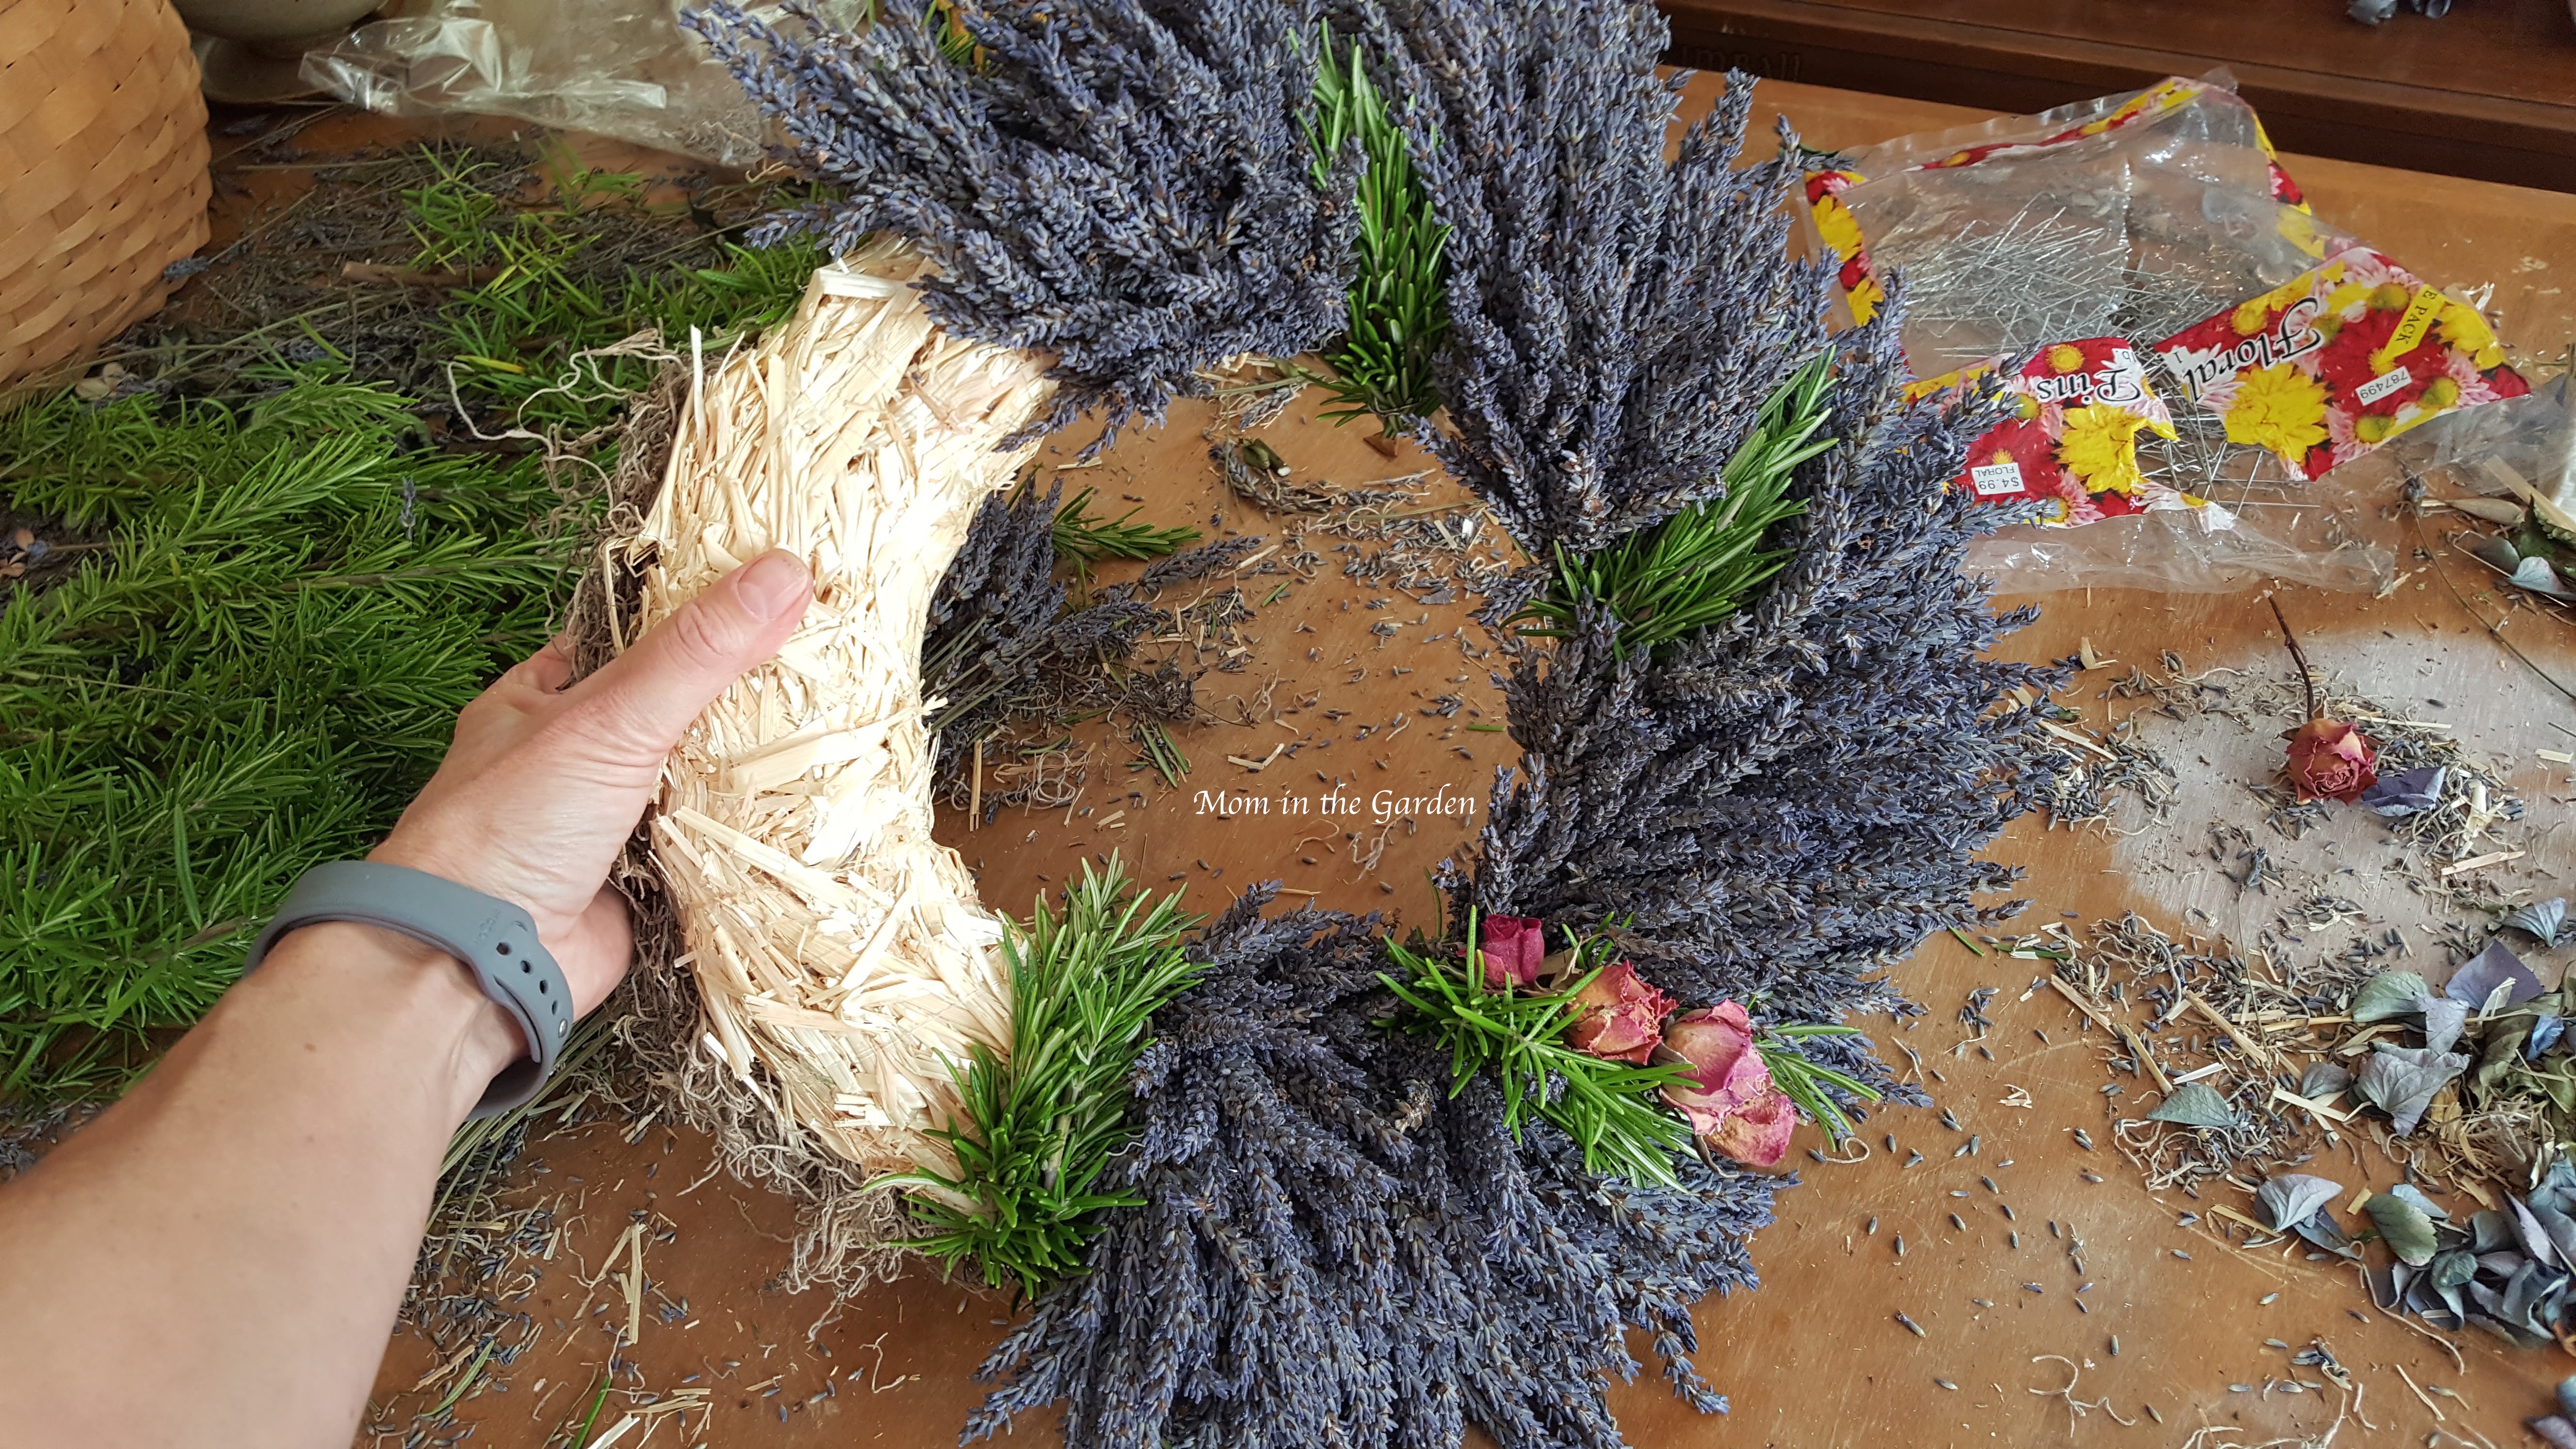
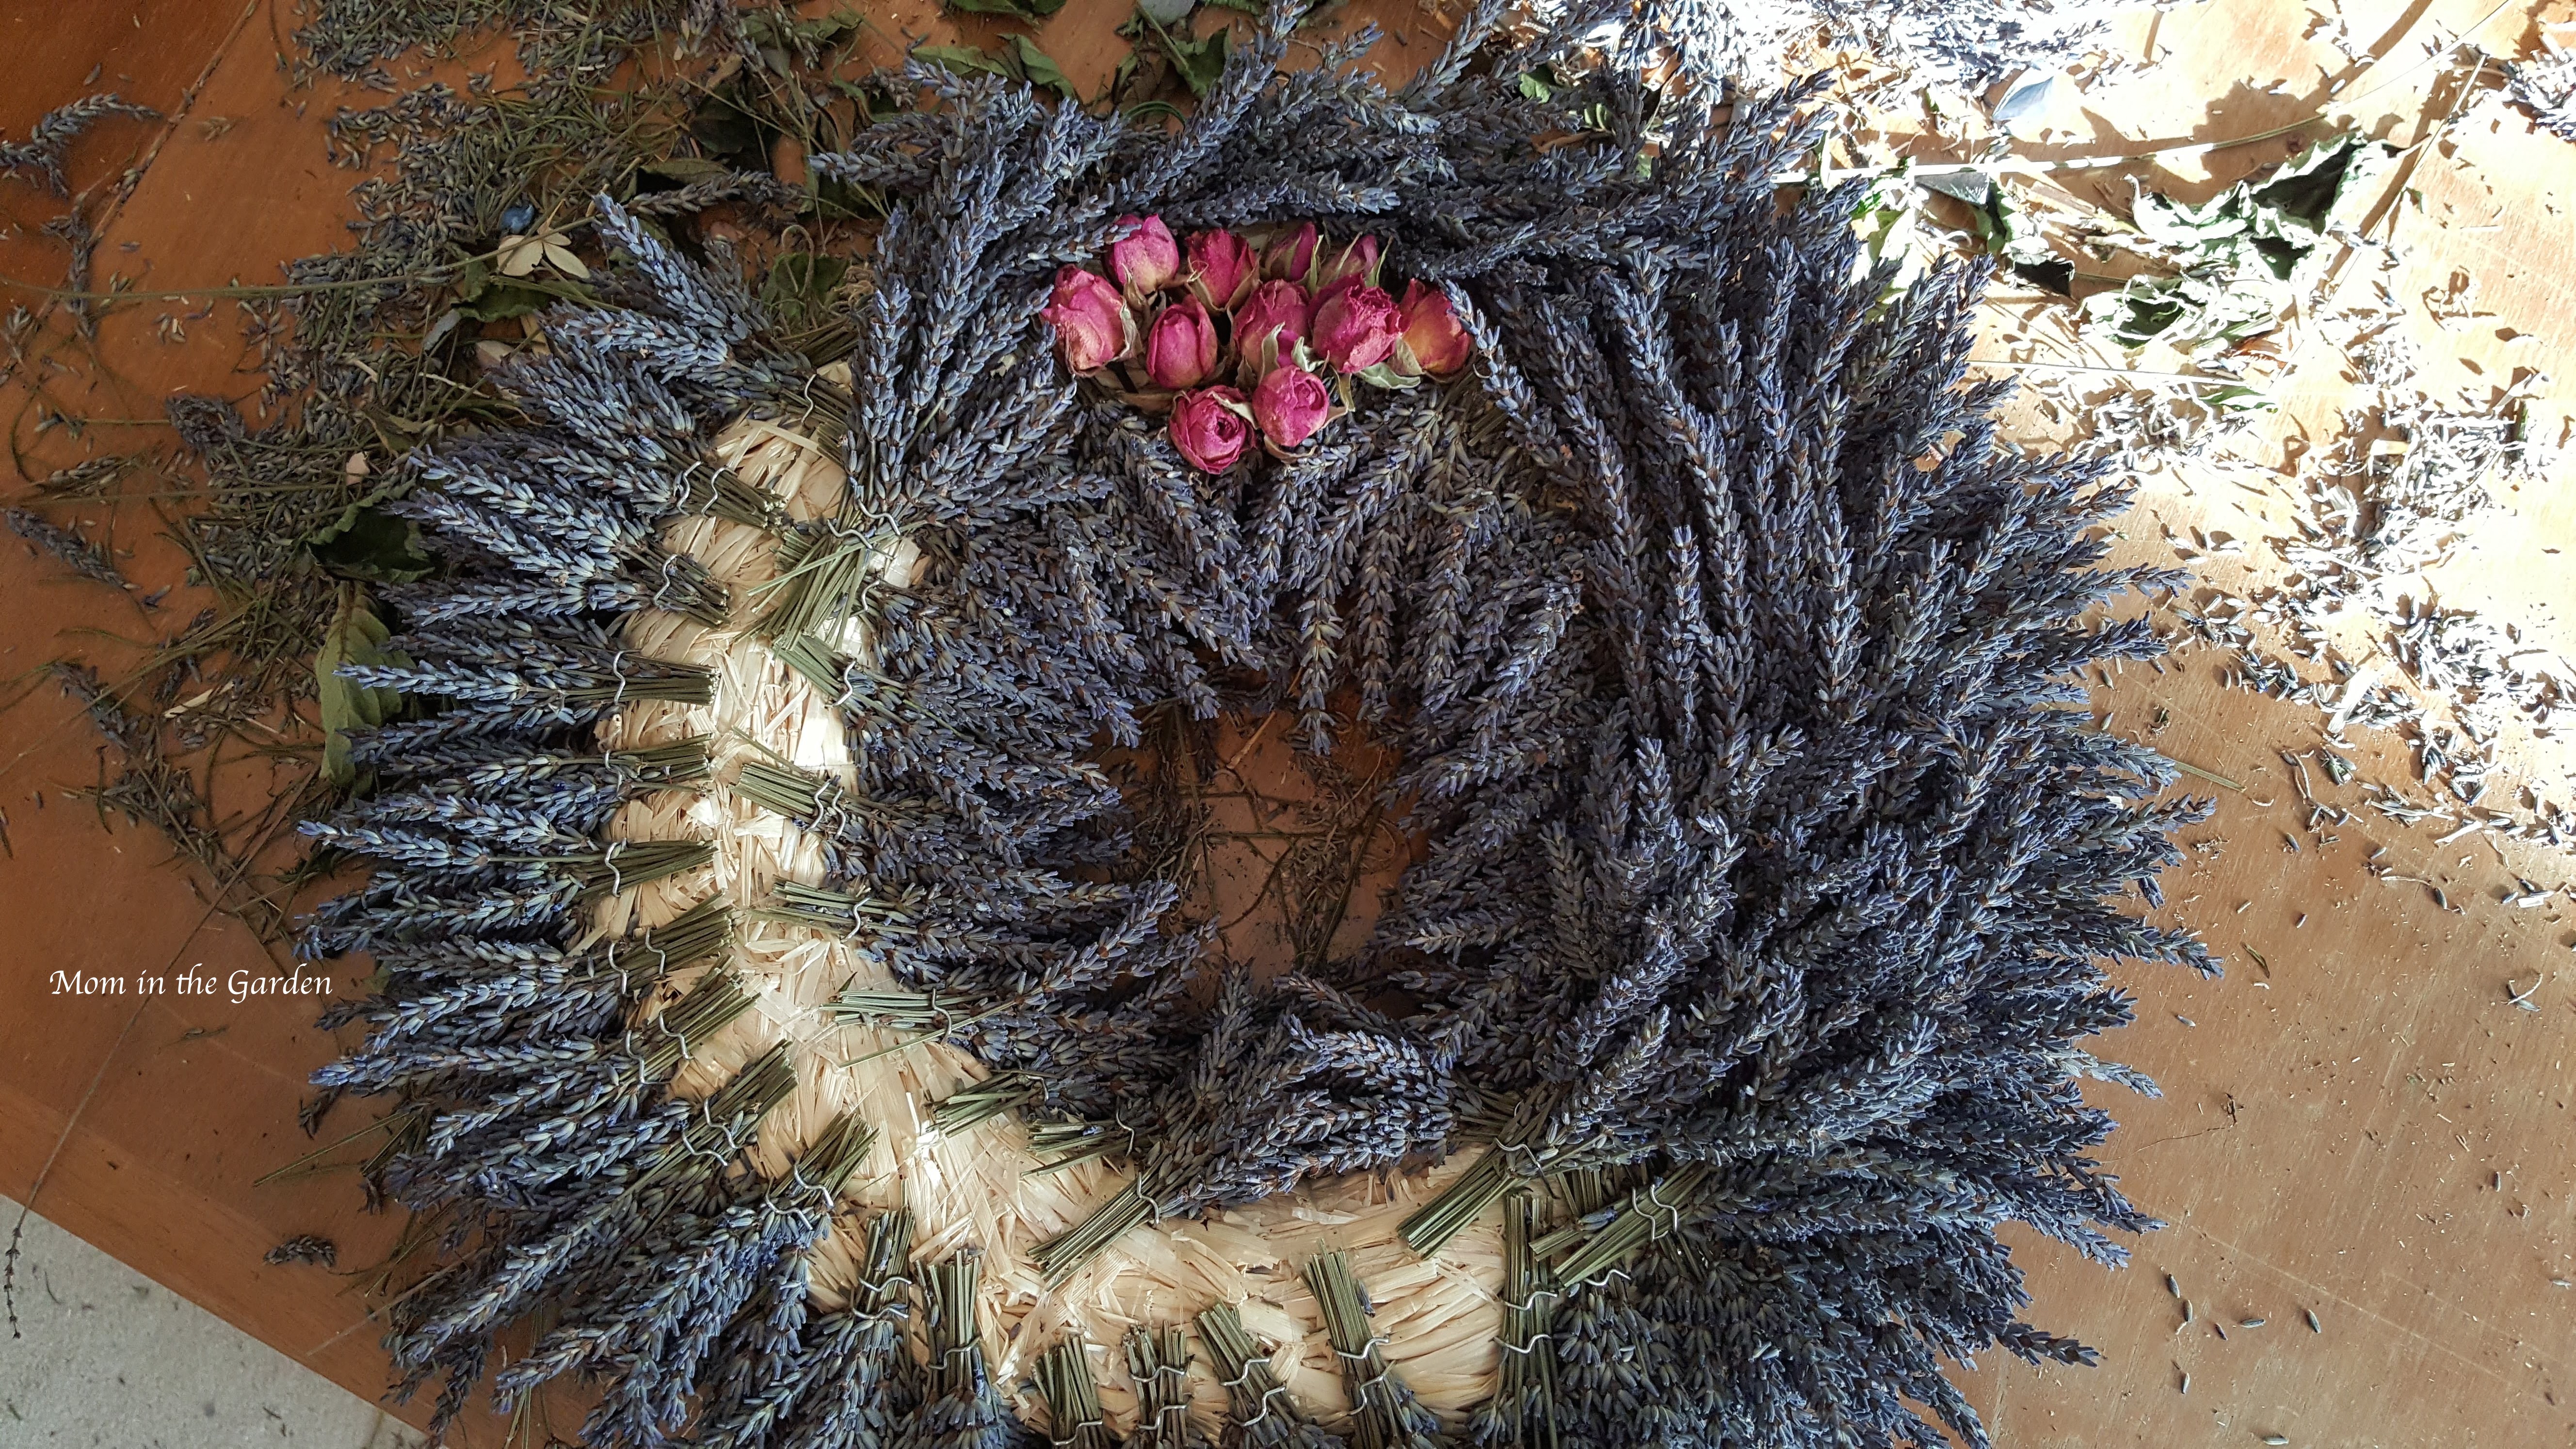
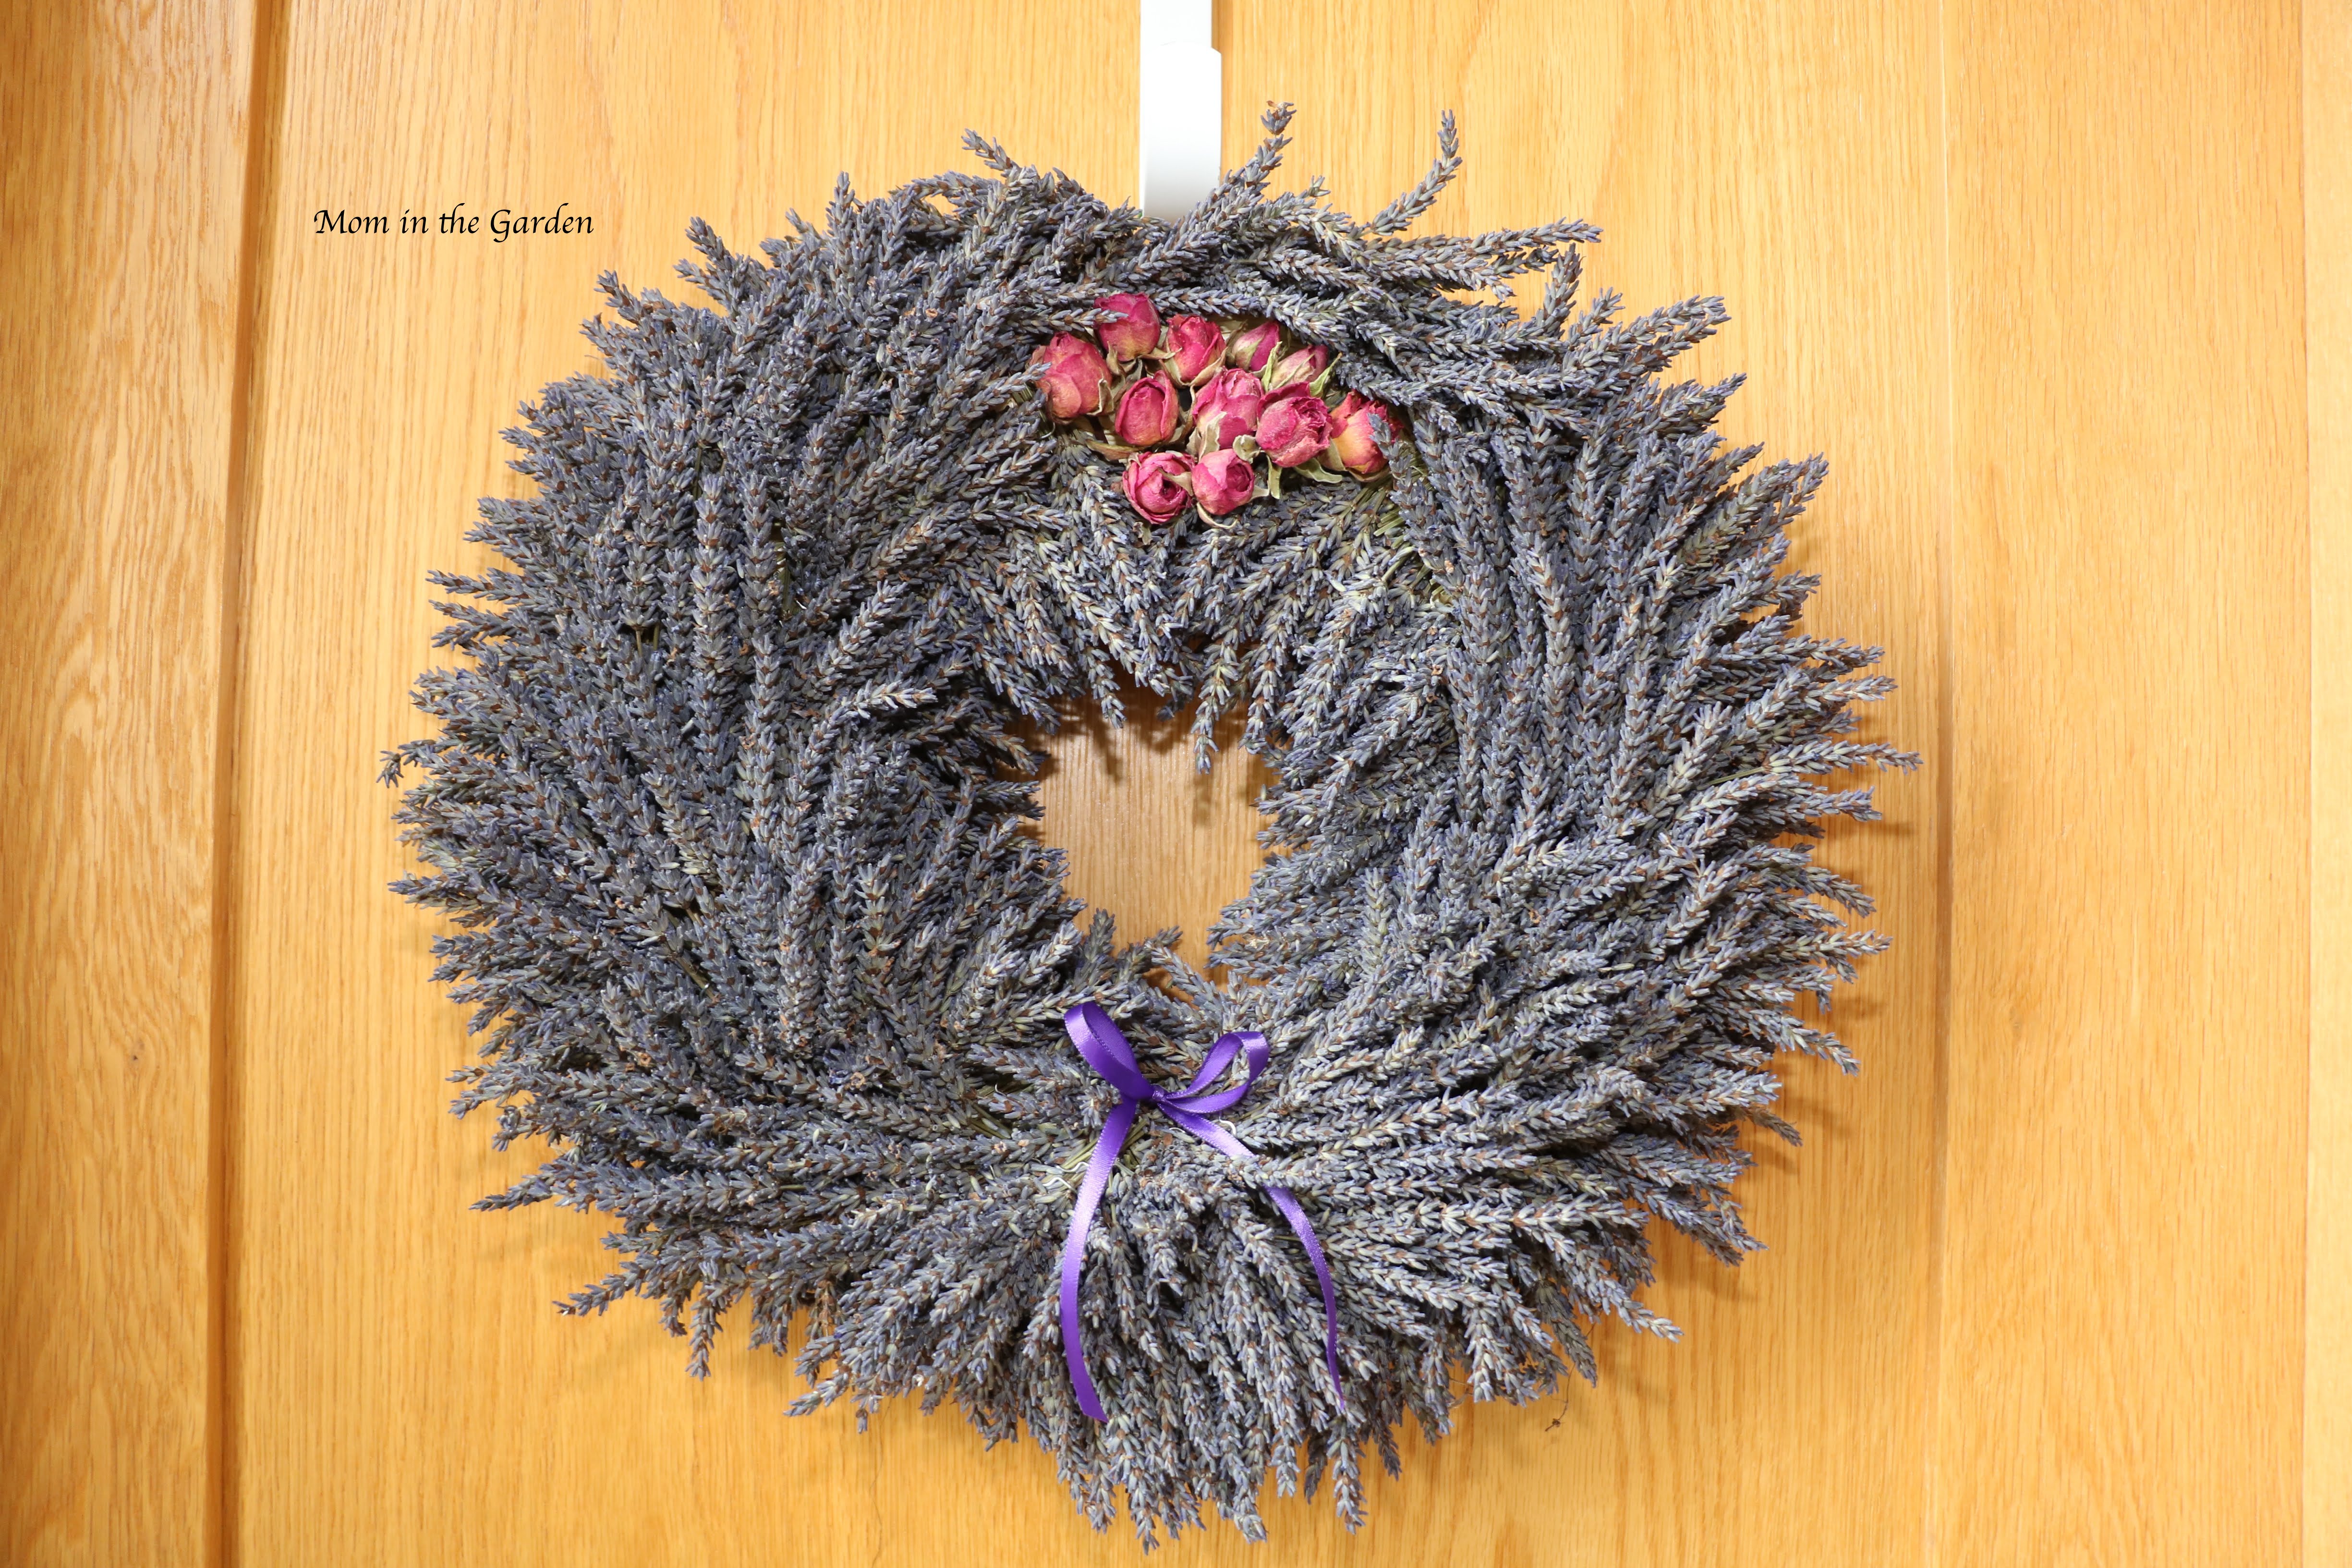
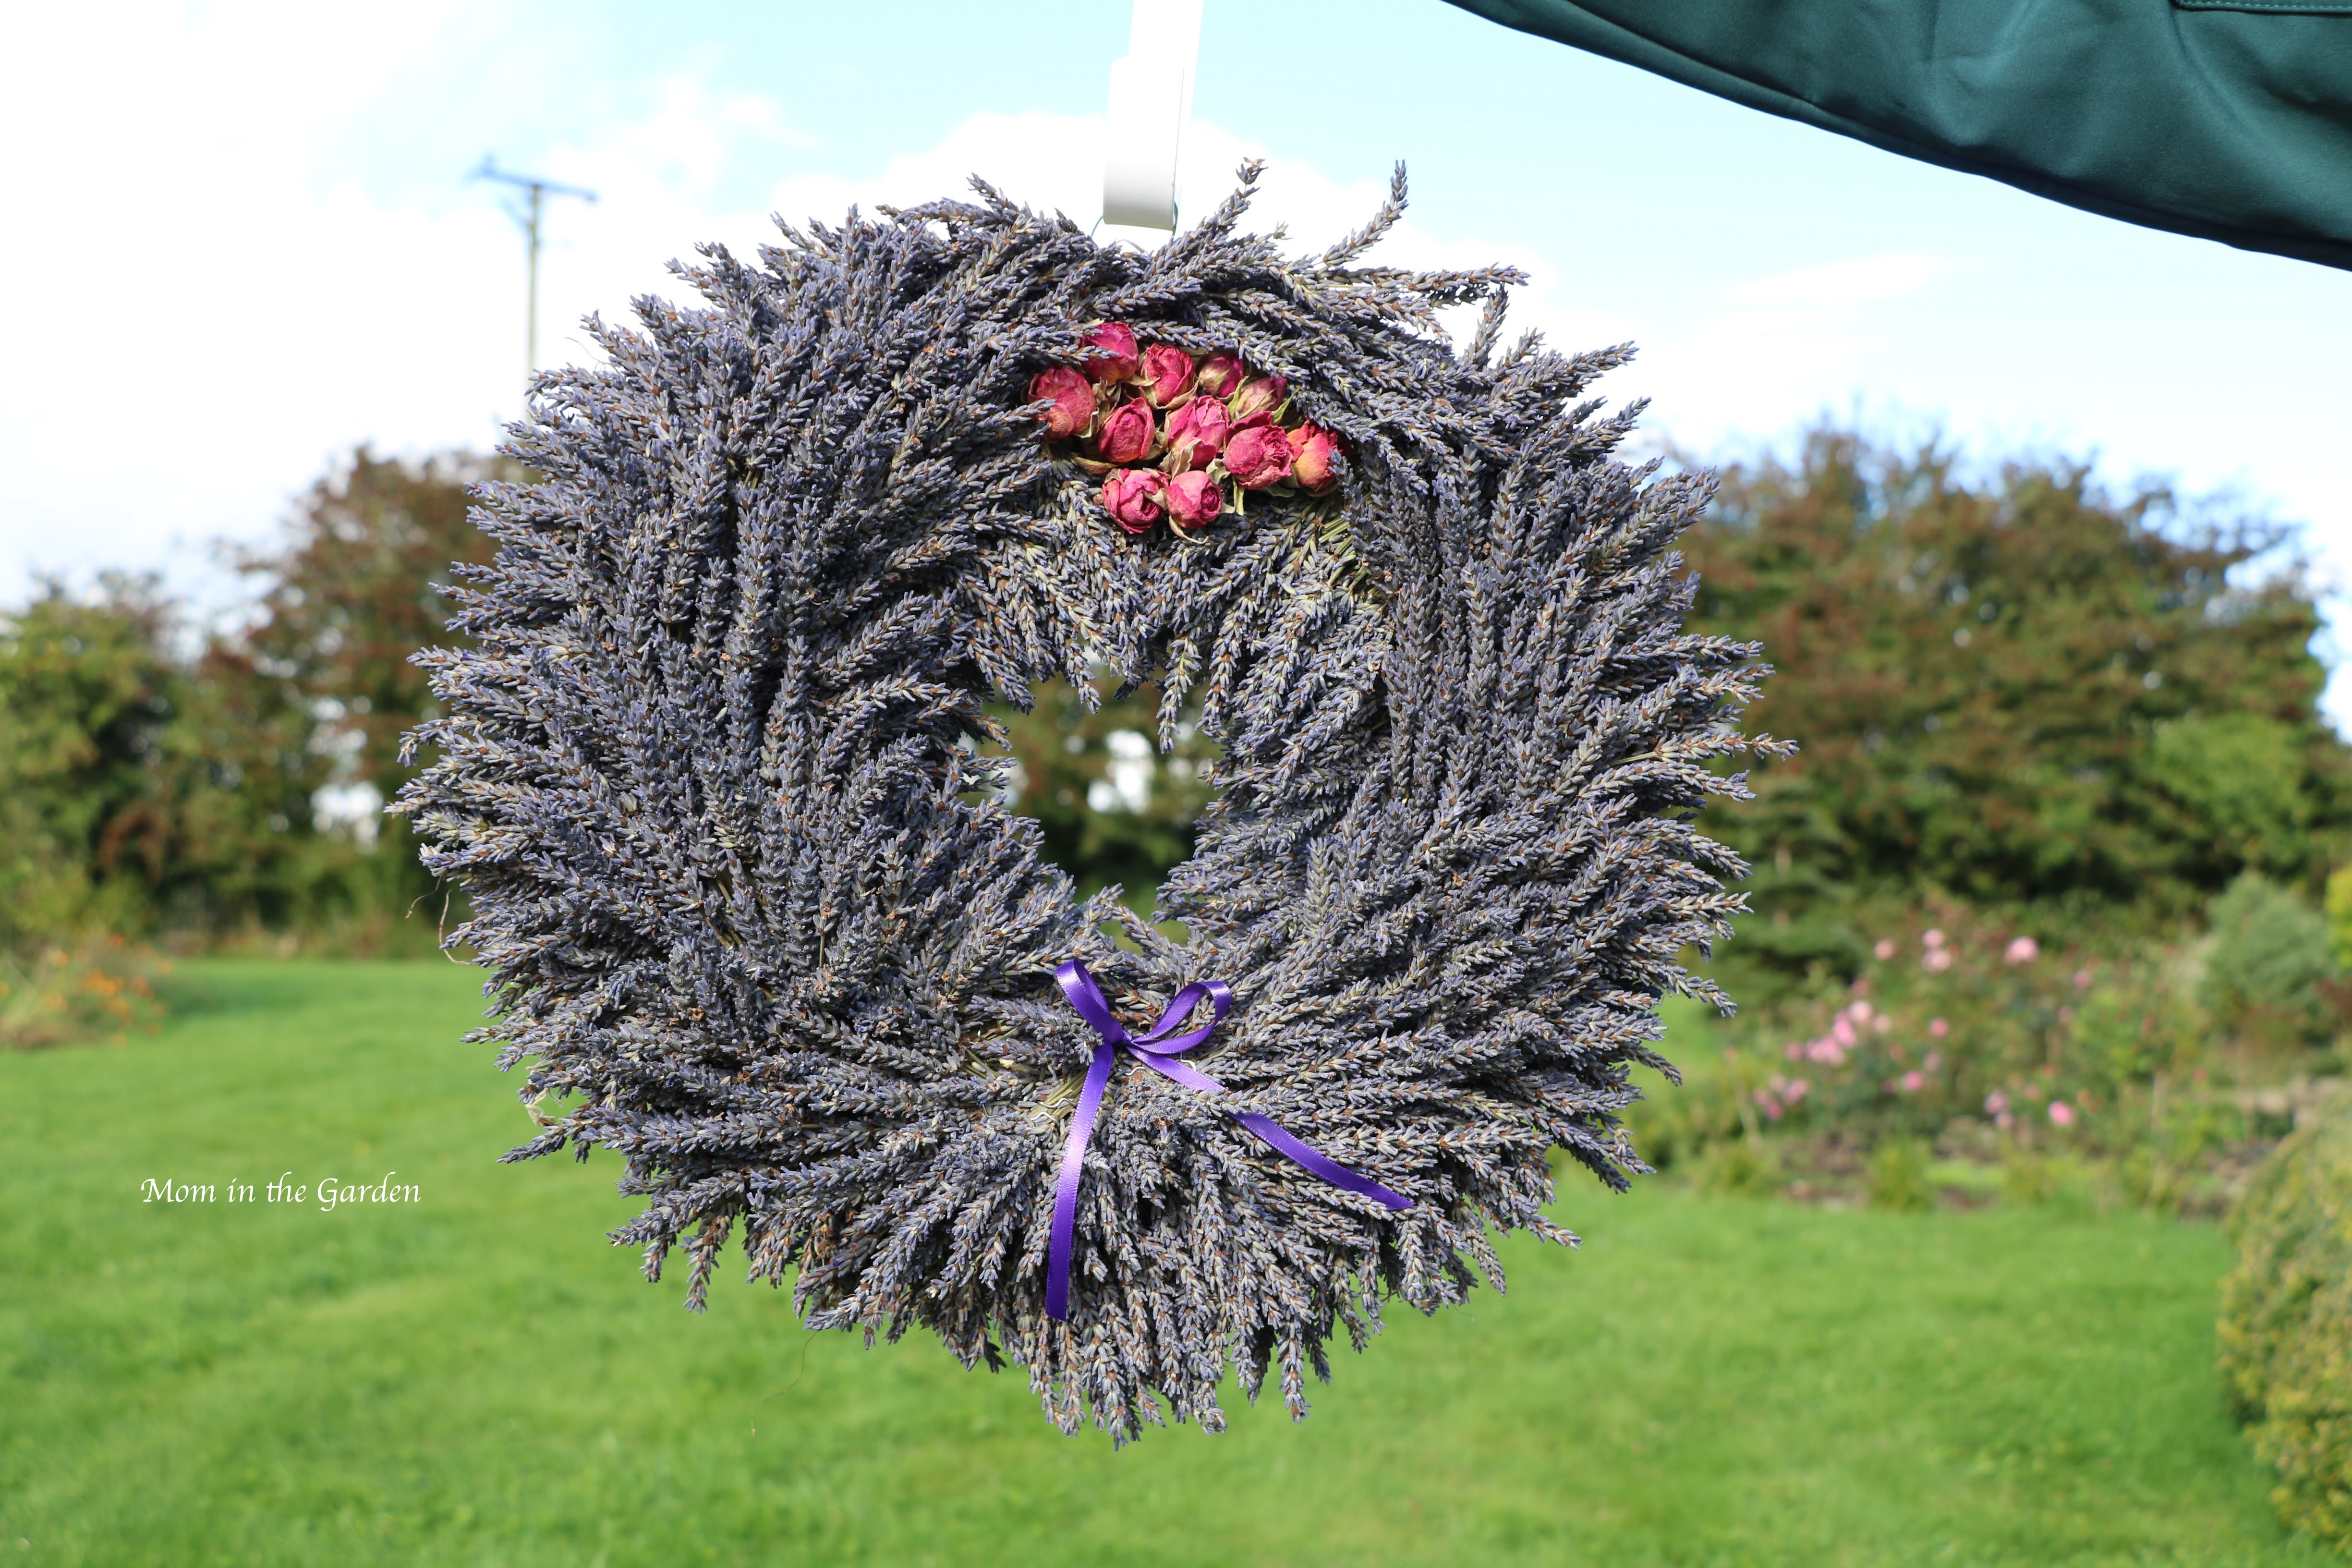
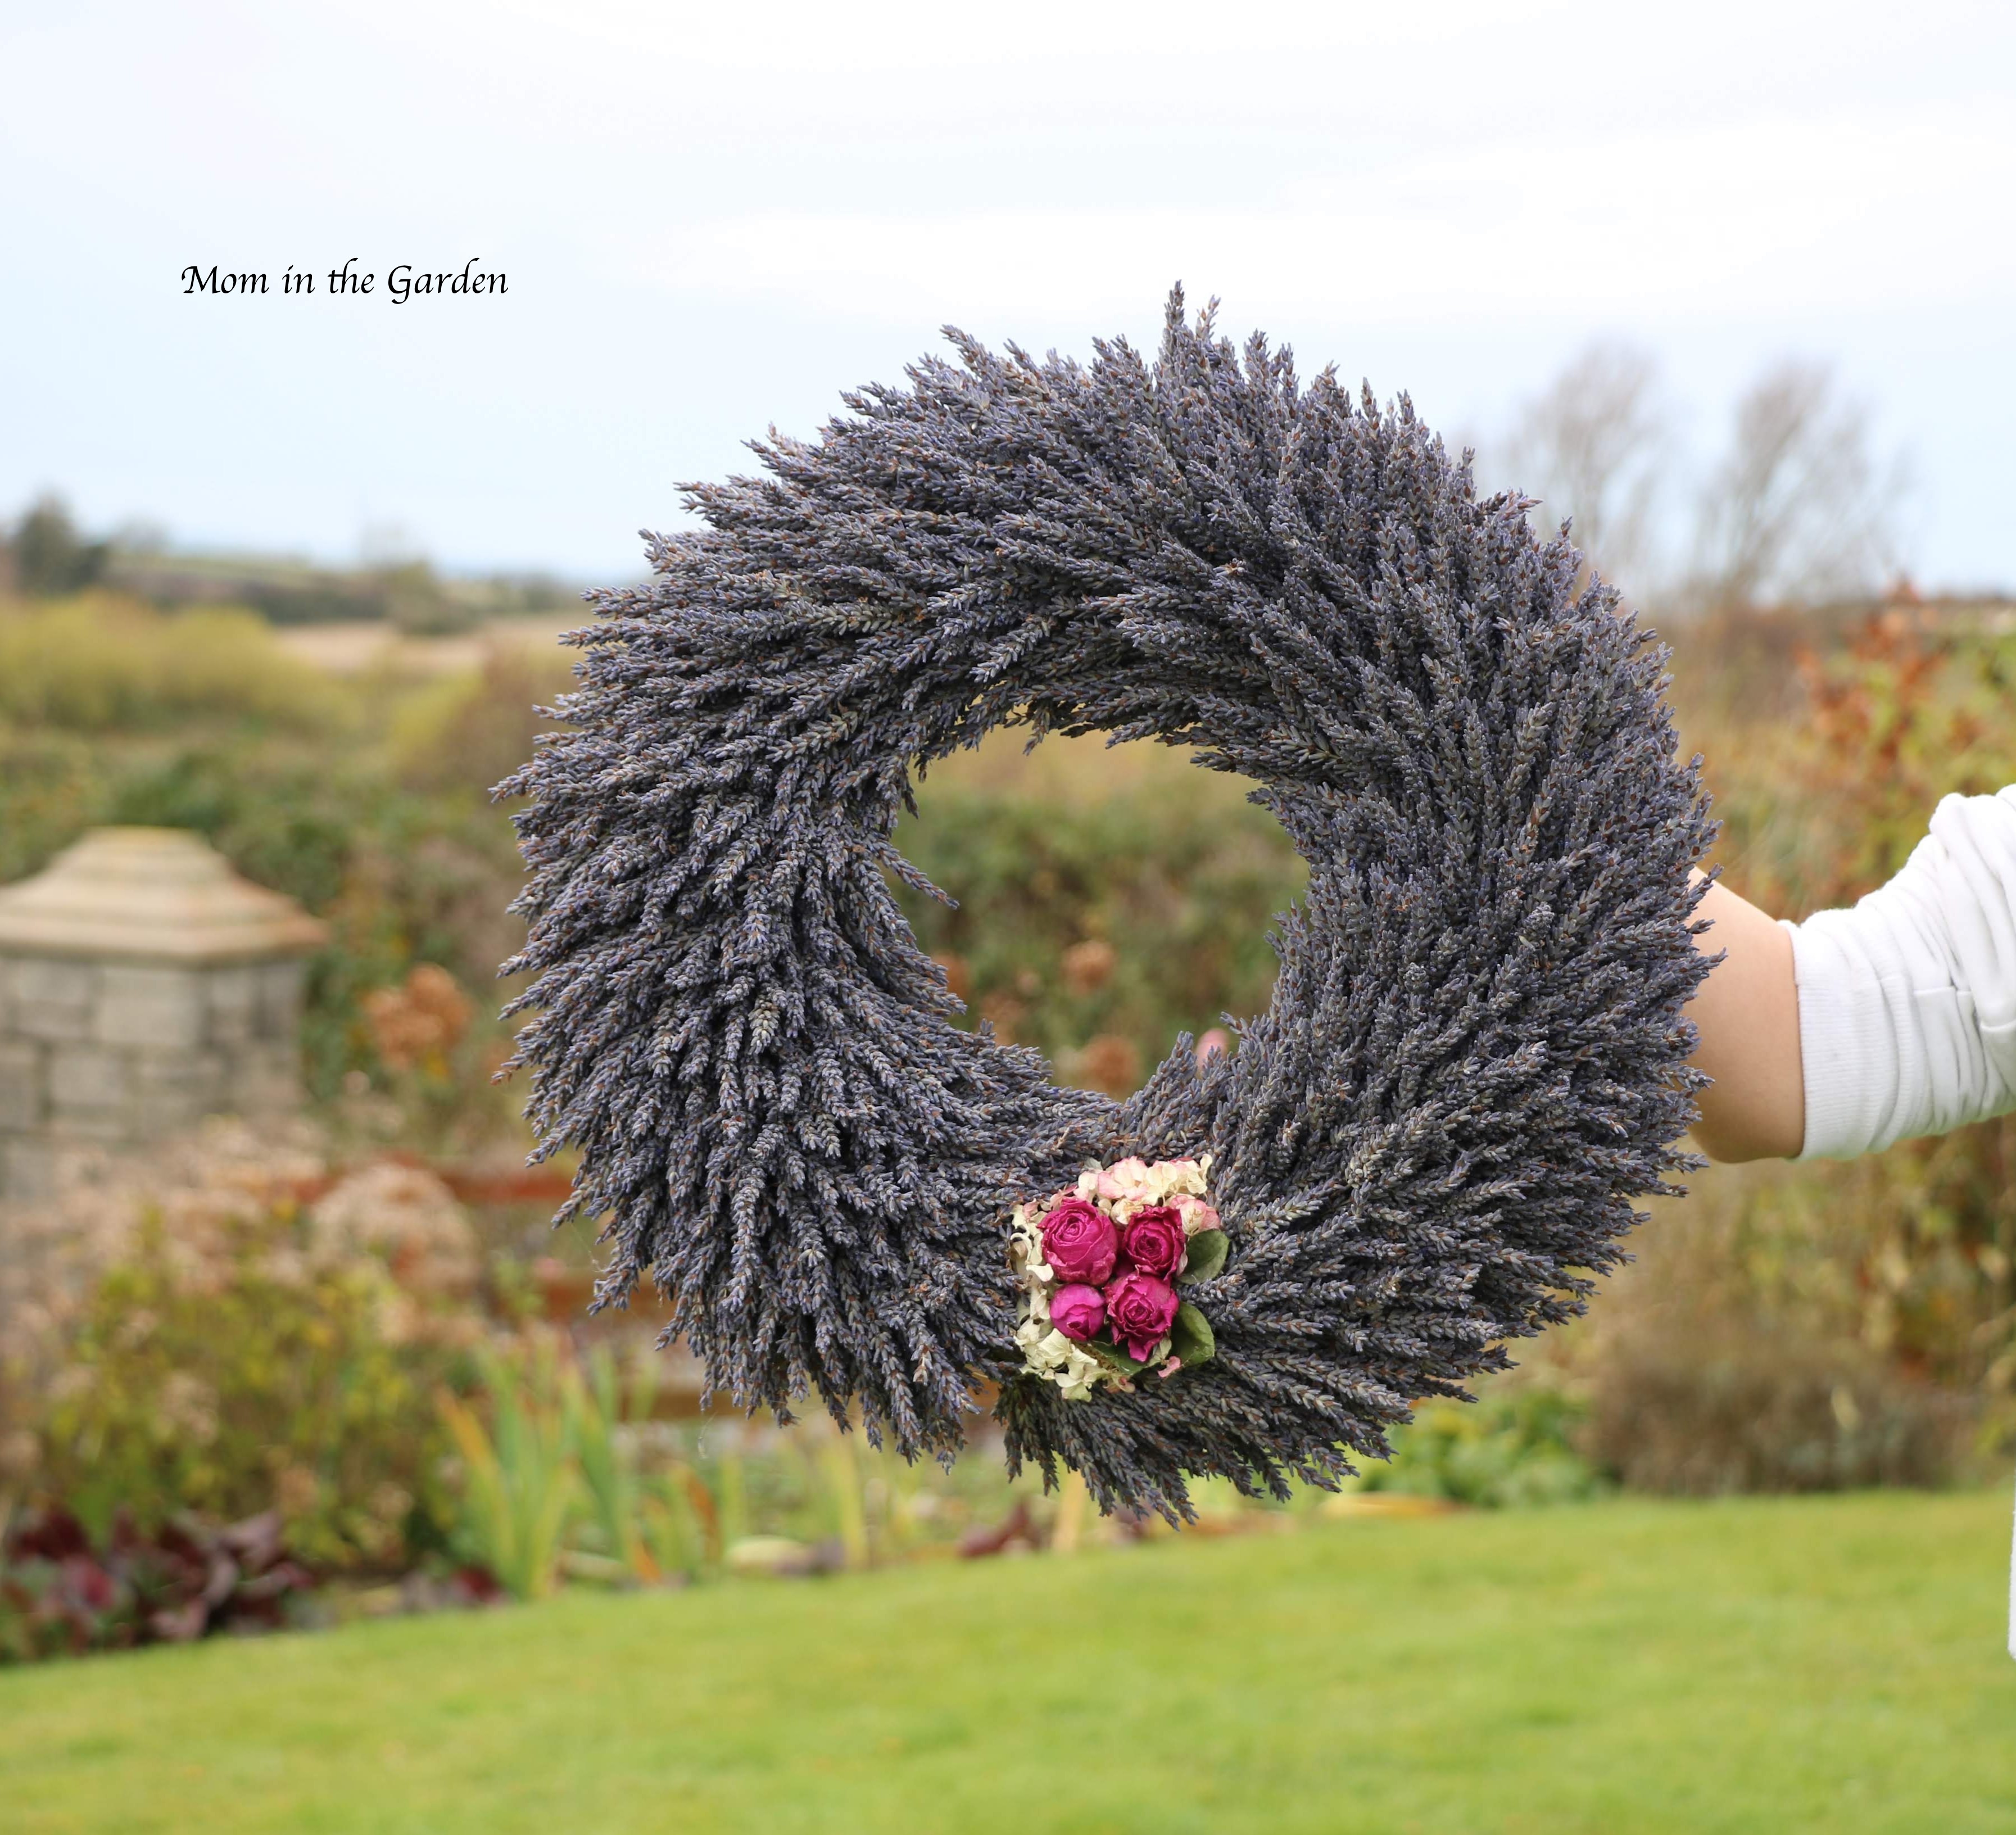
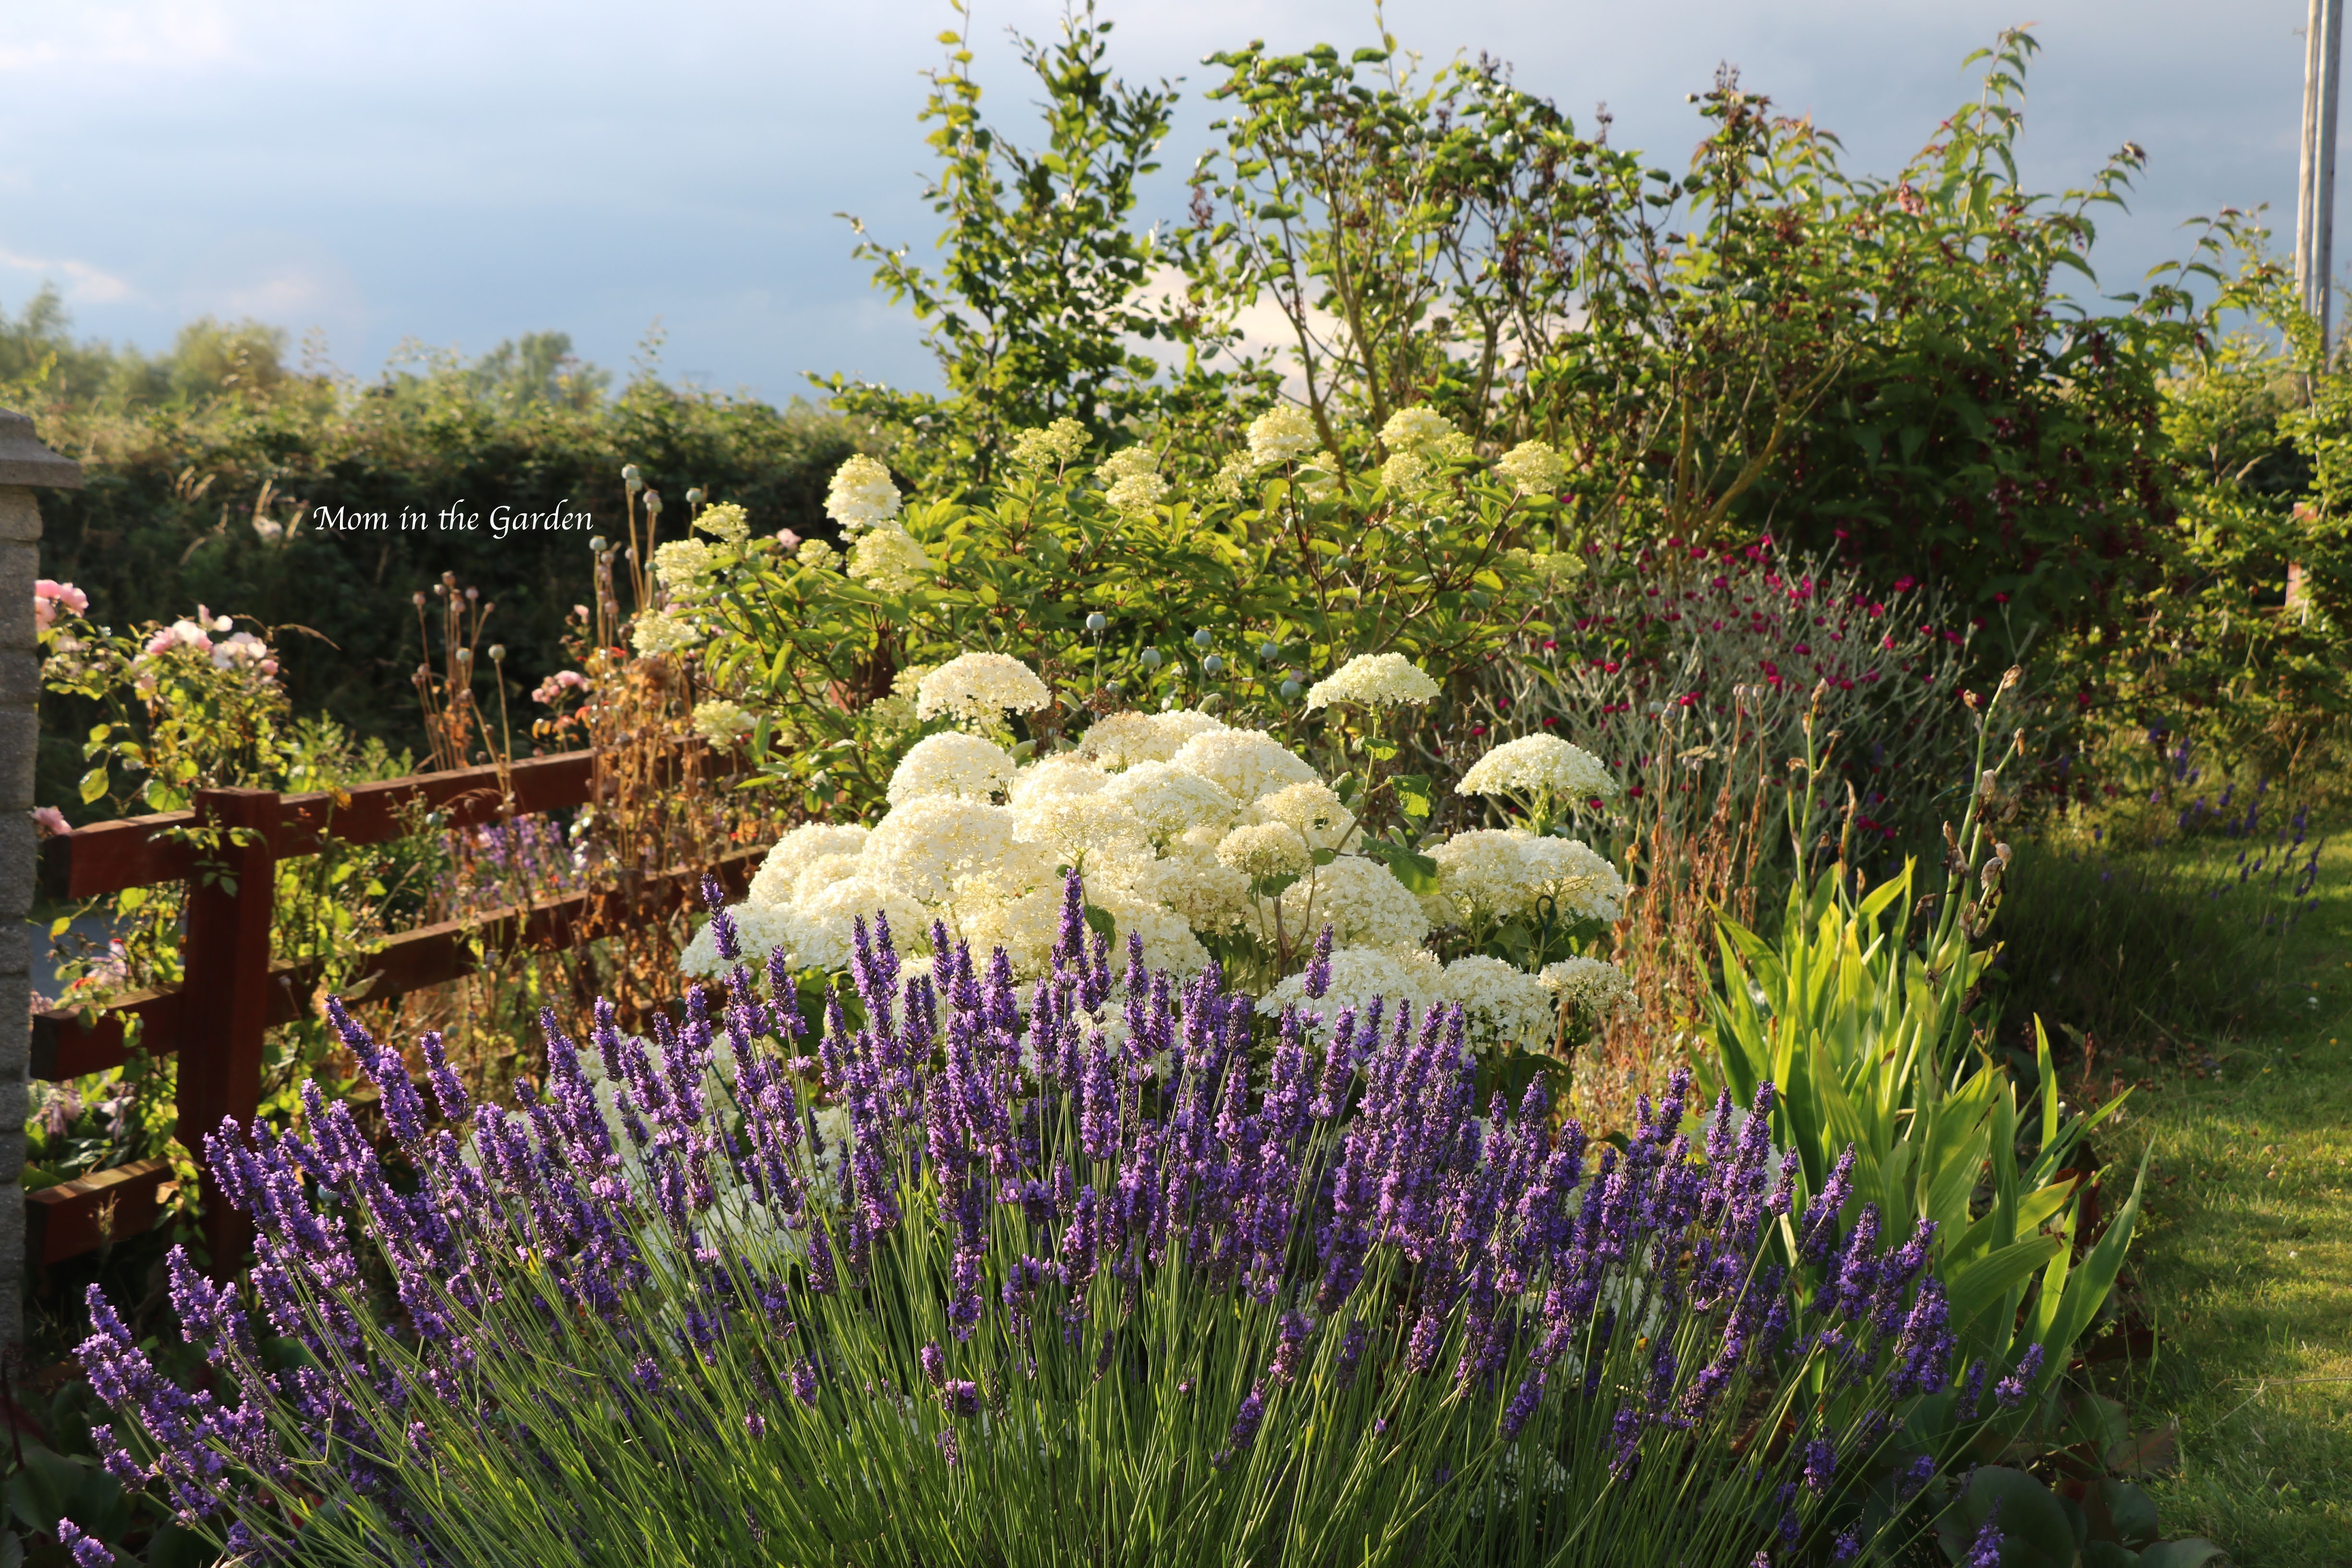
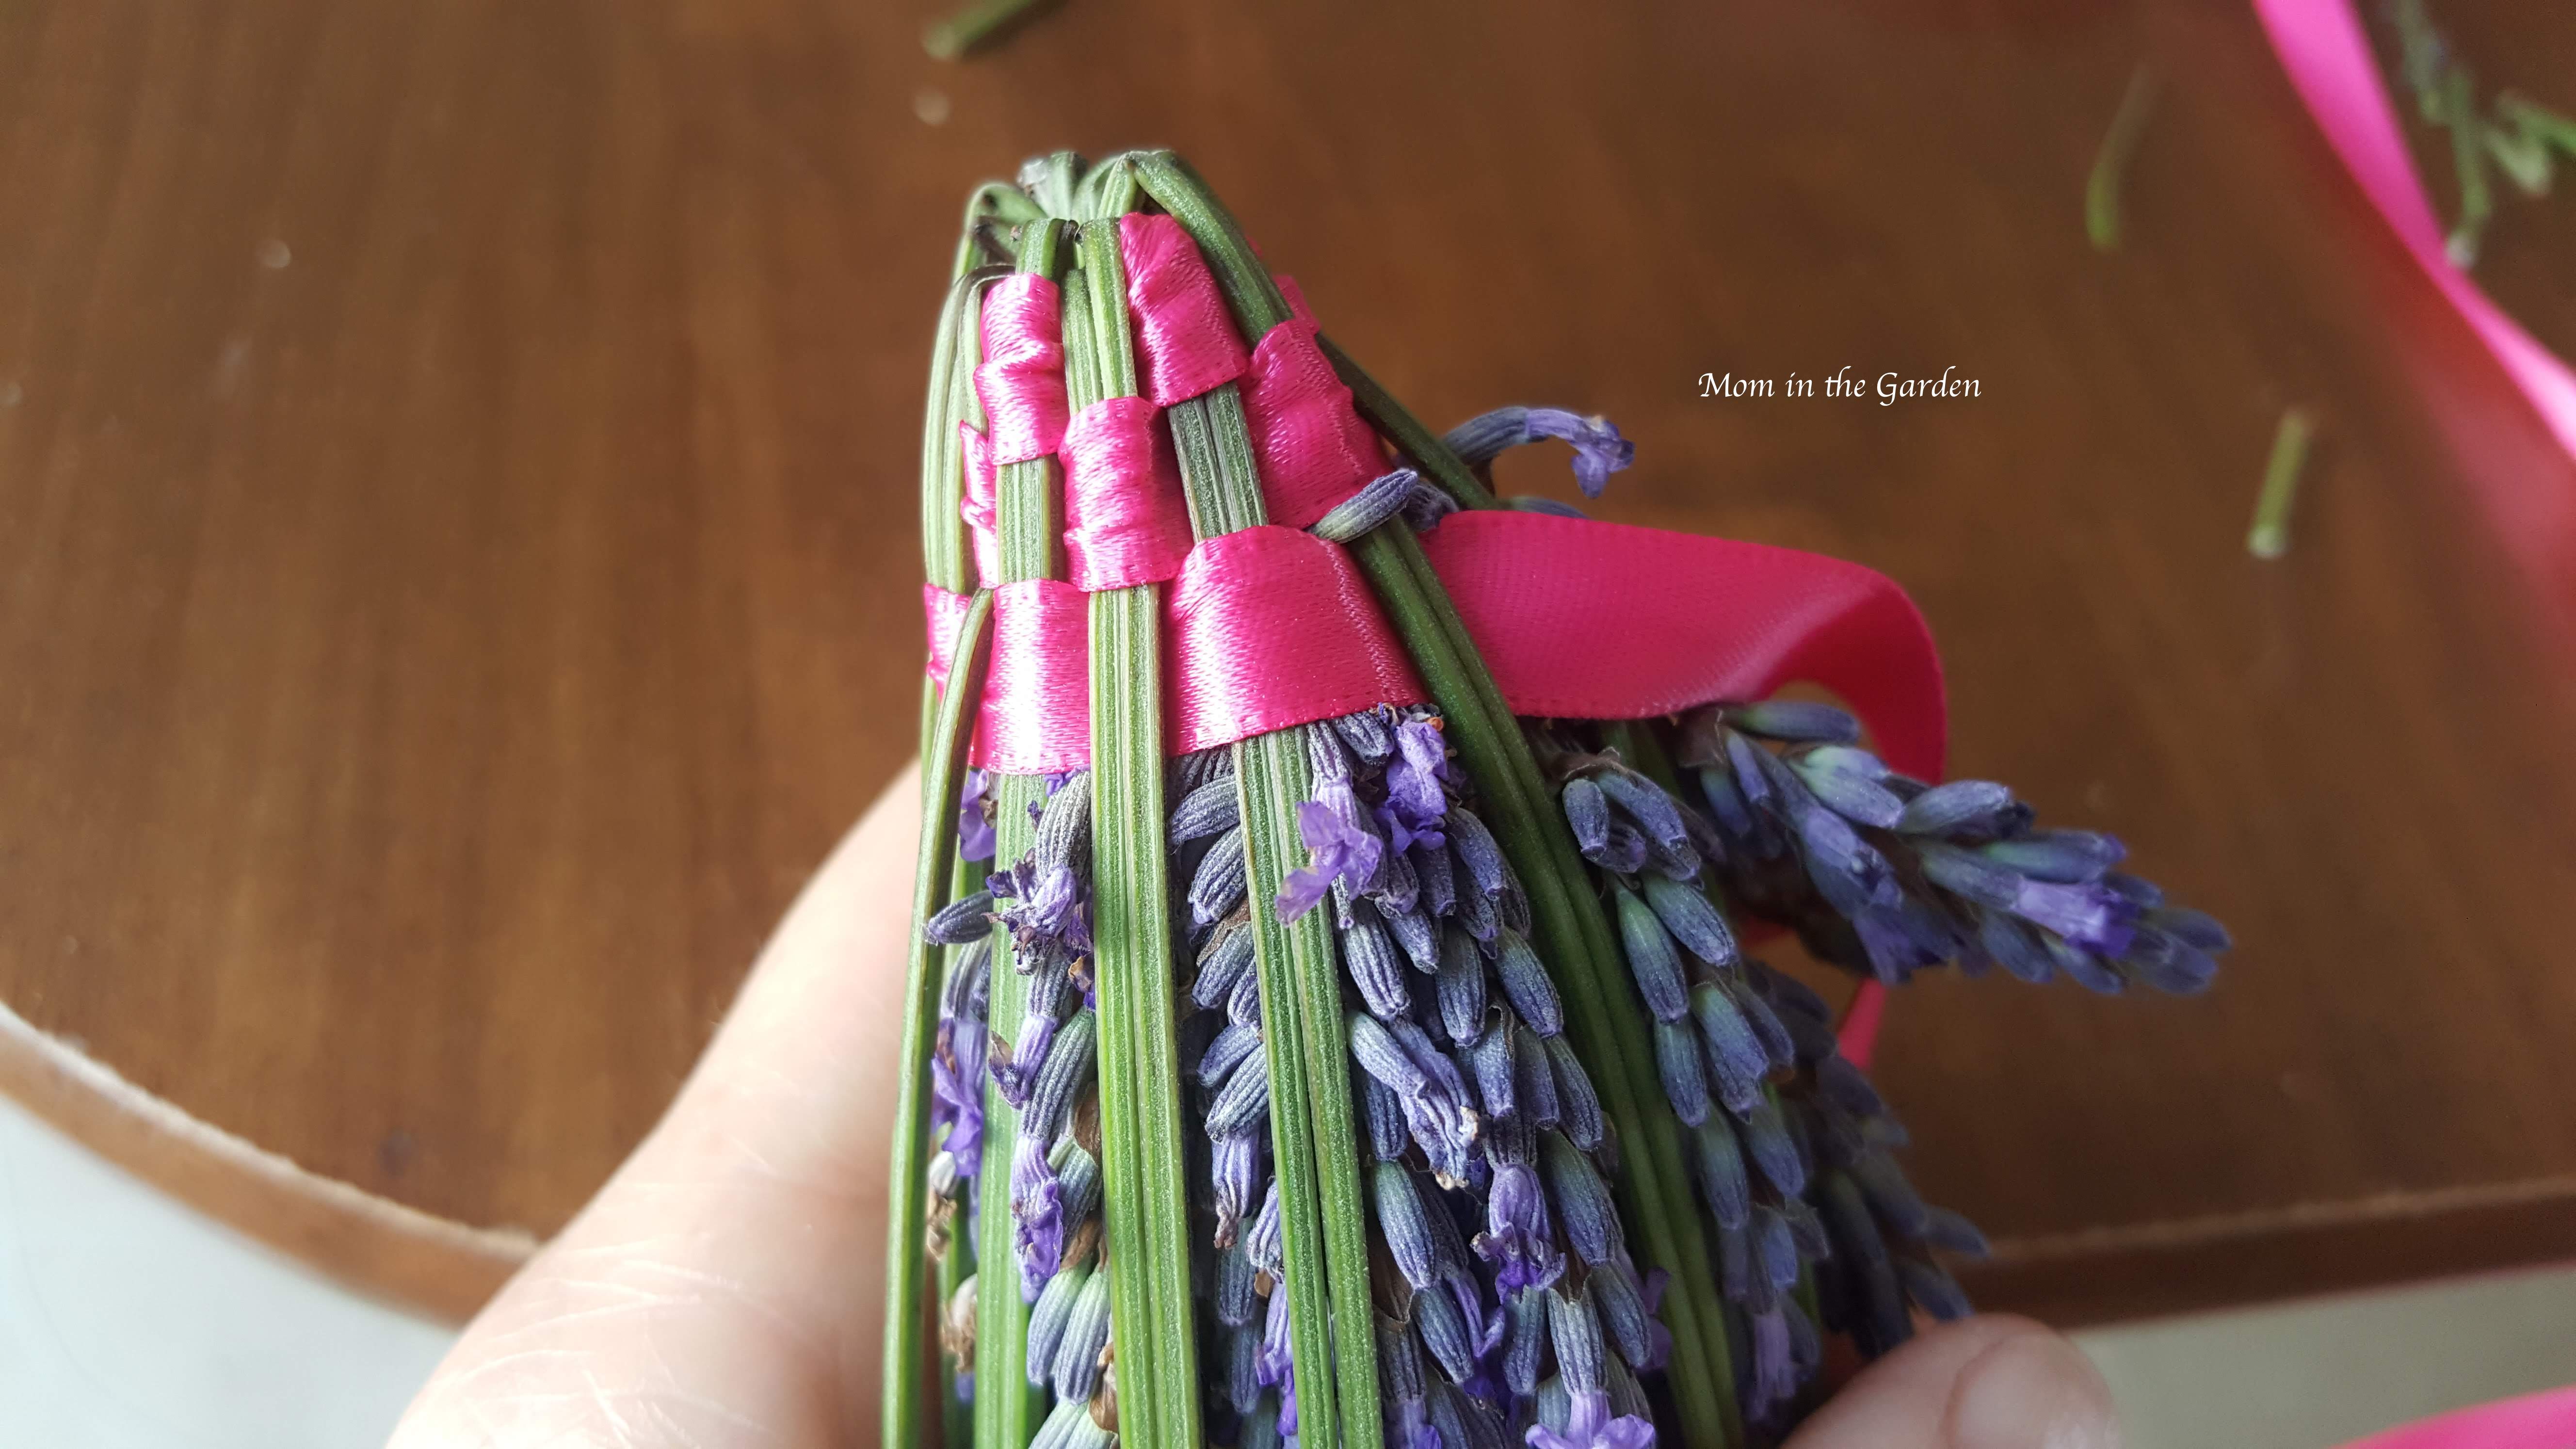
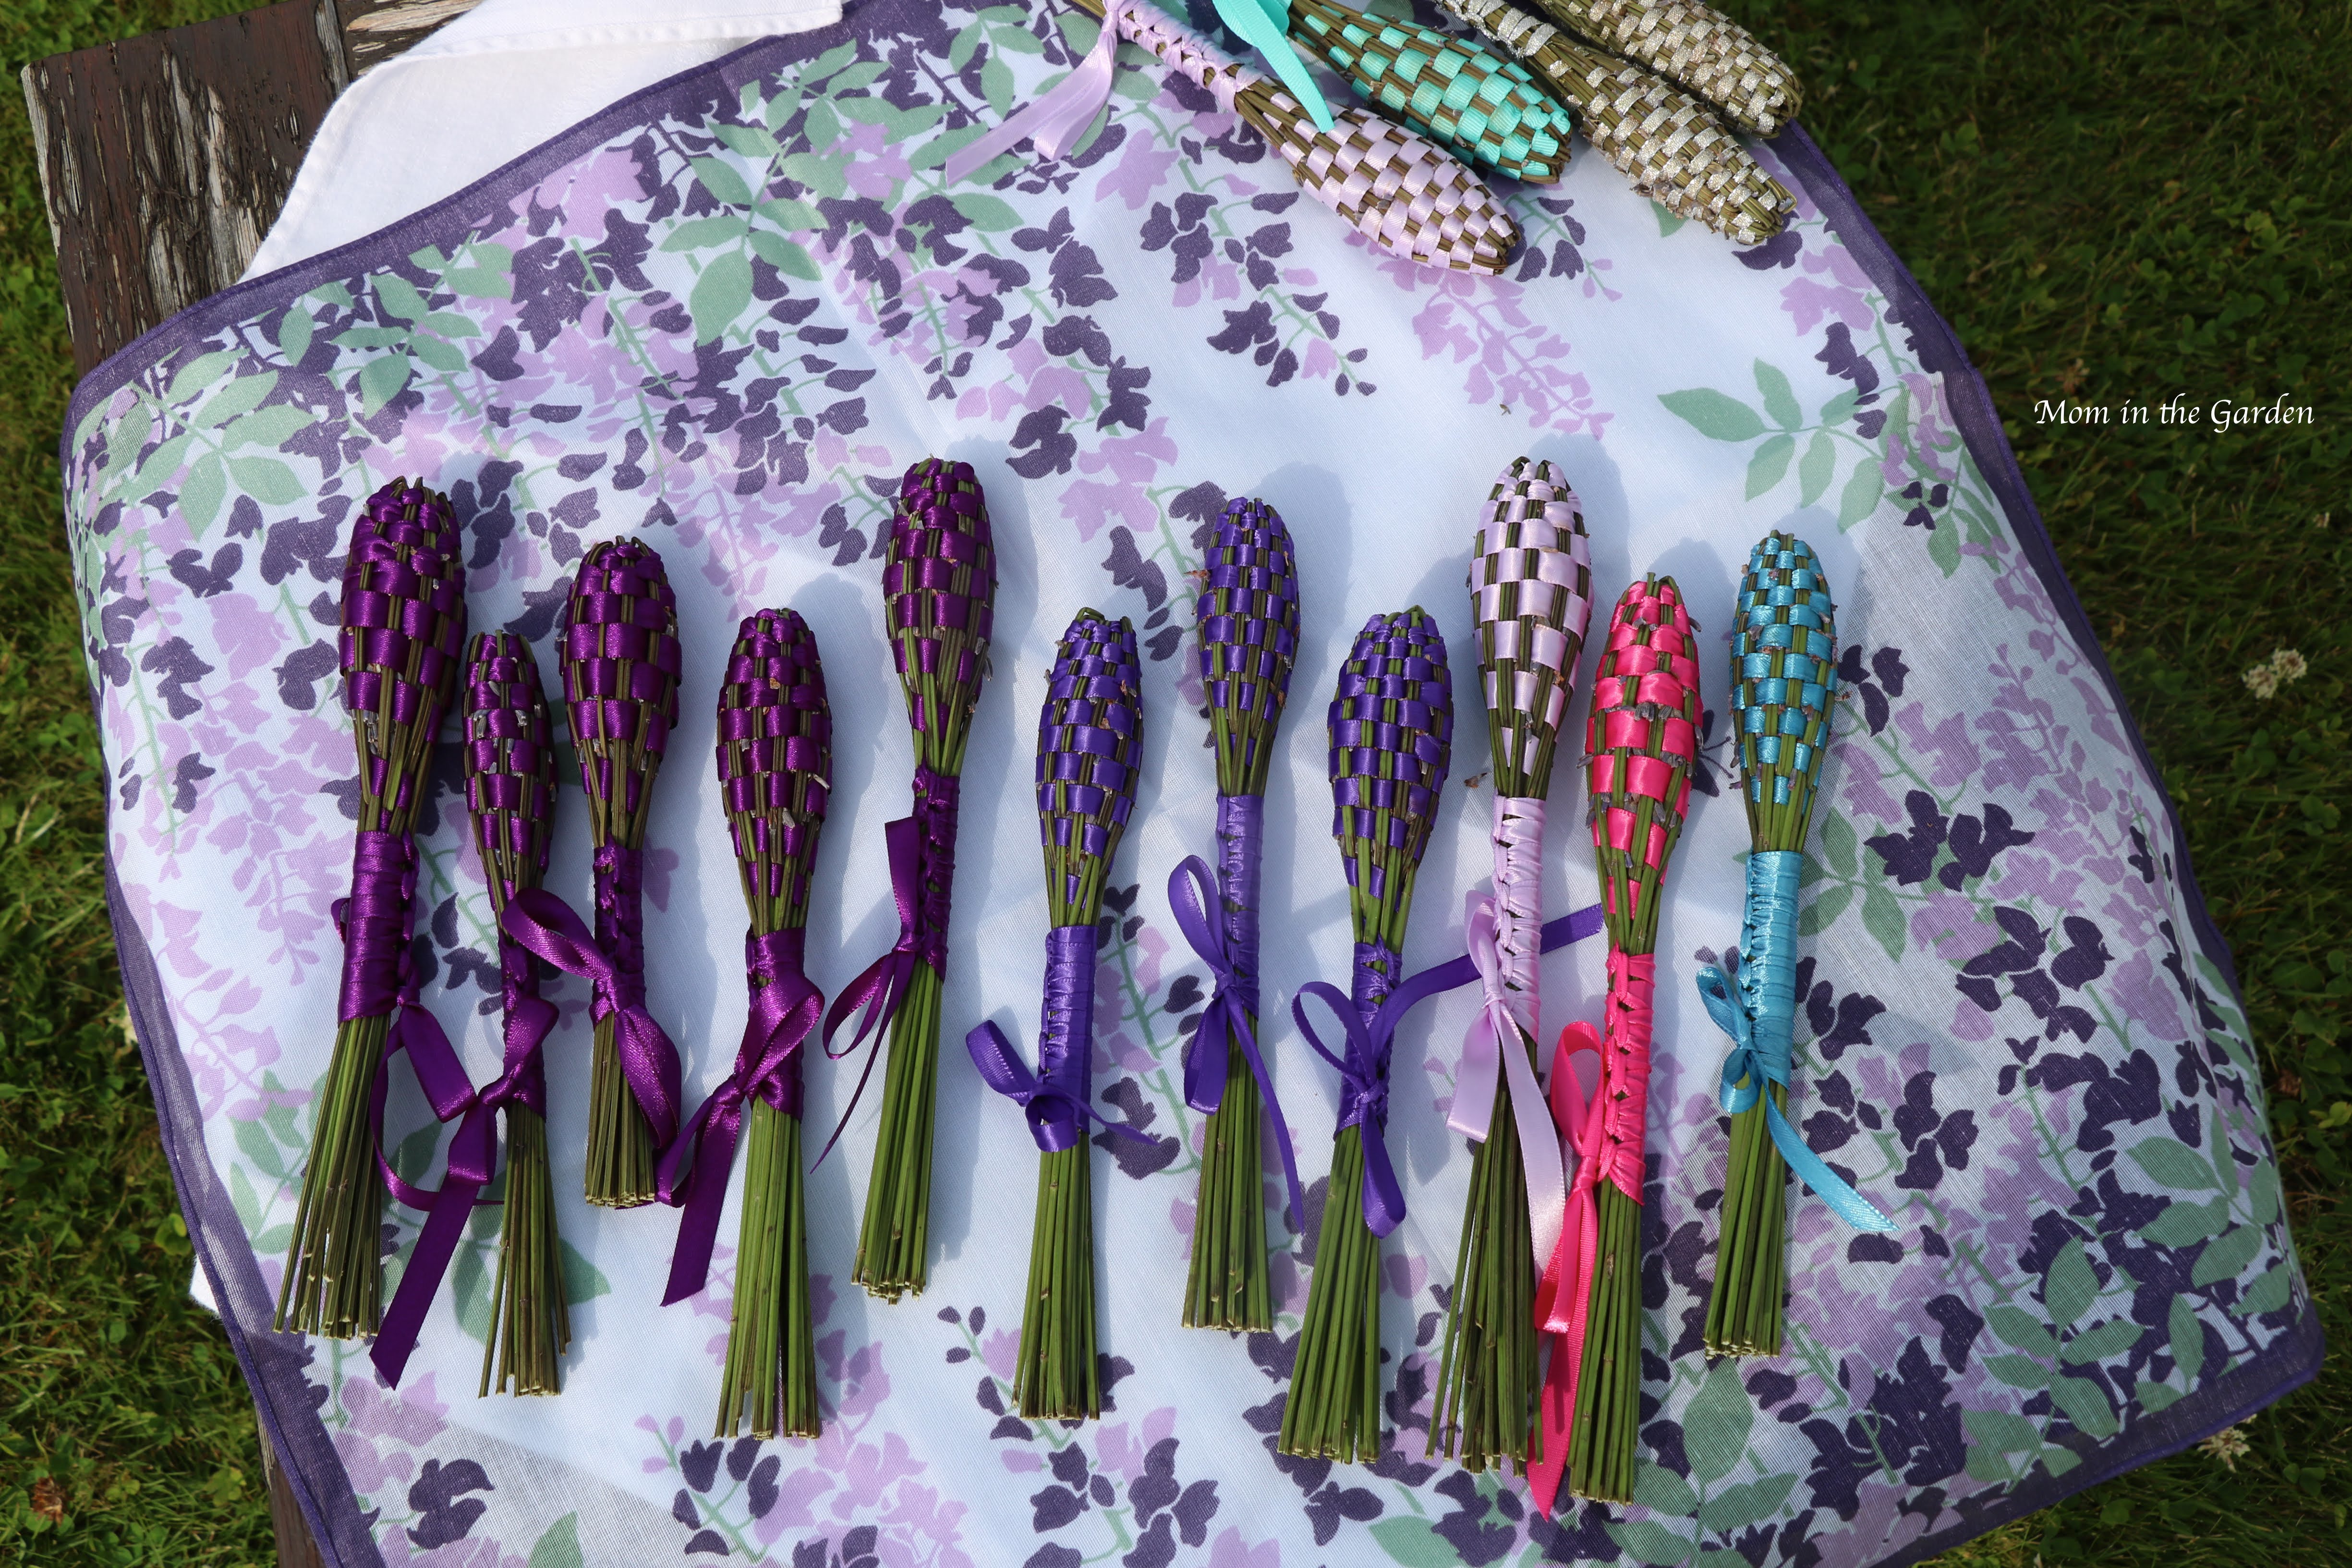
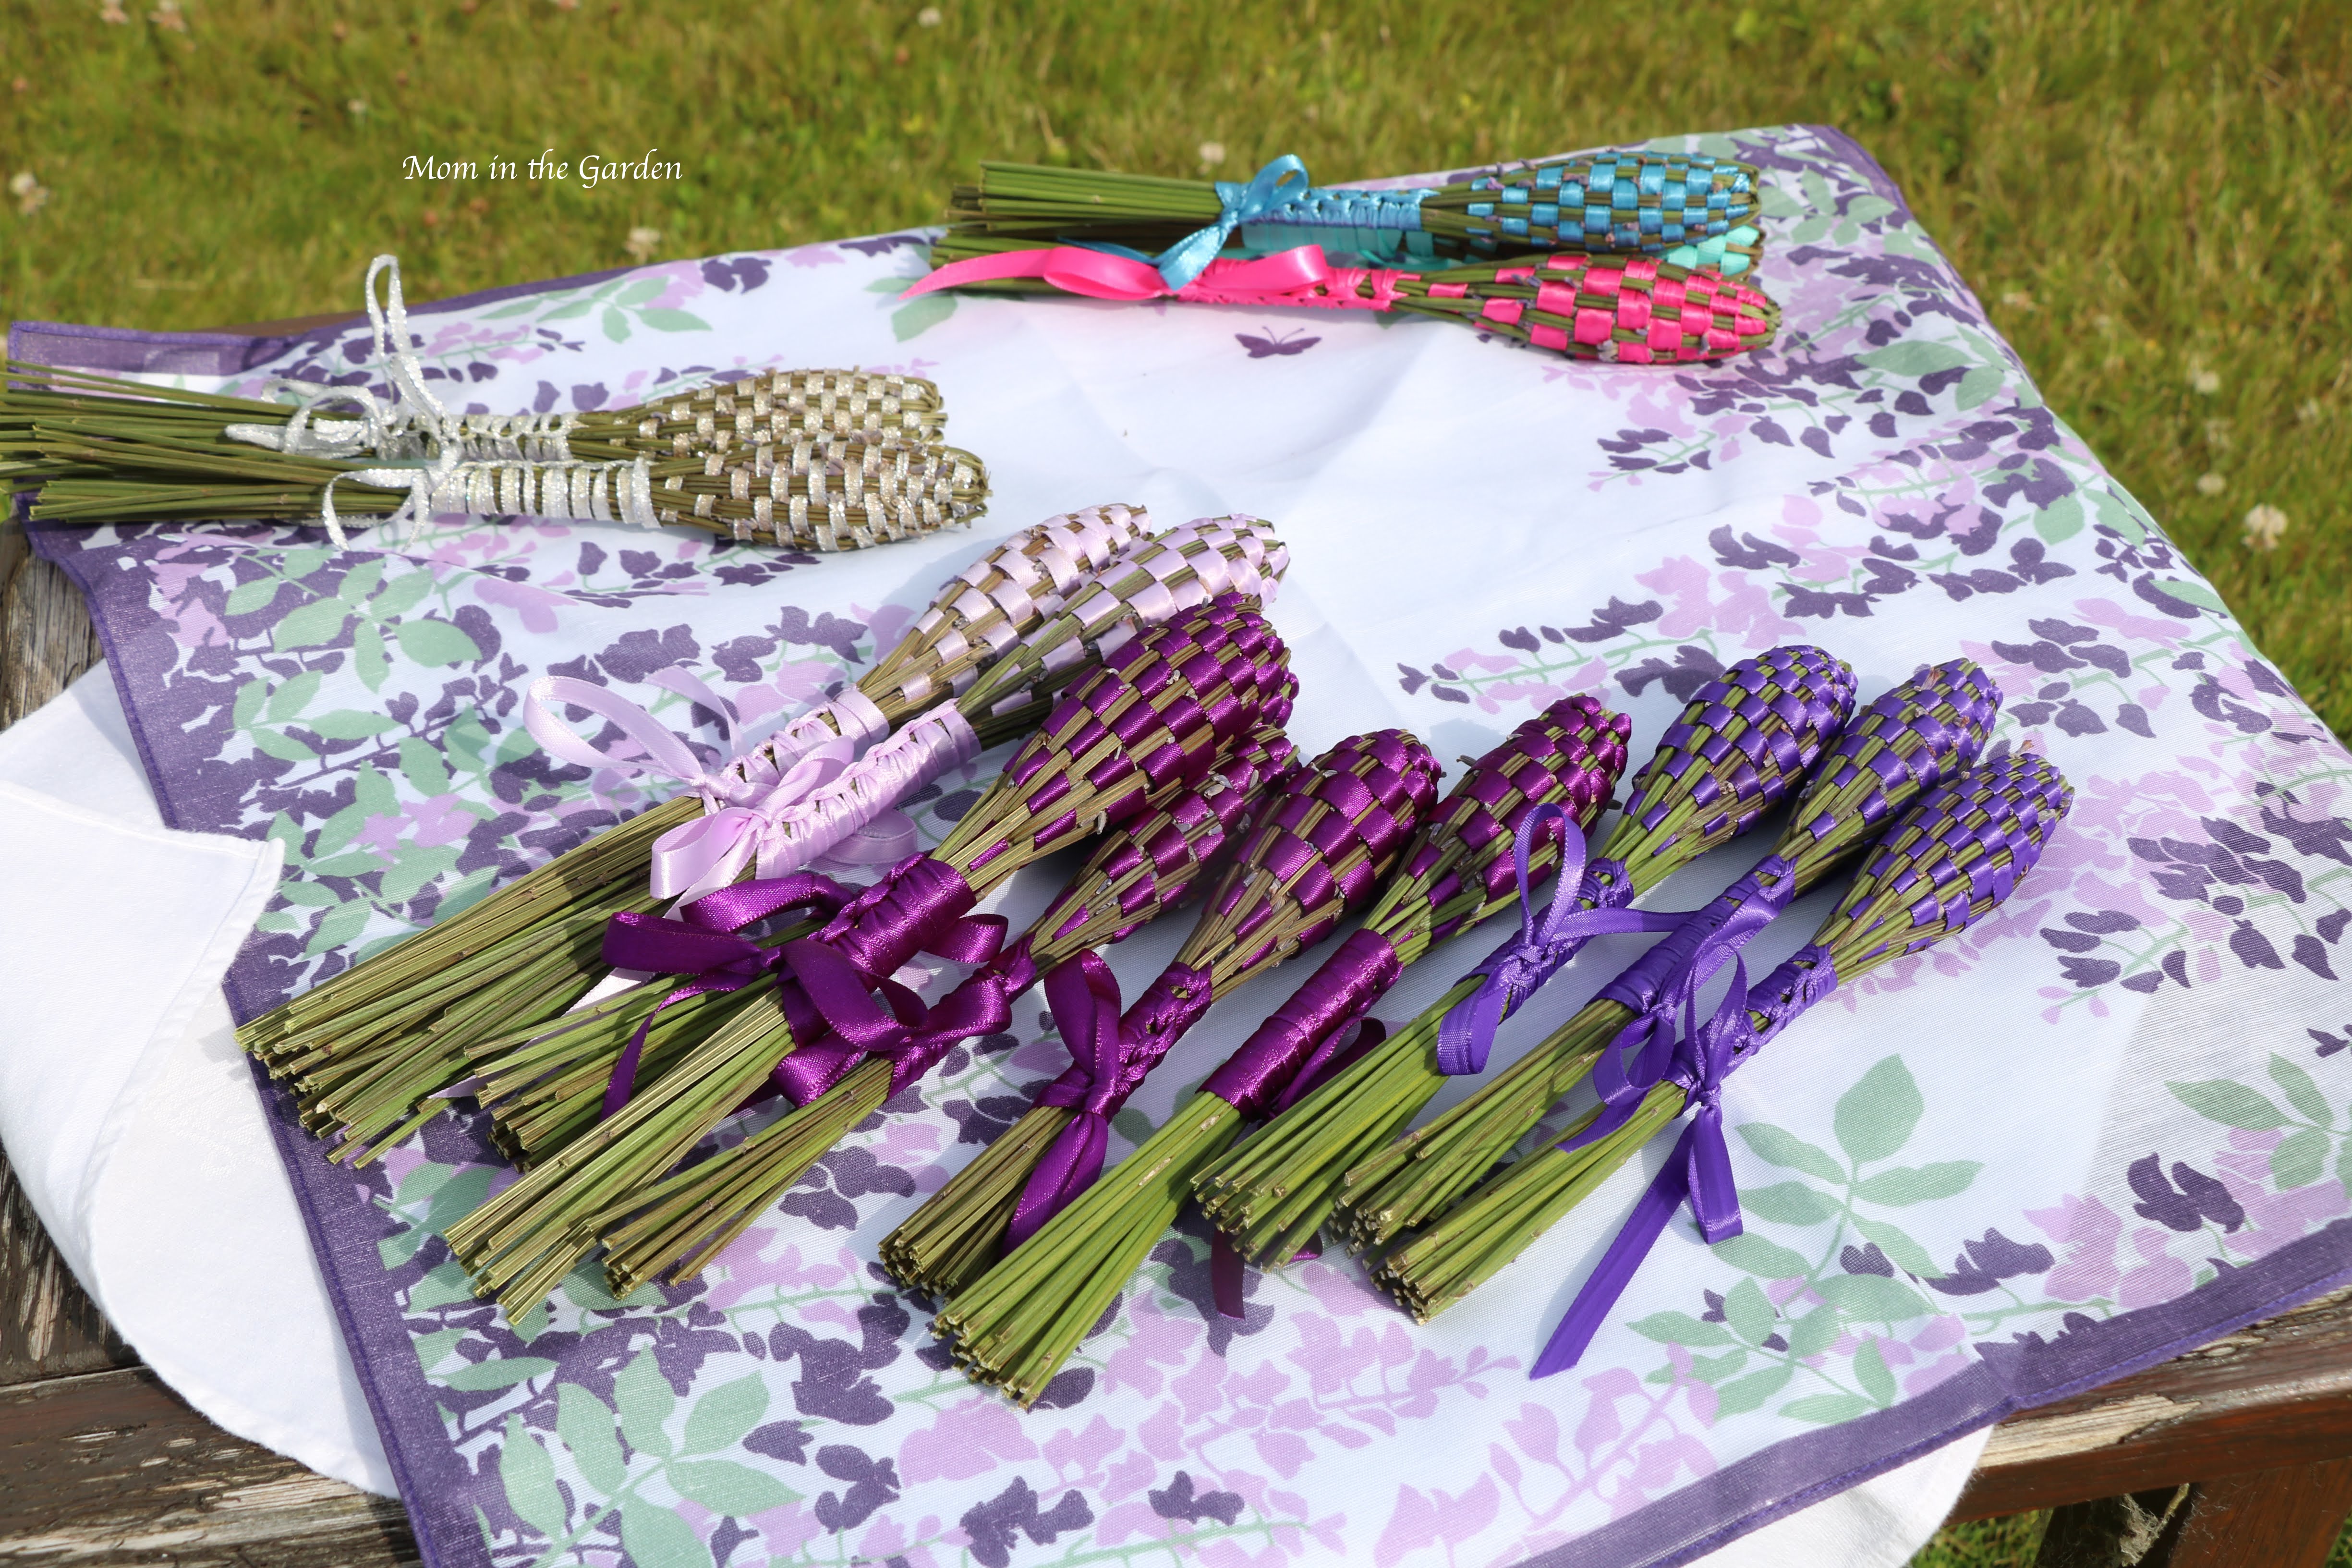
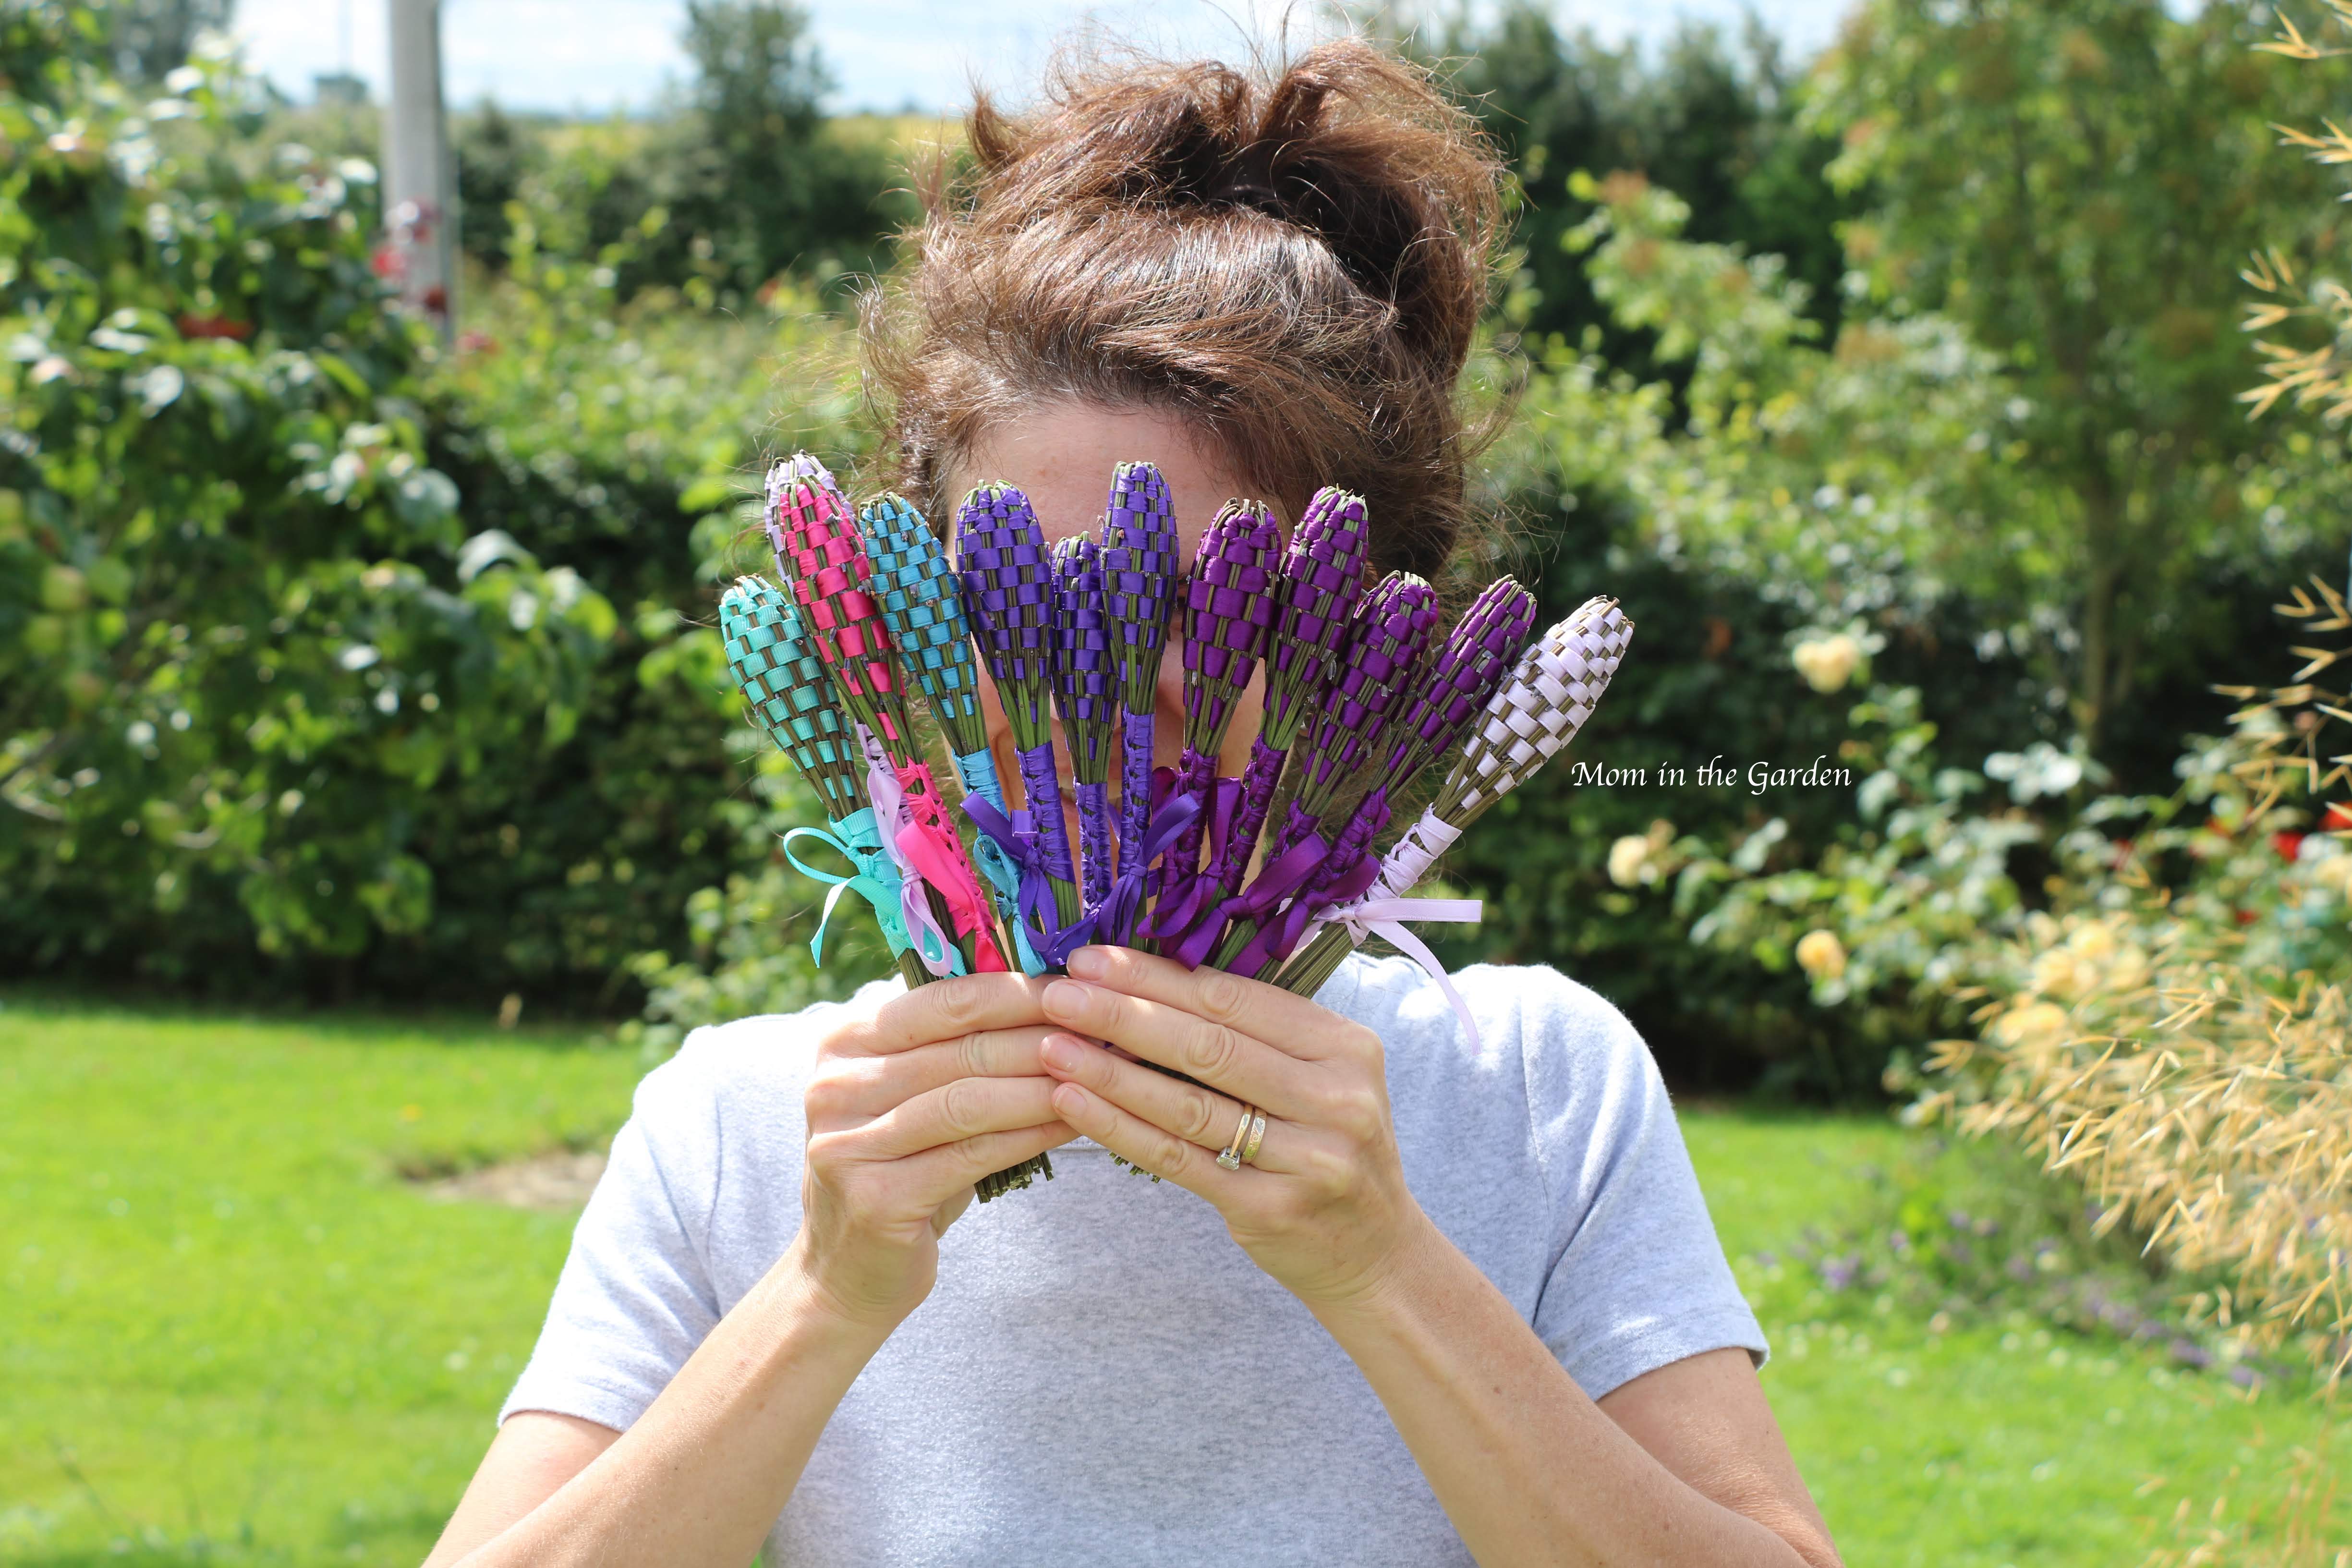
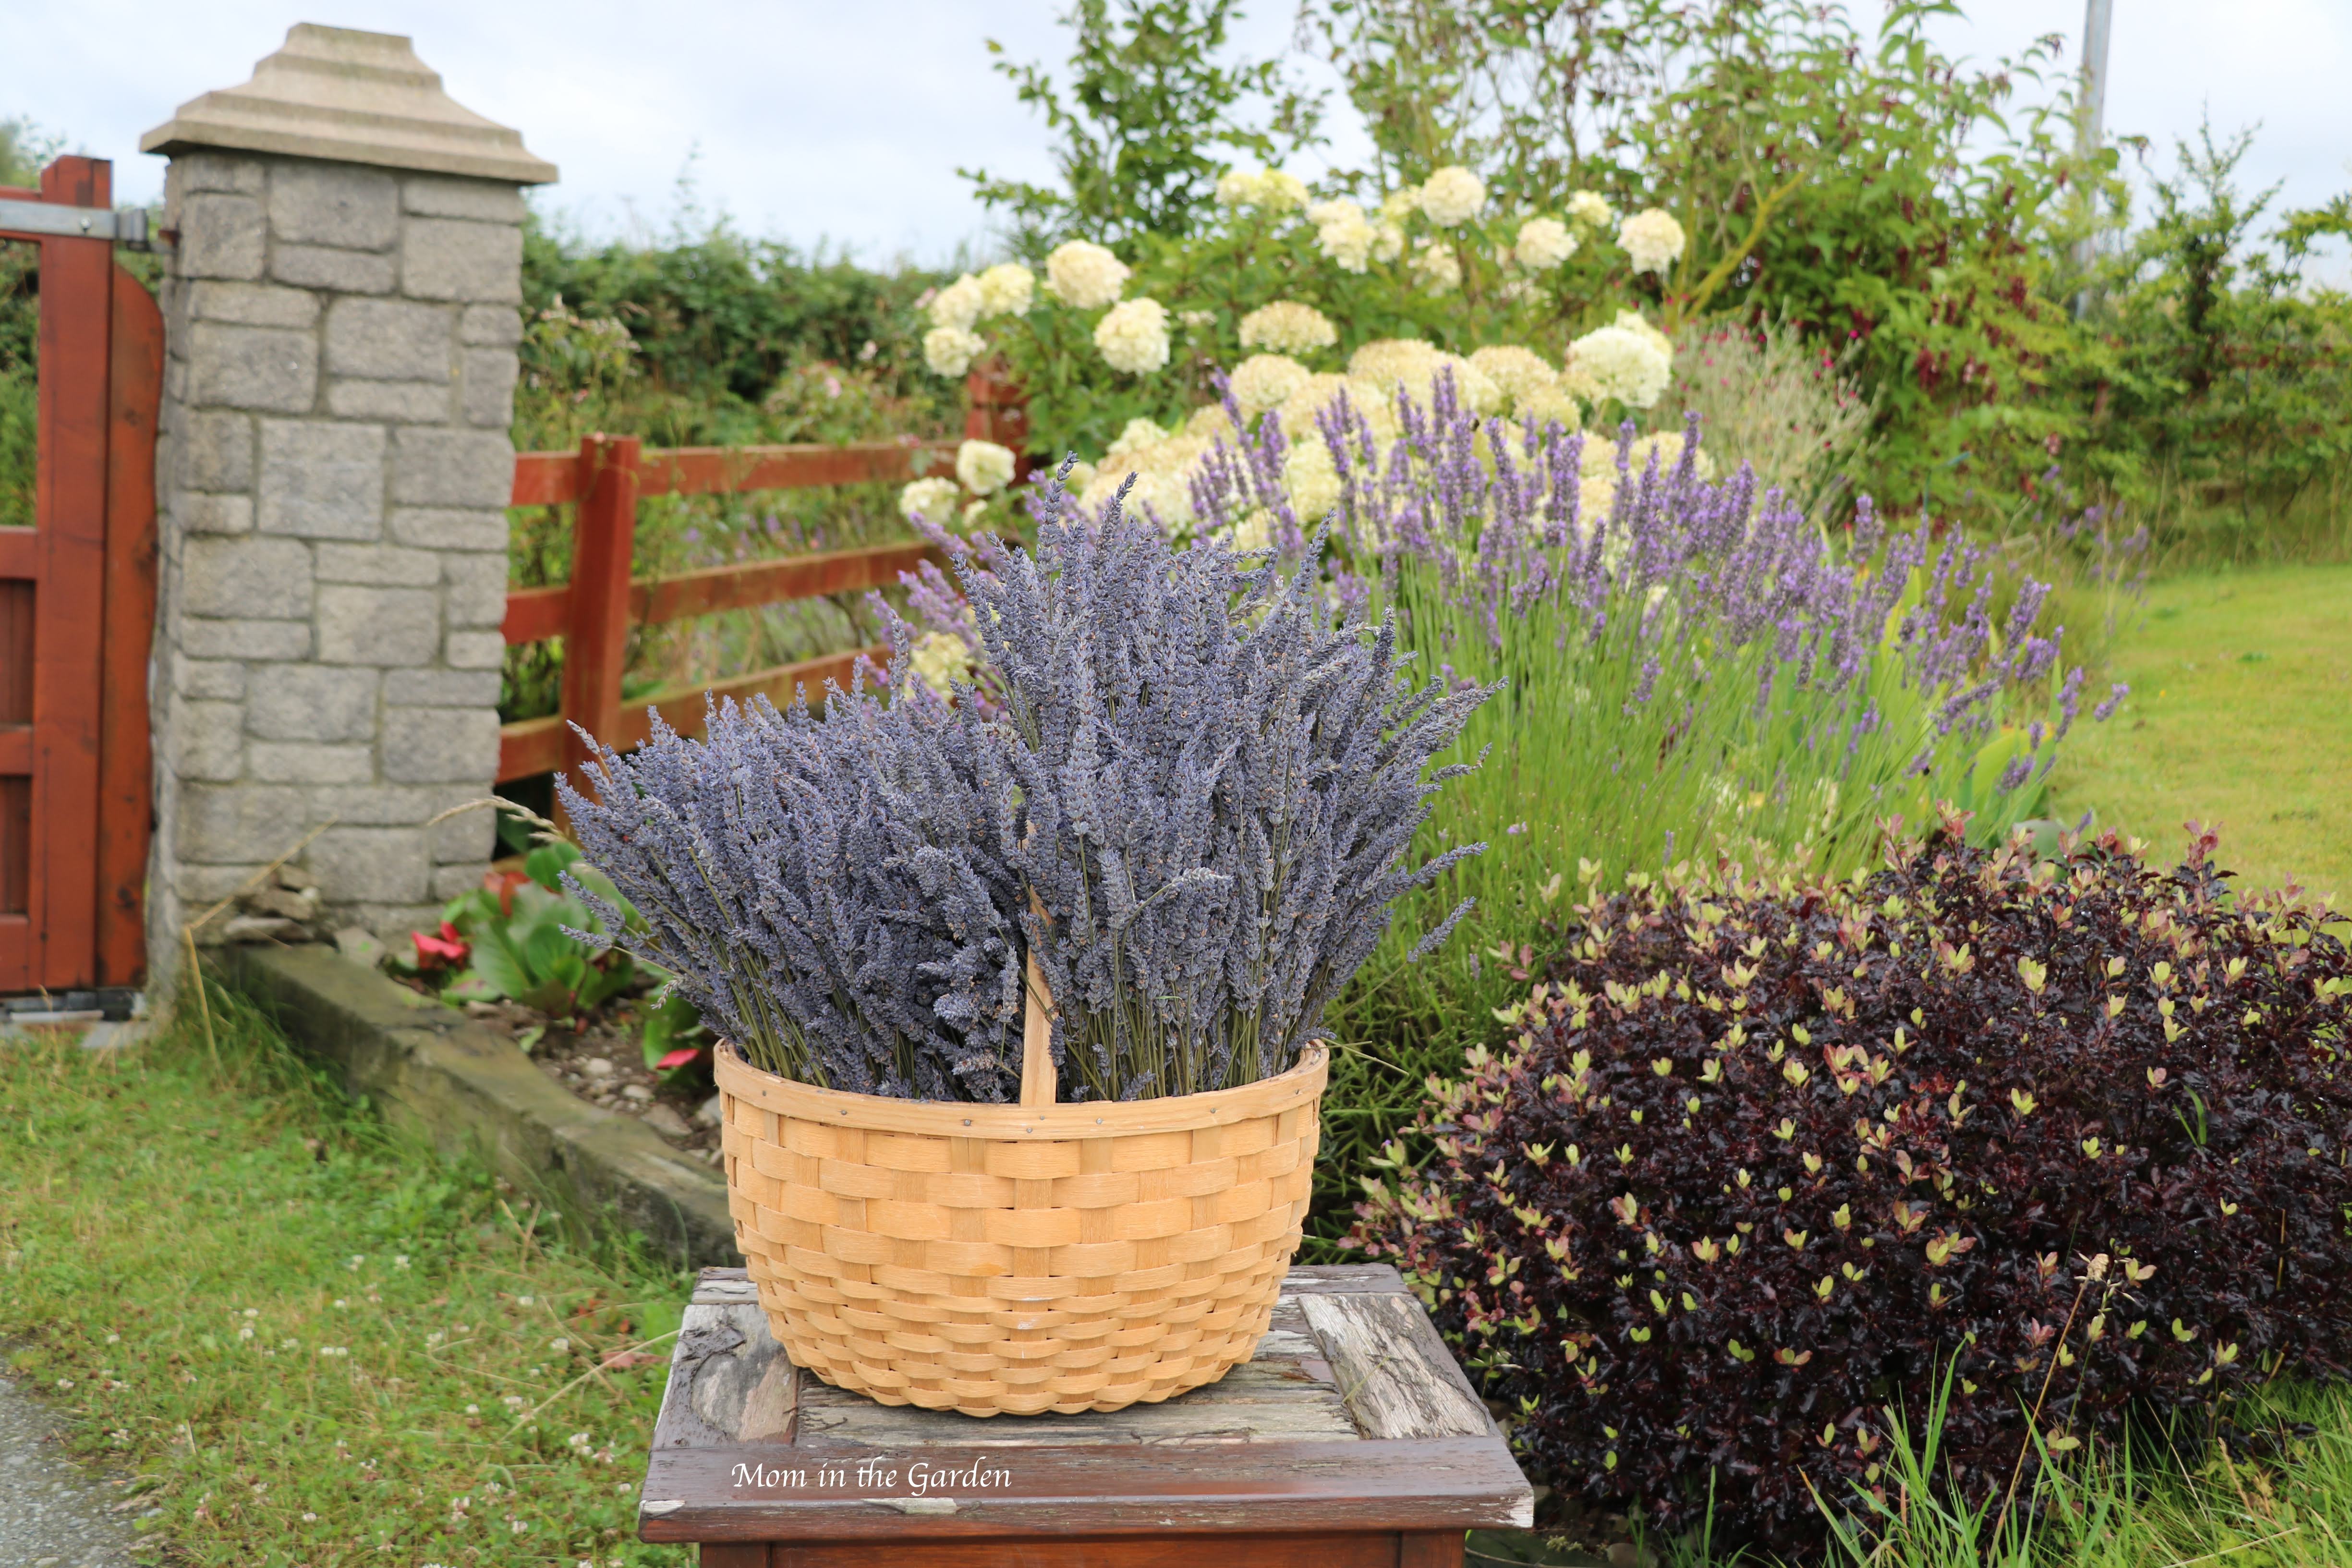
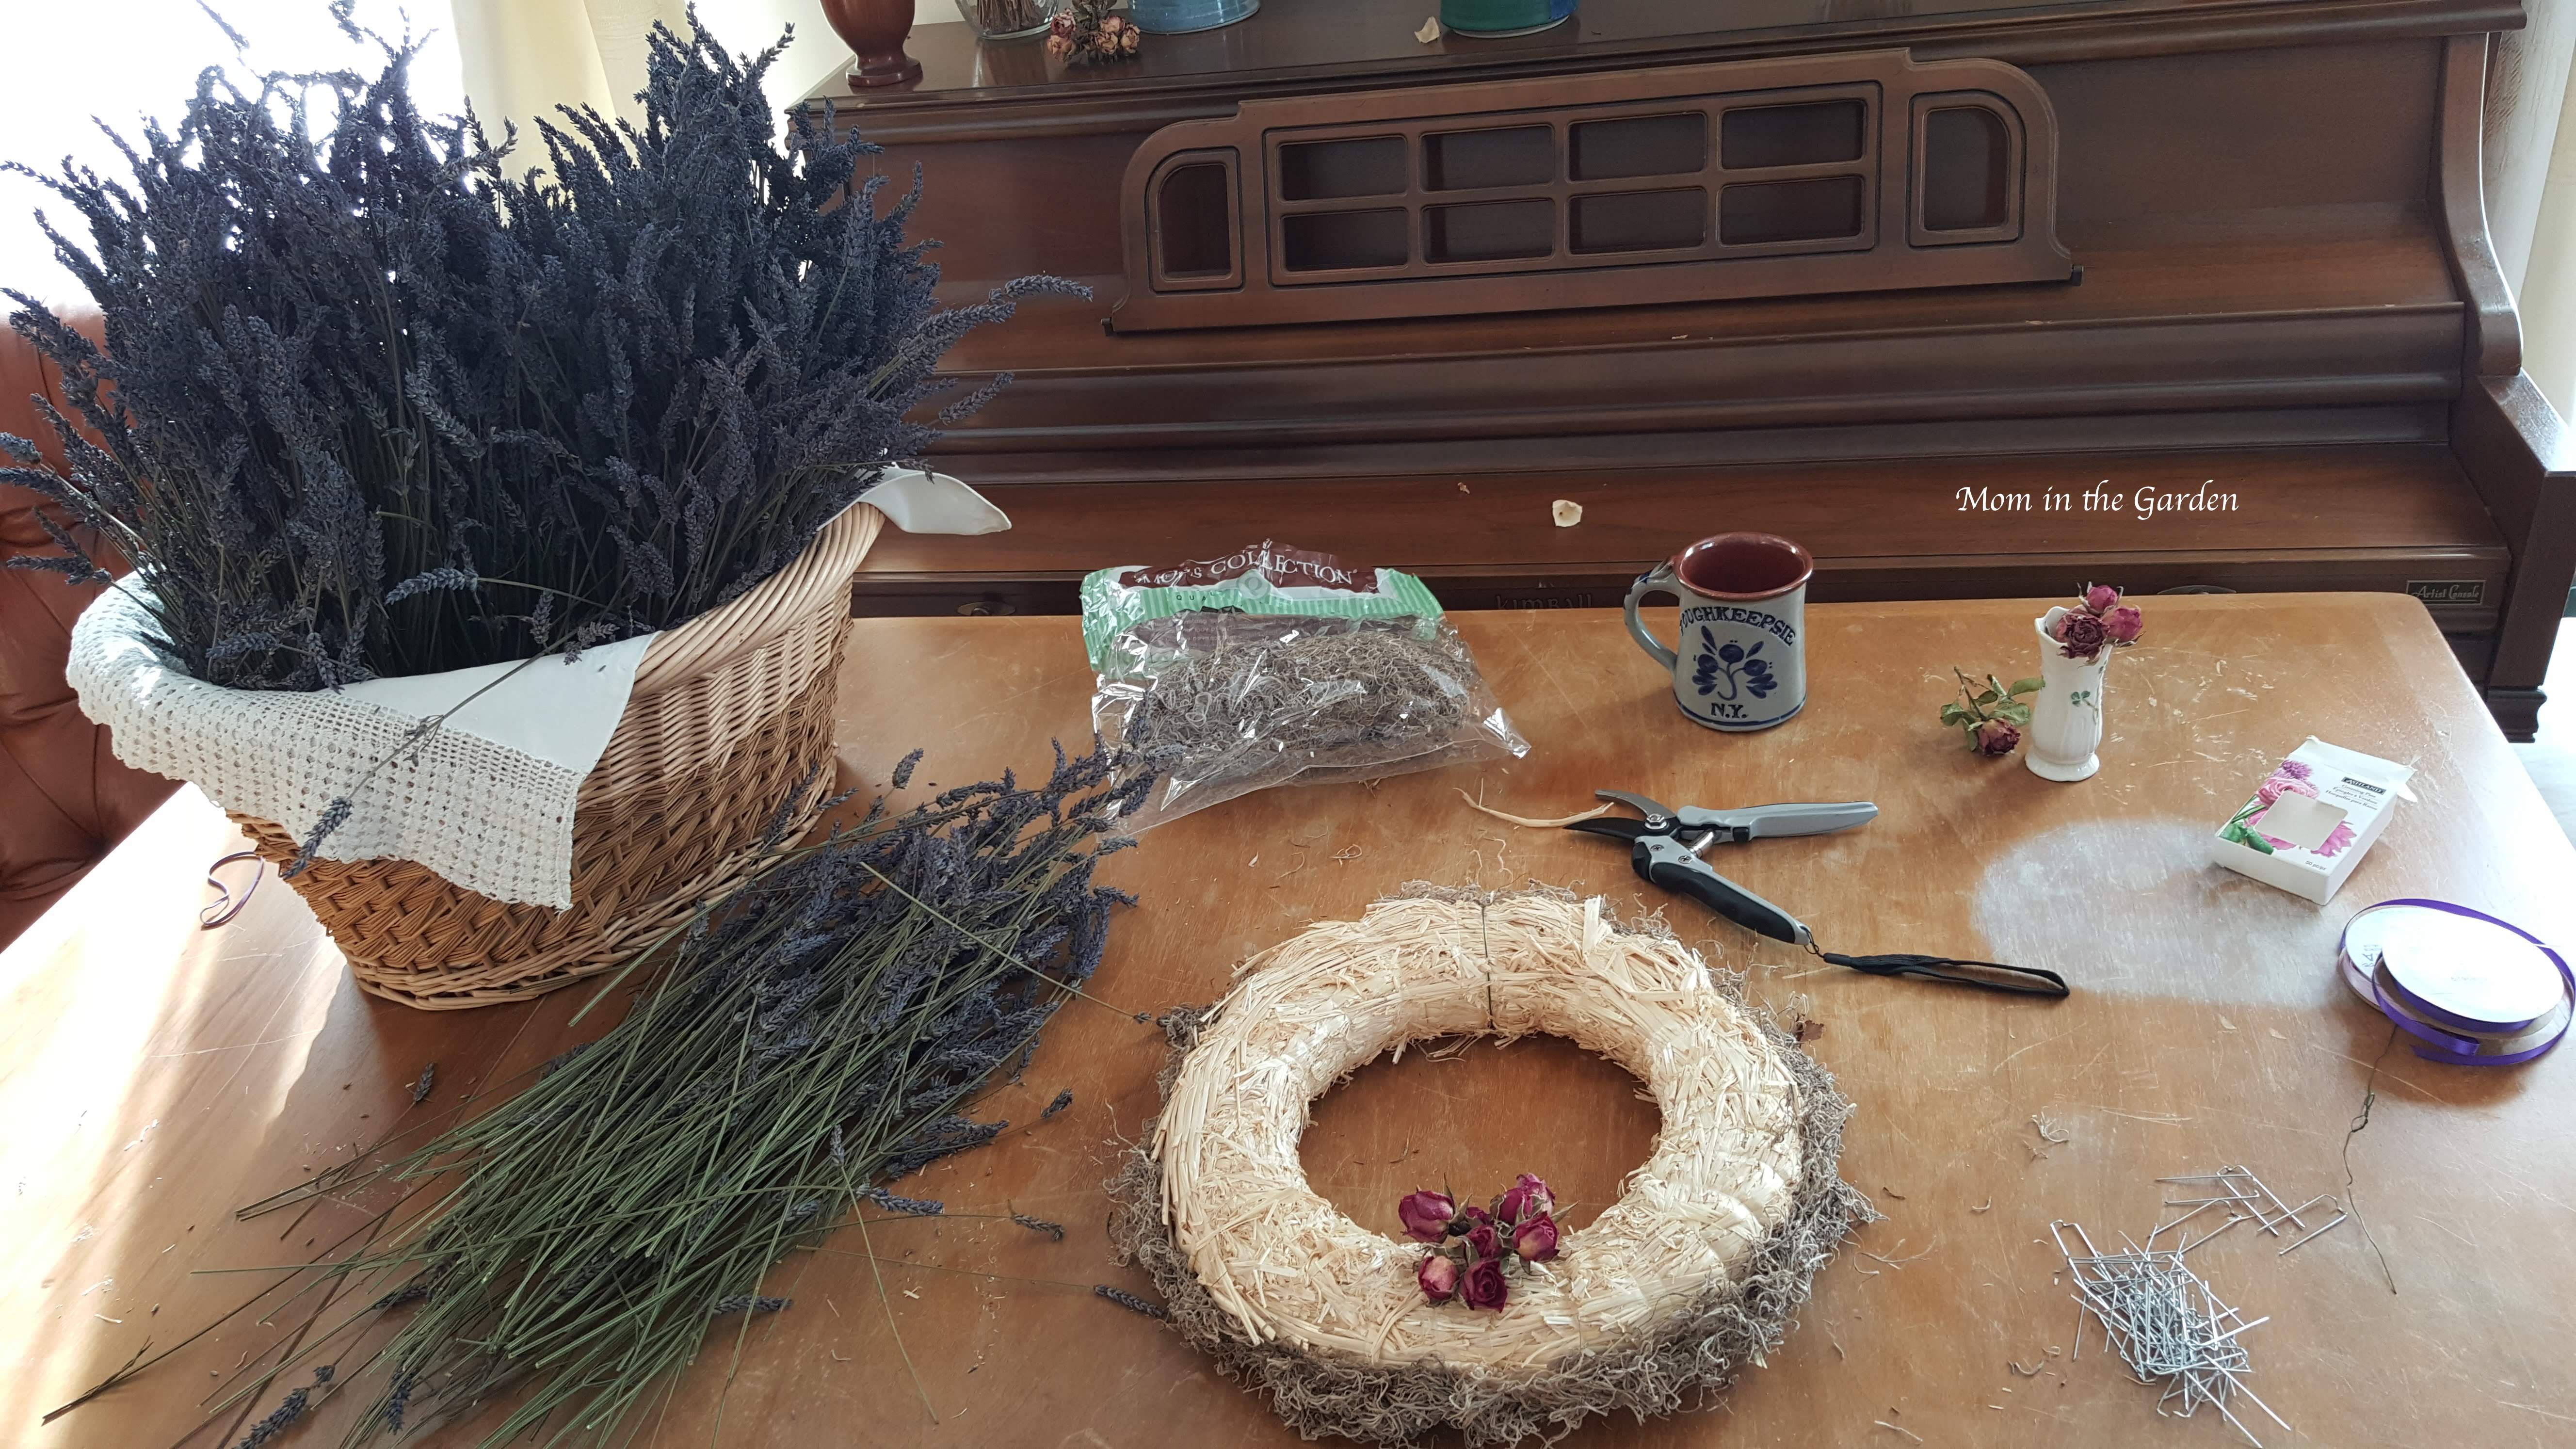
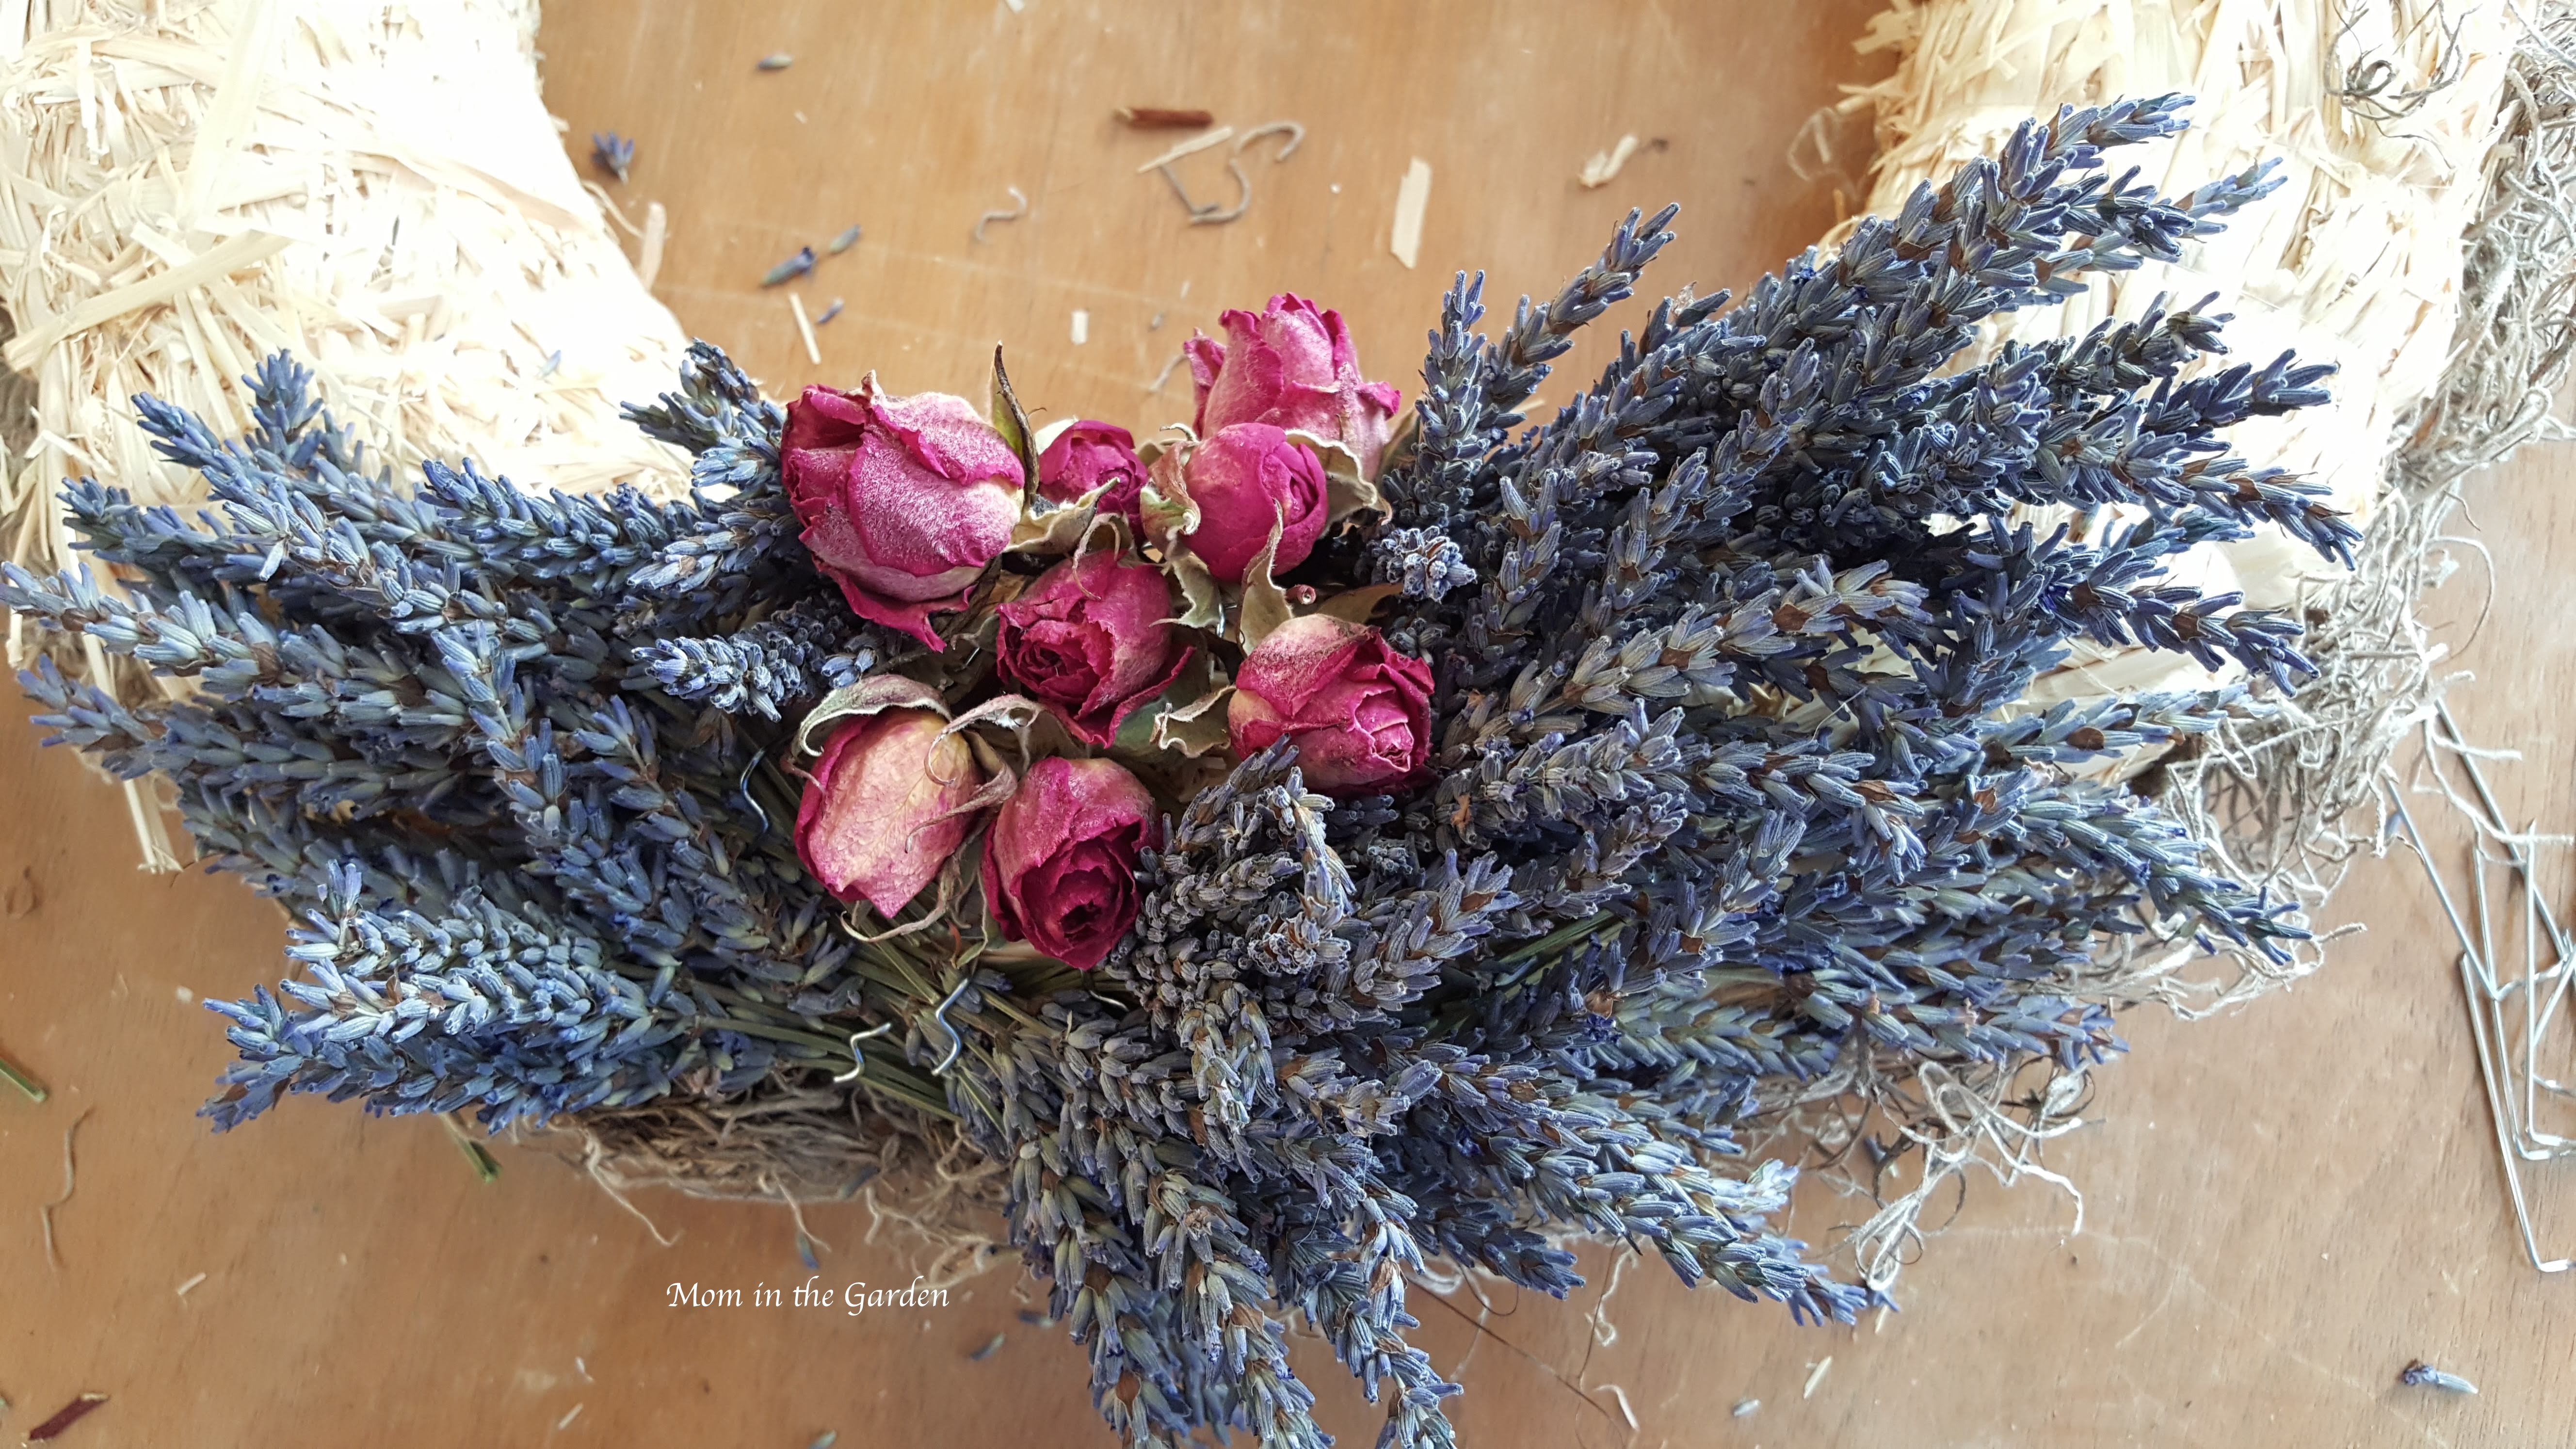
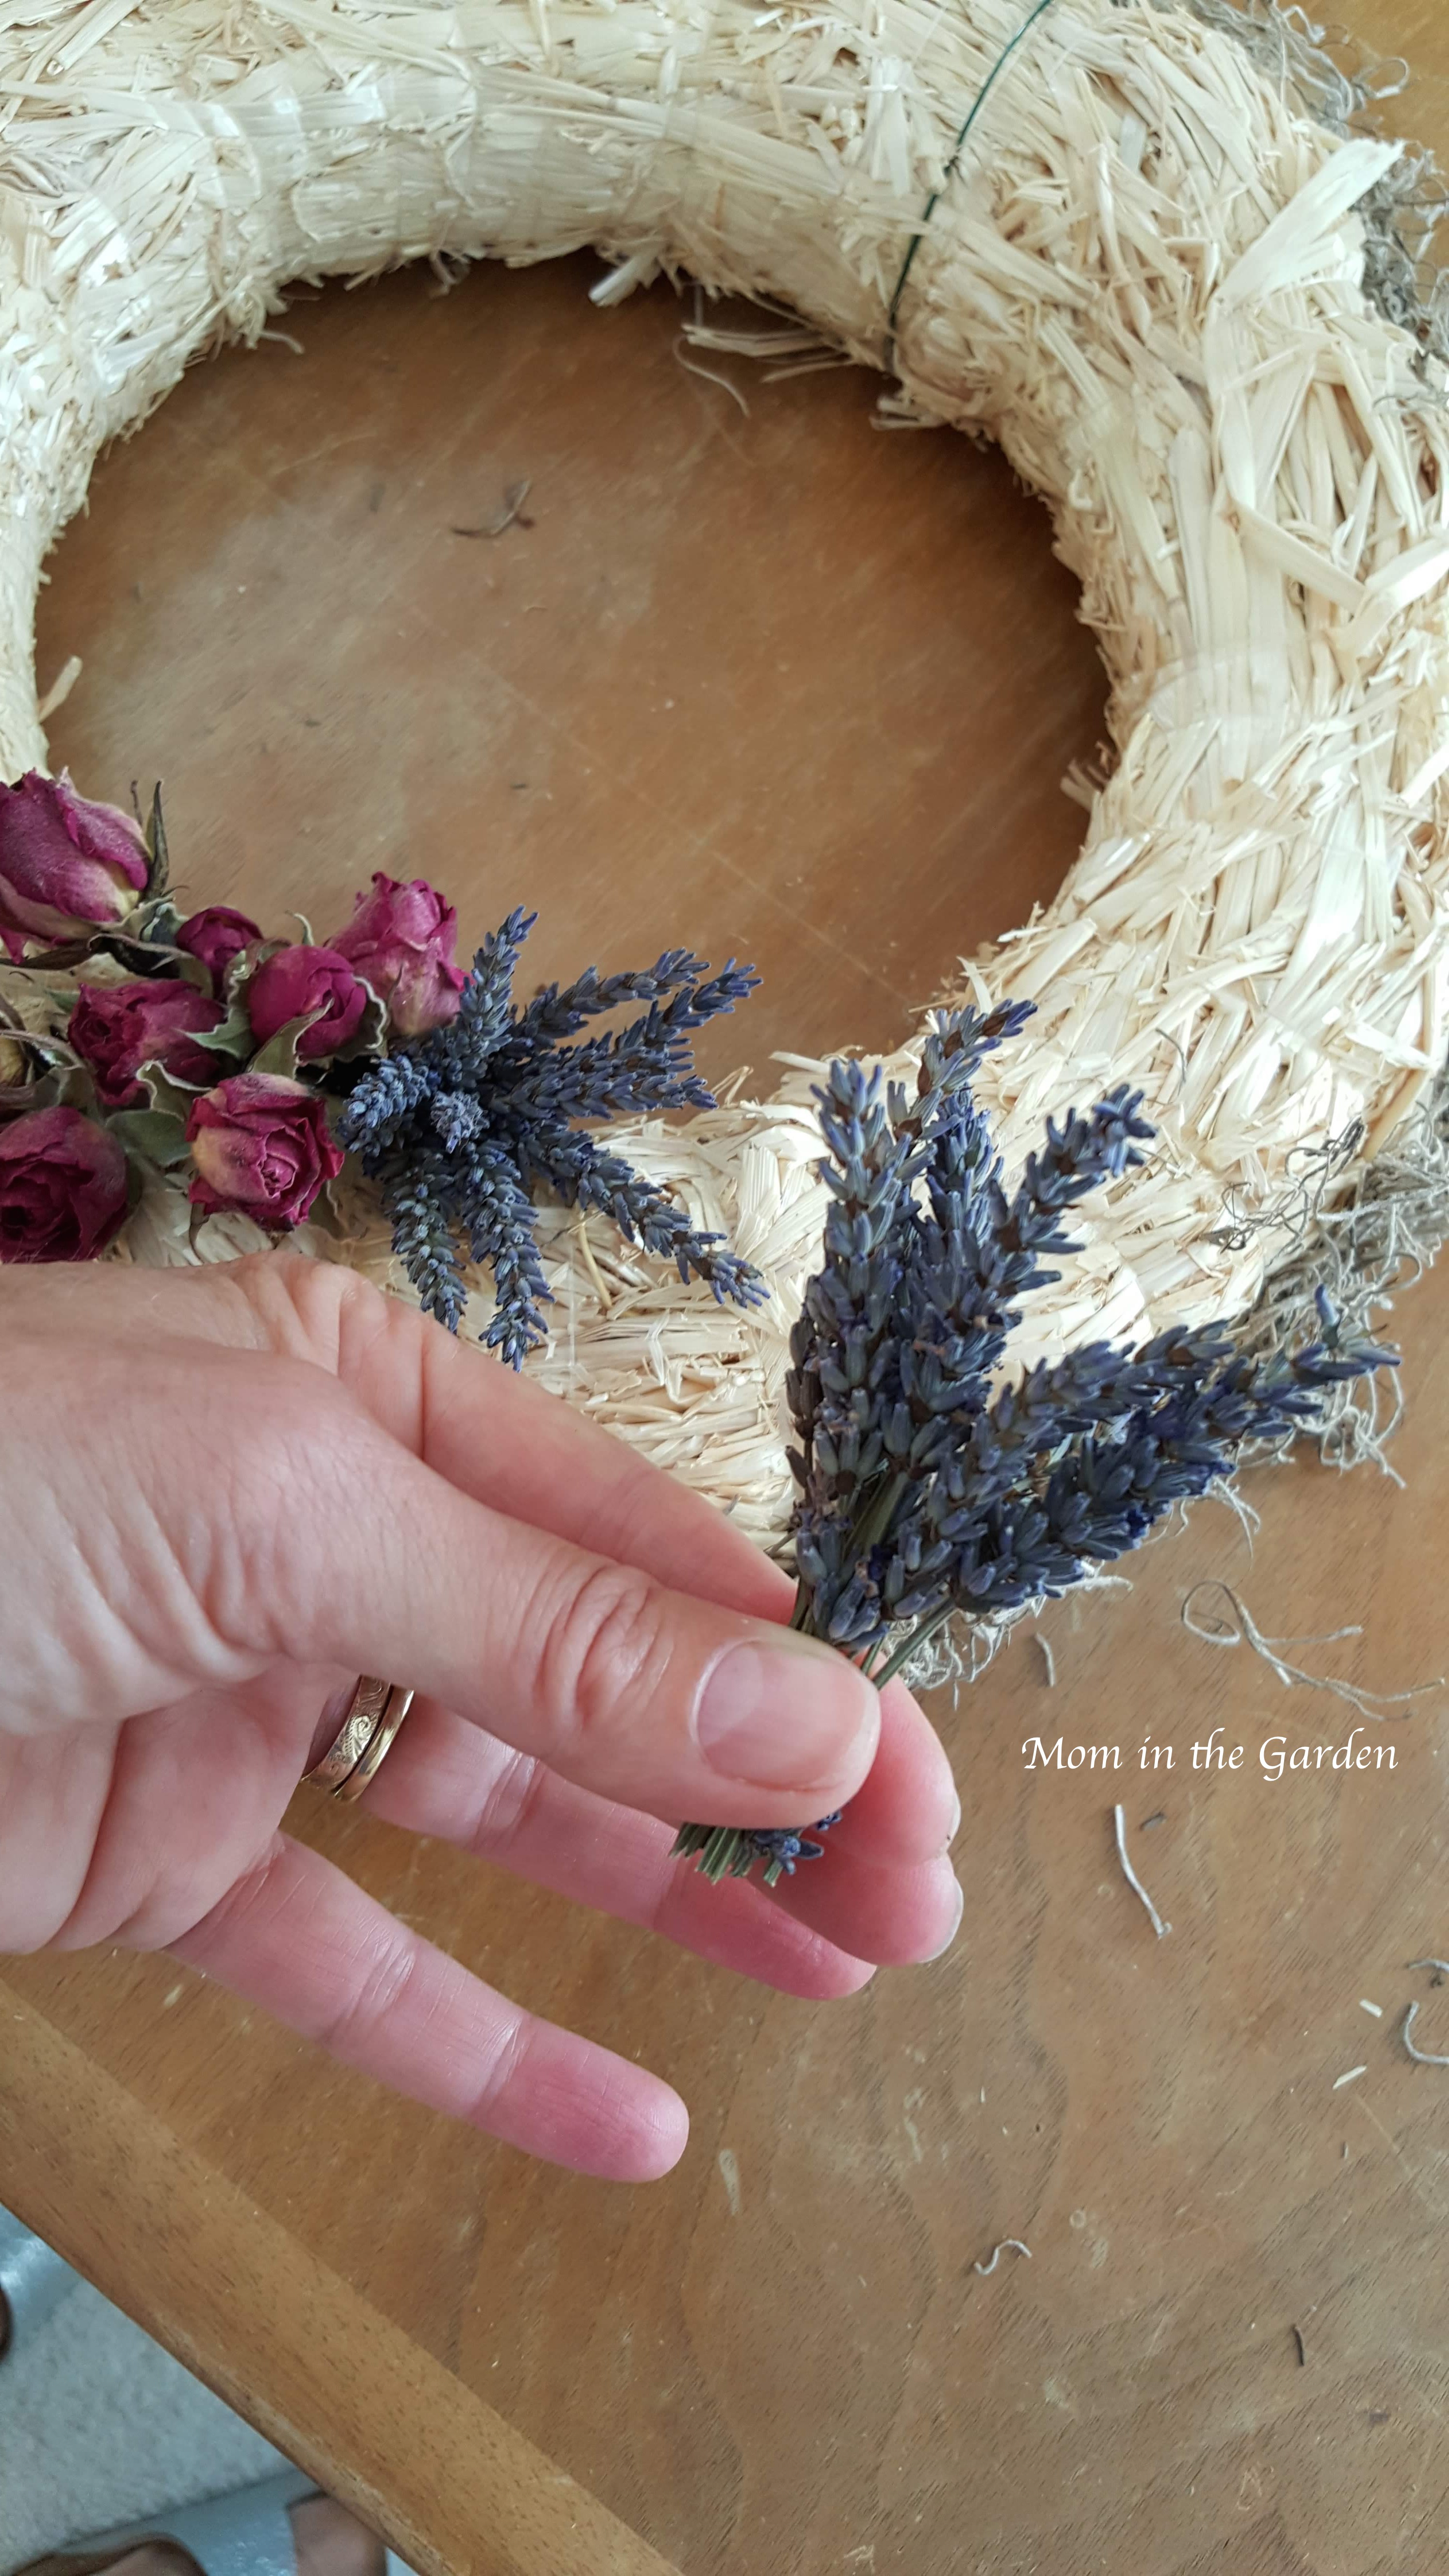
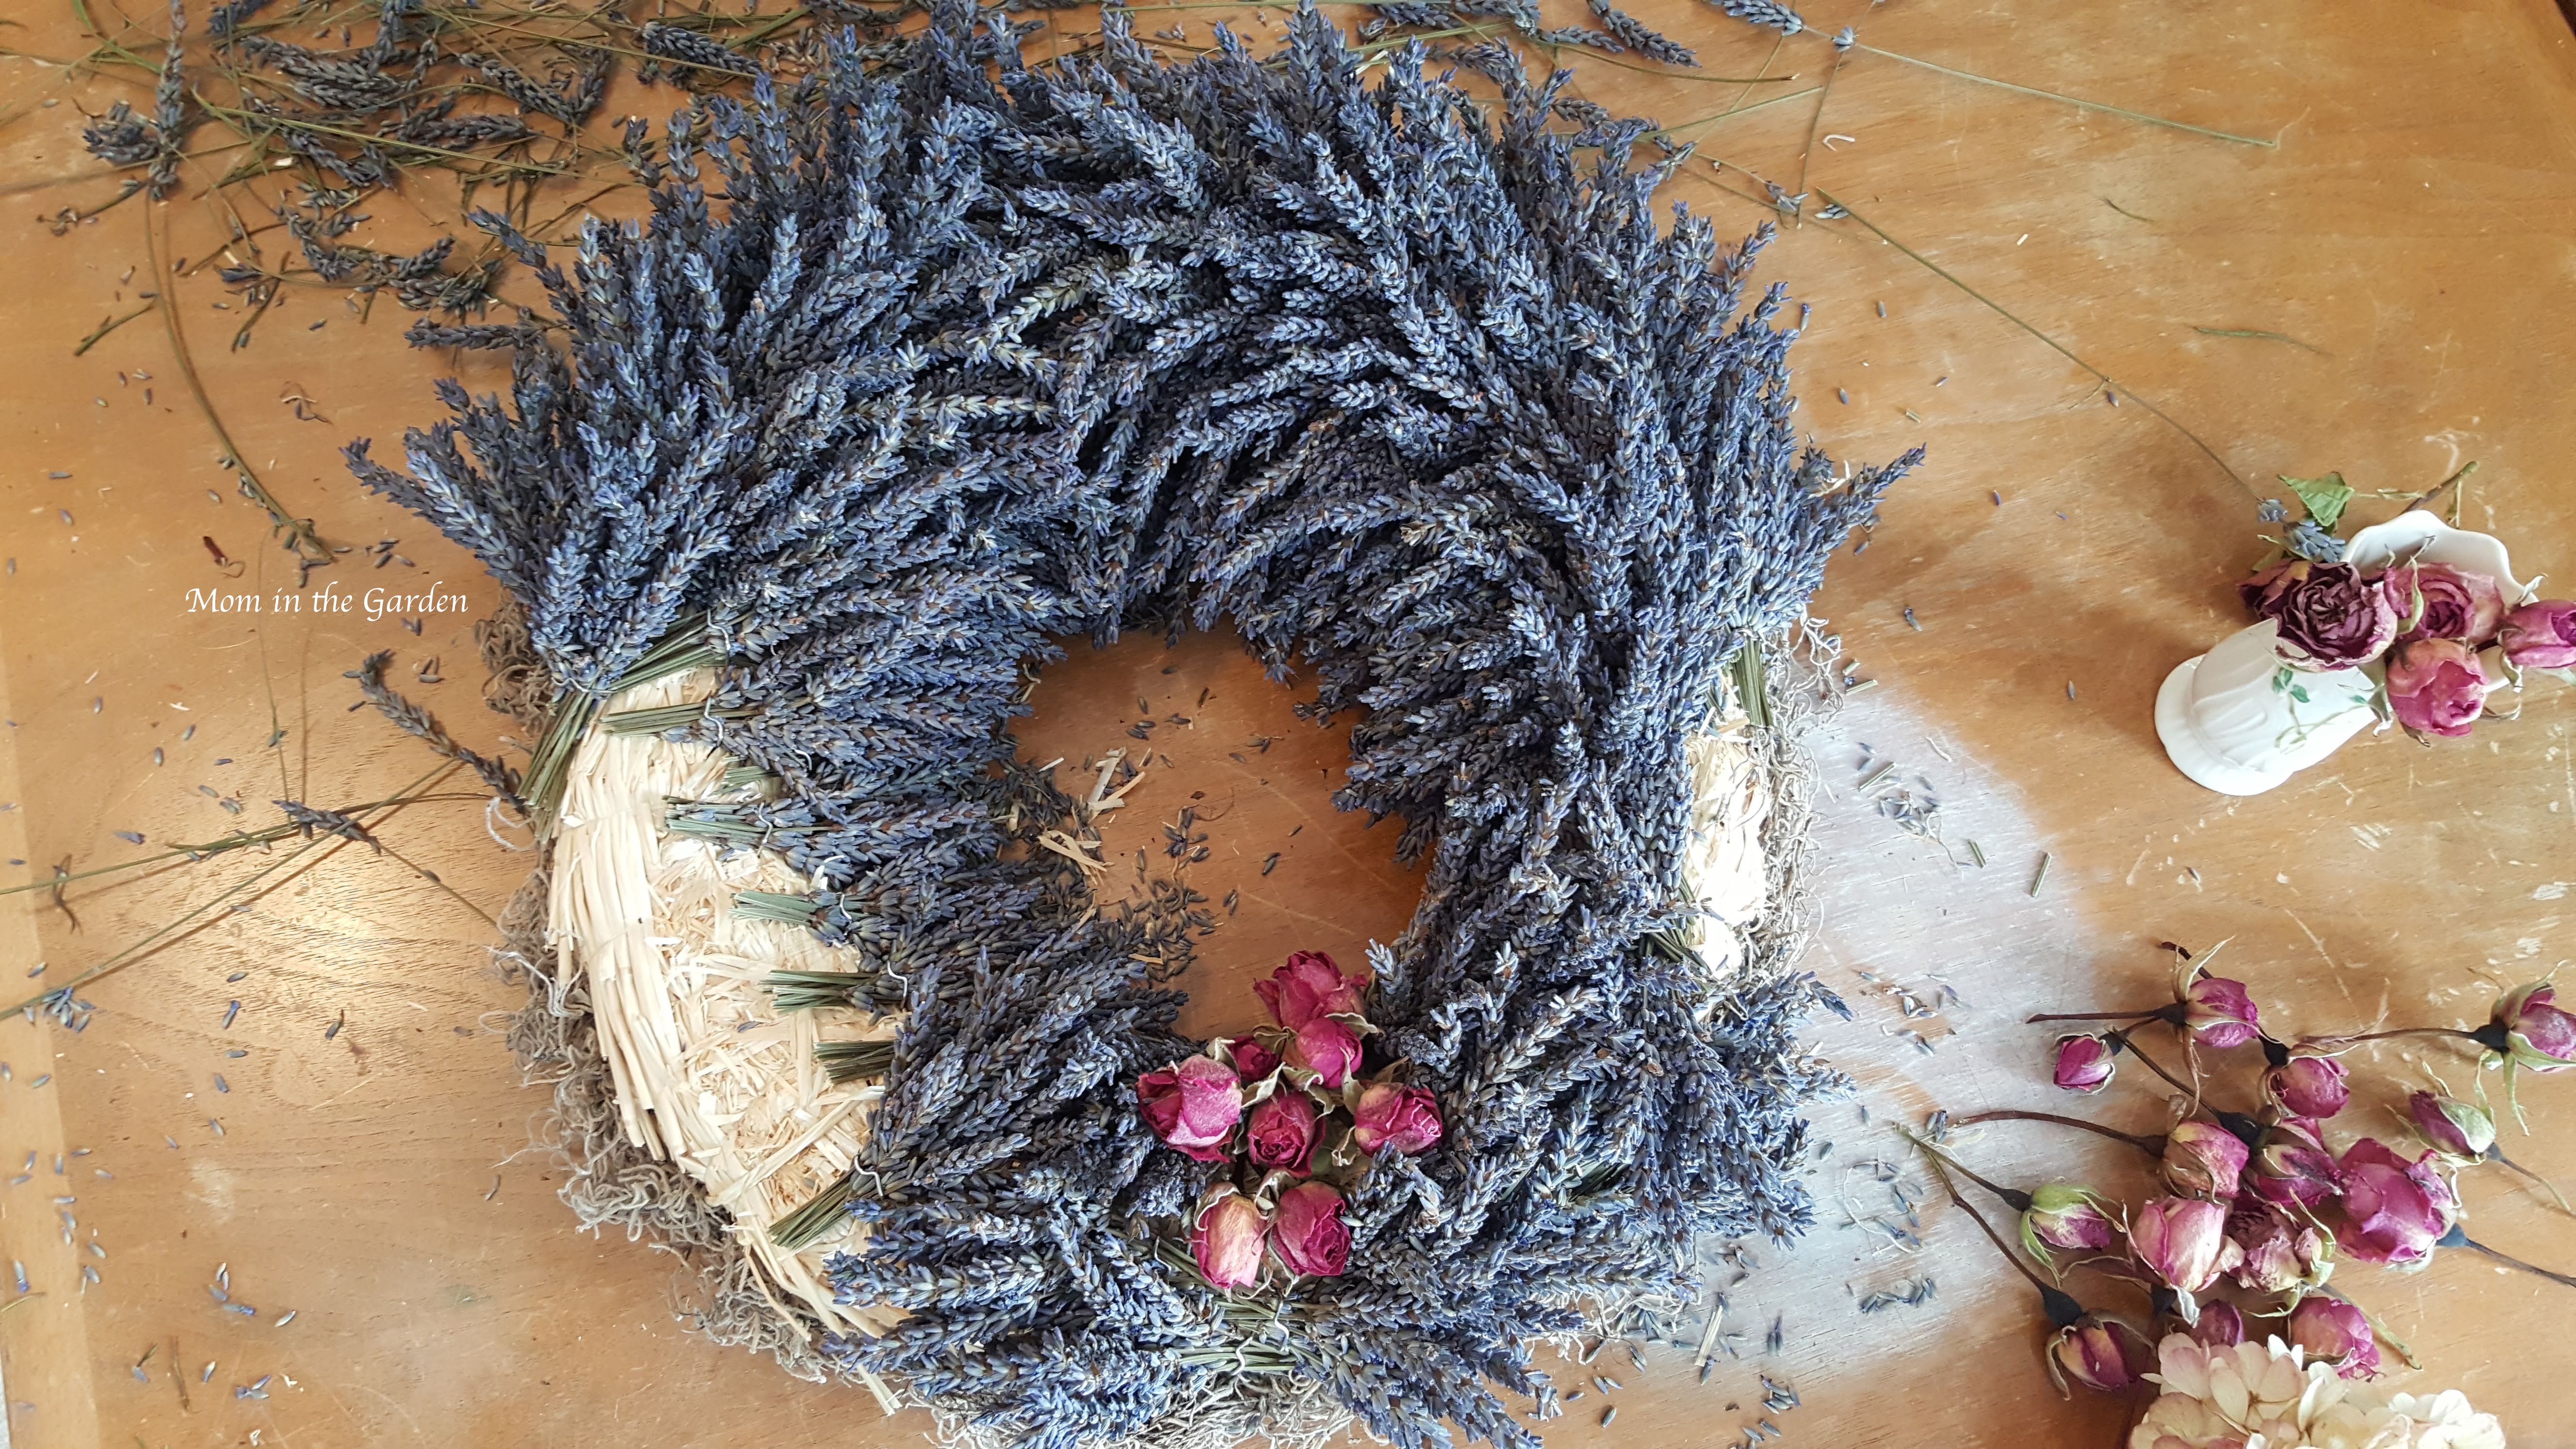
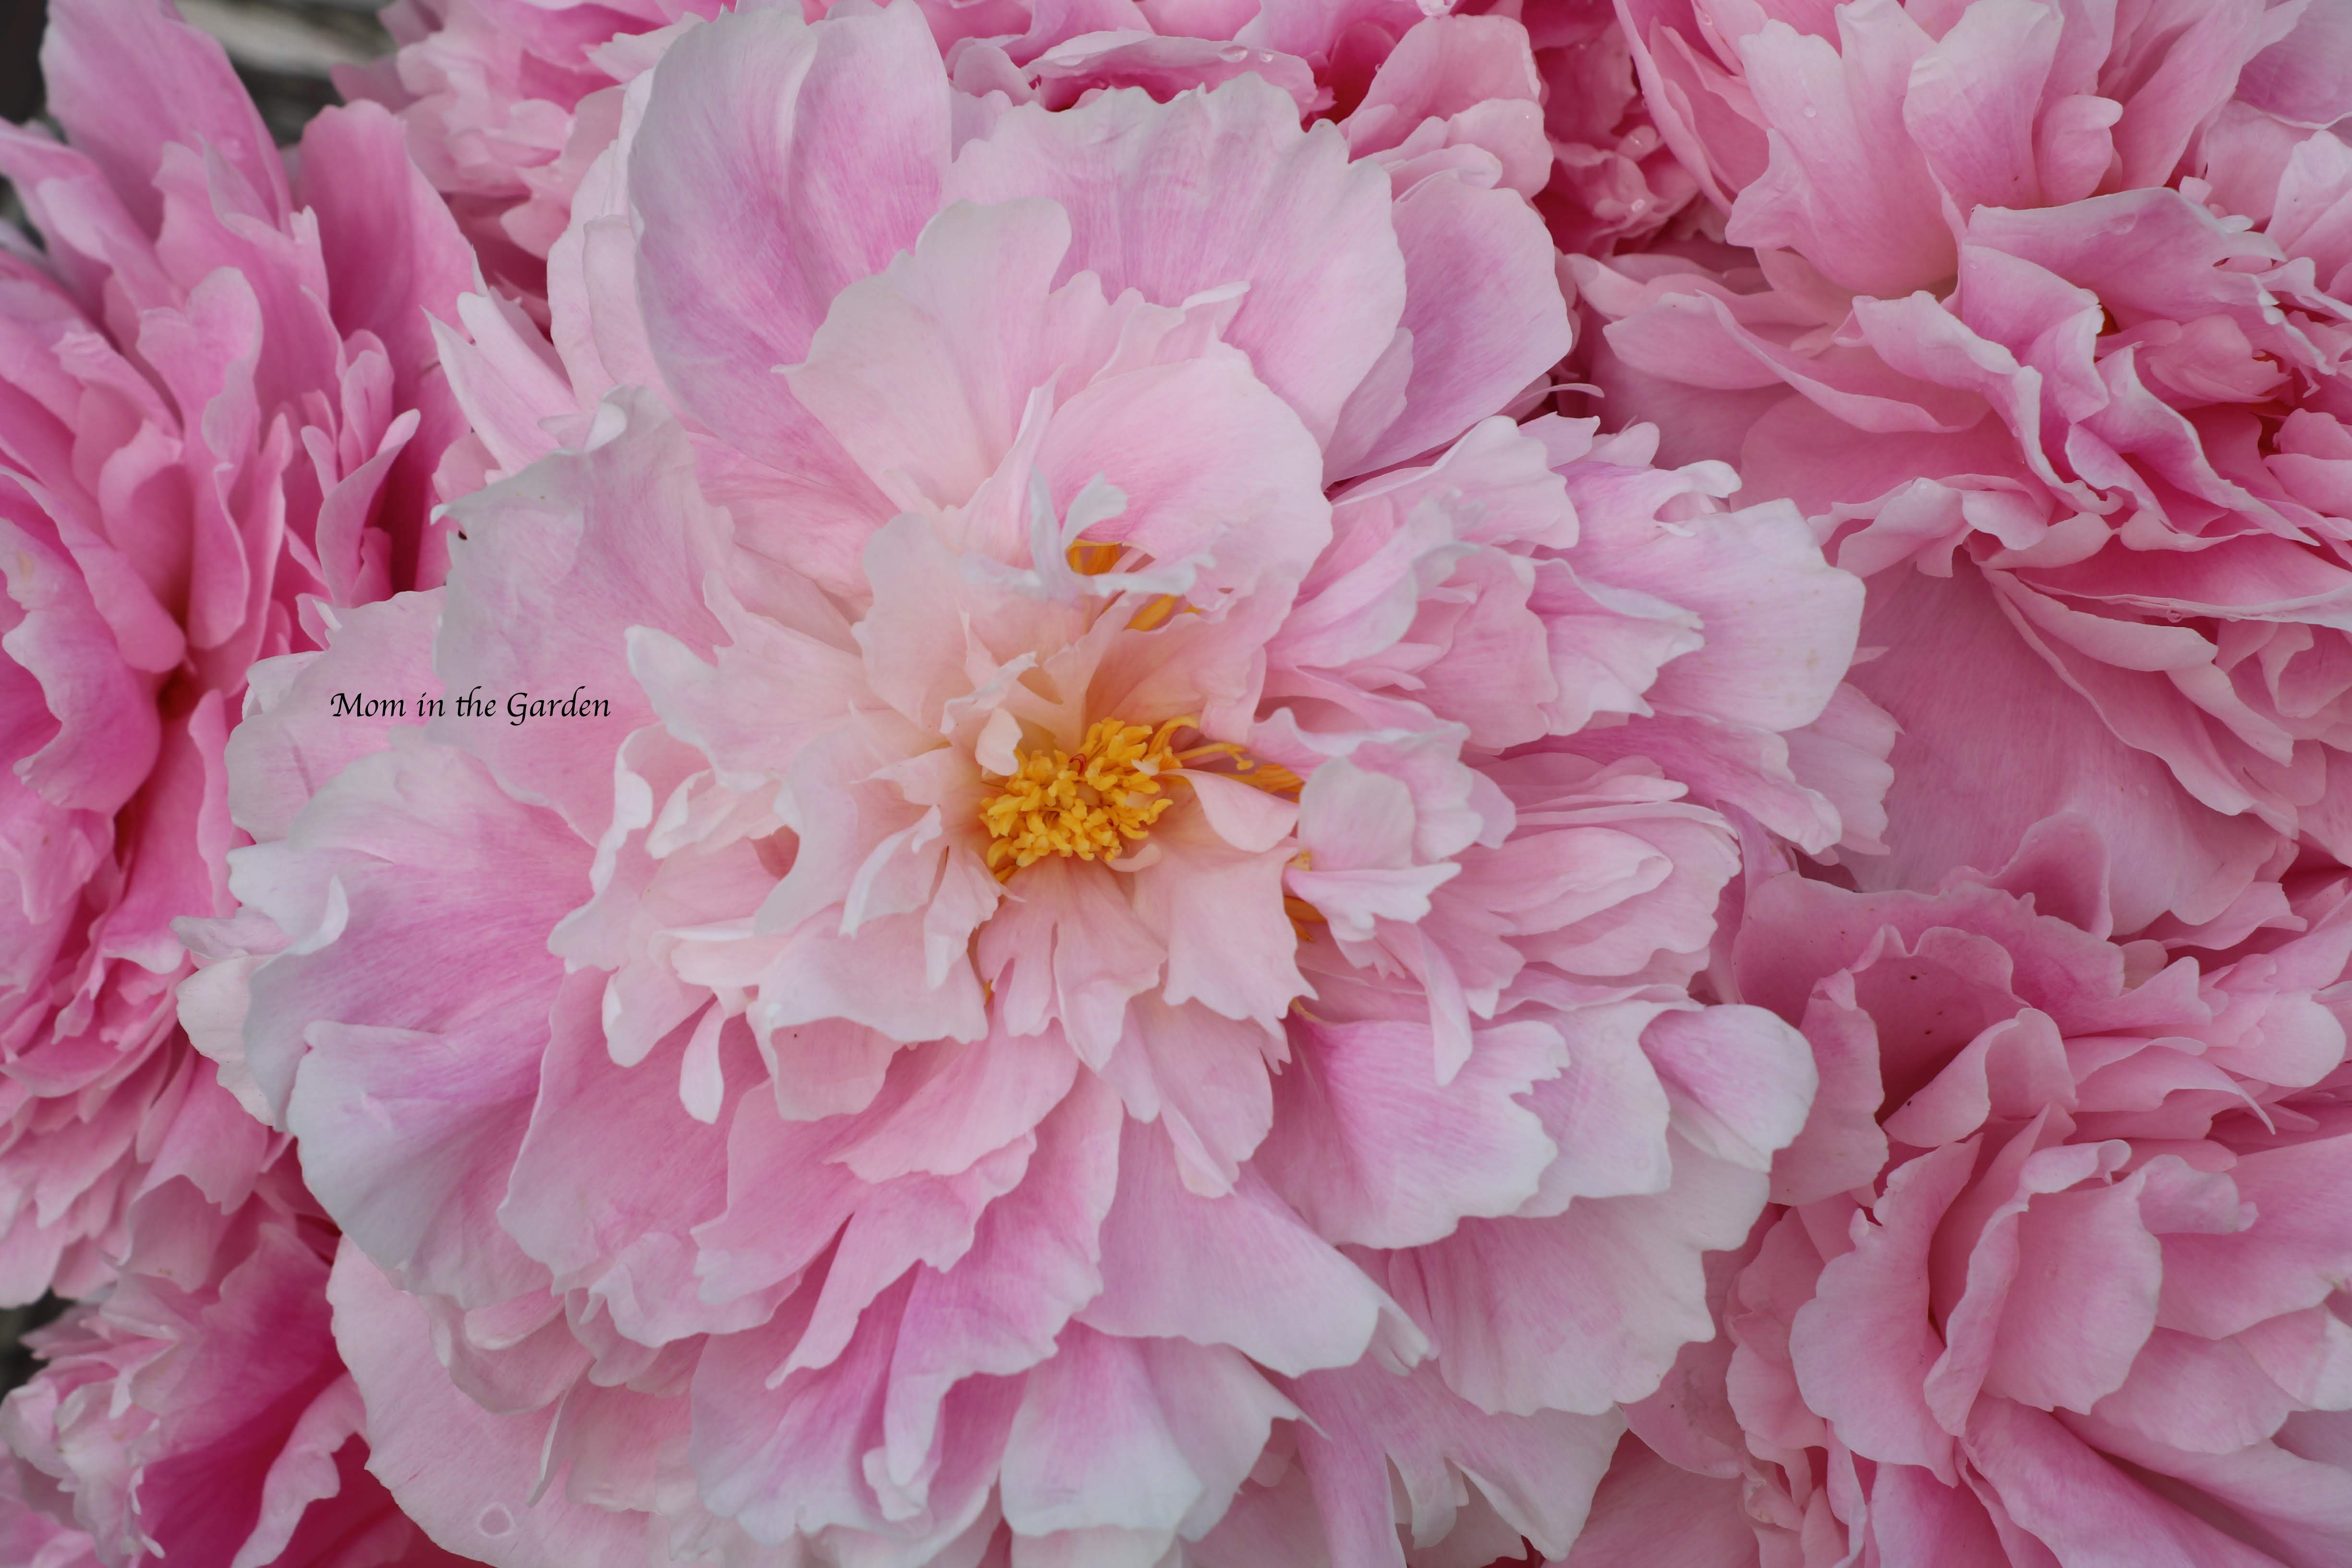
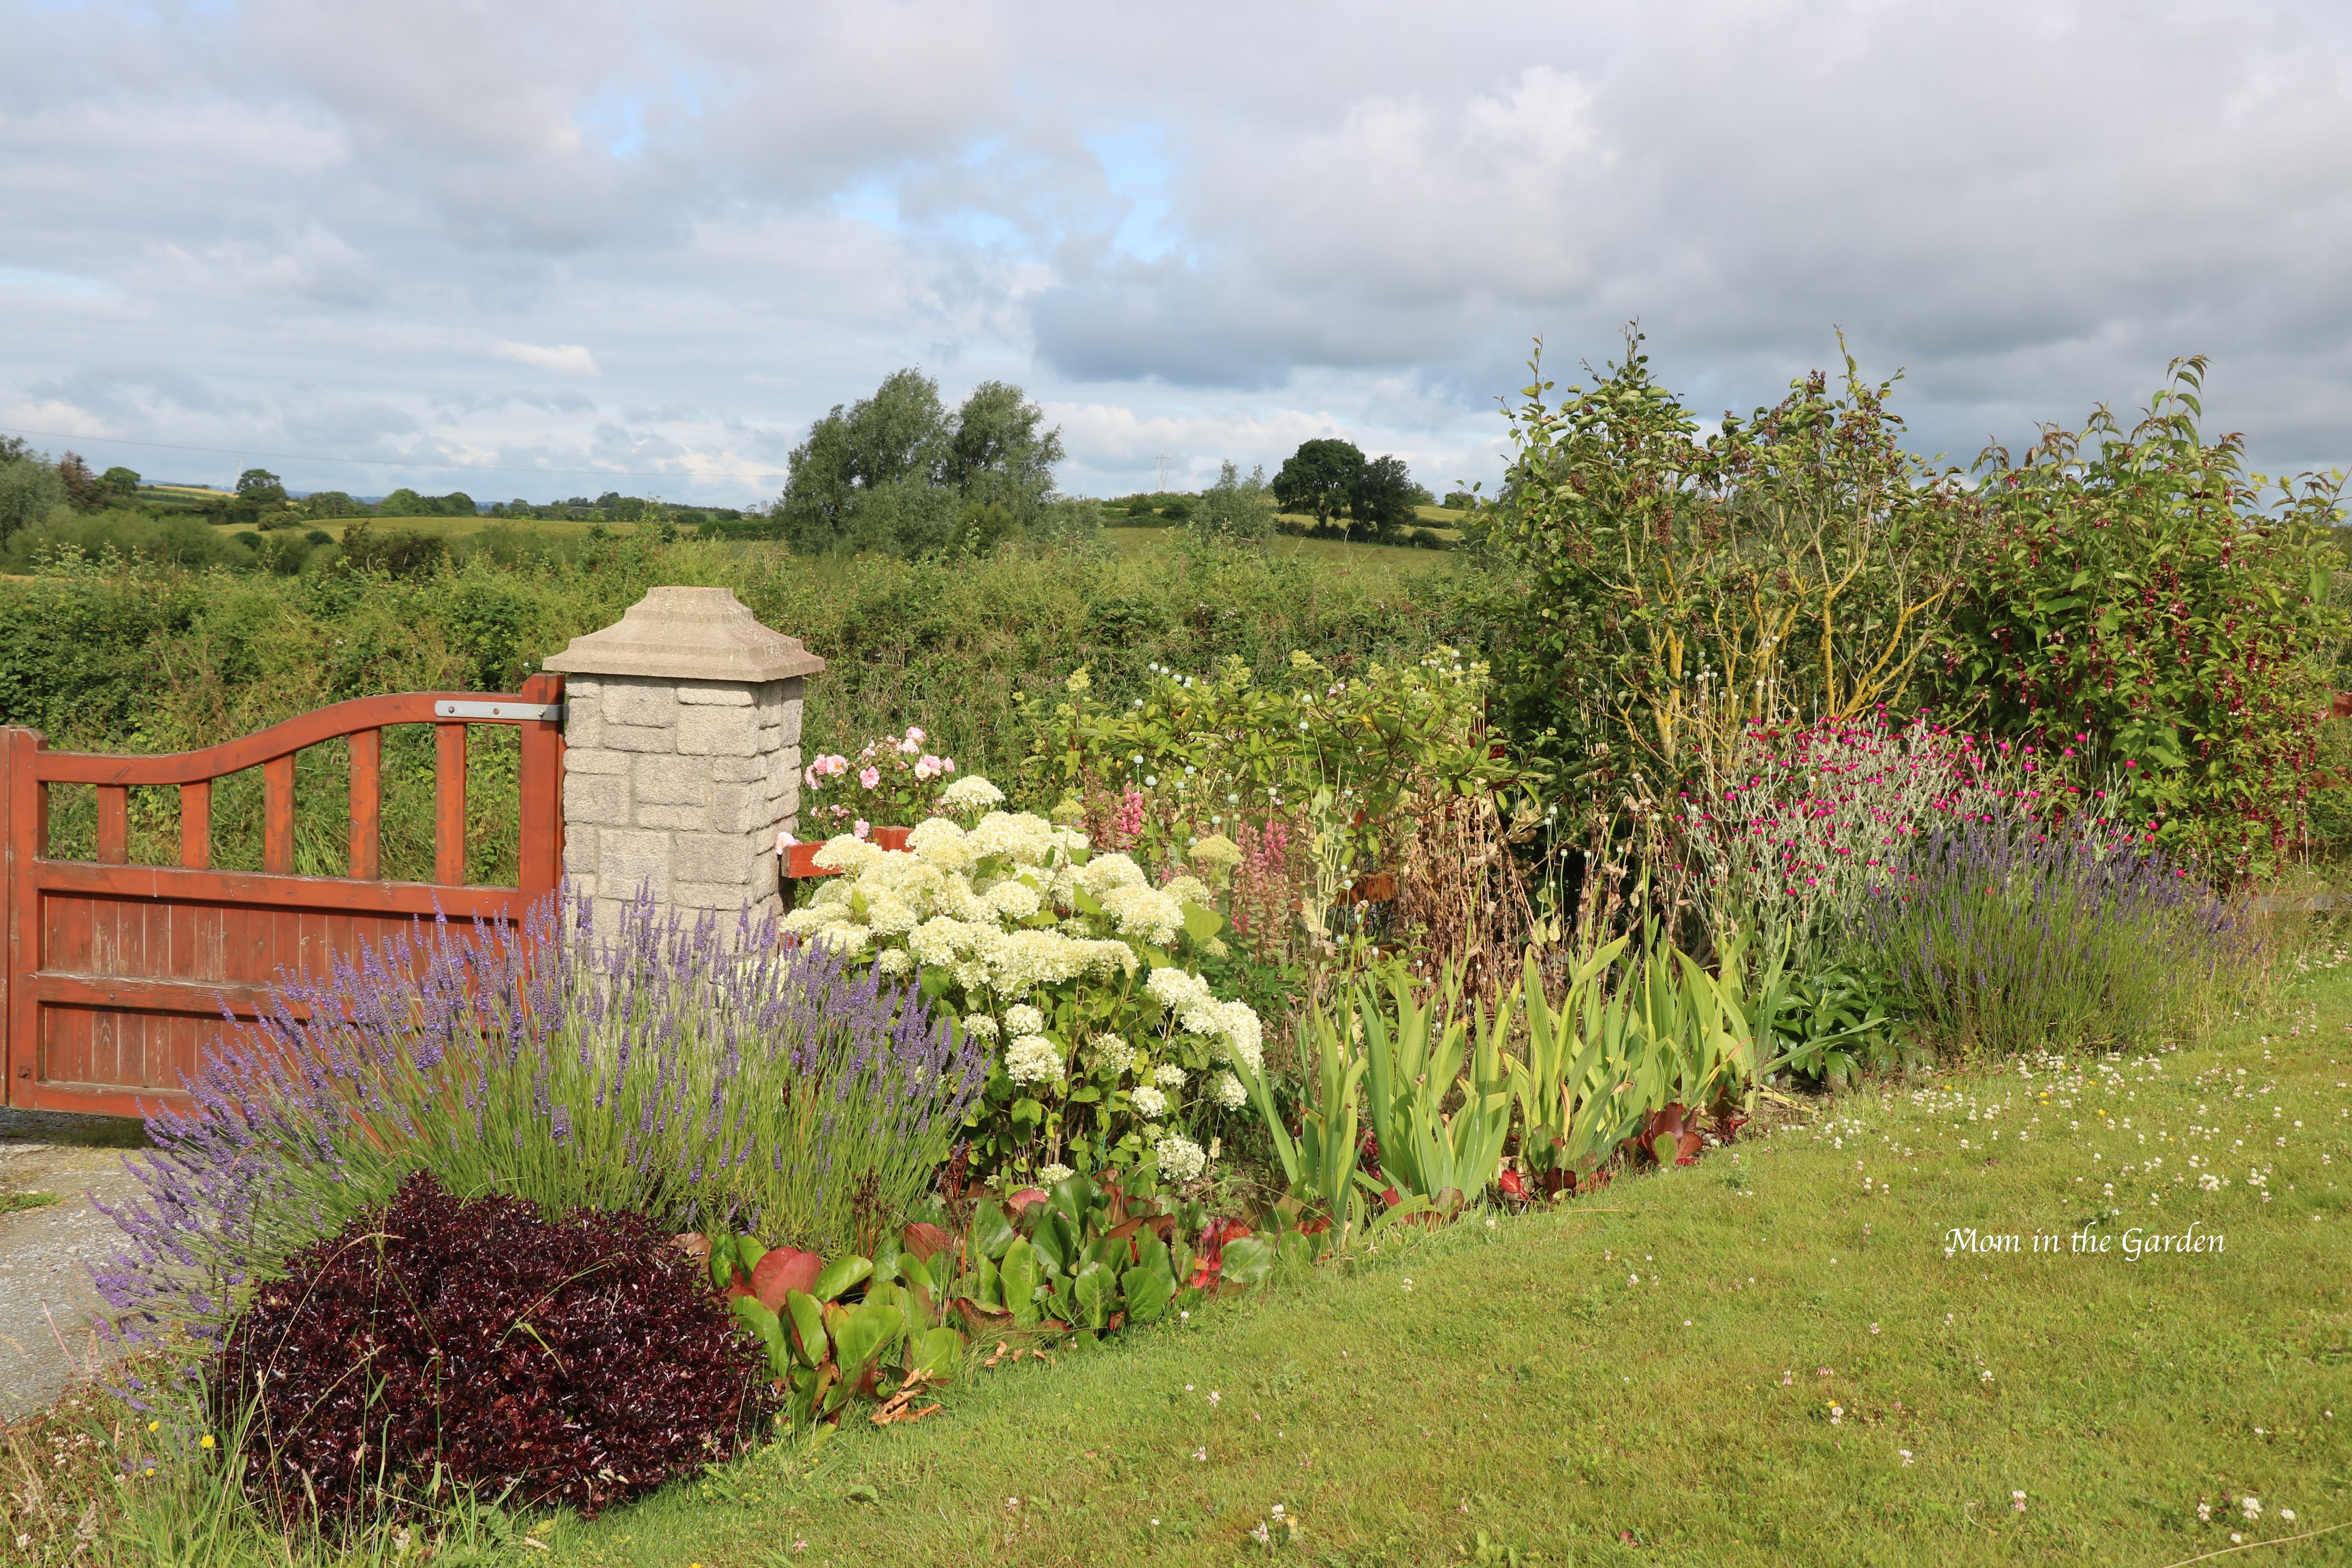
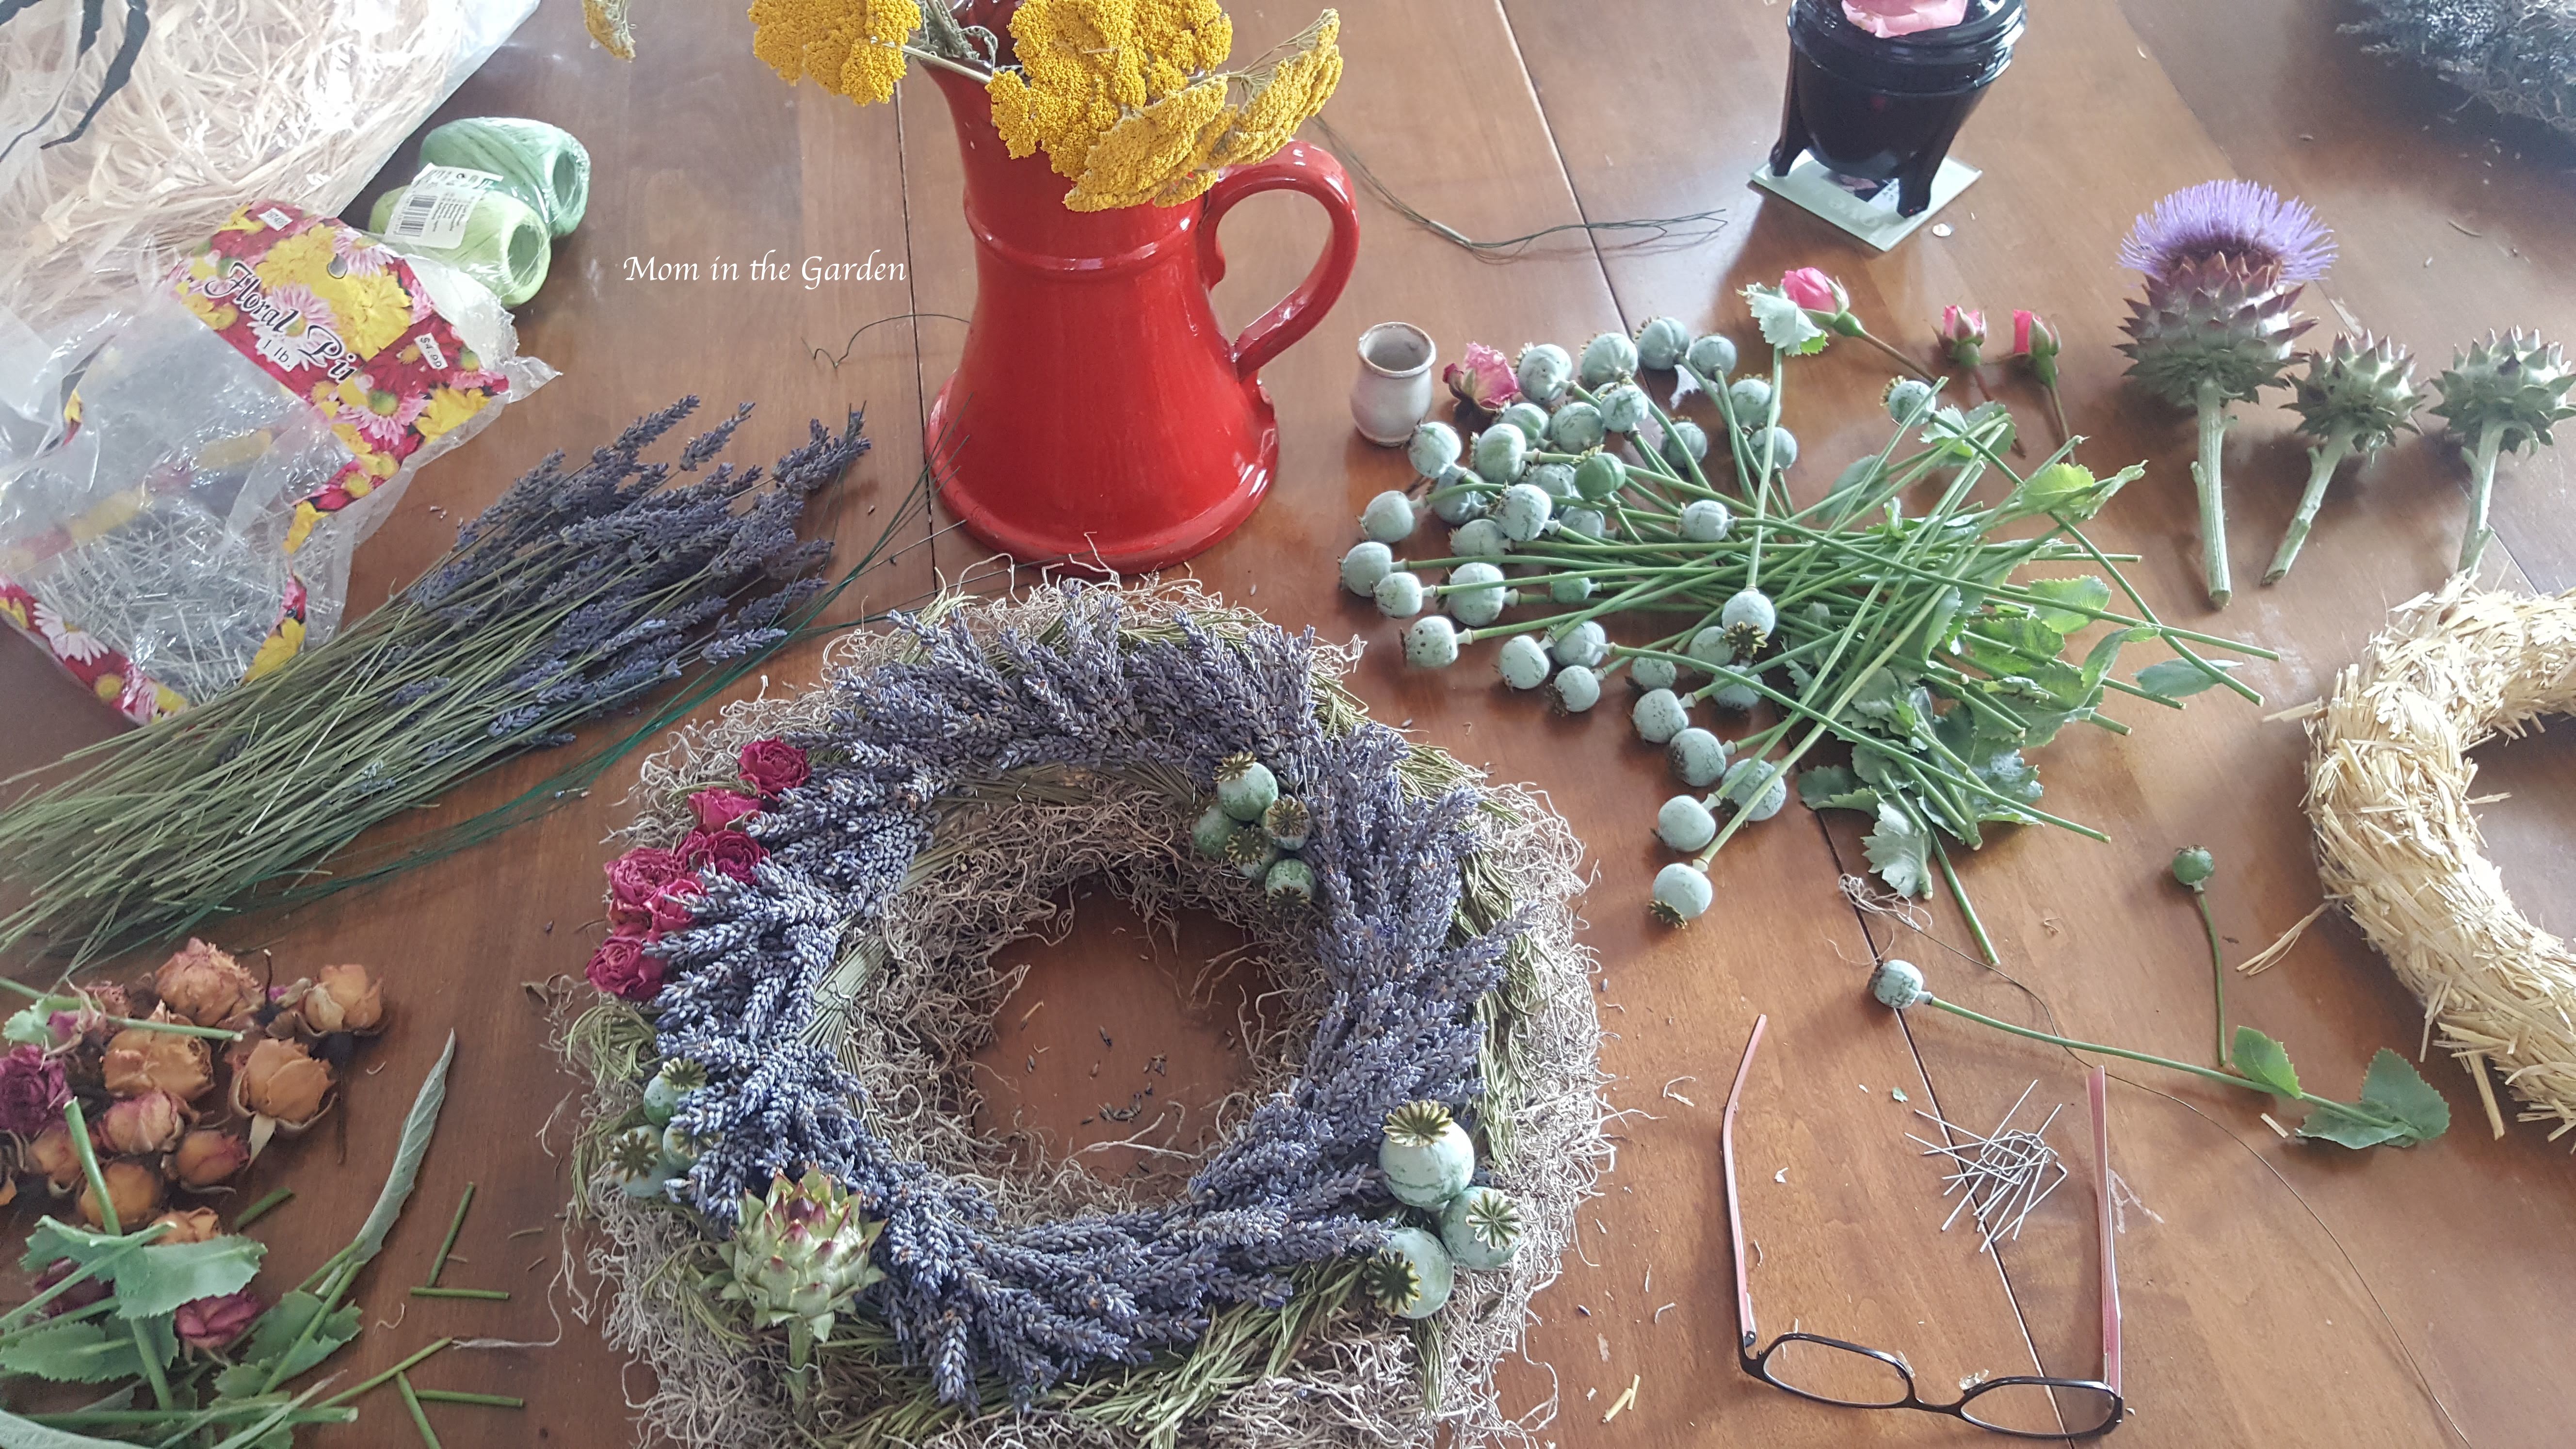
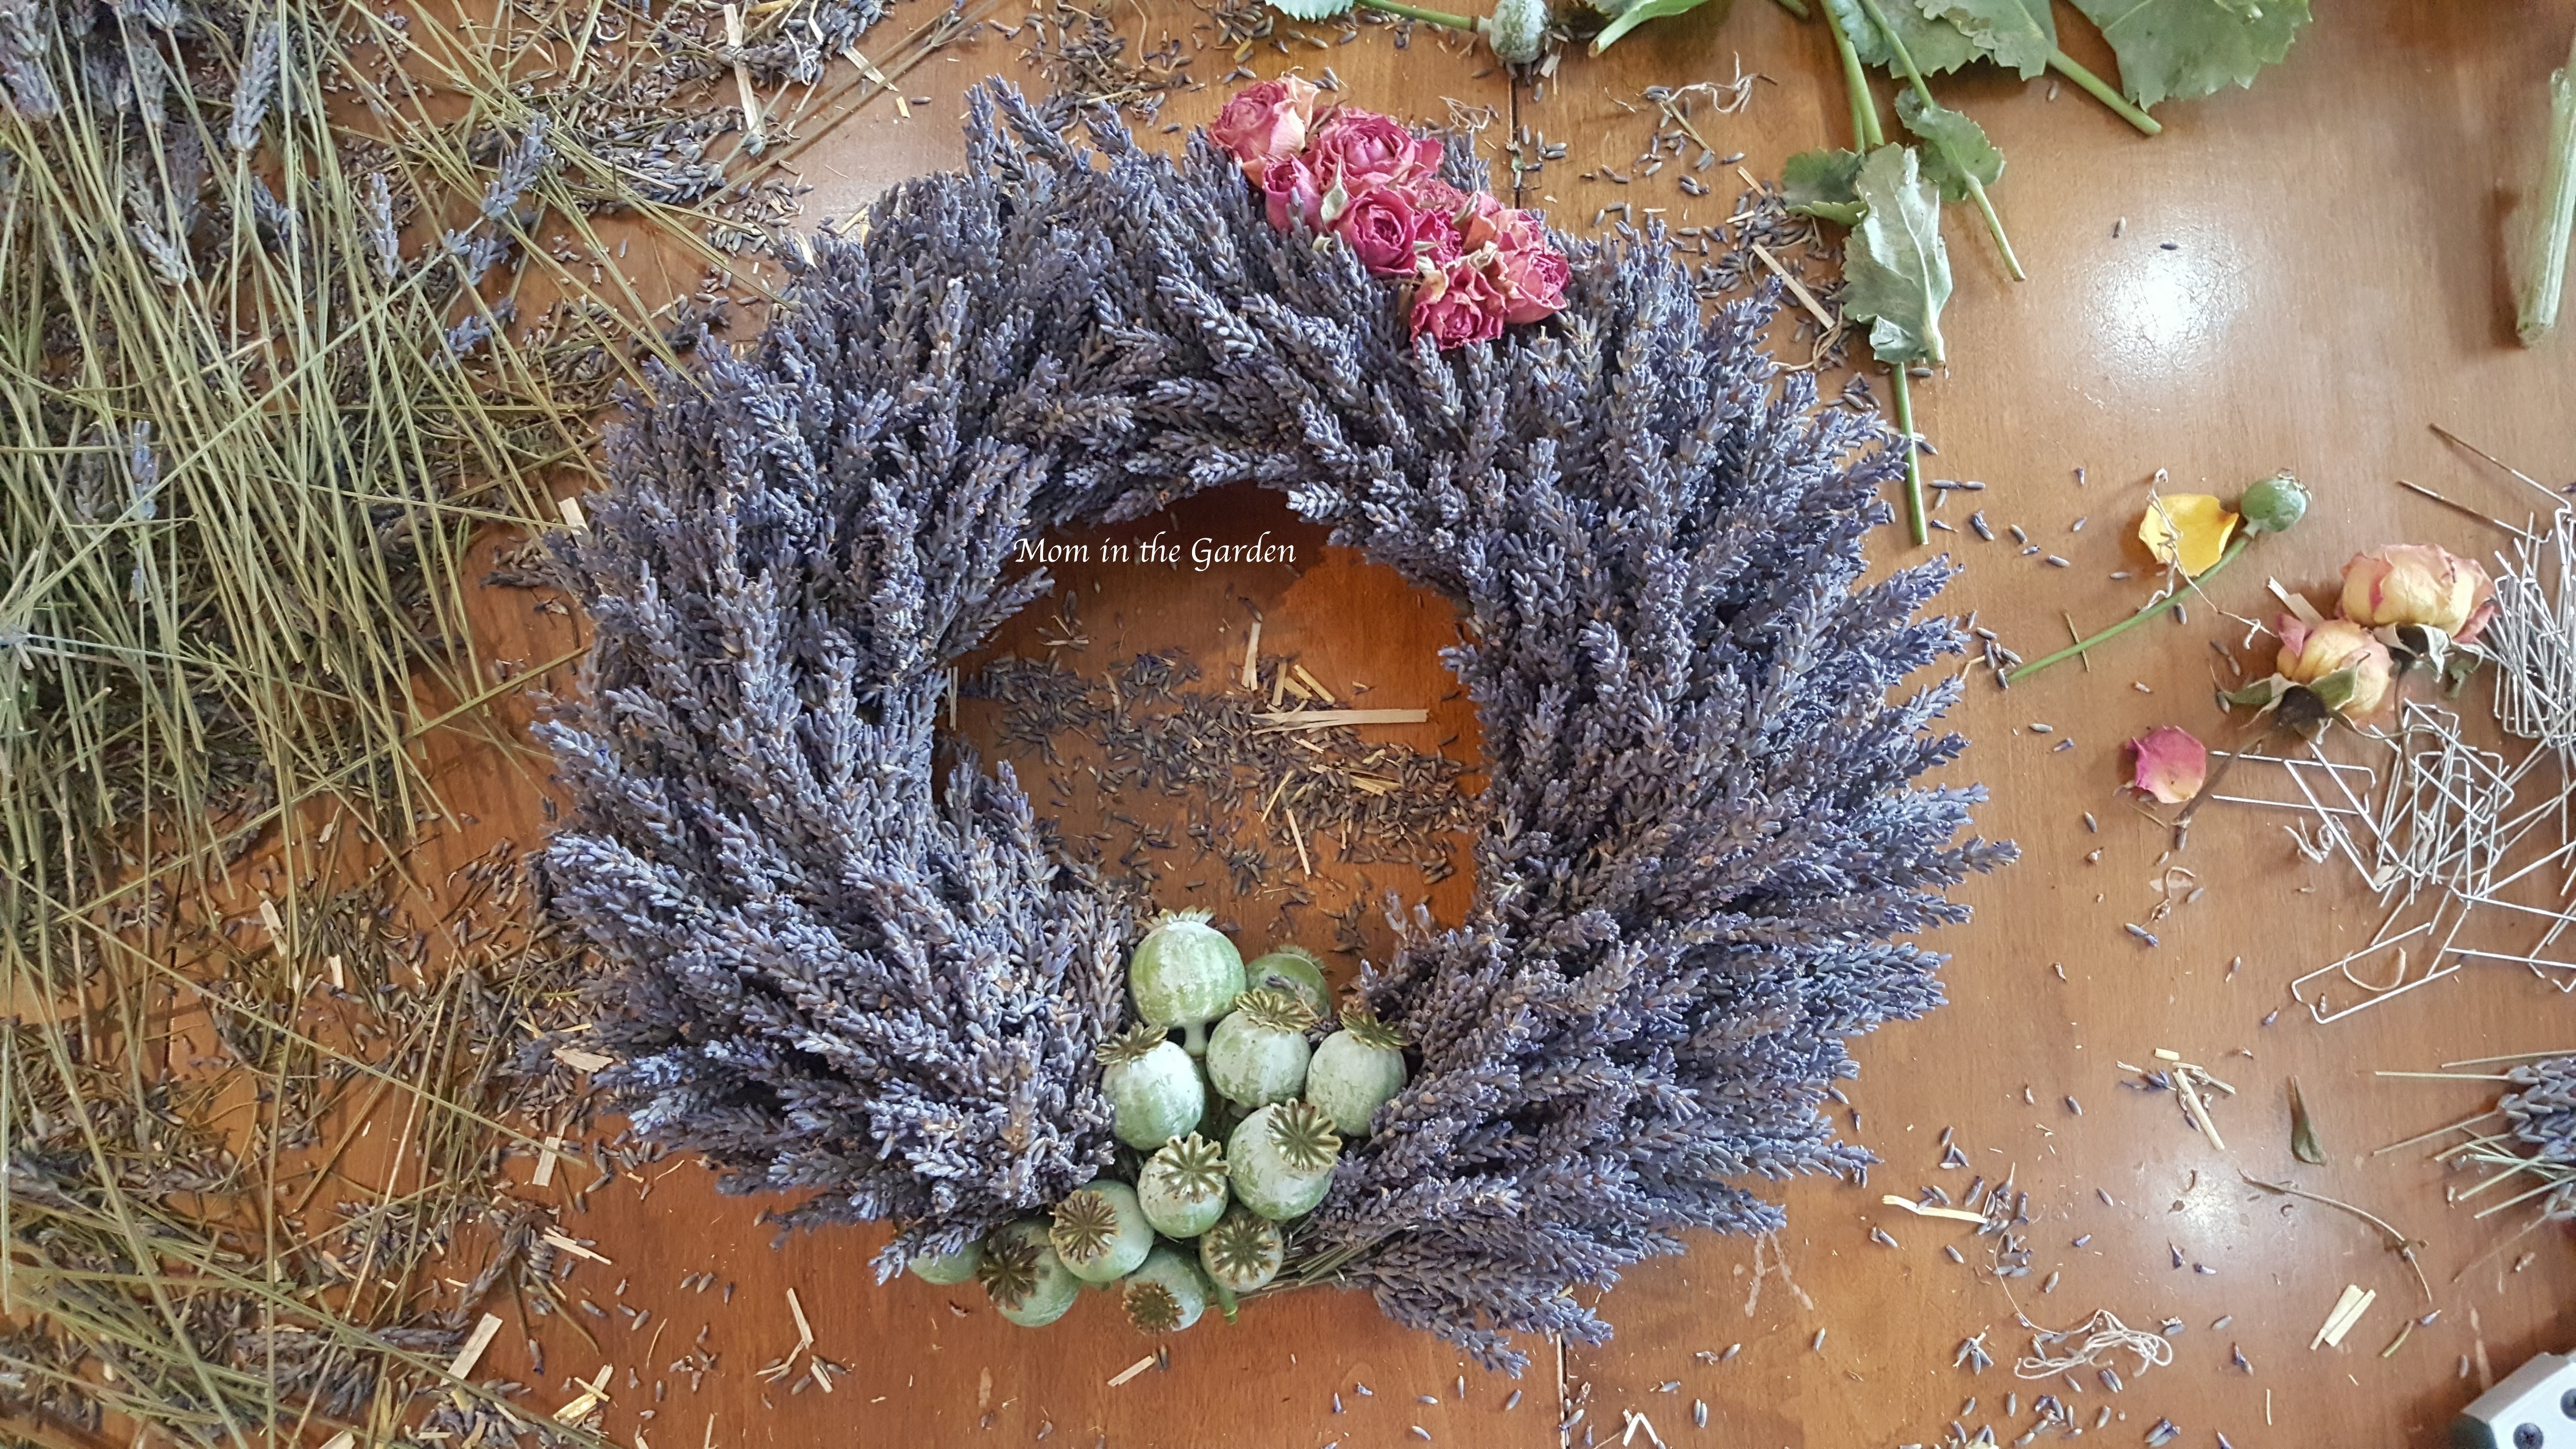
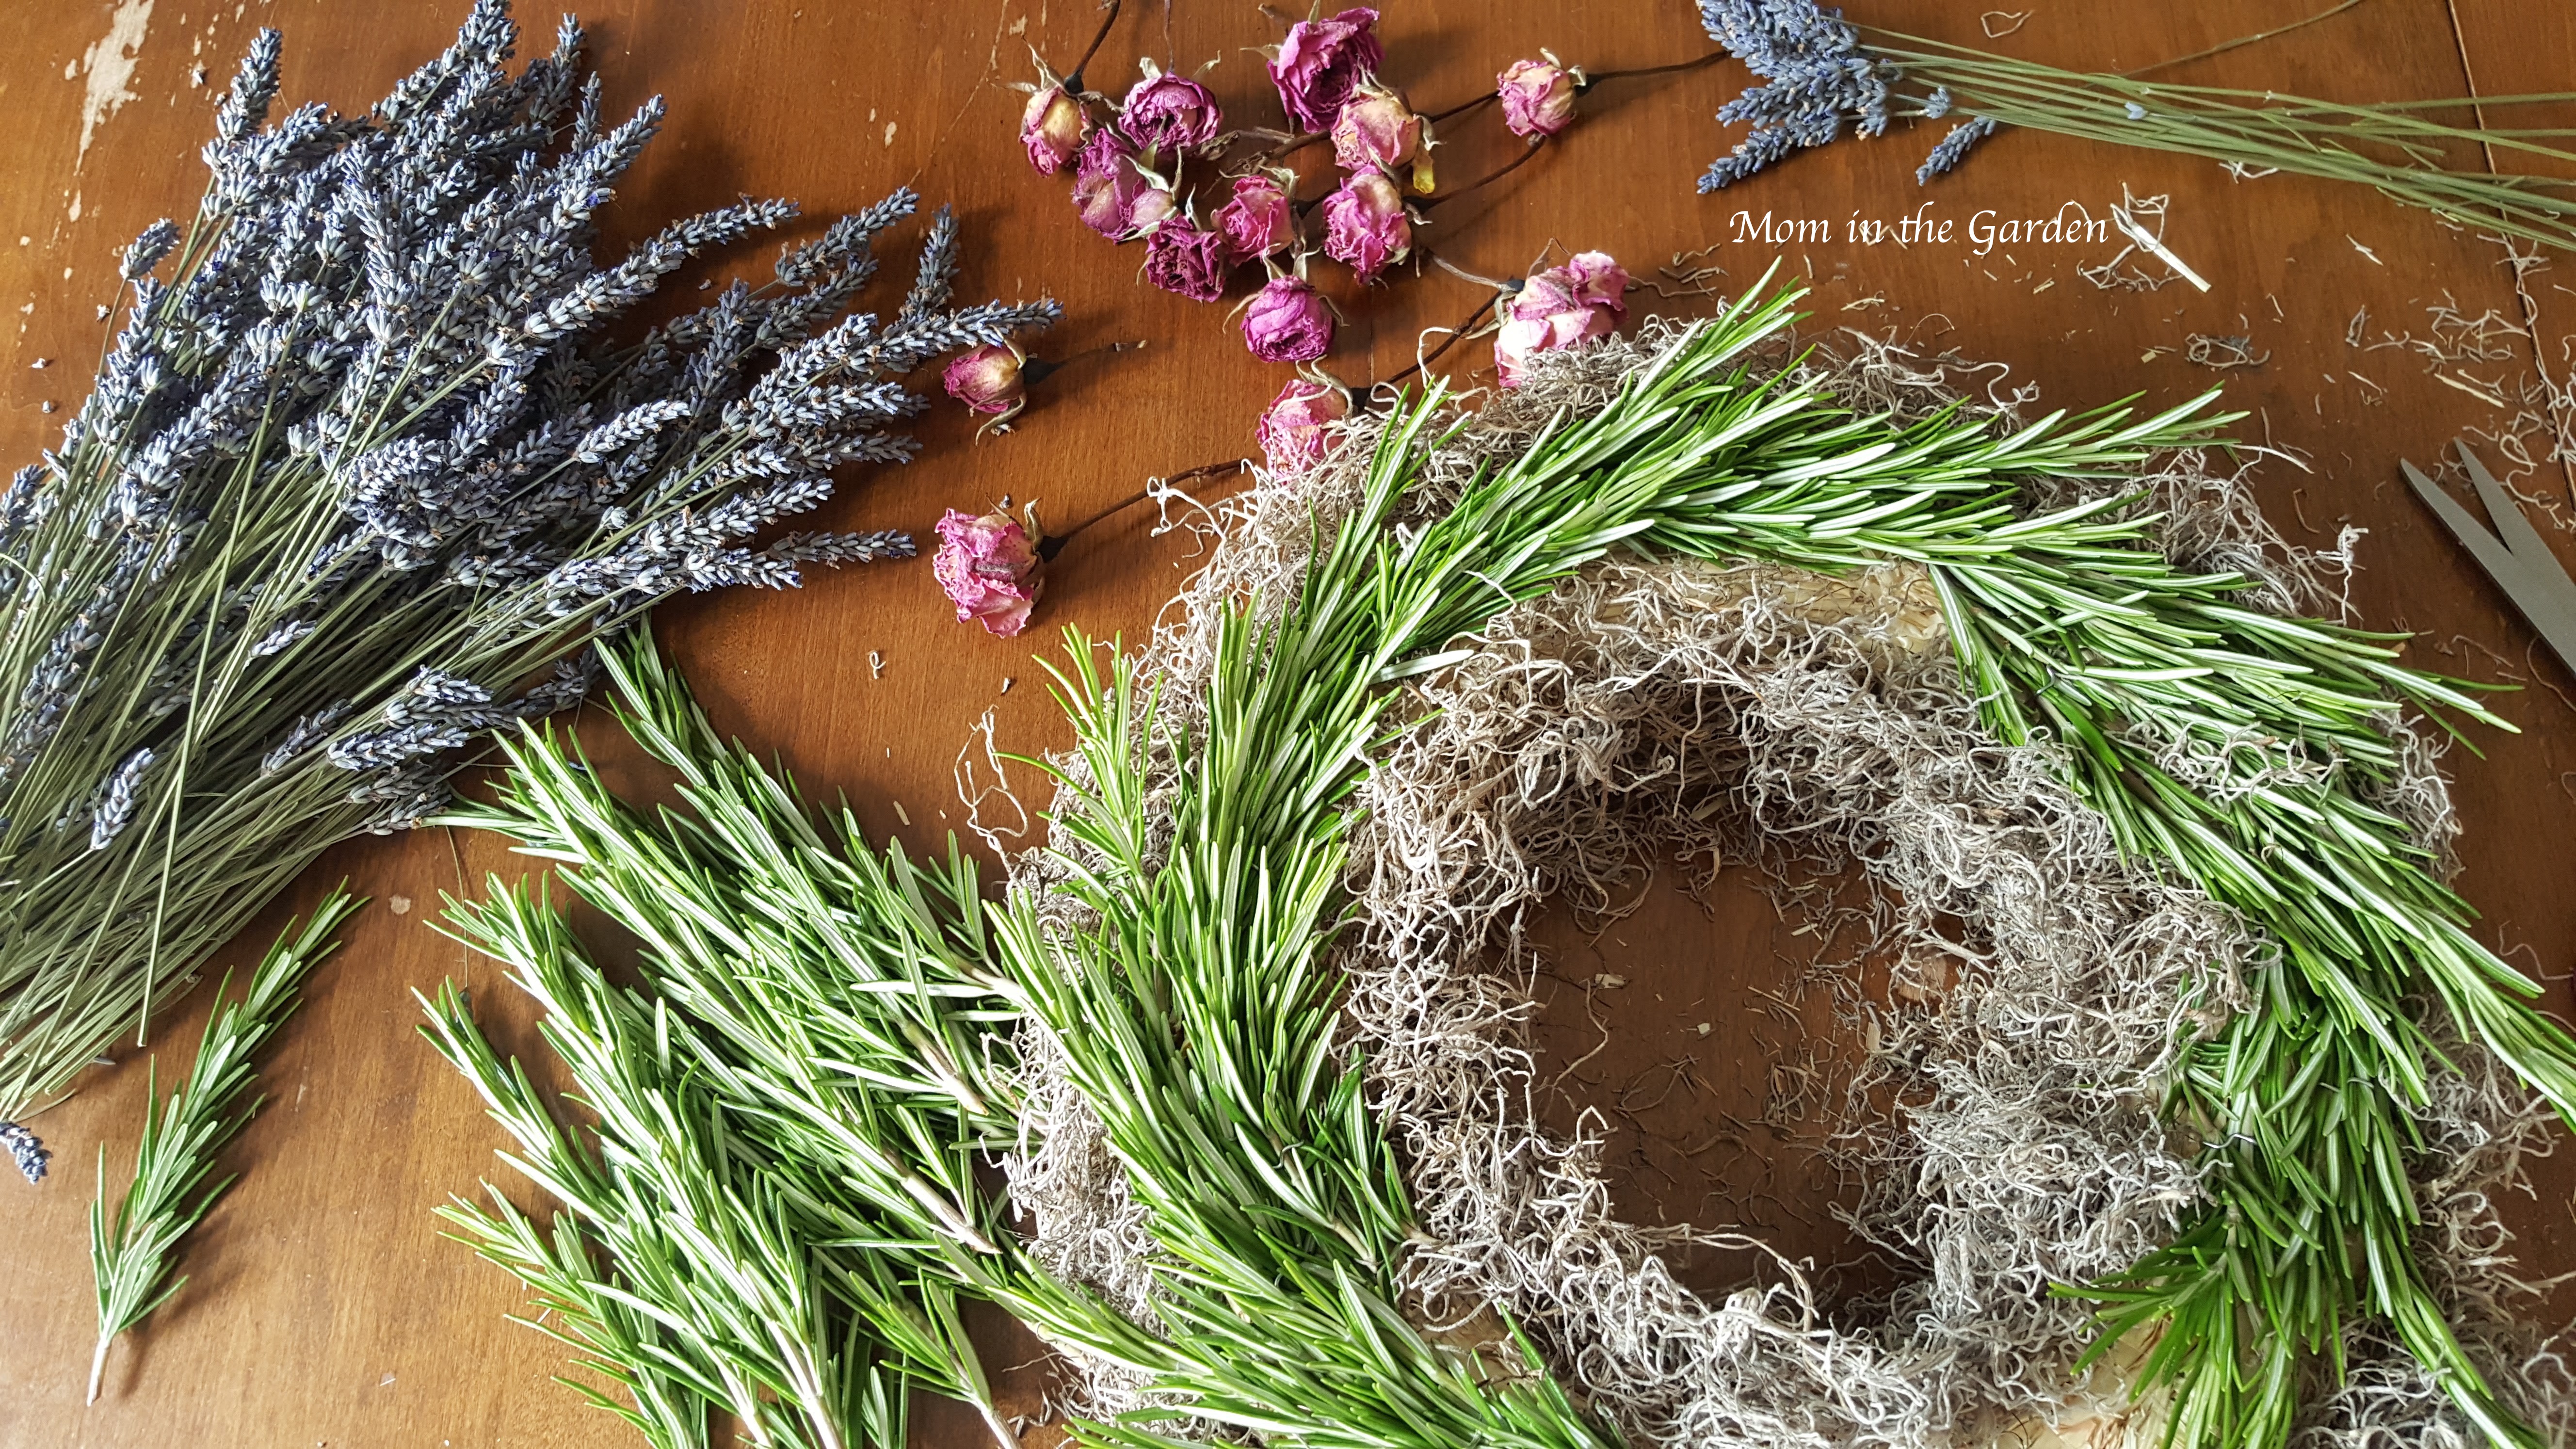
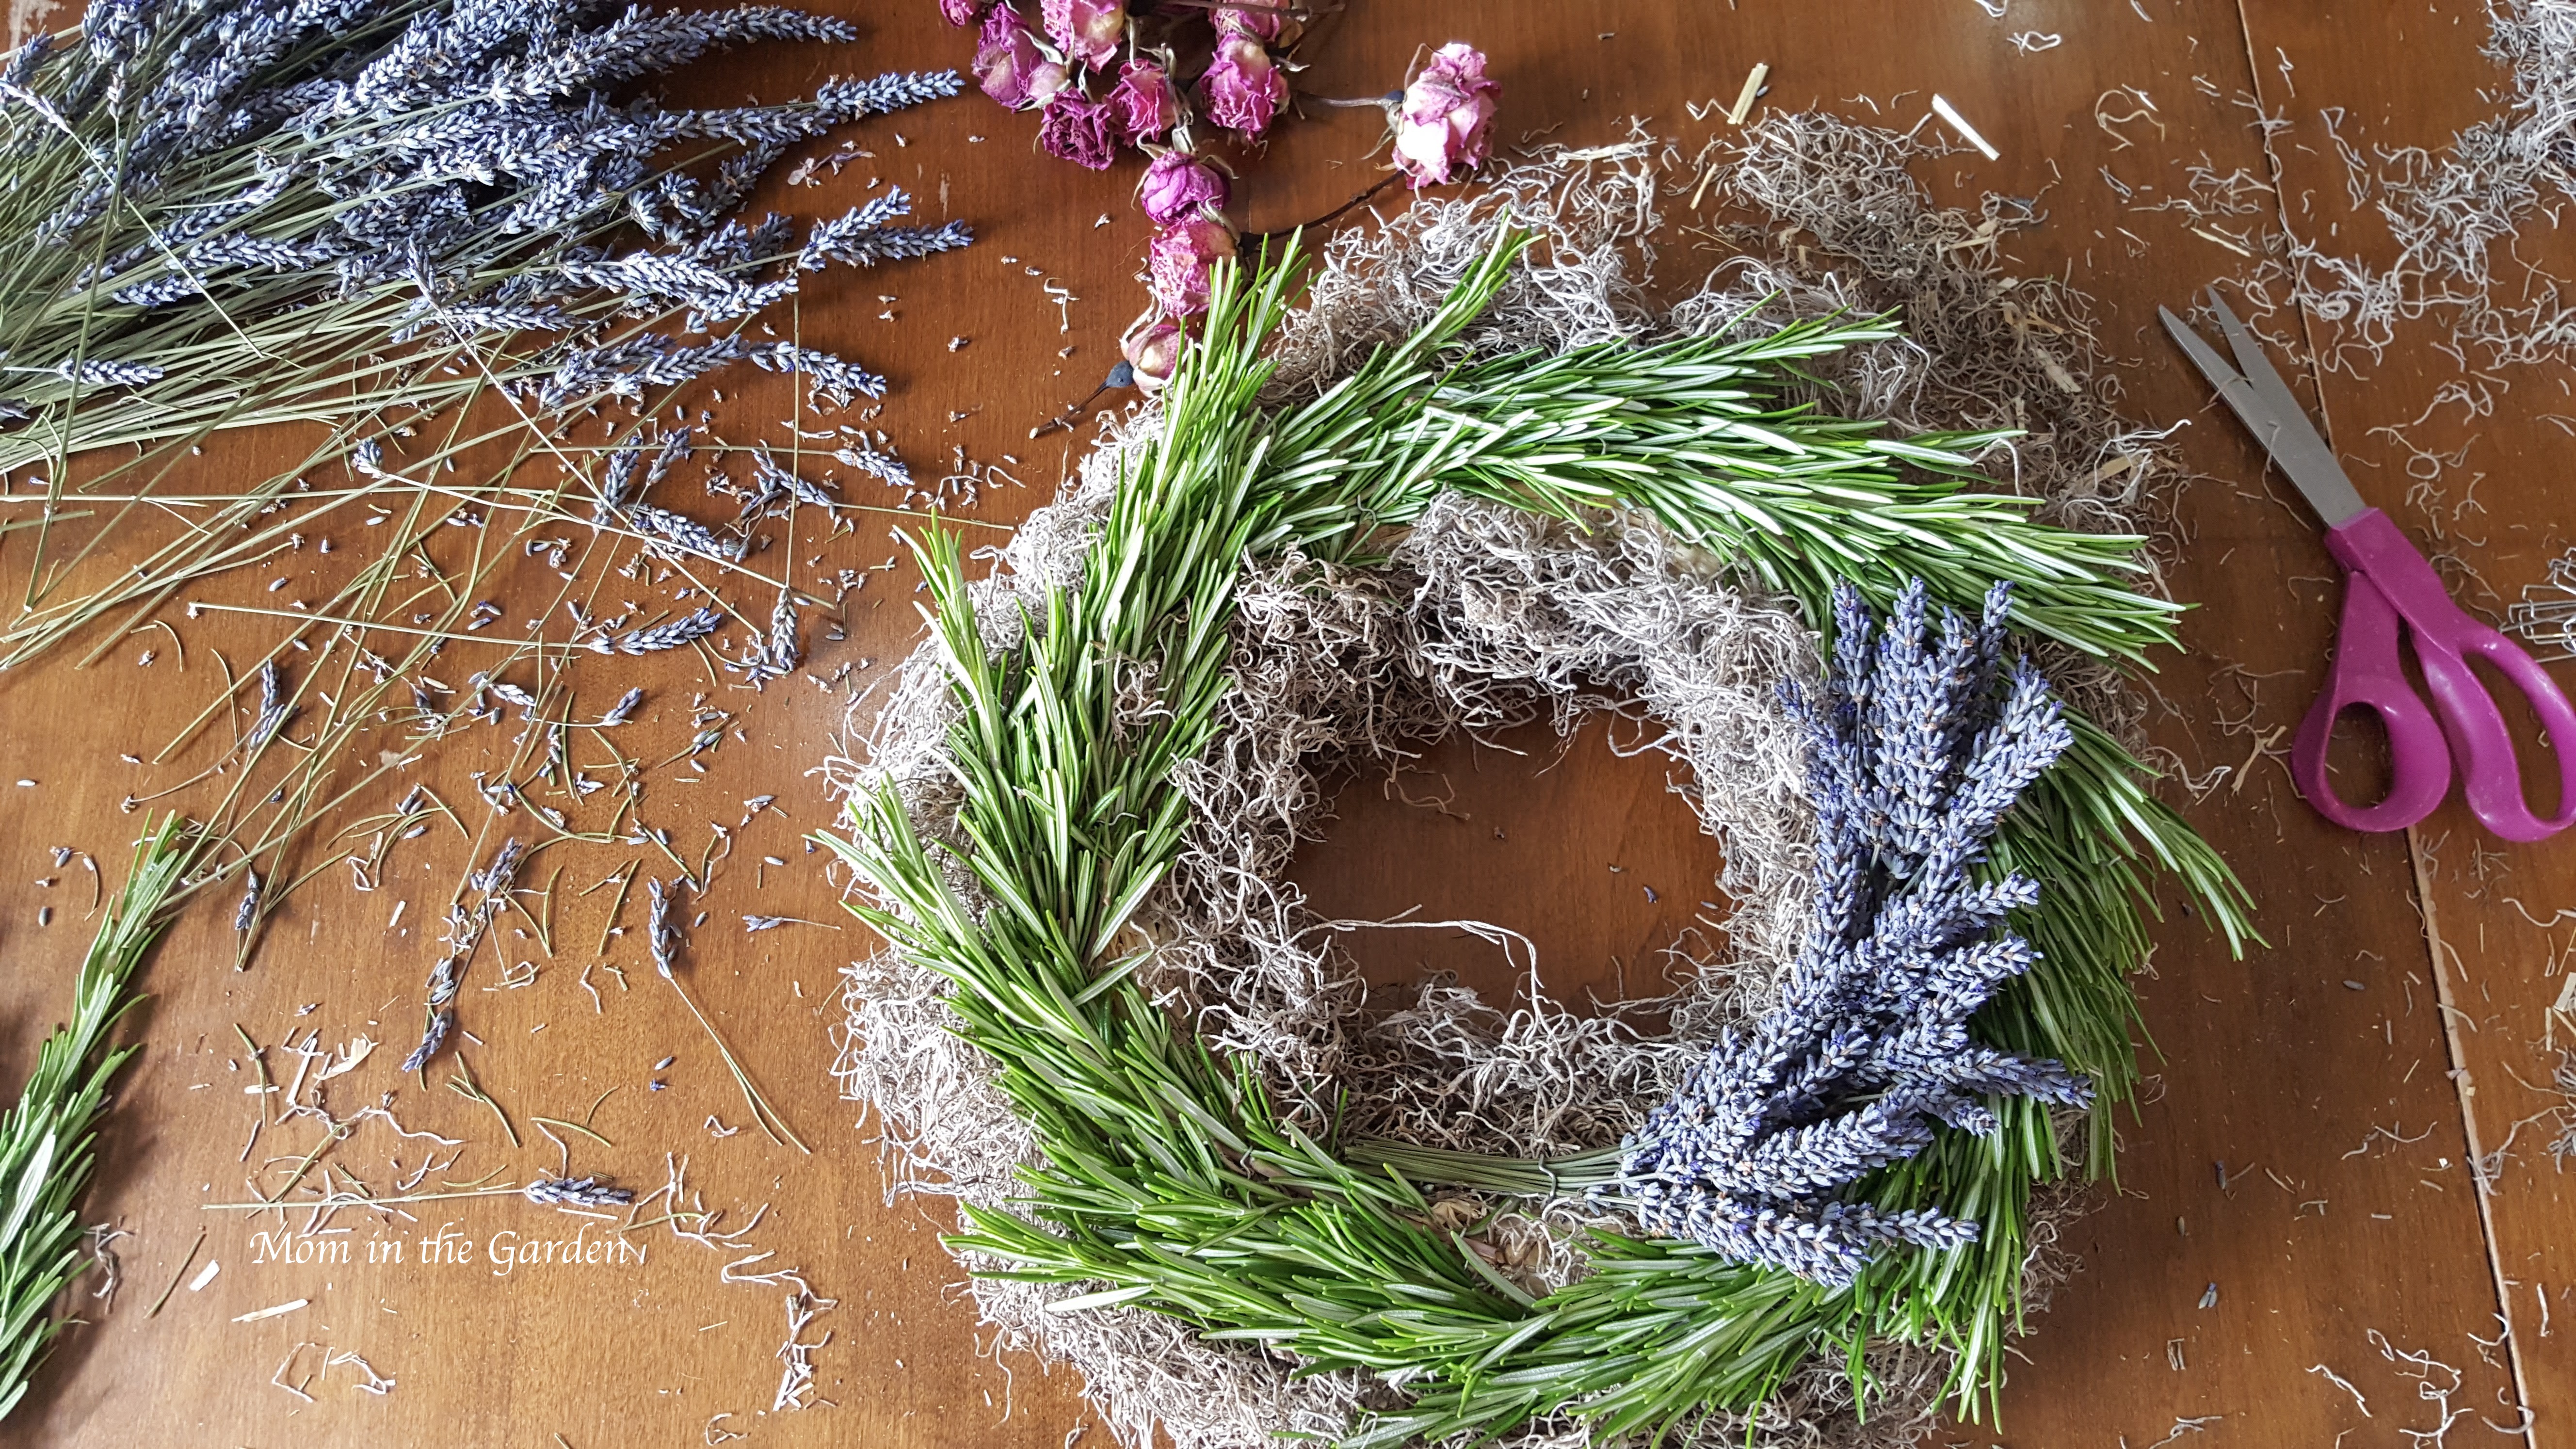
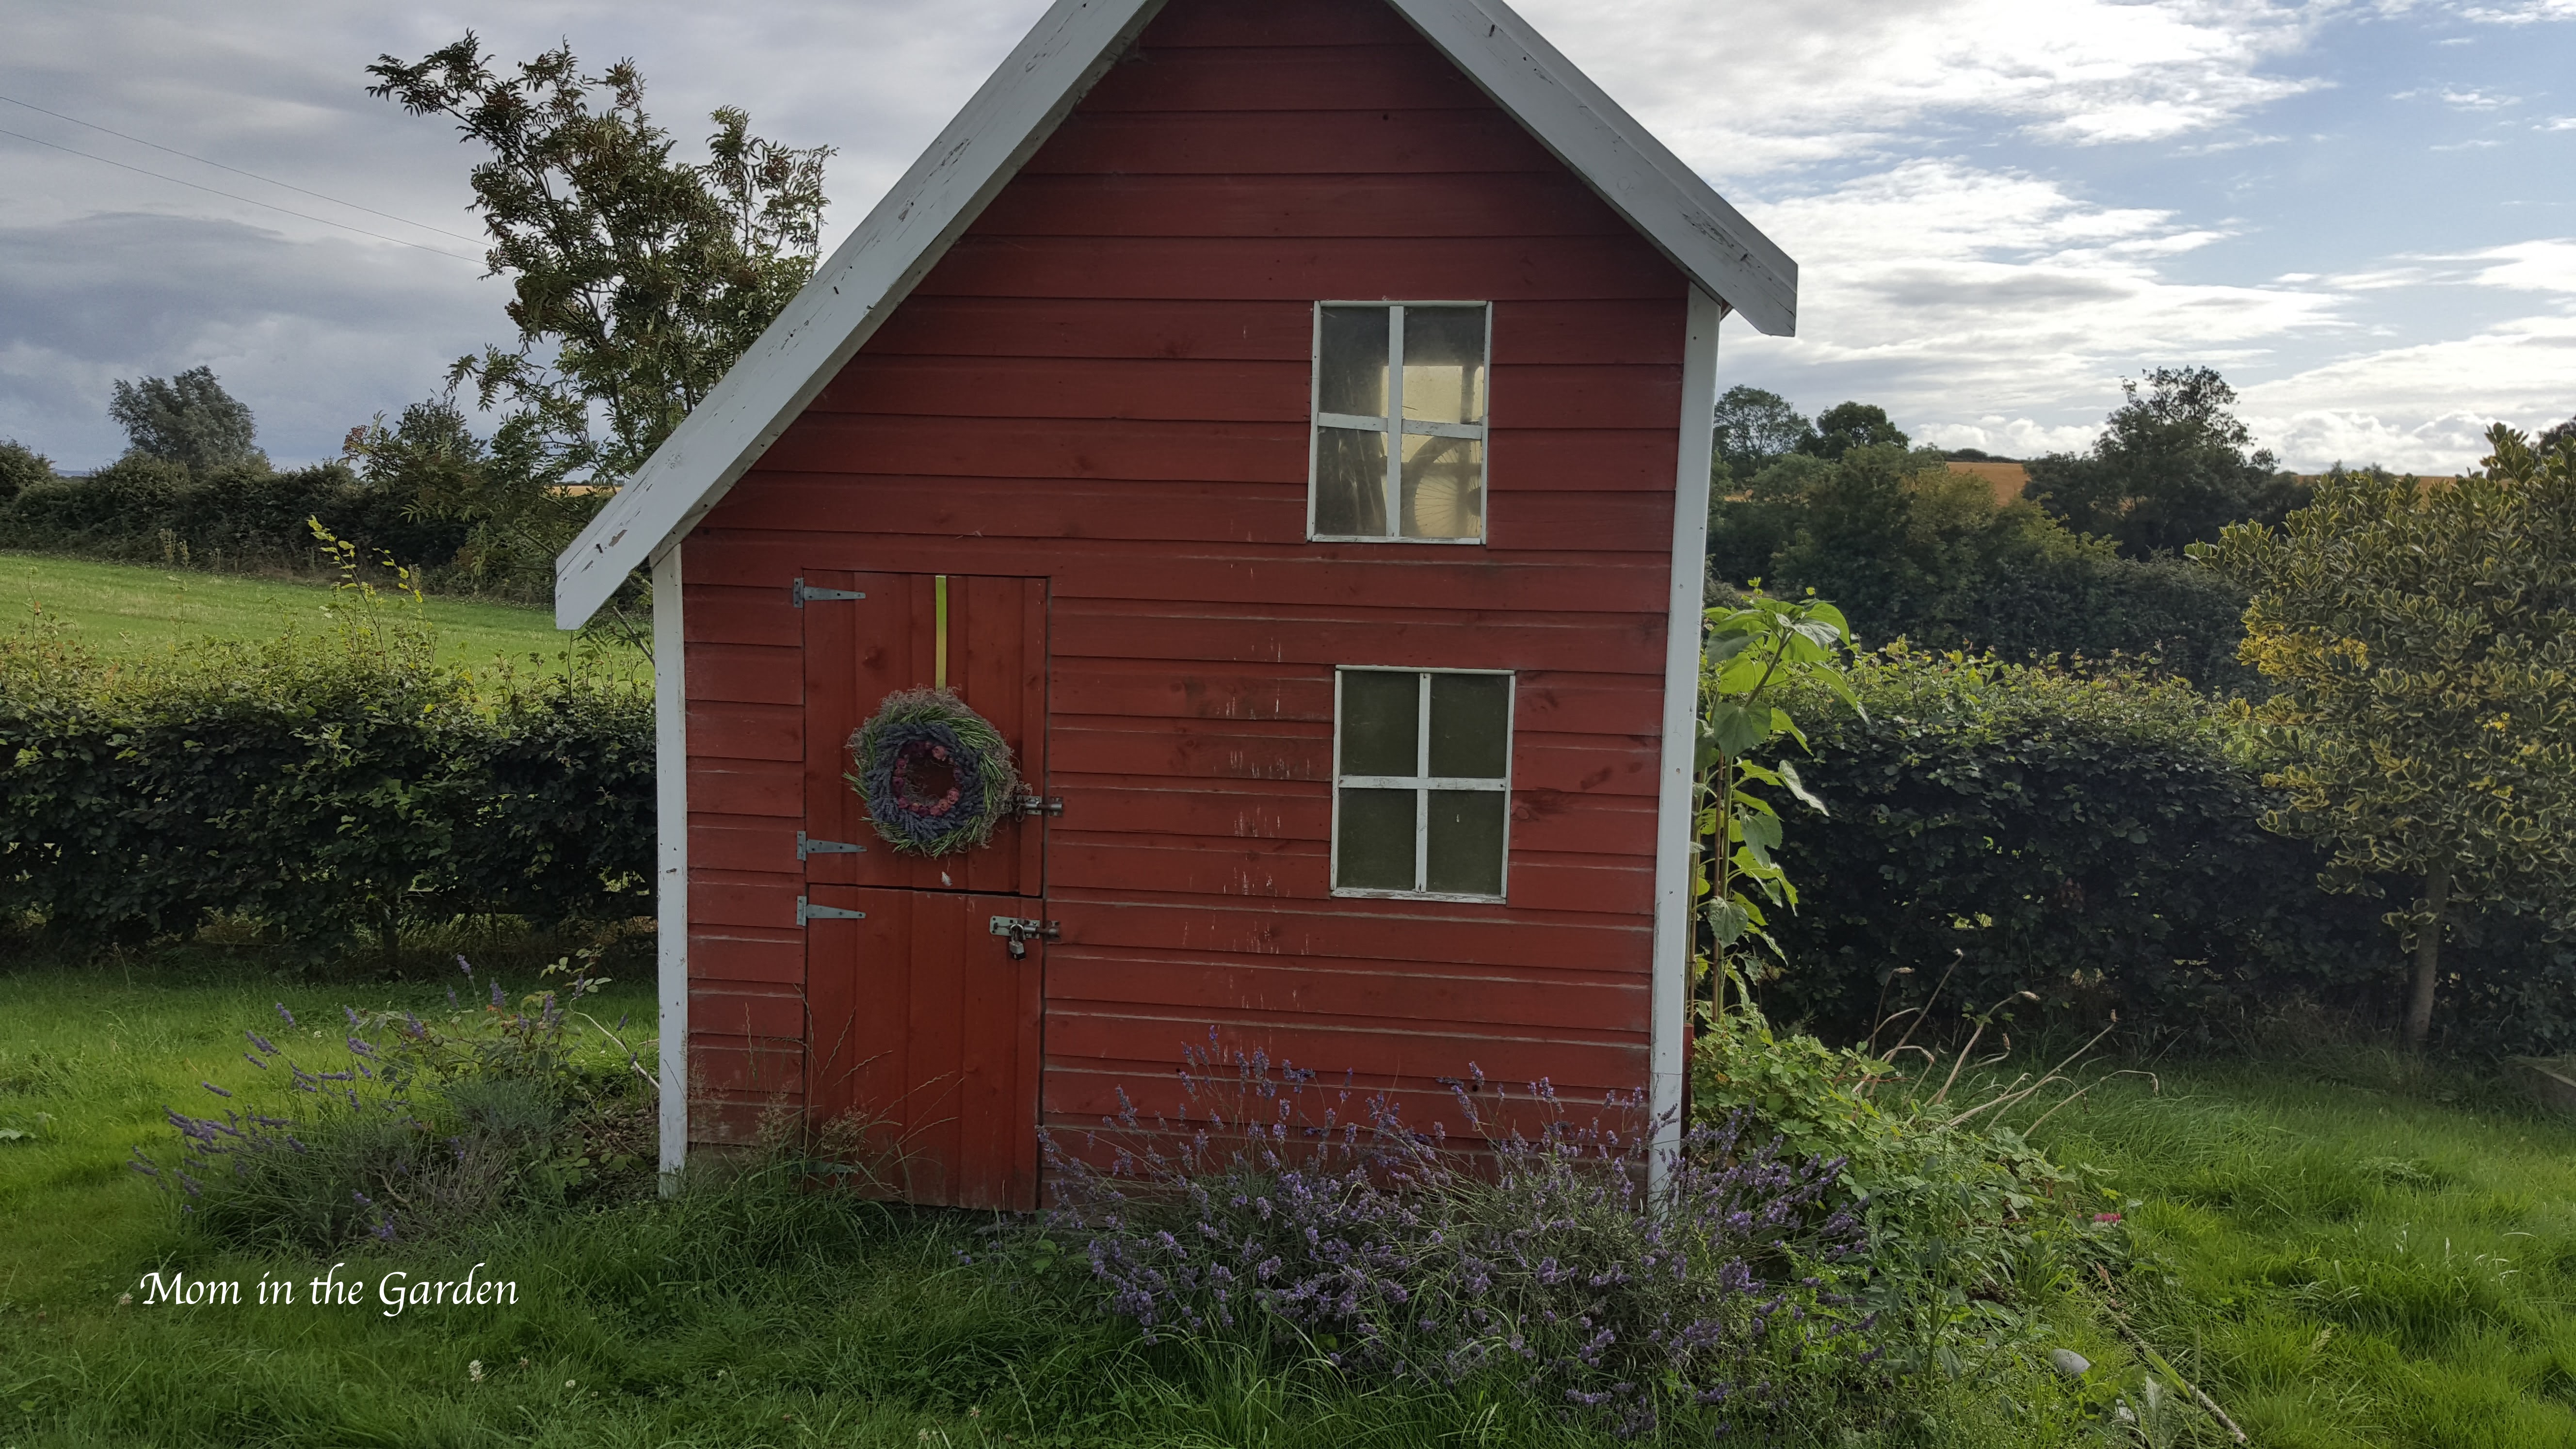
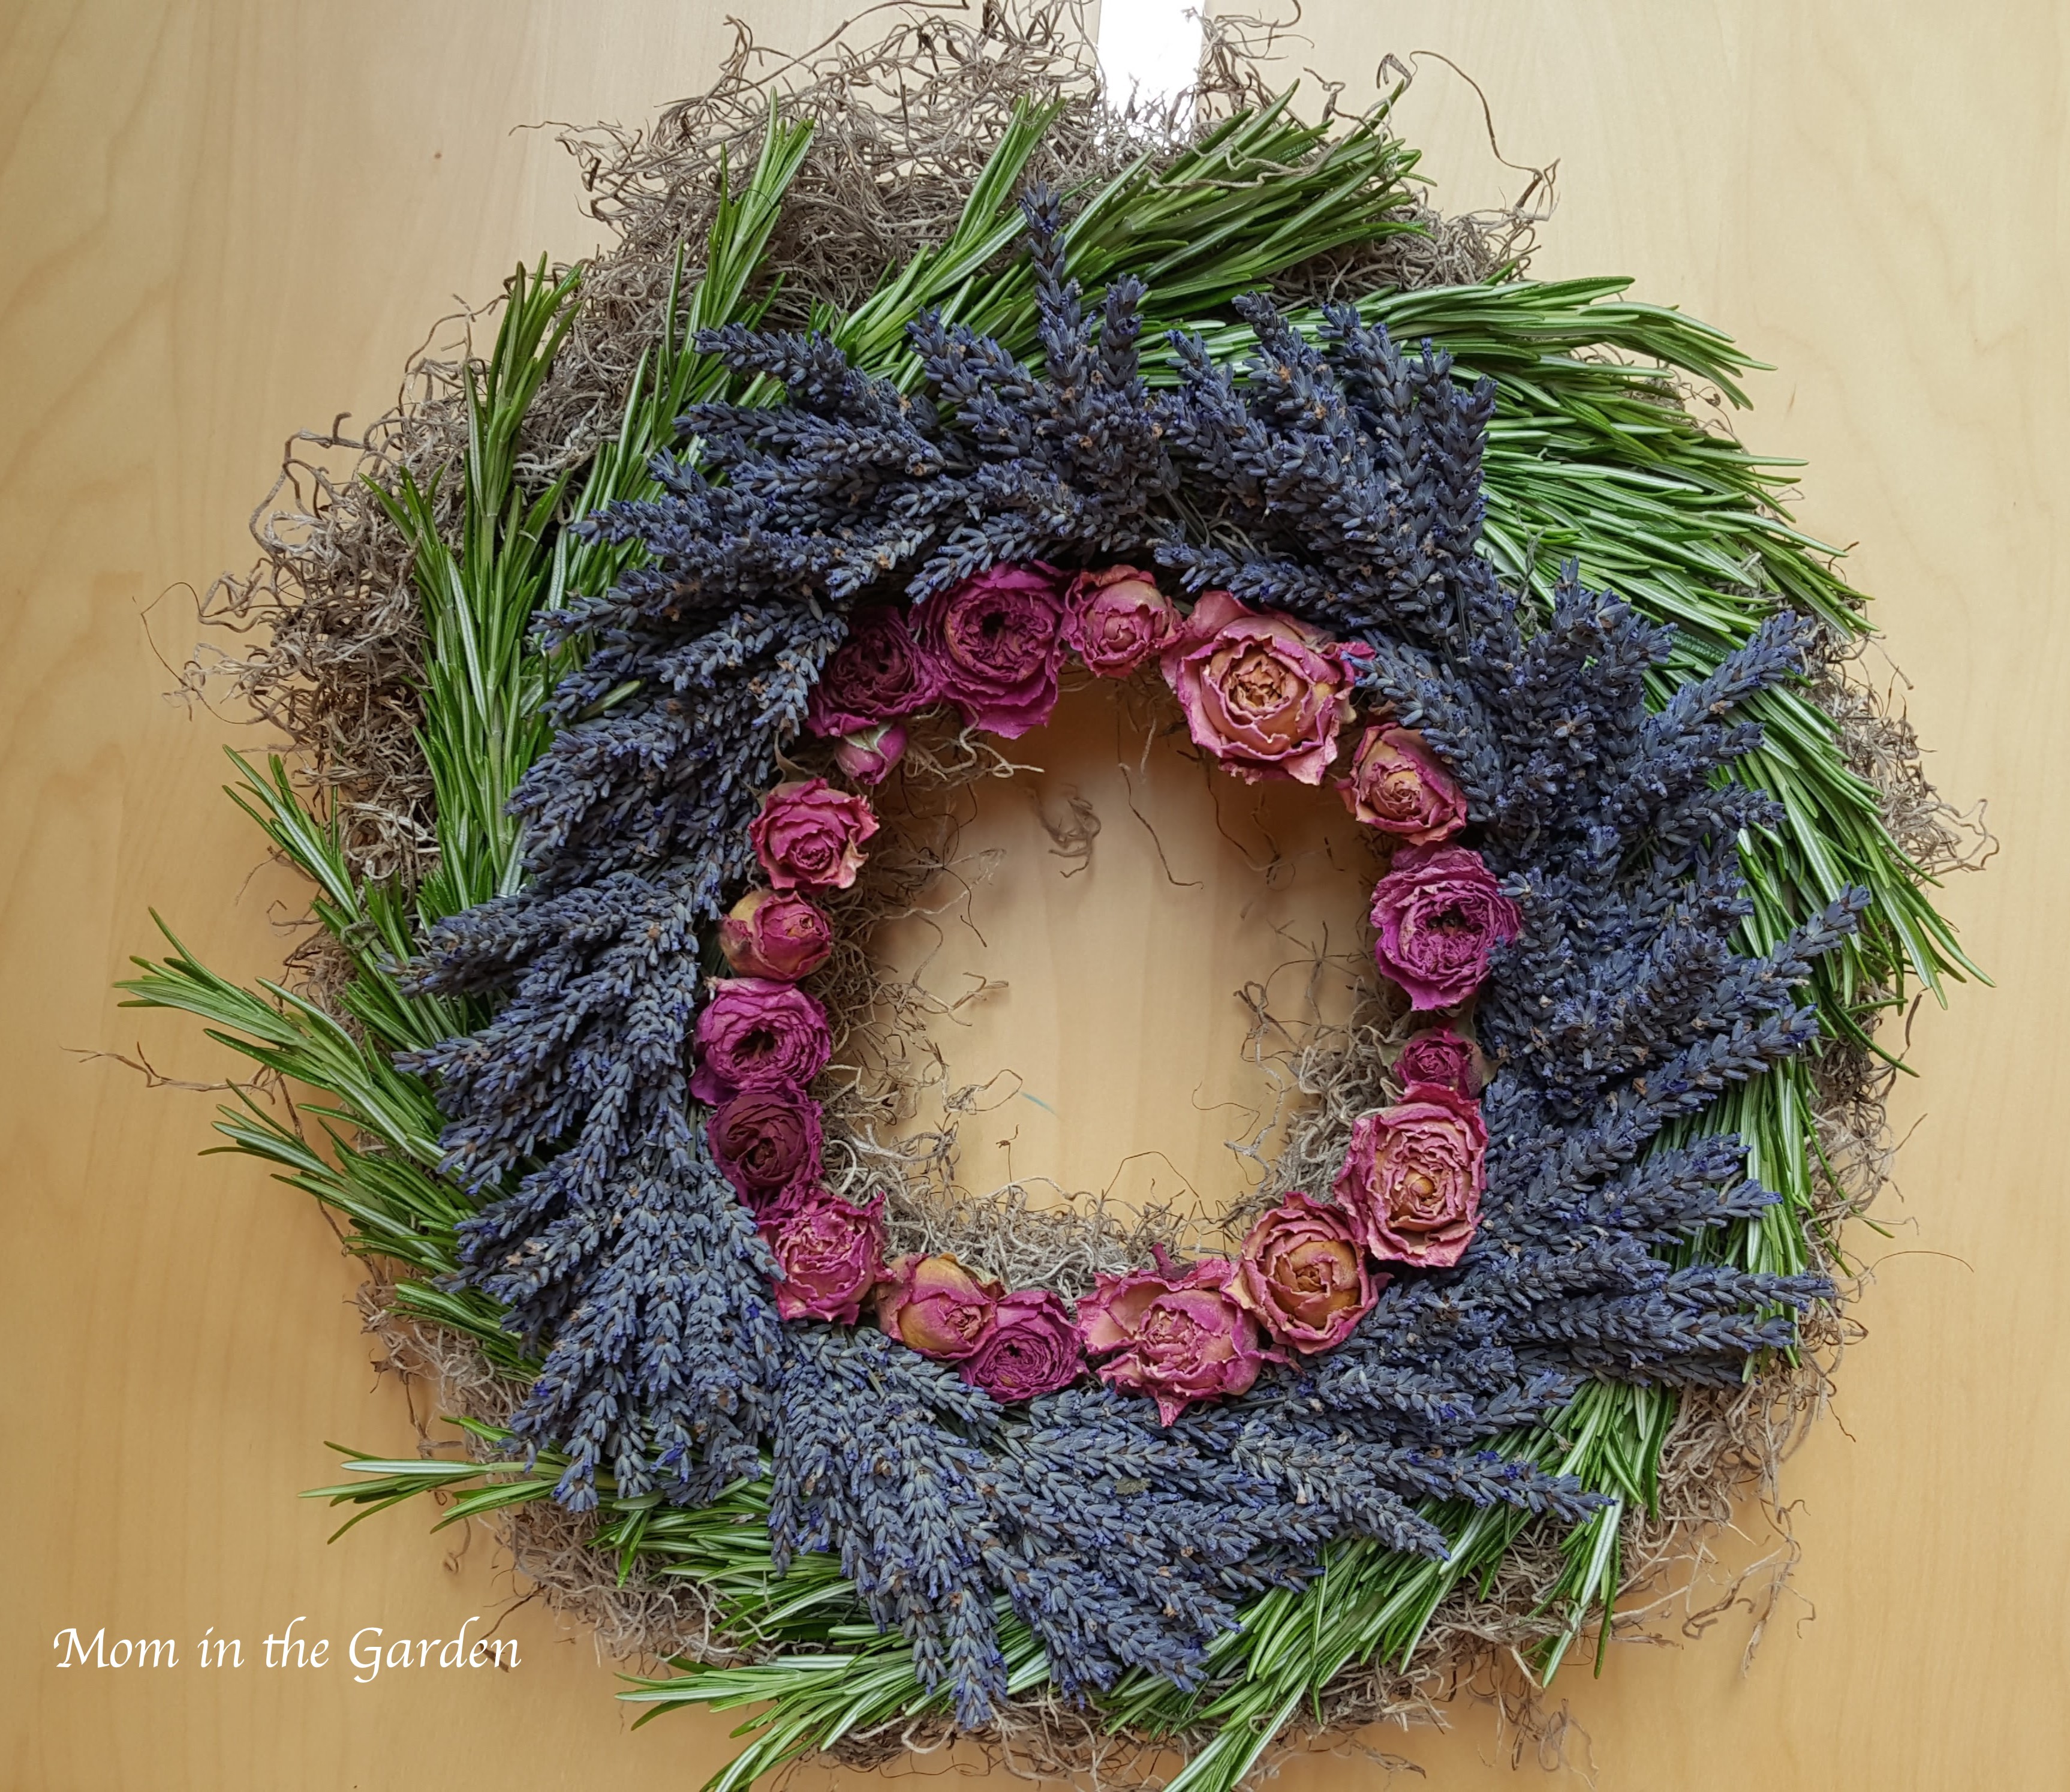
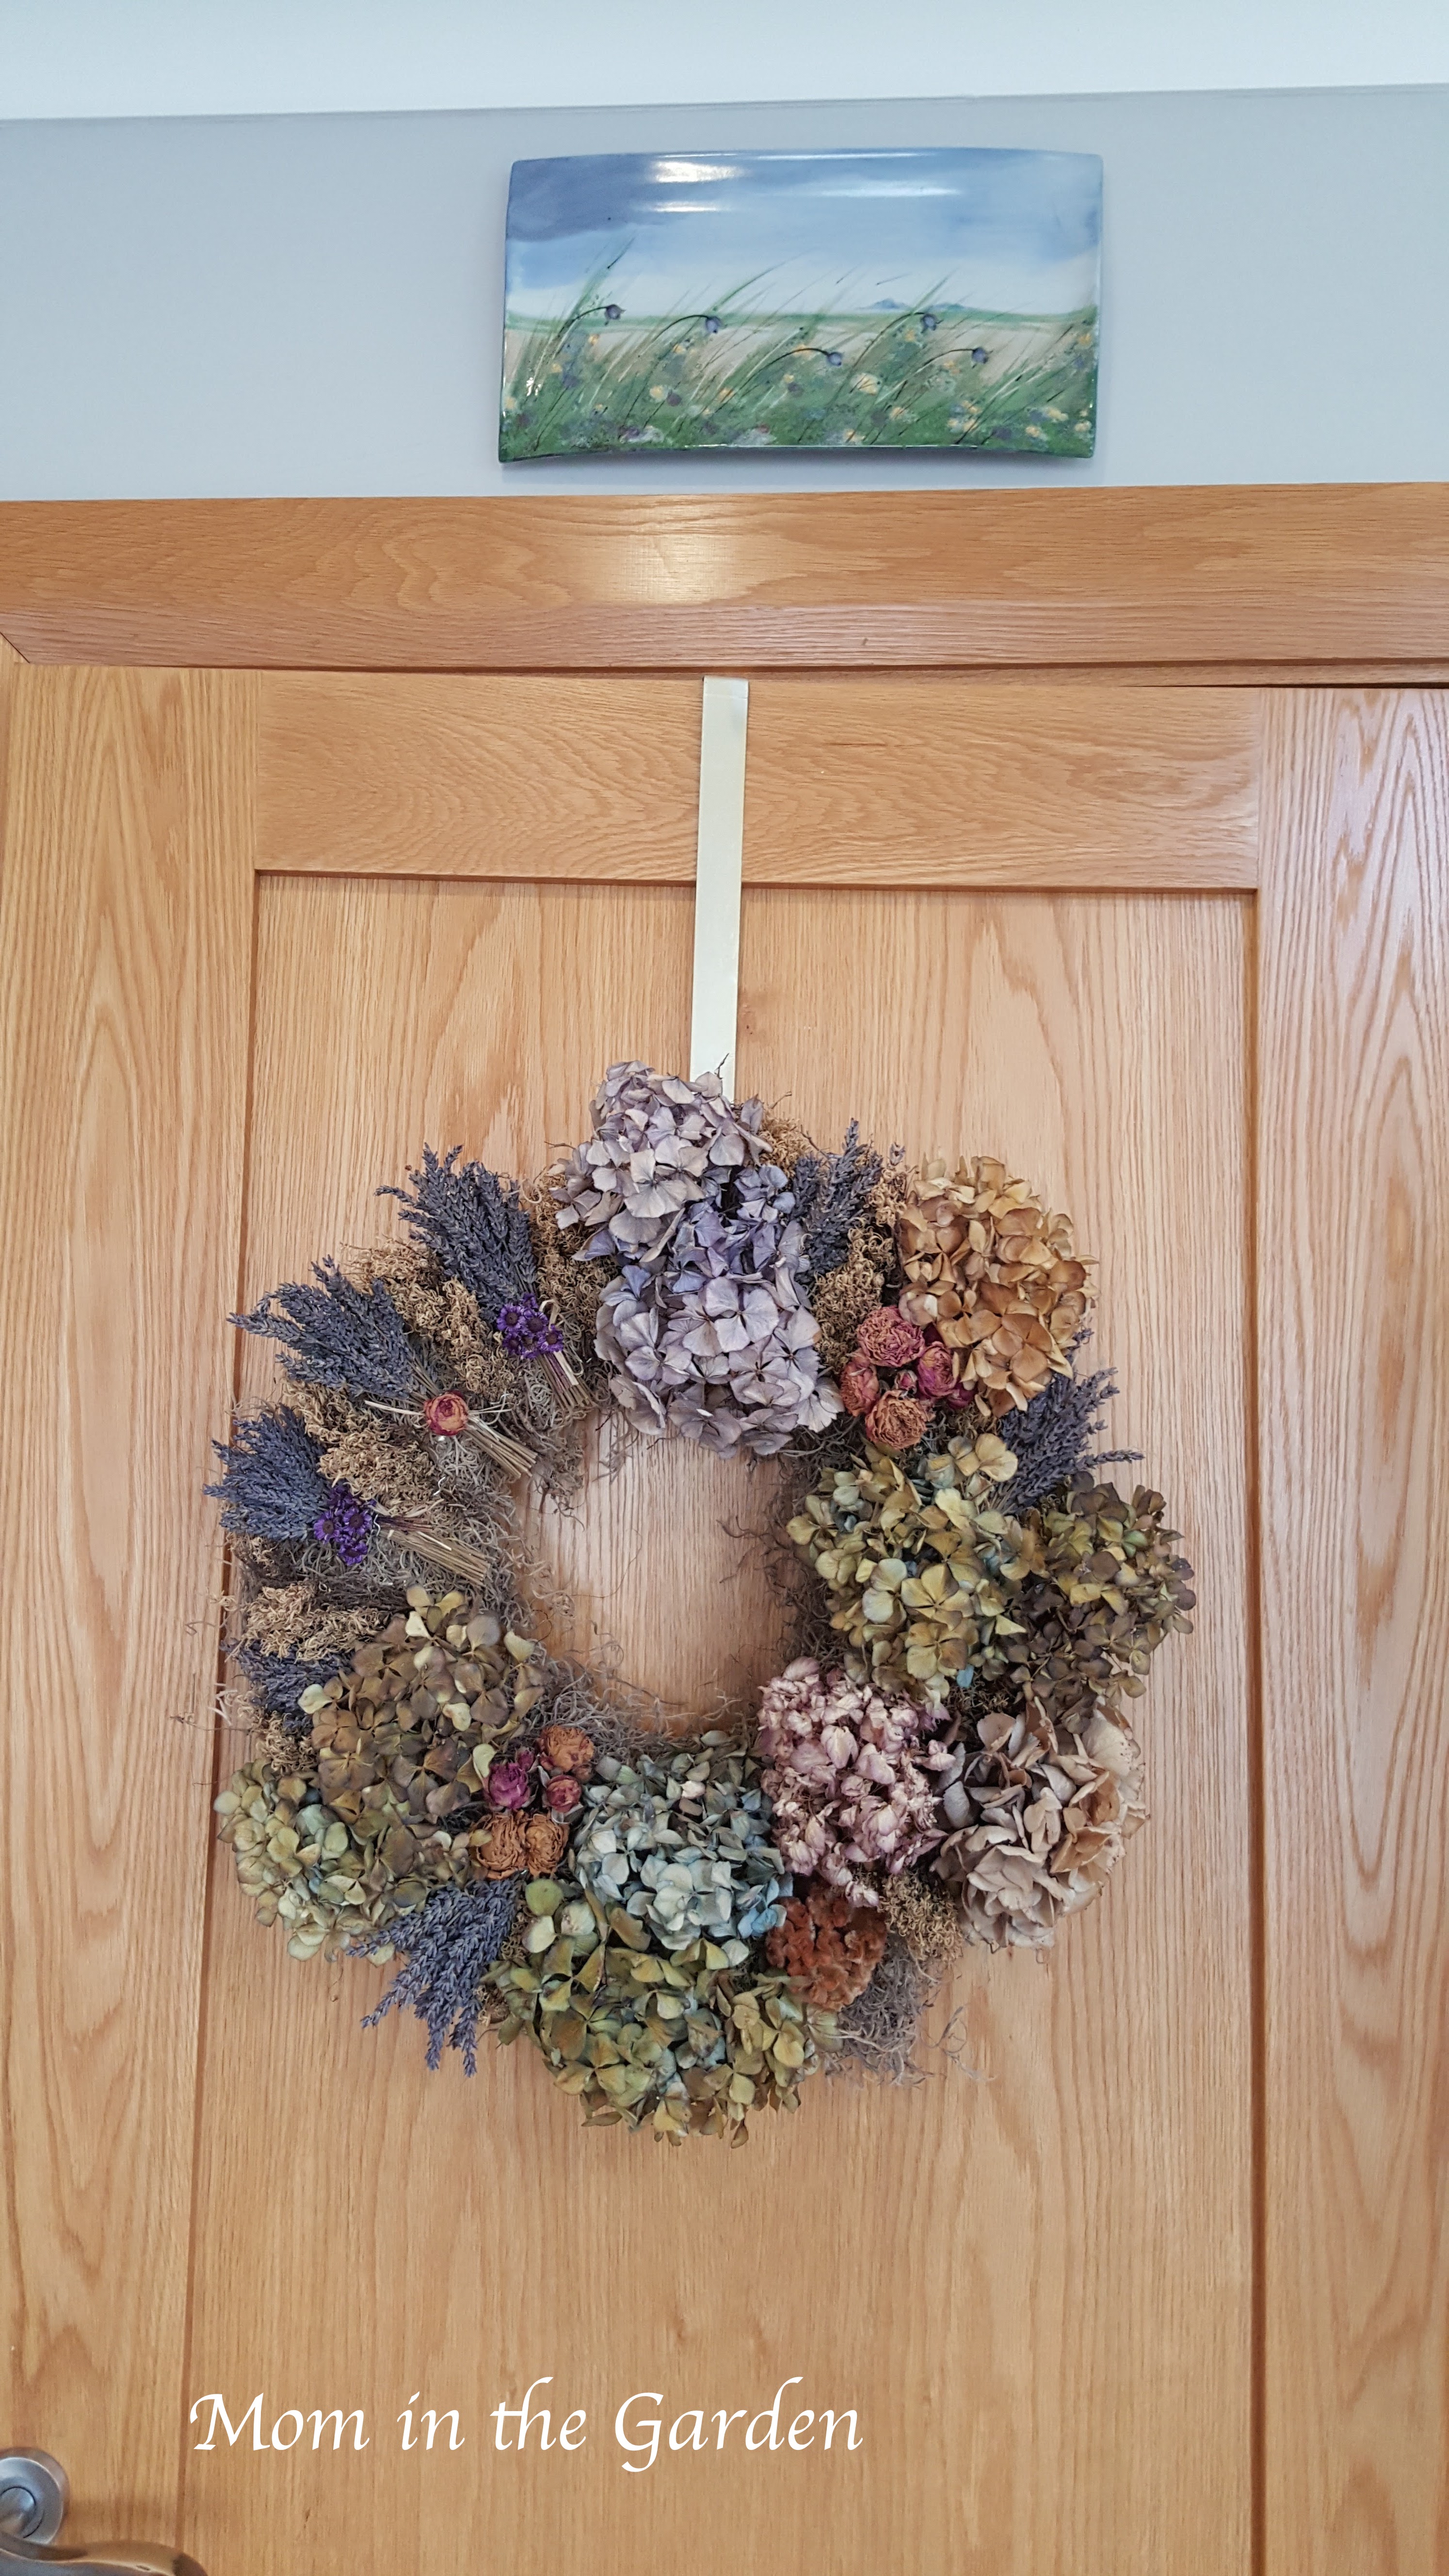
1 – Lavender! The picture on the left is what I harvested to make the wreath my daughter is holding. Funny enough, the row of lavender in her picture is a different variety, and is actually a few shades darker. I did not harvest that because I really like the look of it in the garden, and honestly, it peaked while we were away. Maybe next year I’ll take a section or two.
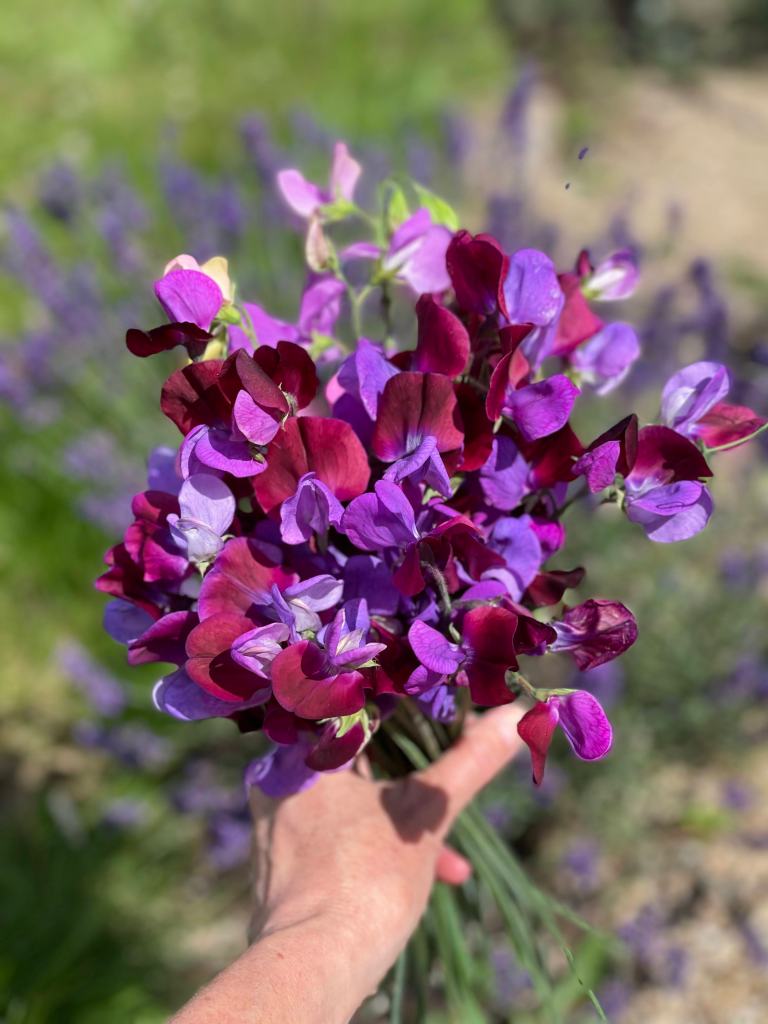
2 – Sweet pea. A staple in my garden. This scented posy was actually picked last week when the sun was visiting briefly. The picture I took of this week’s posy was so dark, I opted not to use it!

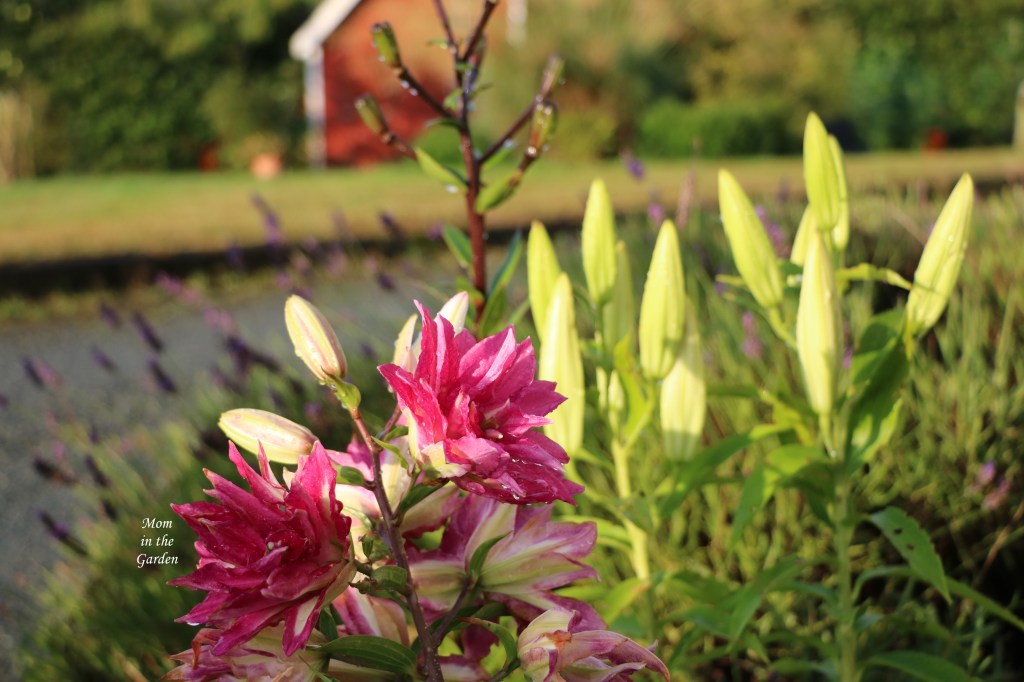
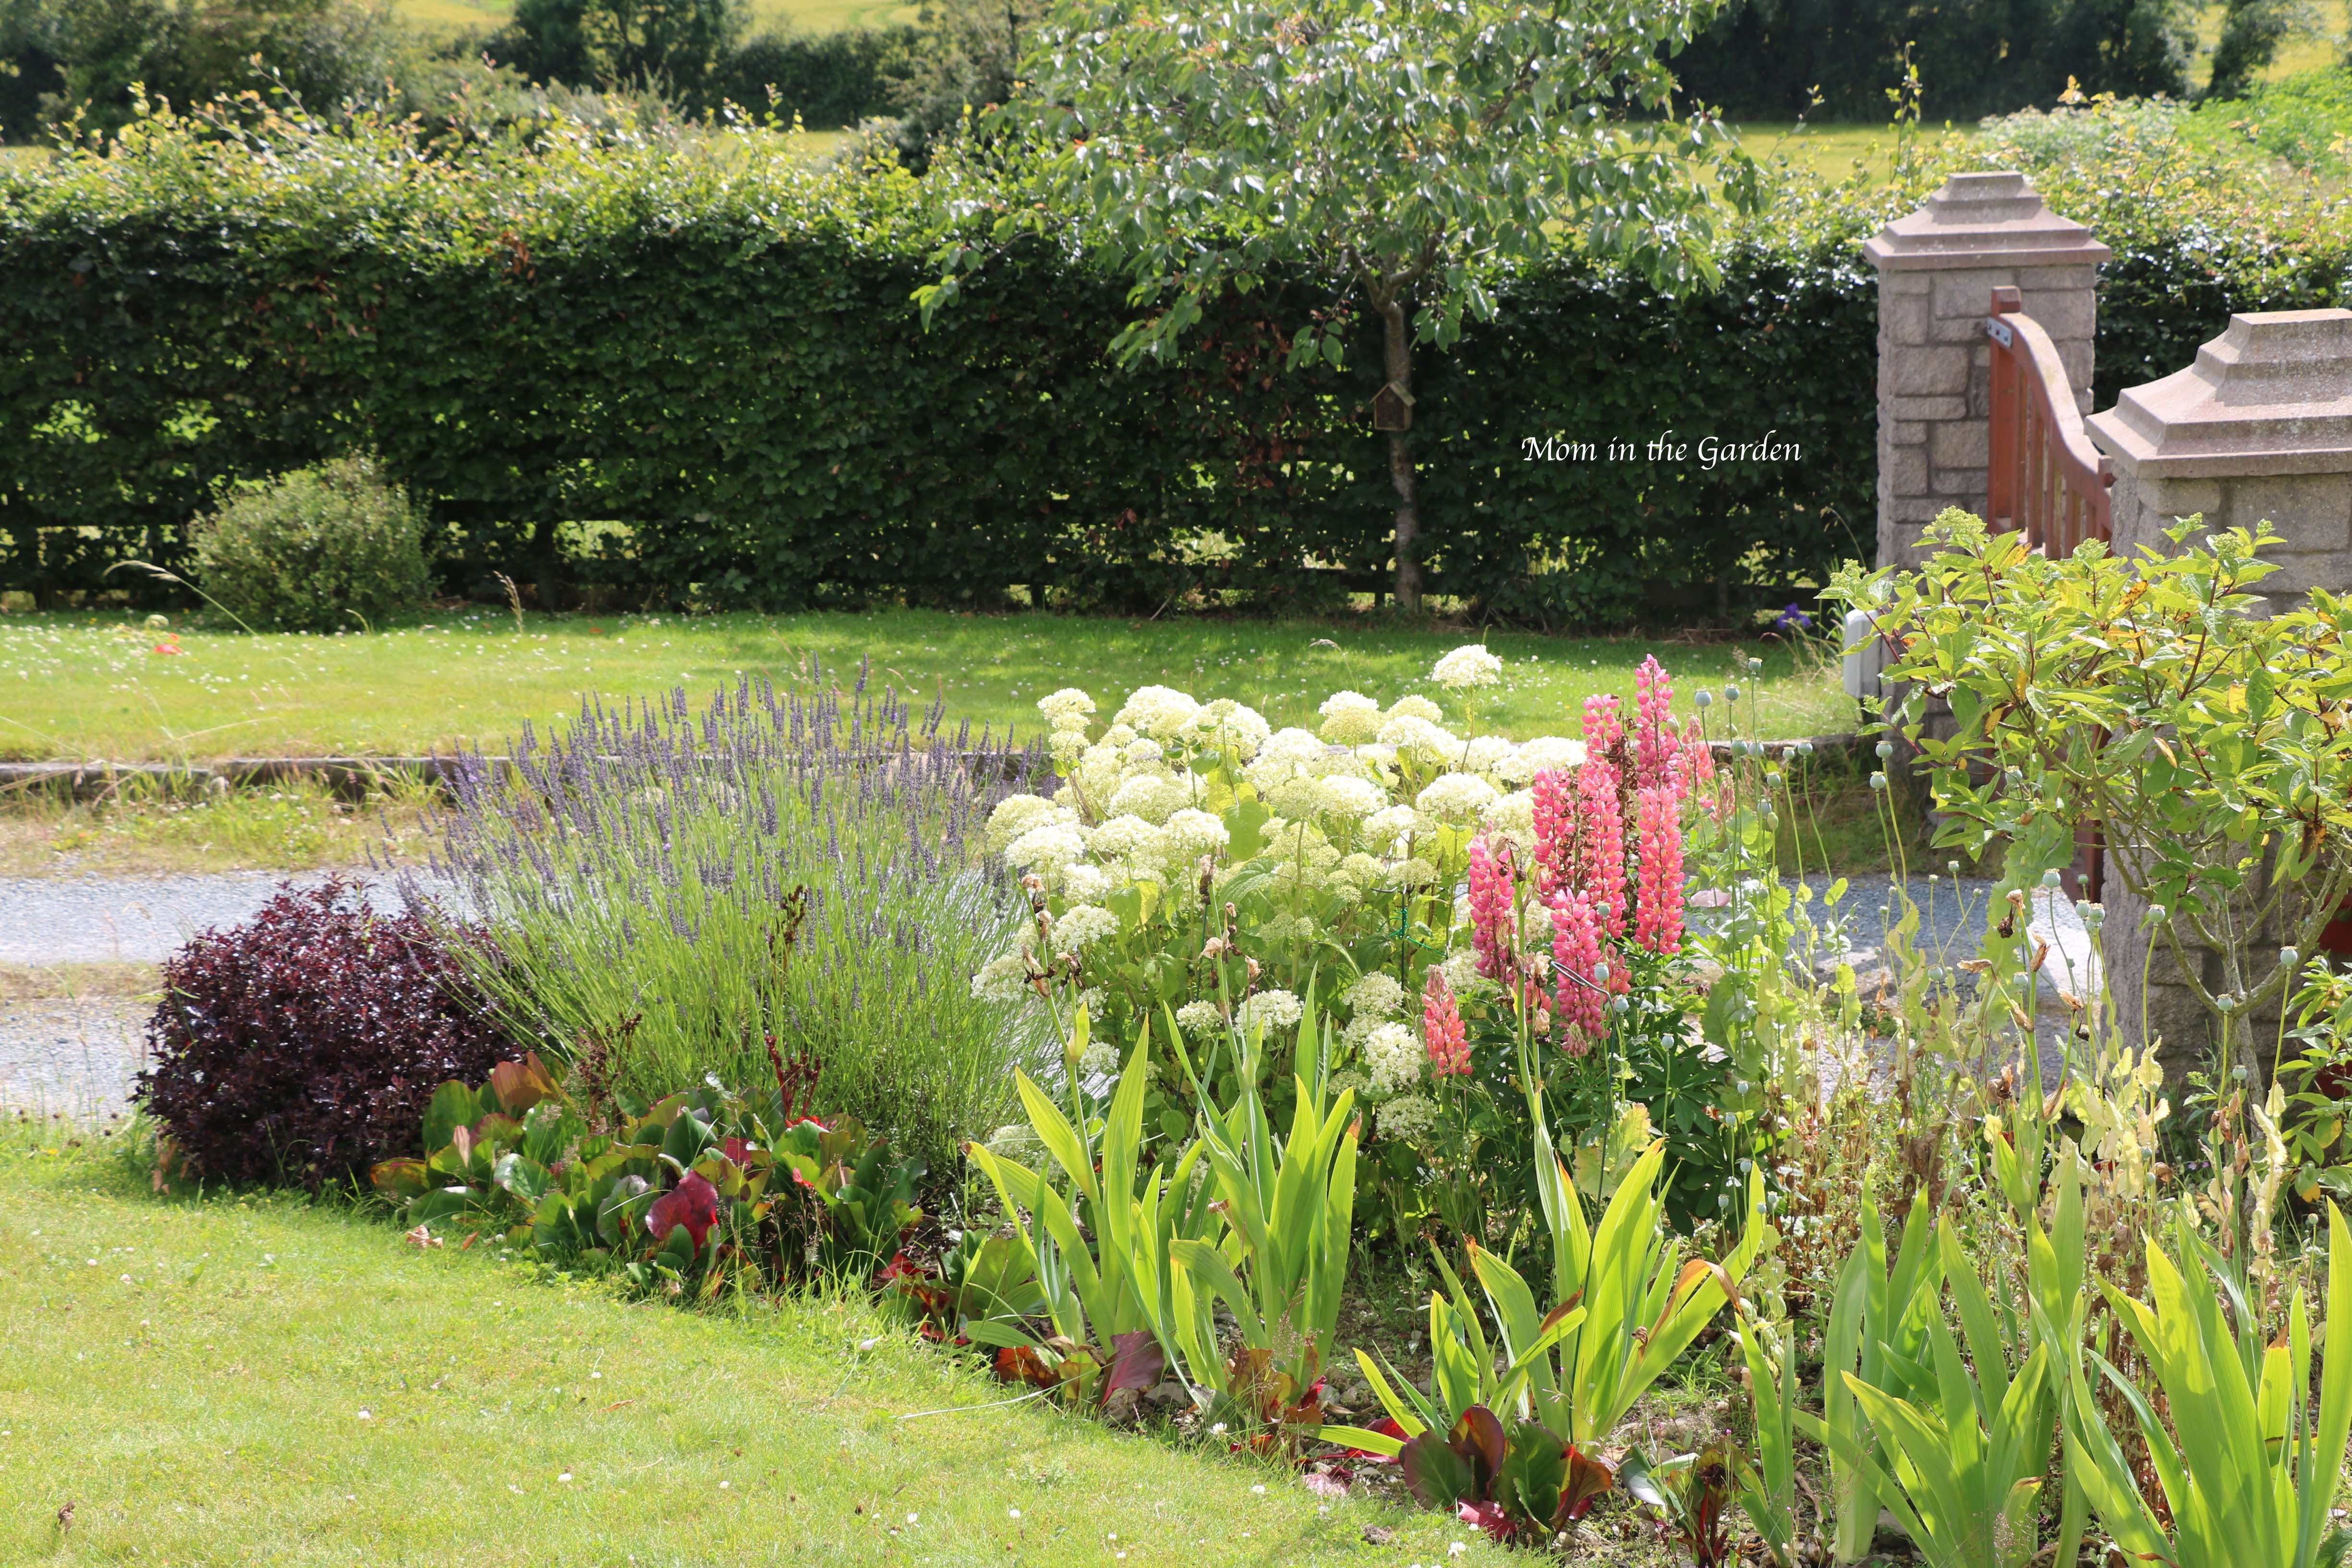
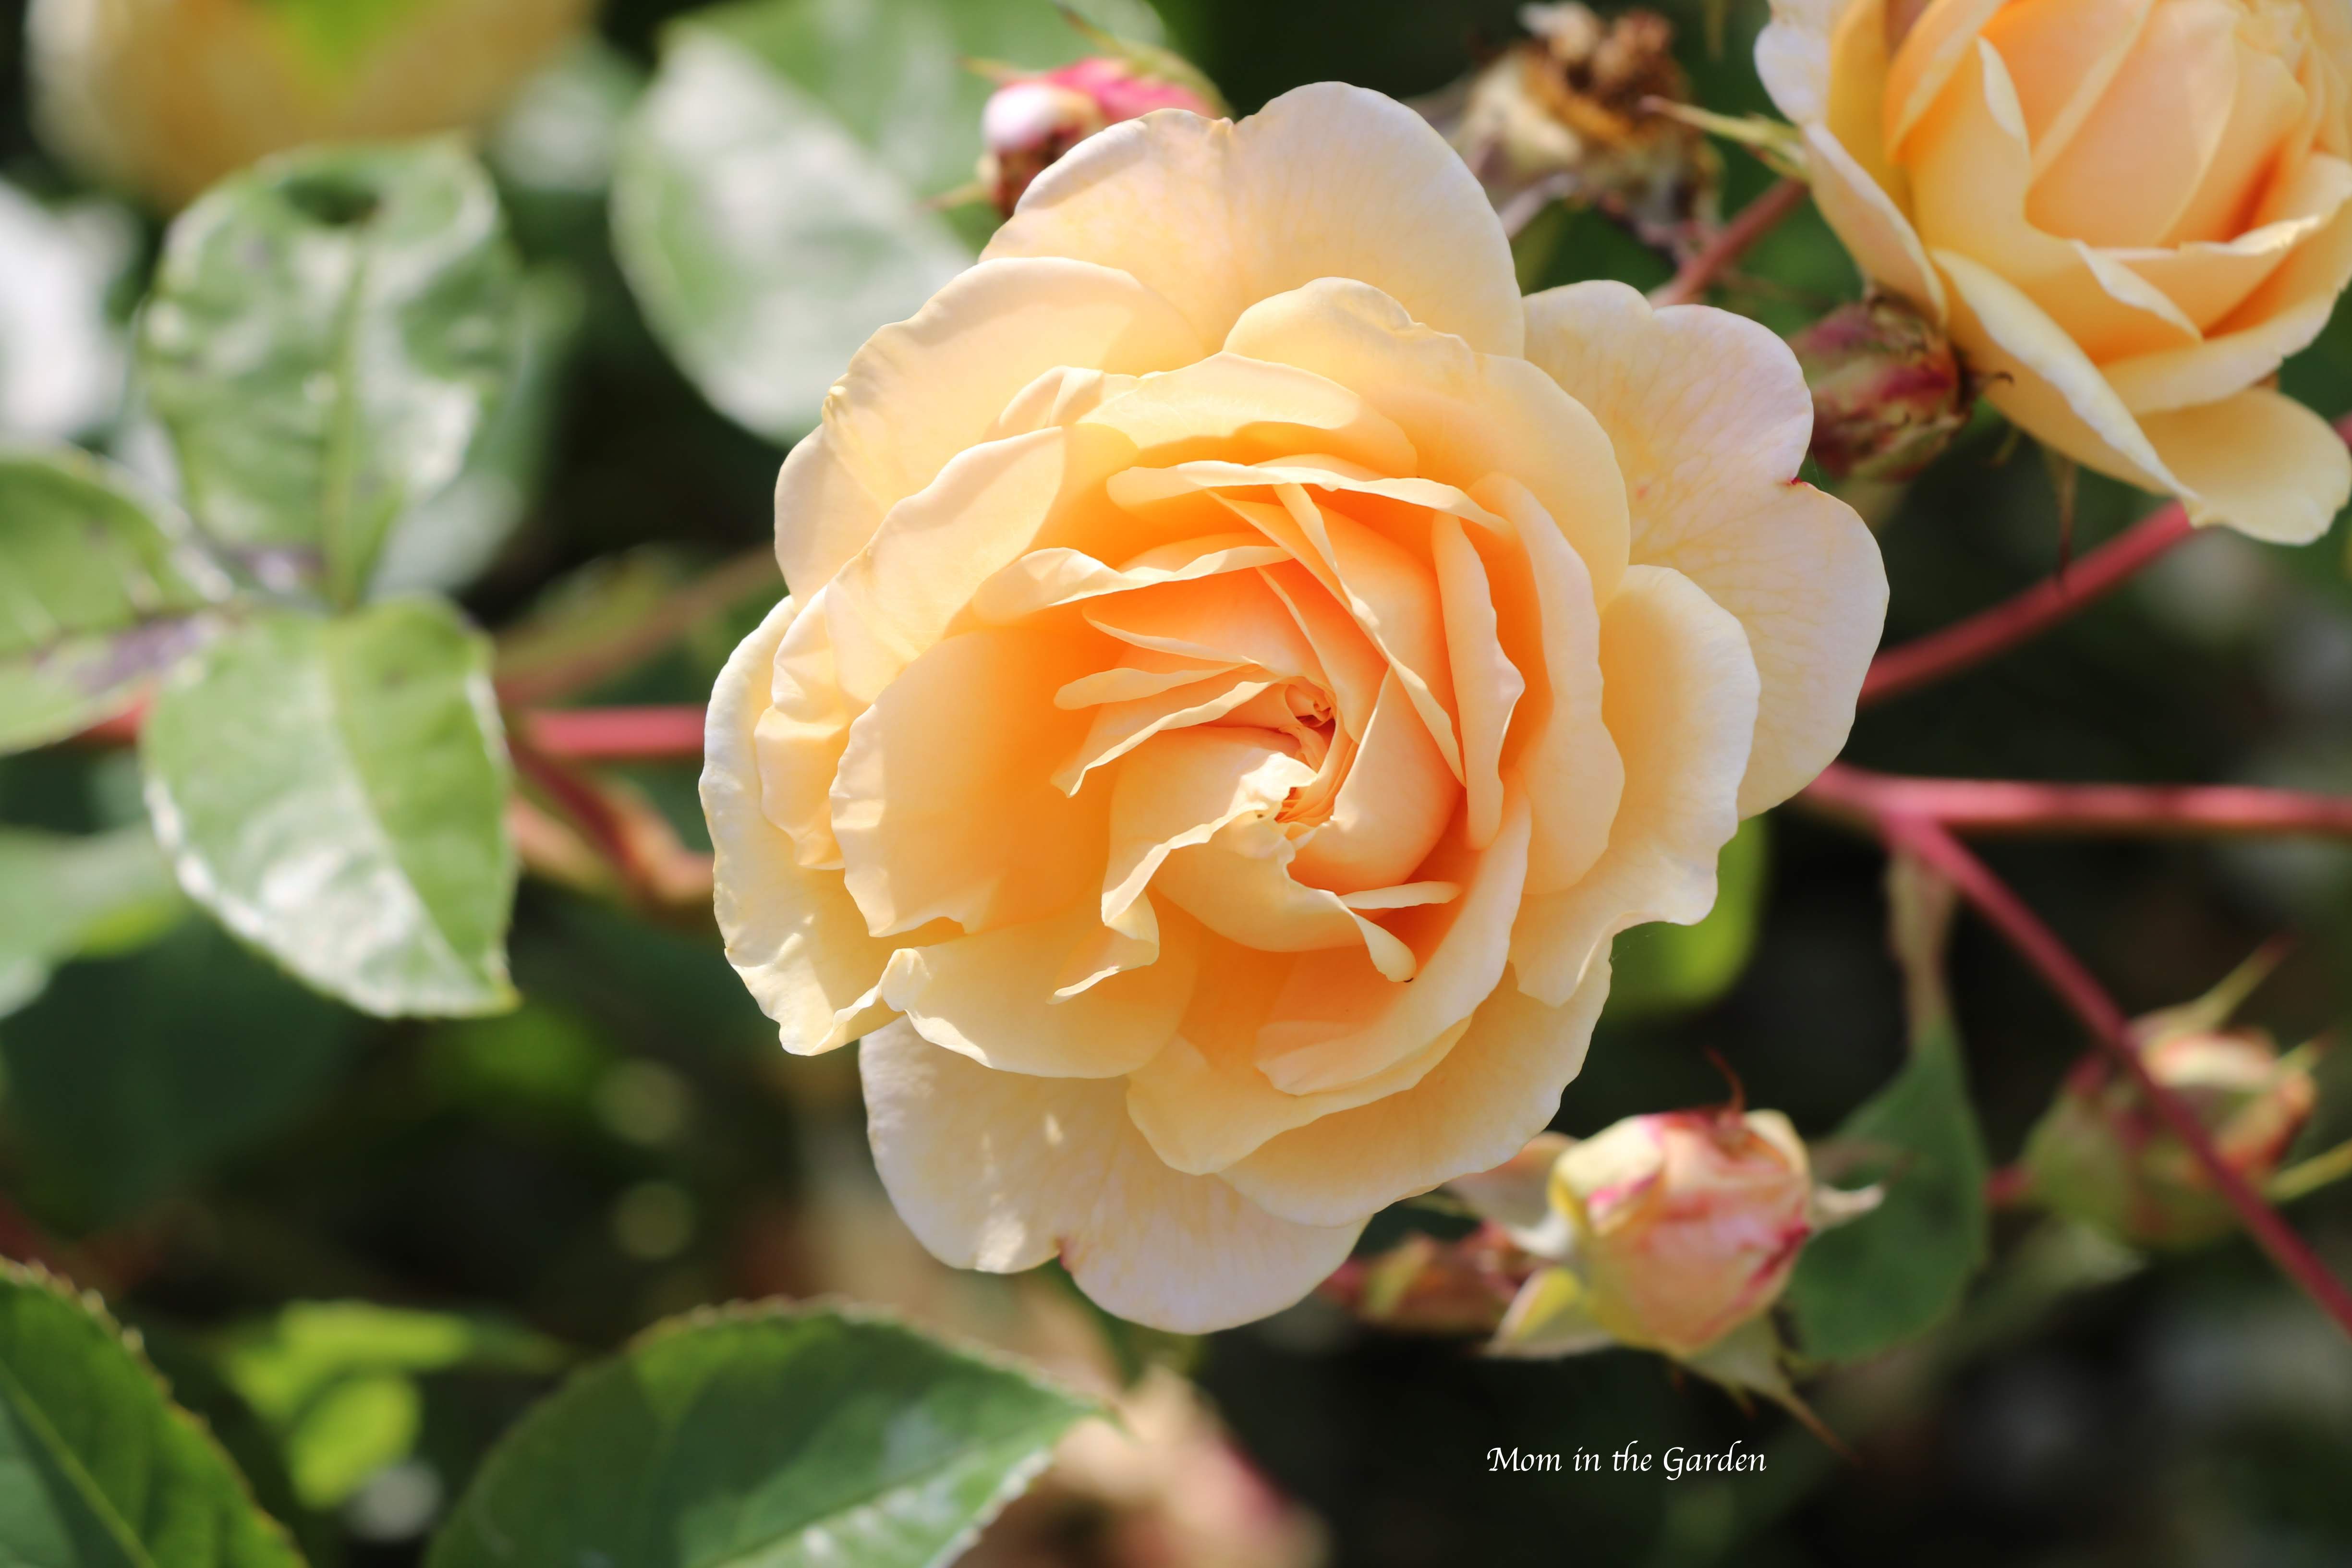
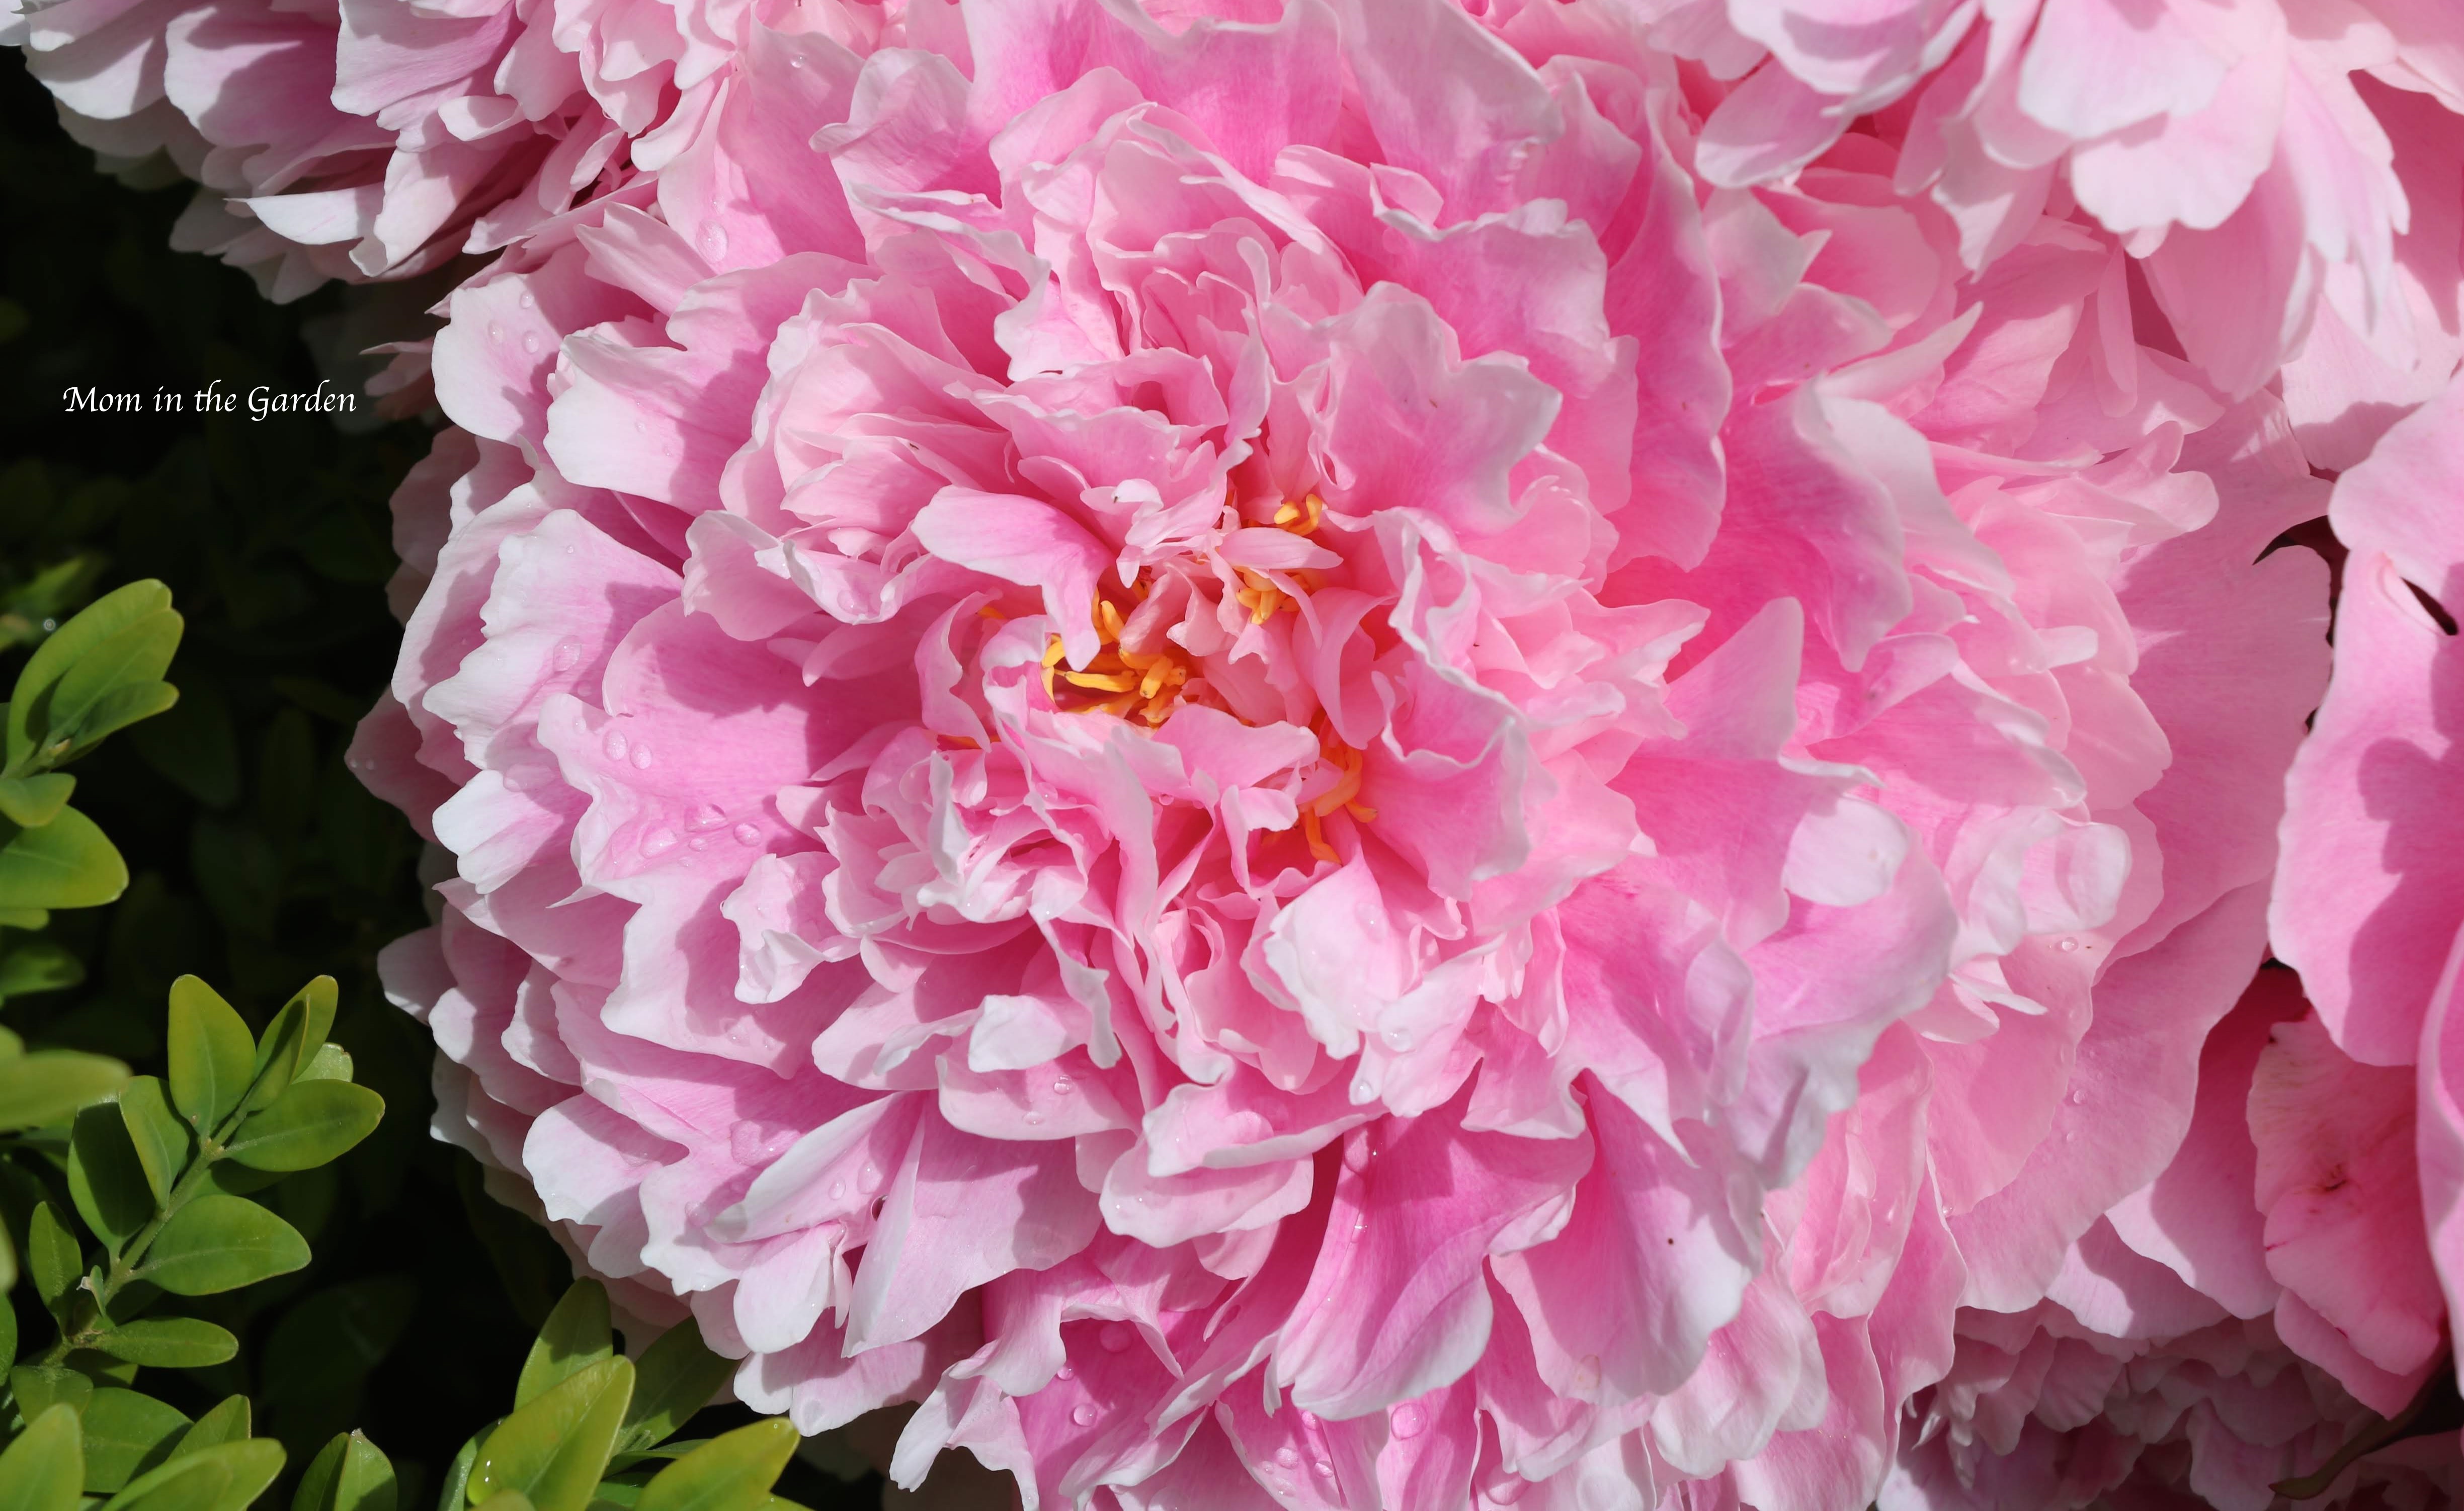
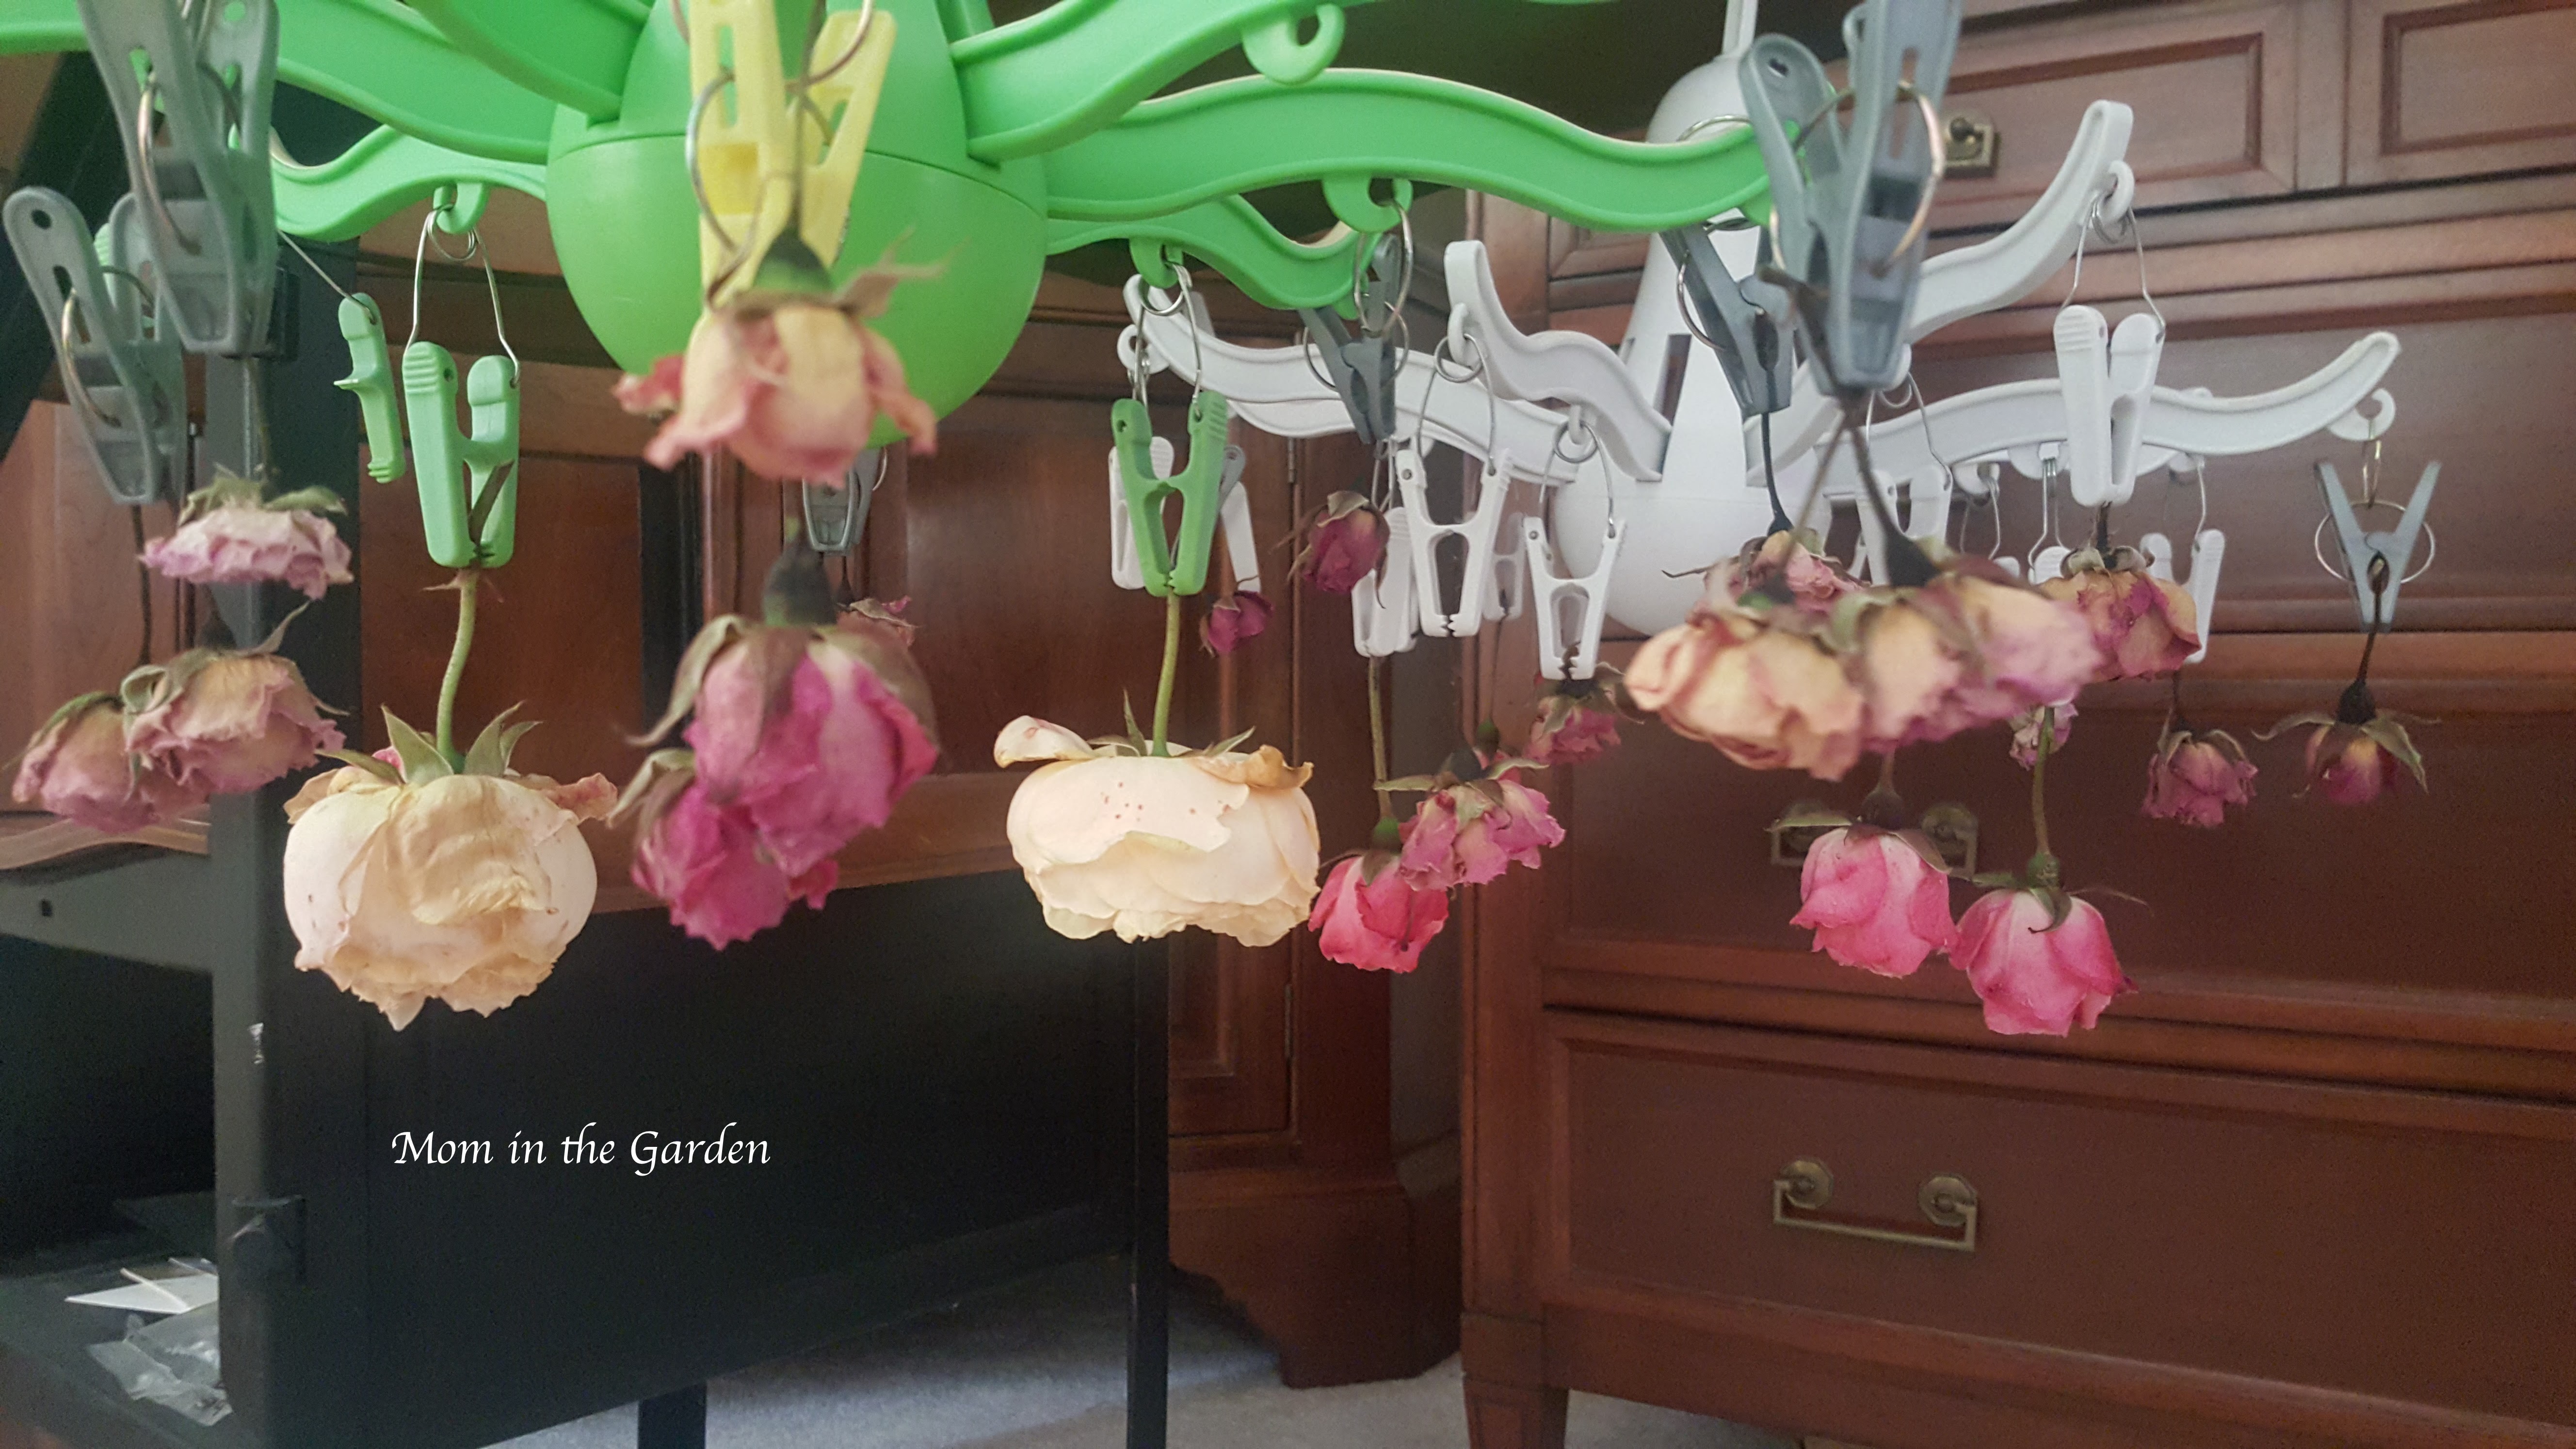
3 & 4 Lichfield Angel David Austin Roses and pink Oriental lilies. Most of my roses are now taking a bit of a rest. But the Lichfield Angel roses still had quite a few flowers on them. They are a very pretty creamy off-white color, and as they age their tips turn pink. I decided to cut them and bring them inside, because the branches were quite weighed down. The great thing about these roses is that their stems have no thorns! The pink Oriental lilies are heavenly scented (my personal opinion)! On Instagram I talked about the red winged scarlet lily beetle that I thought was going to destroy my lilies completely. I was constantly squishing either the beetles or their yucky slug-like larva. I’m glad that the lilies survived, though, even if their greens don’t look very nice. The lesson is to be on the look out for lily beetles from the very start of the season!

5 & 6 Delphinium and Coleus. The delphinium is Blue Ocean. It is two toned and very pretty. I’ve learned that their stems are very fragile! I have to be extra careful when I cut them for arrangements. The coleus situation is somewhat disappointing. I planted them from seed in March. But they would have needed special attention while I was away during our heat wave, and they definitely suffered. They have finally made a comeback, but it’ll be the end of the summer before they are at their prime! I’ve made a mental note to start their seeds in January next year. 🙂
And that’s it for this week’s Six on Saturday. Thanks so much for stopping by!