The time for playing with lavender is now!

Hi there! At this time of year I am usually too busy to stop and write a ‘how to’ post about lavender and the different crafts I make with it. But by the time I do get to write about it, with ‘how to’ instructions, it is a bit too late! So this year I am providing links to all of my previous posts about lavender in this blog. That way, if you want to make a lavender wand, or a lavender wreath, you can do so while the lavender is still available!

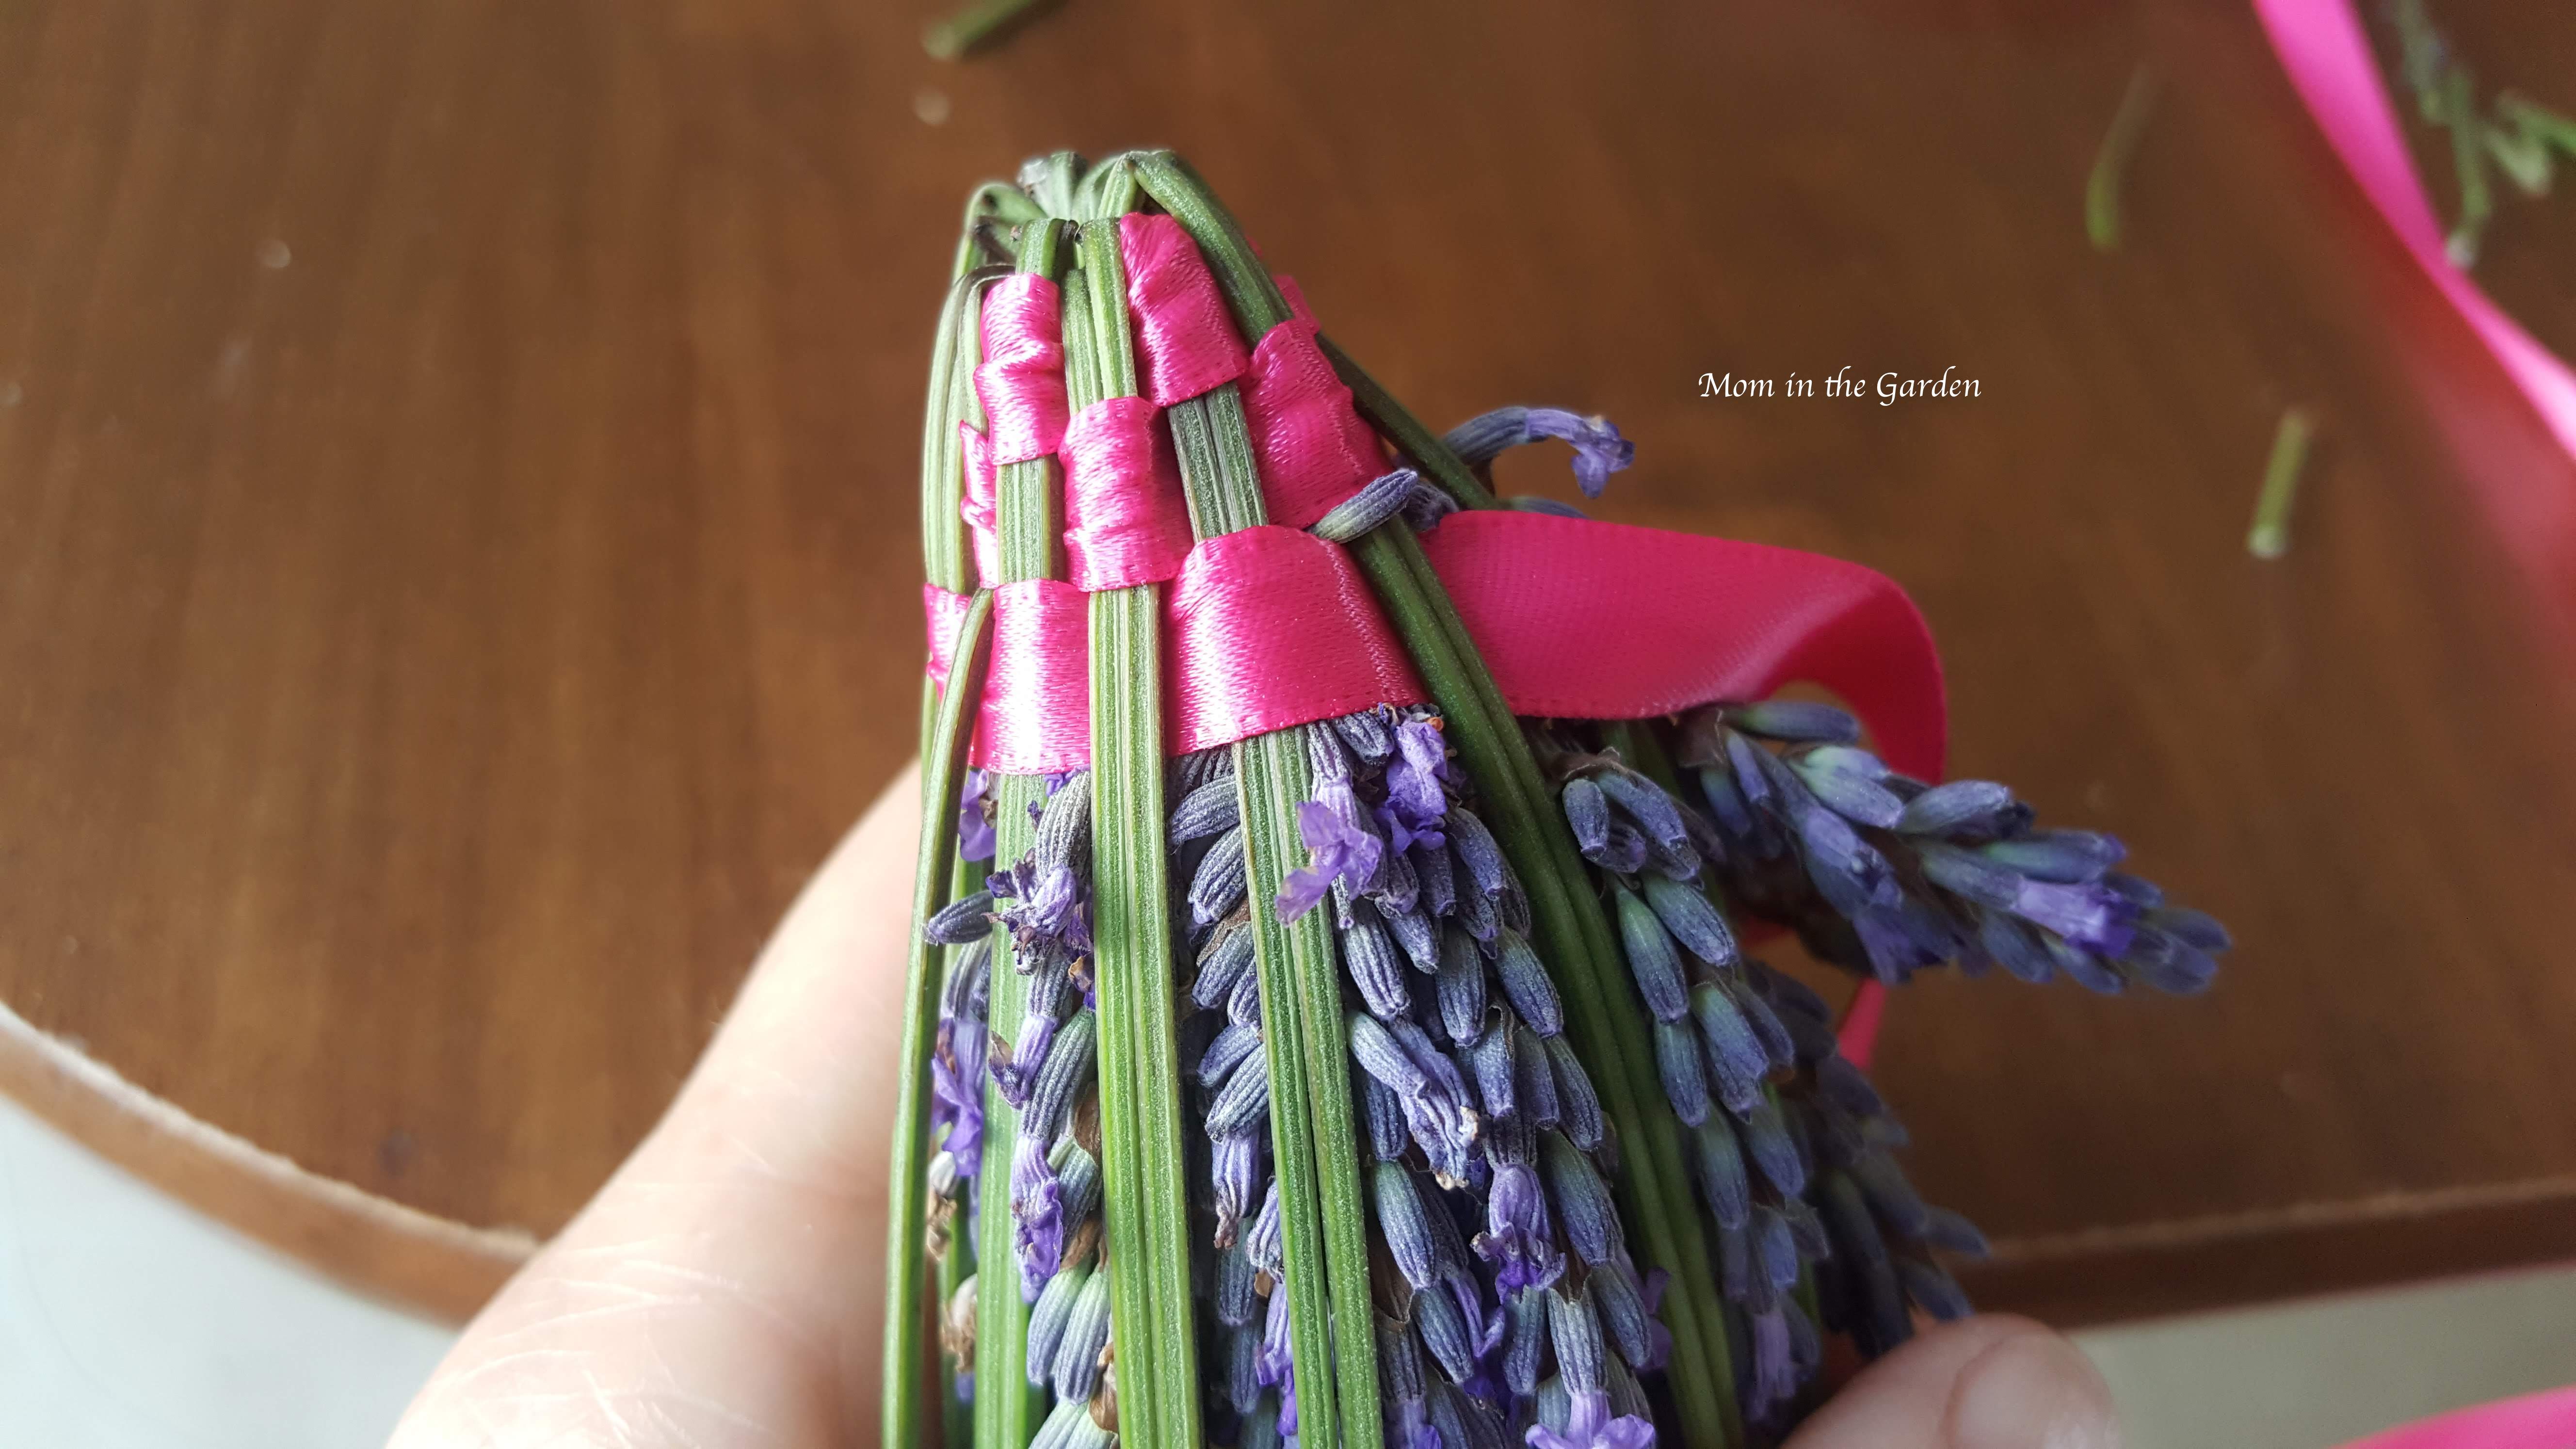
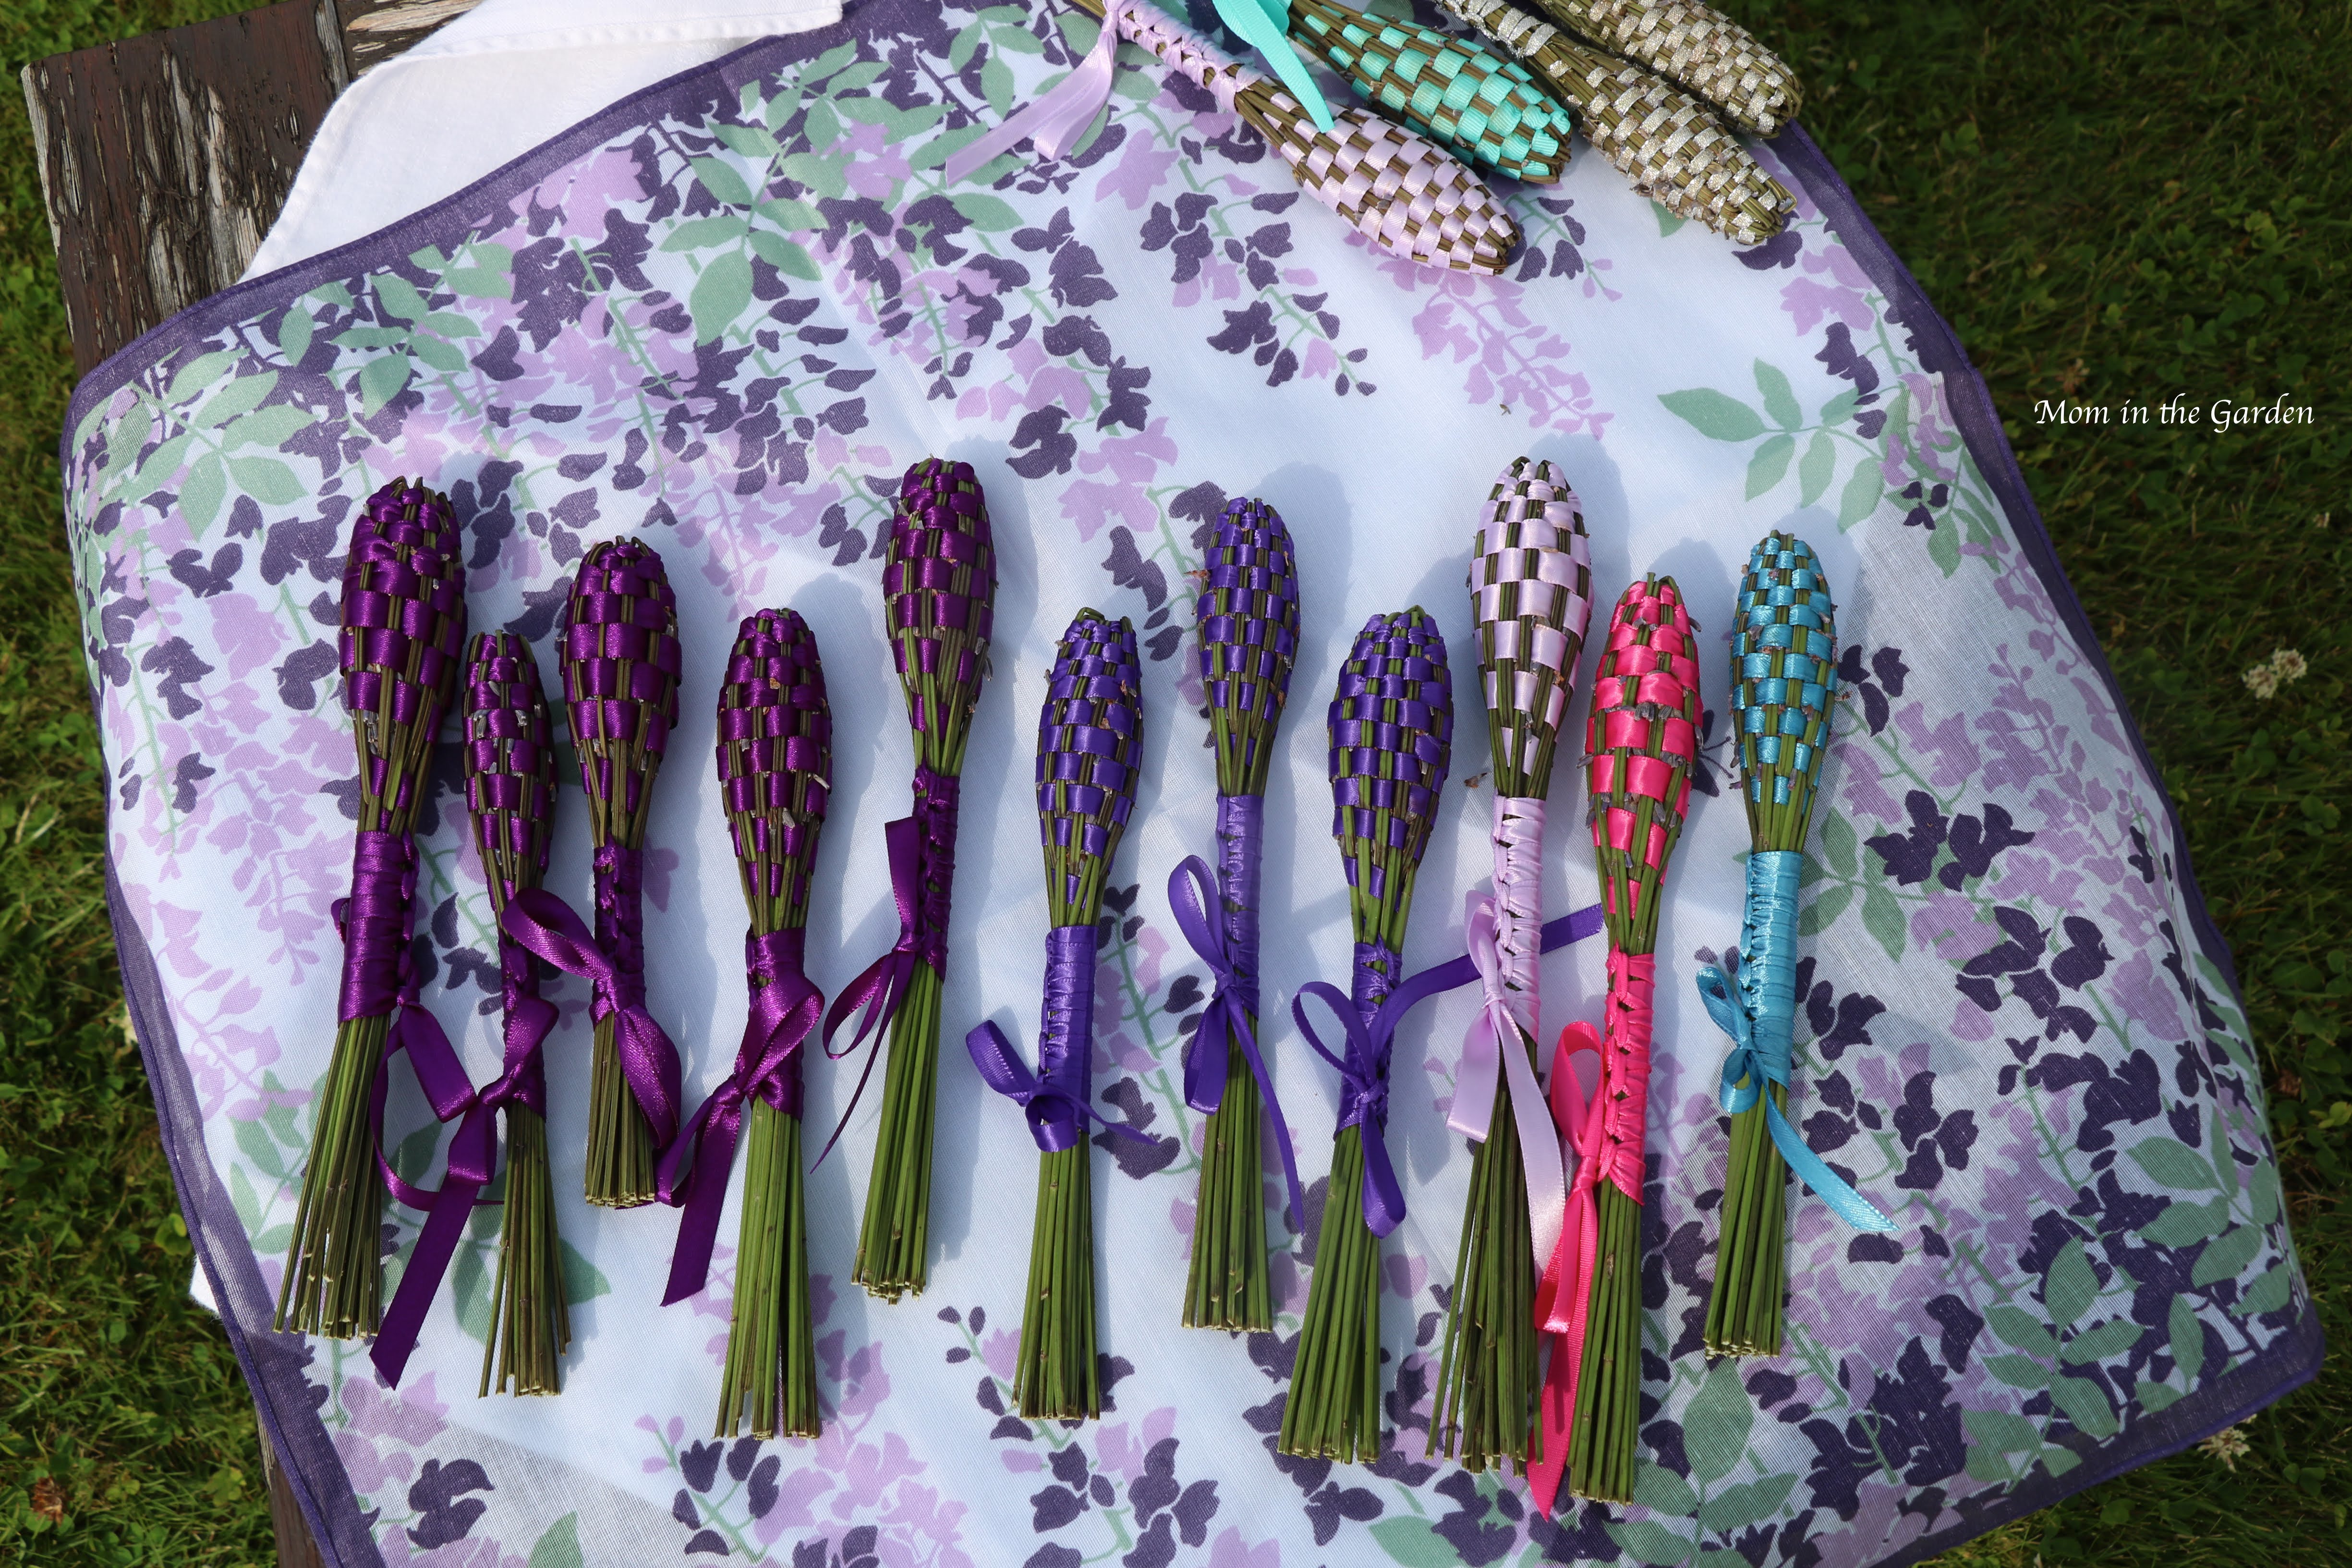
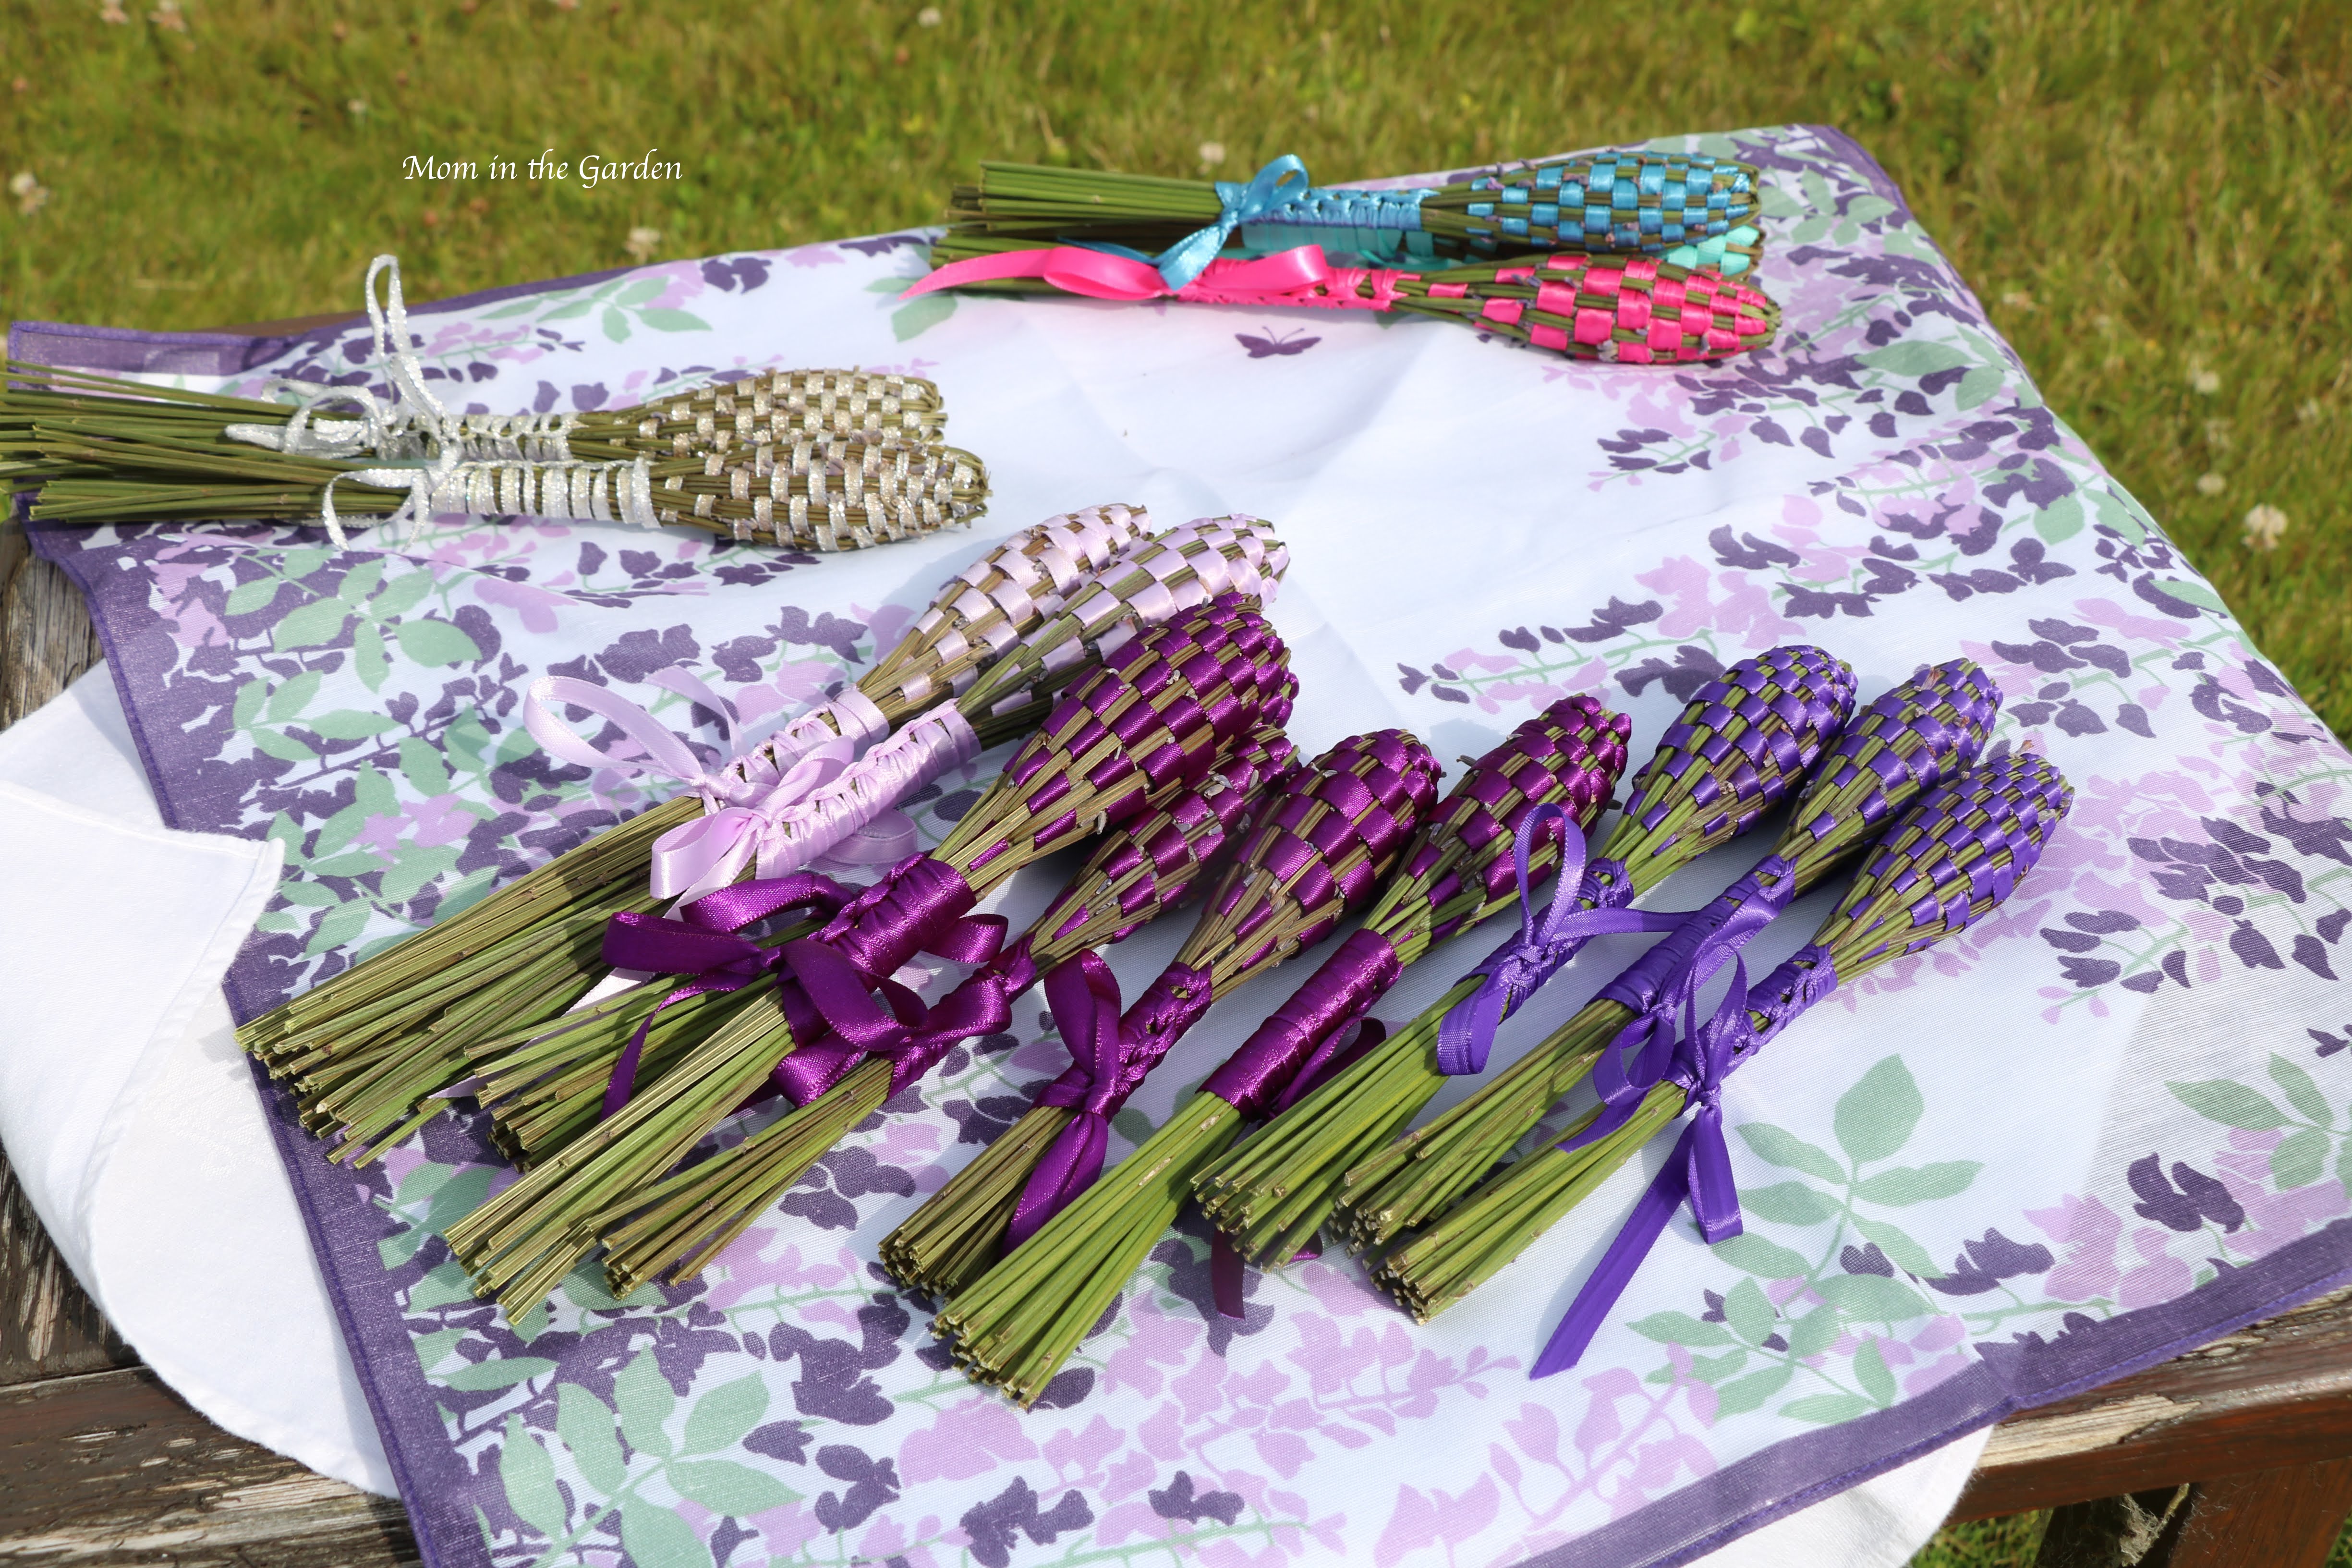
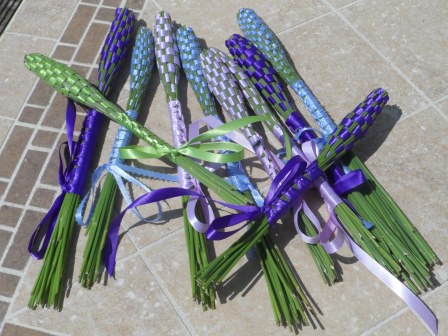
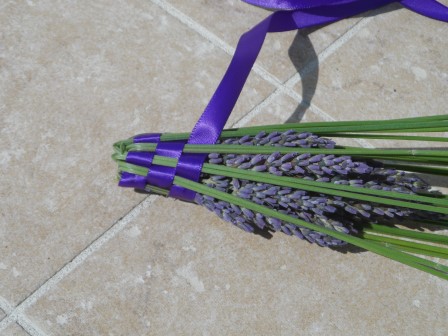
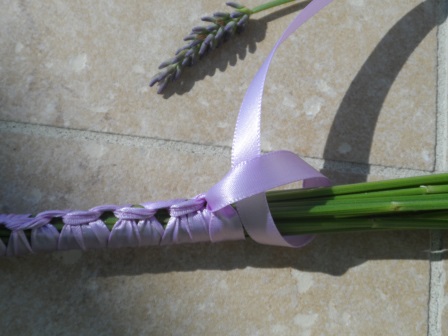
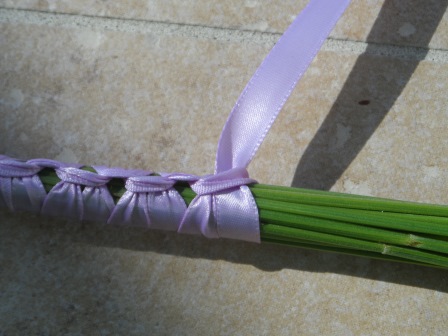
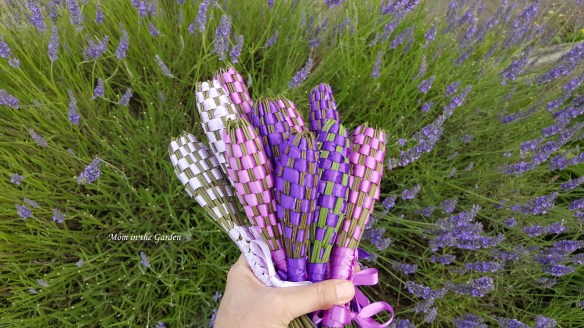
12 seems to be the number of lavender wands that I enjoy making in a season. I make those 12 really quickly, and then I don’t have any interest to make more. I looked at possibly trying some different styles this year, but honestly, I like mine best (says she, trying to be humble about it). I did make one change for the last few that I made this year – instead of using 25 stems, I used 35 – 41 stems. They were really thick! I’m not sure if that is better, or just different. You can read how to make lavender wands here, or watch a video here.

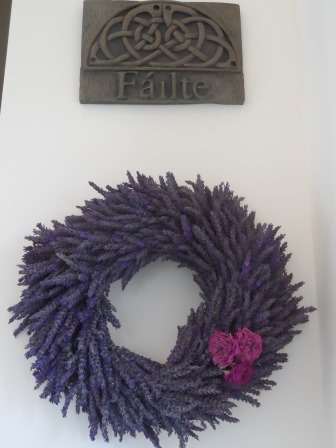
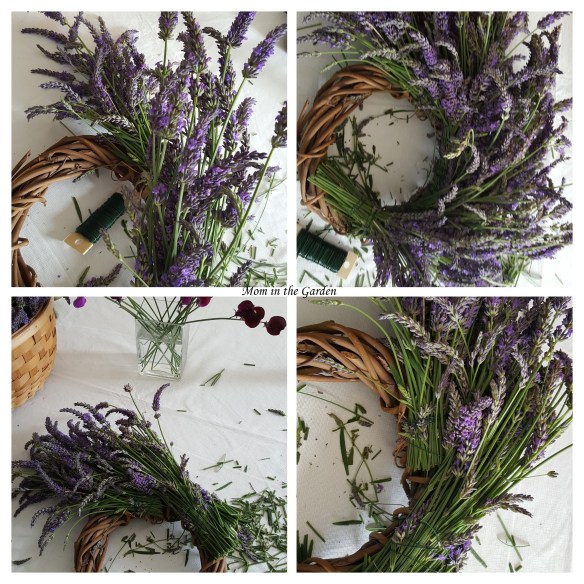
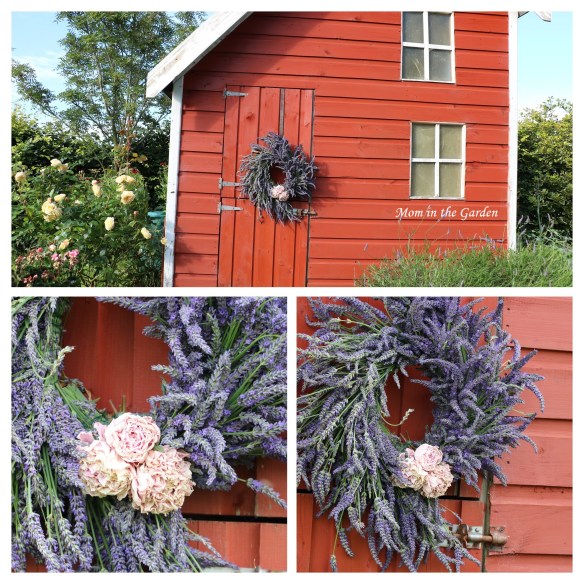
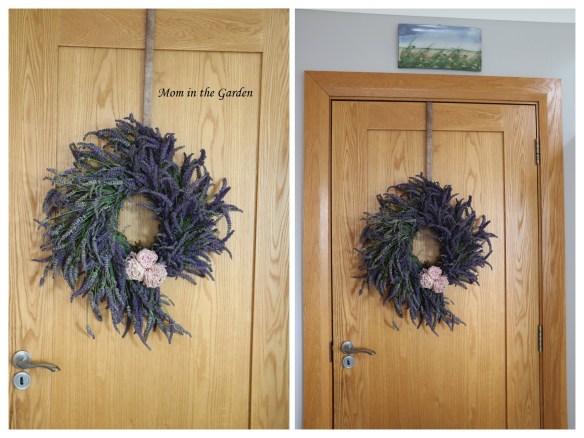
I did get a bit of a head start on my wreath making this year. That’s because for the first time, instead of waiting for the lavender to dry, I made a fresh lavender wreath. I usually make wreaths with dried lavender, and attach the lavender with floral ‘u’ pins. This wreath was made using fresh lavender and the lavender was attached with one continuous piece of floral wire. It has a very different look! It hangs in my kitchen, and in the past couple of weeks it has grown on me. I now like it very much! You can see some of my past wreaths and how I made them here, here, here, here, and here .

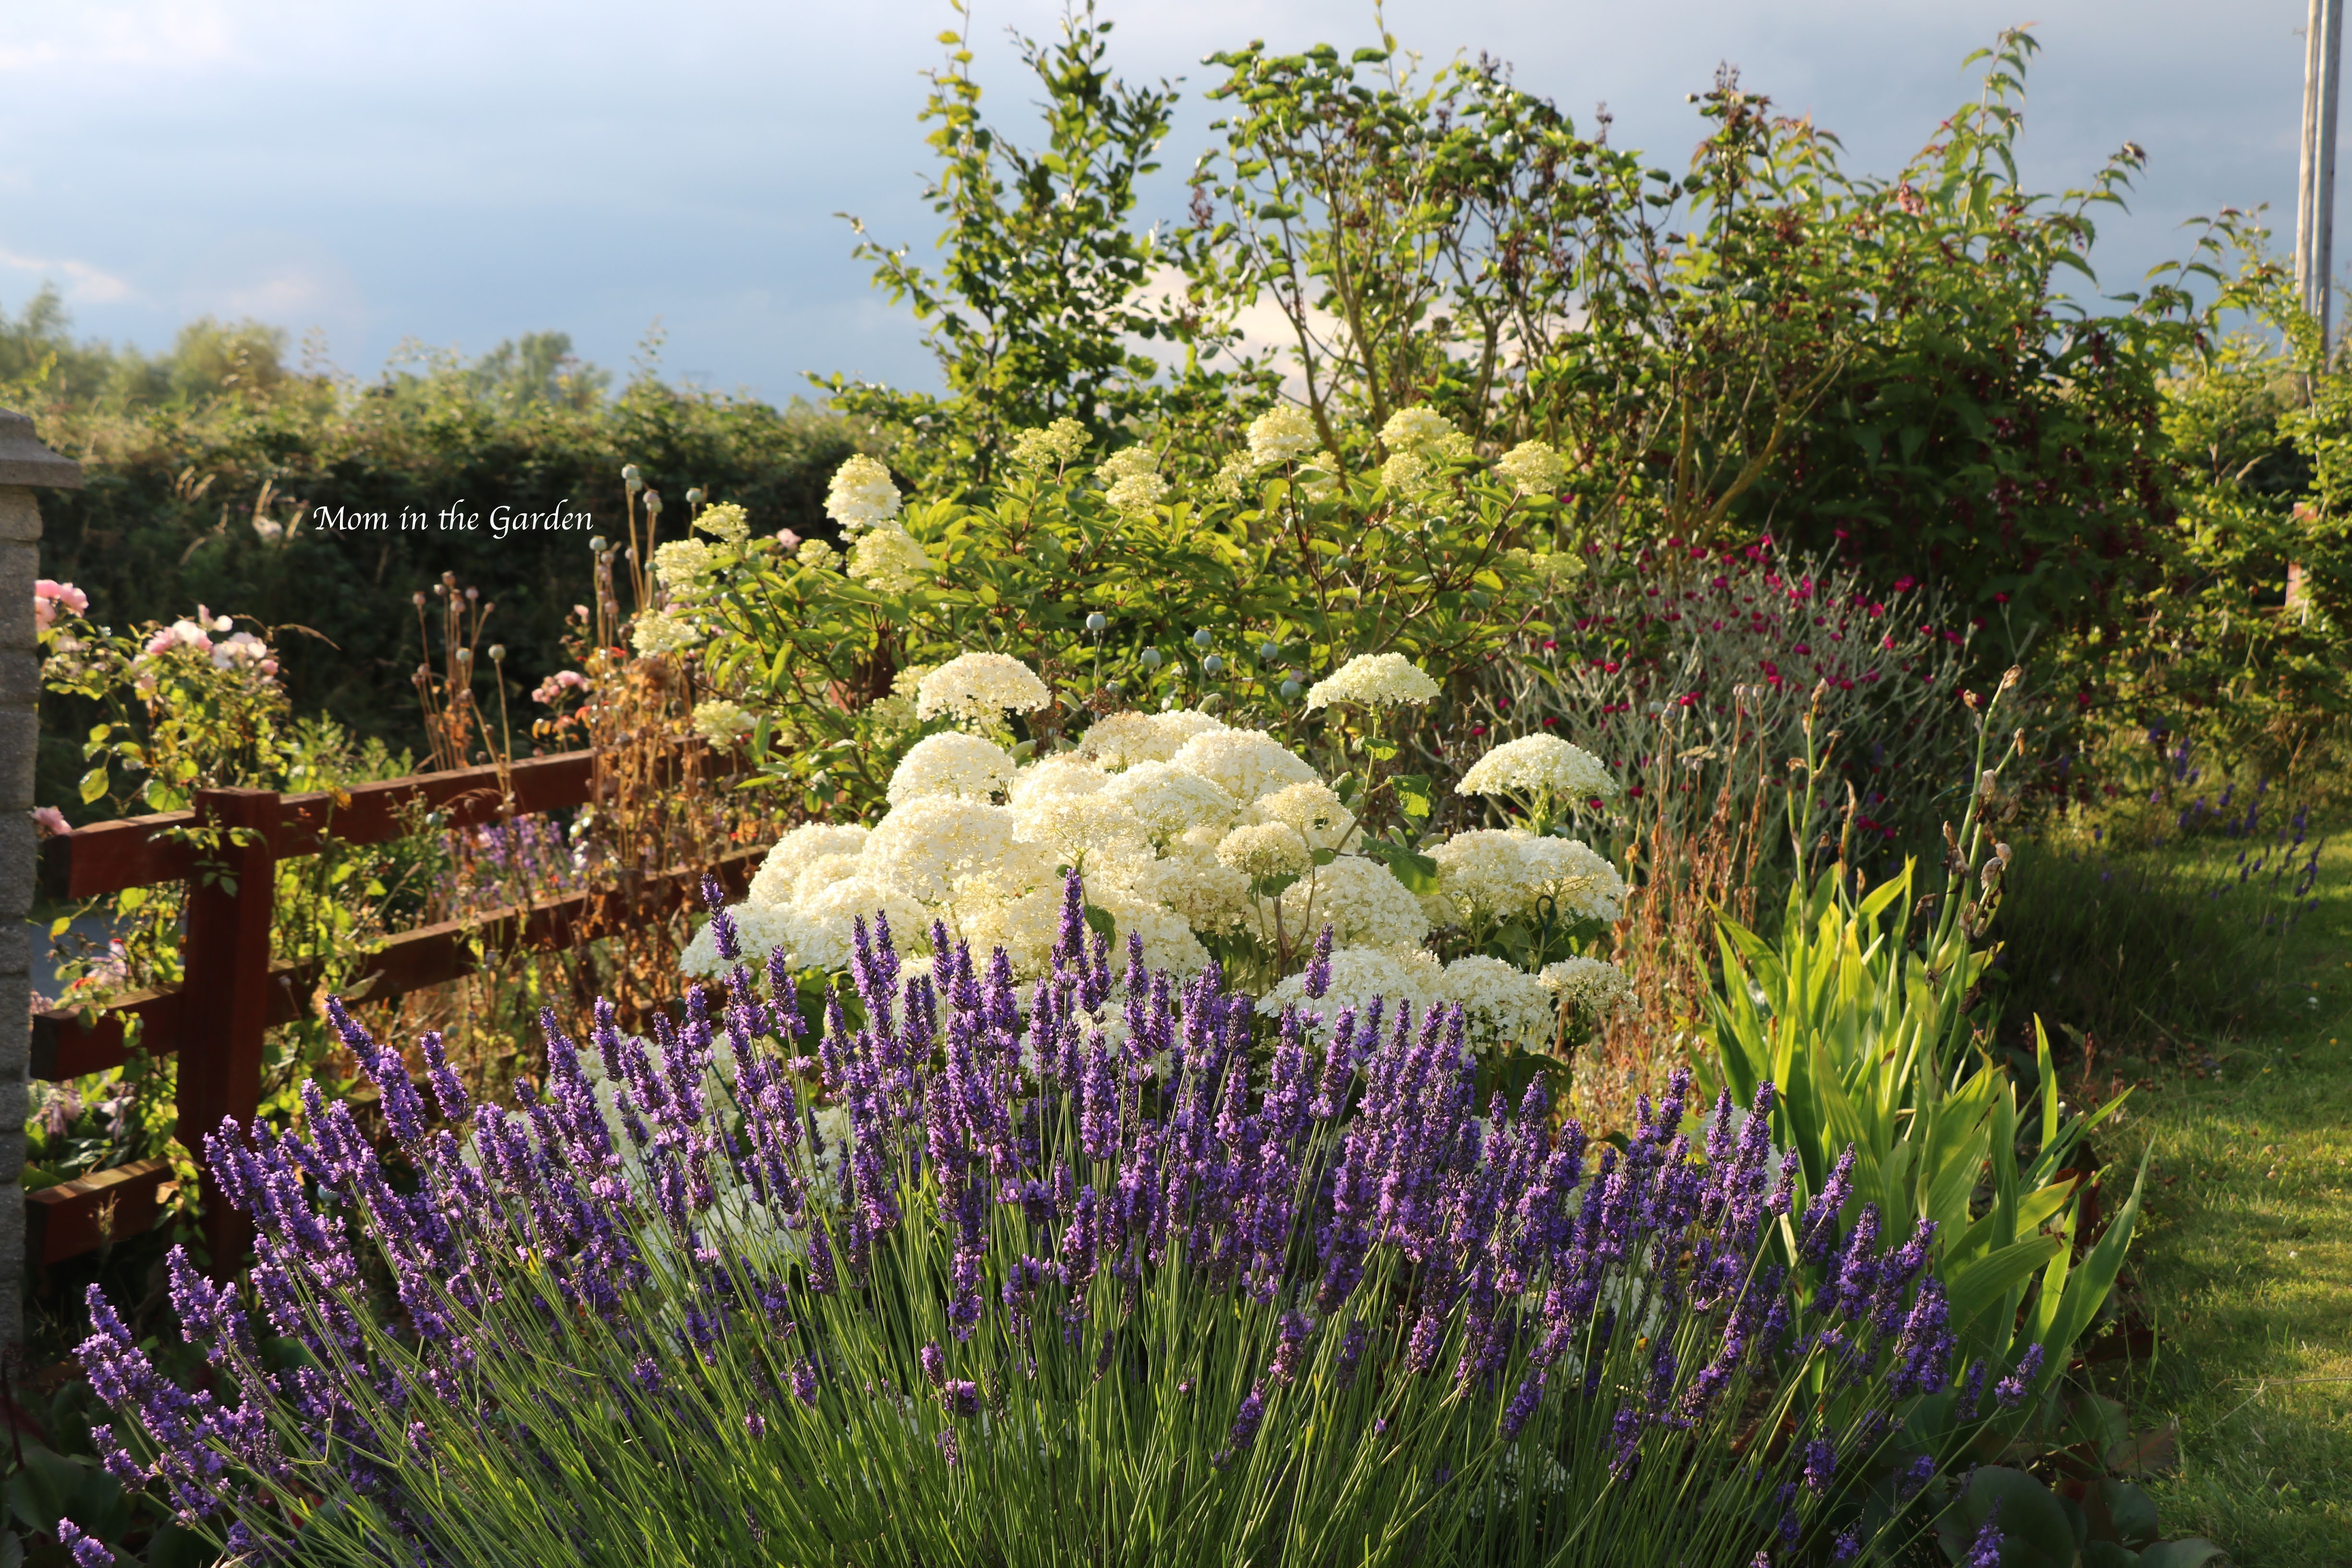
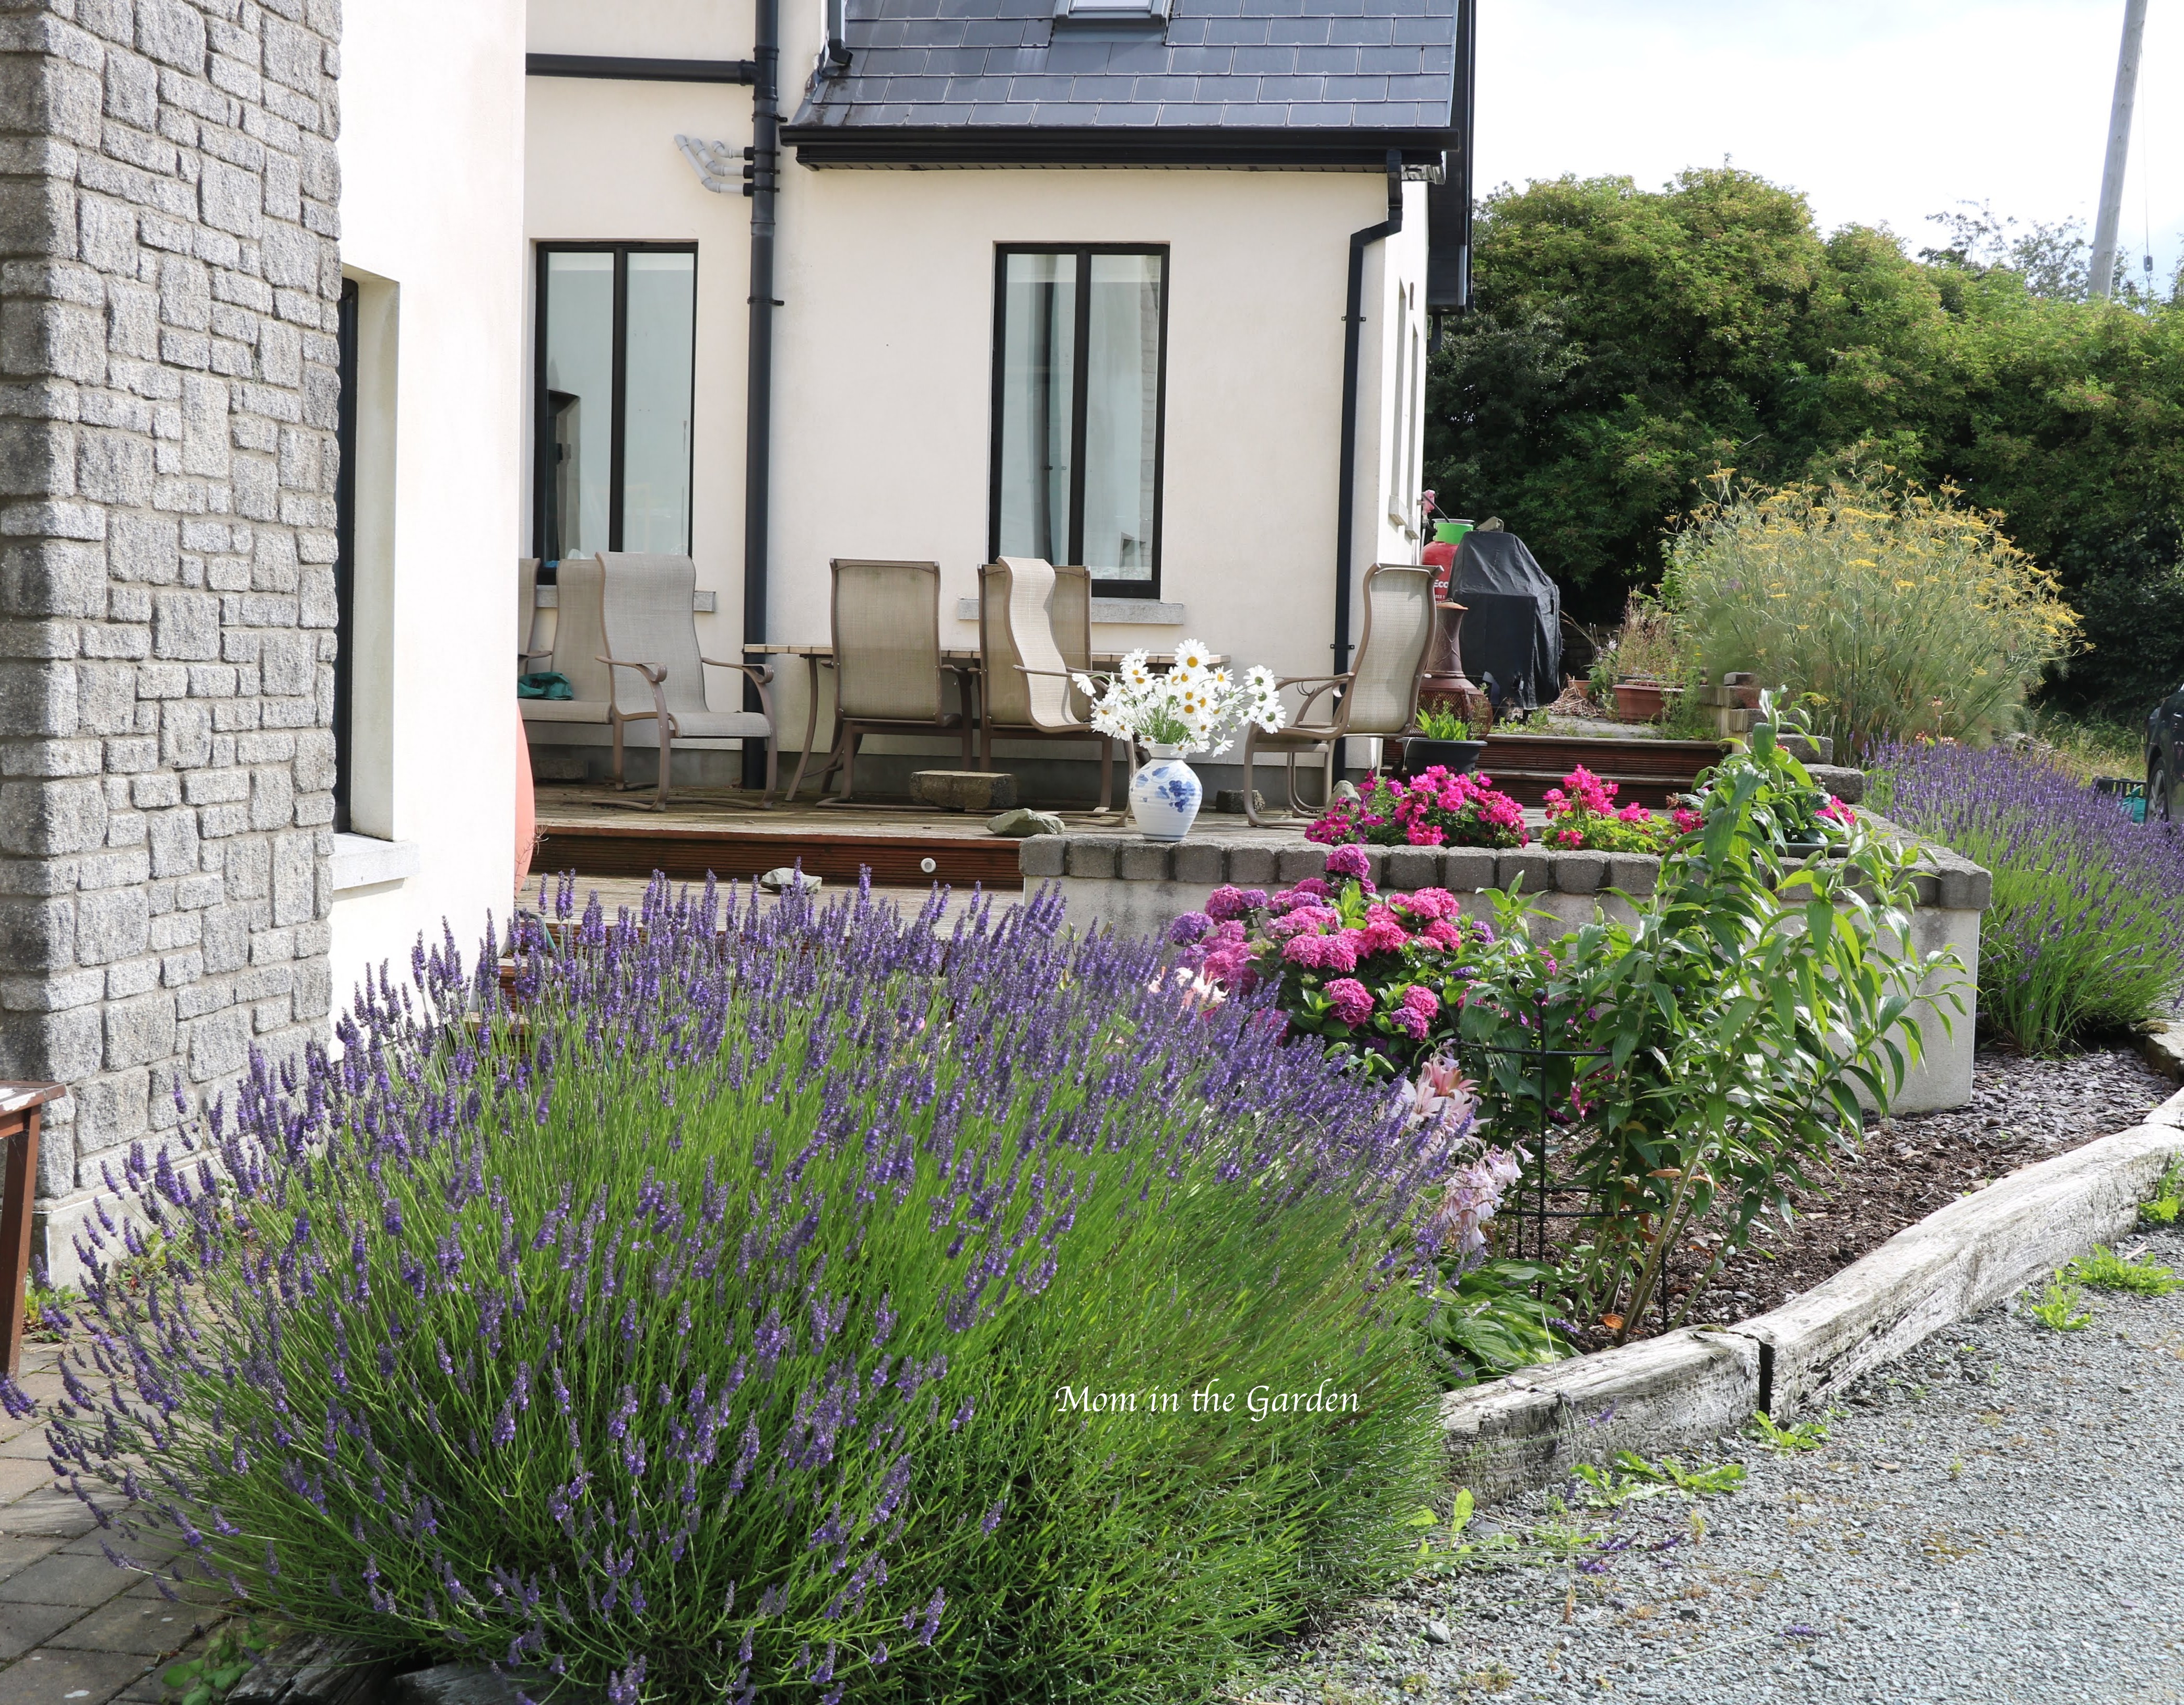
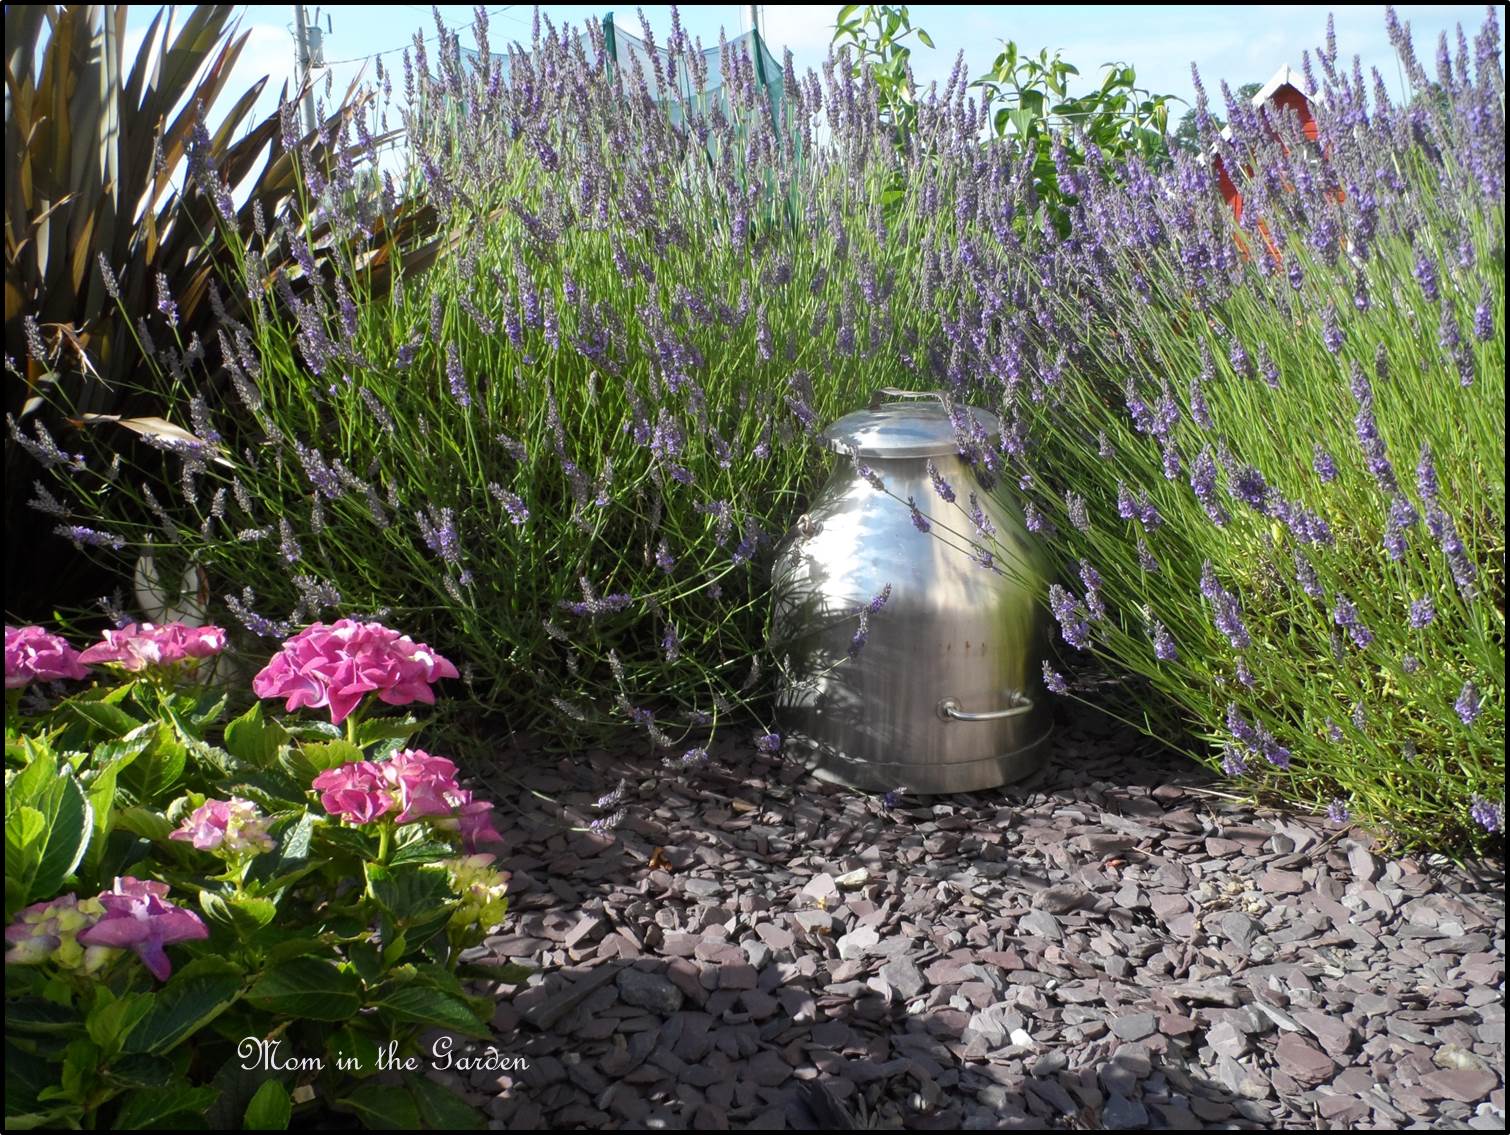
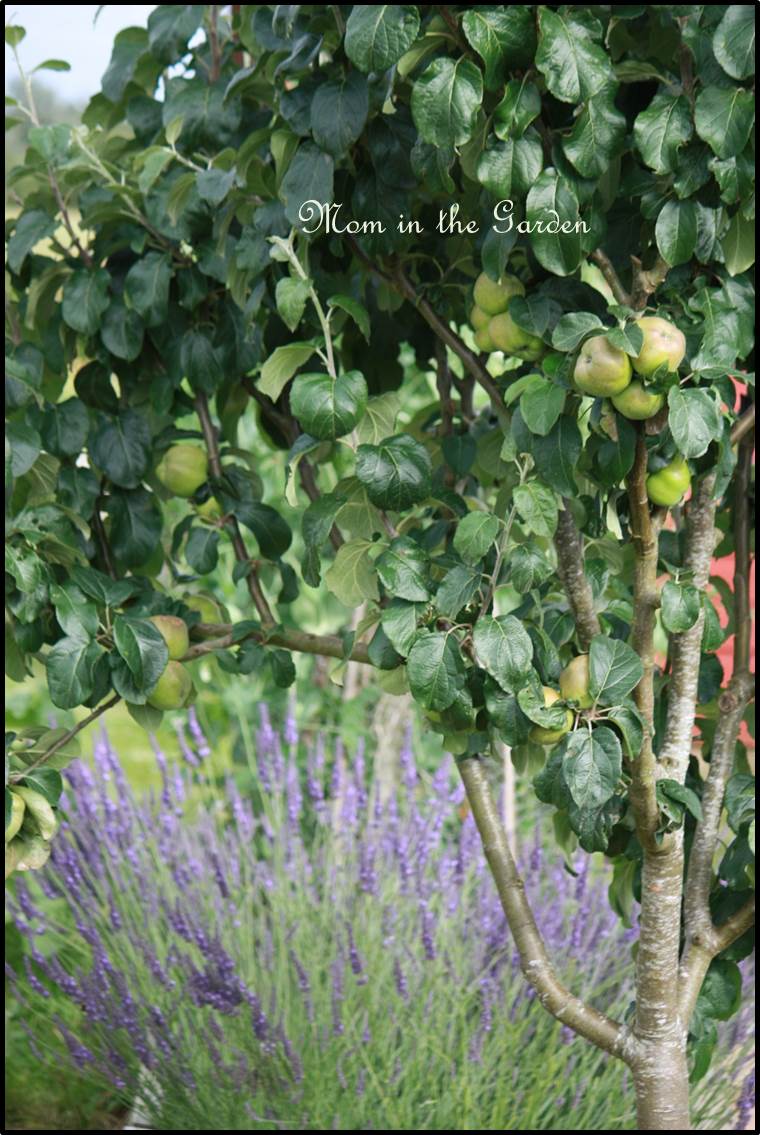
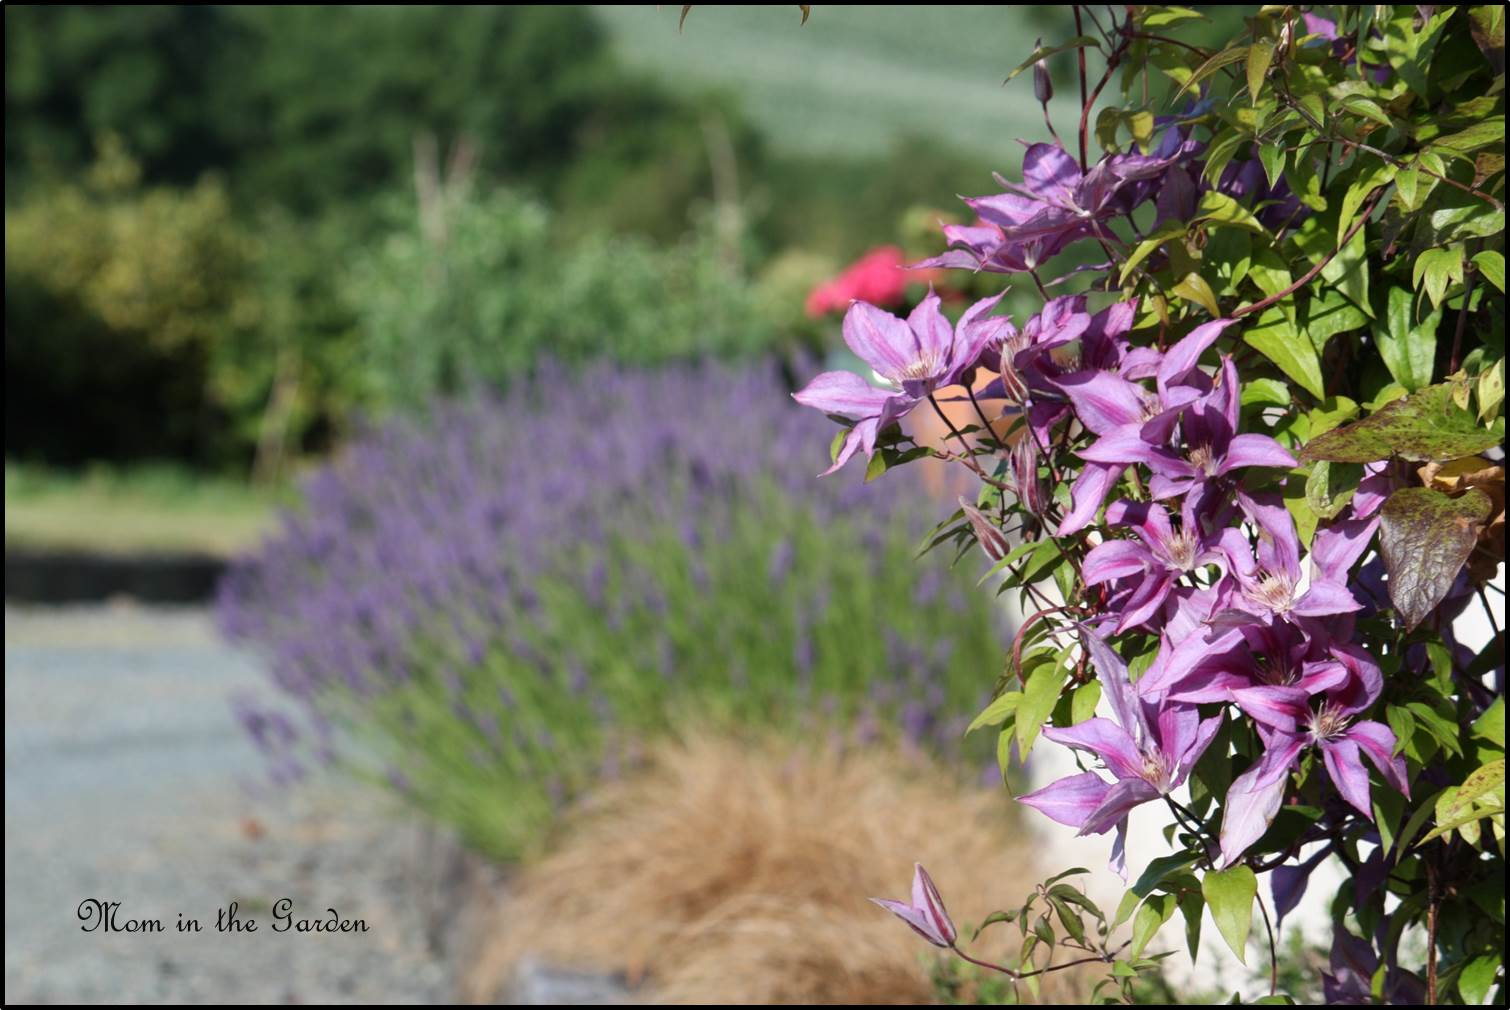
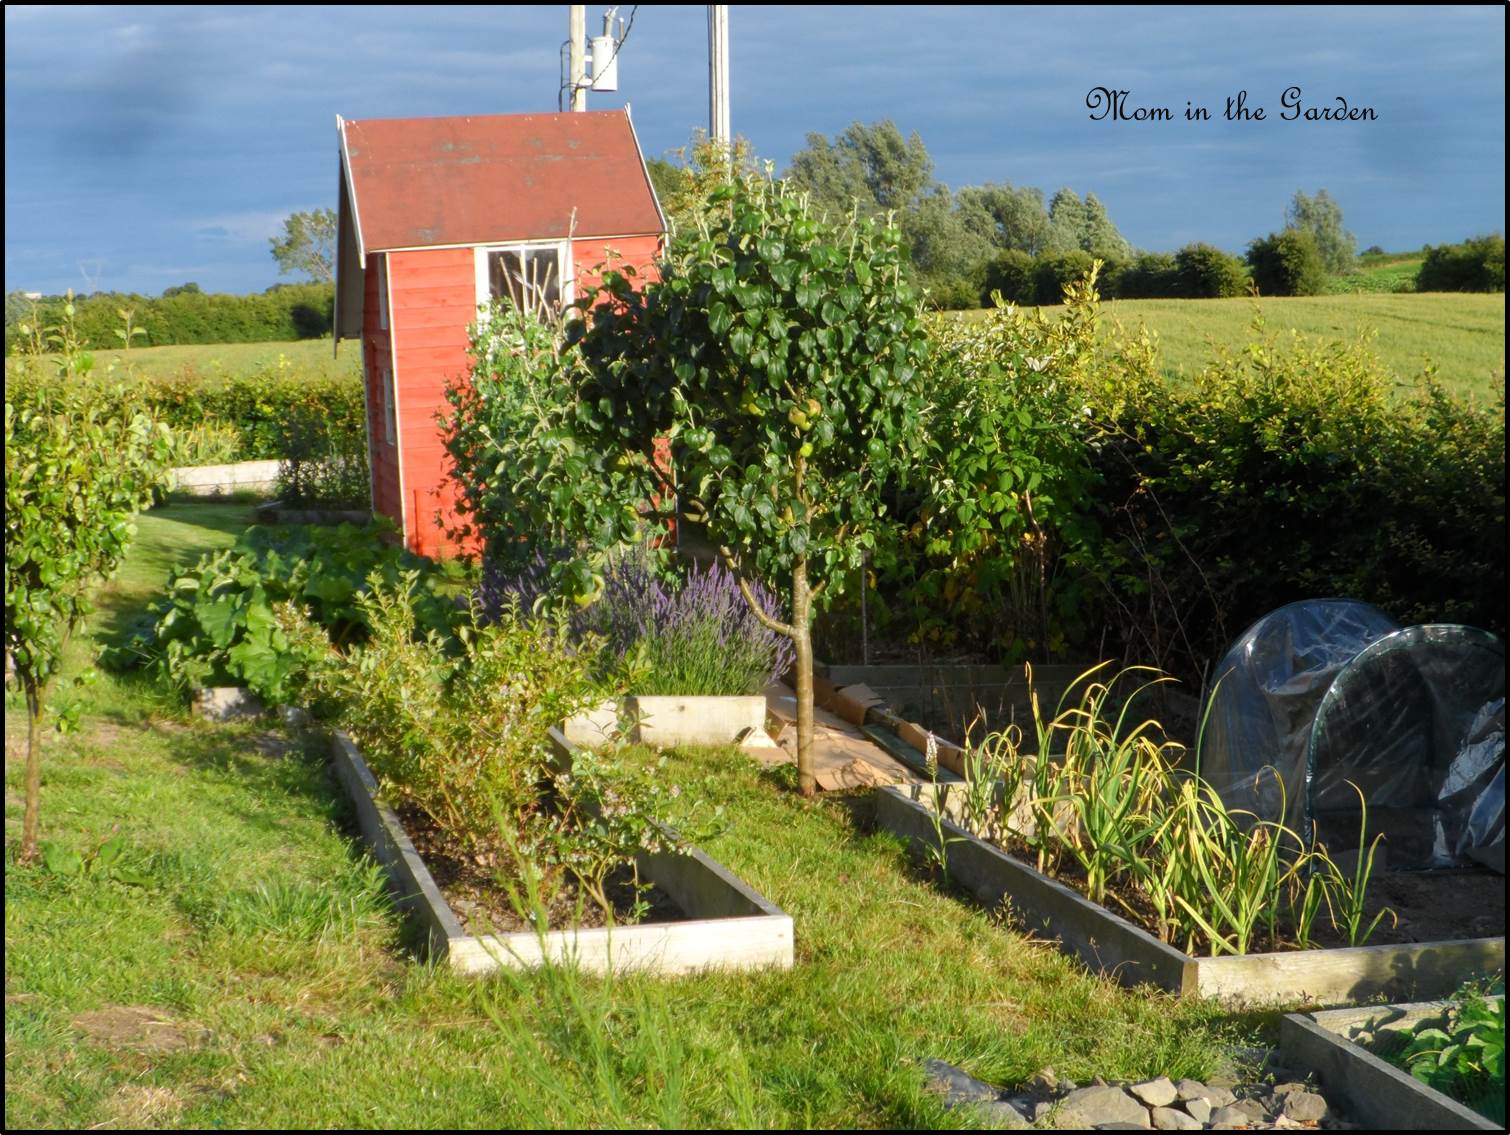
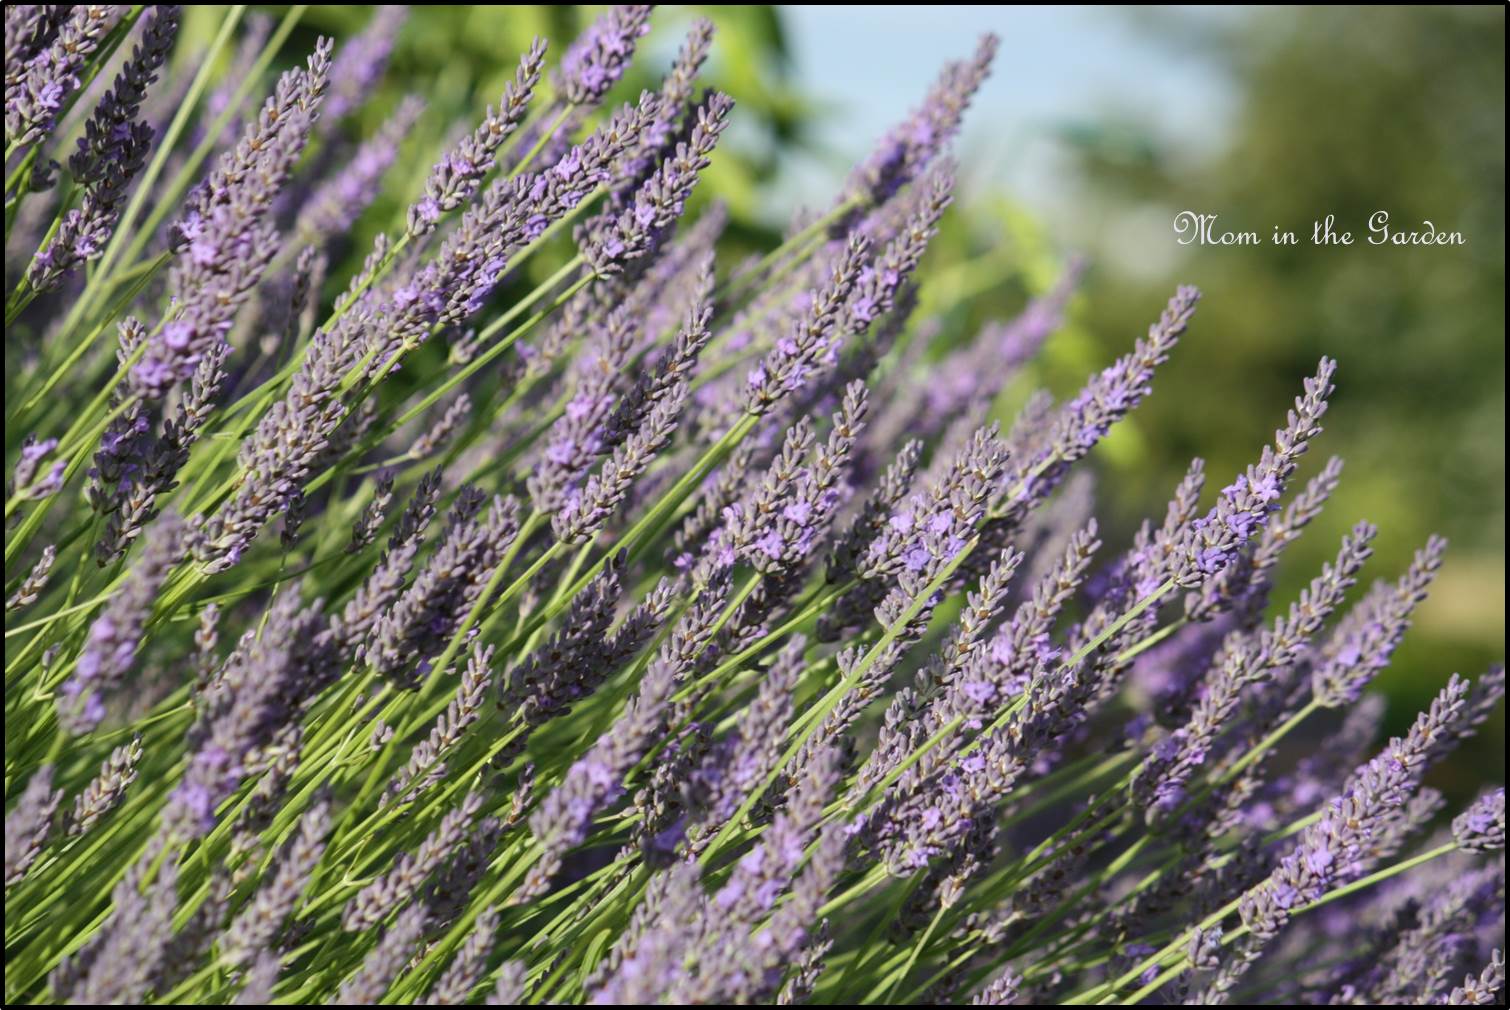
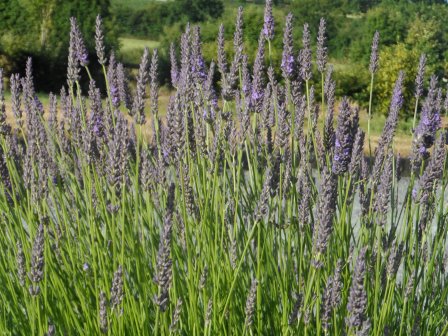
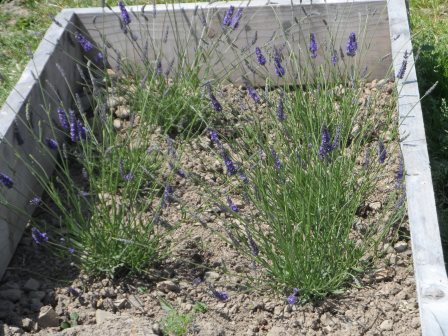
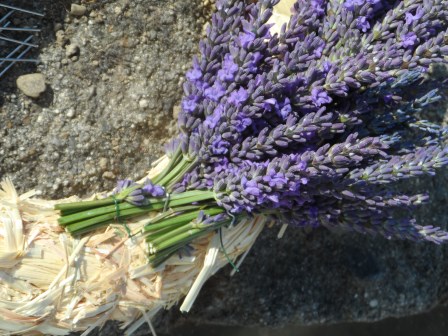
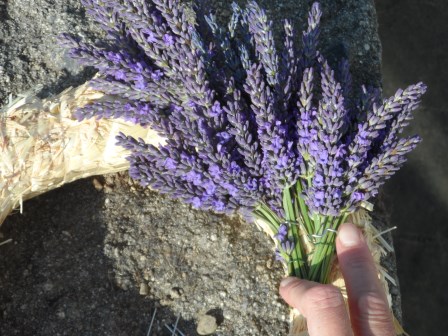
There are quite a few lavender plants in our garden. They are at different stages of maturity and their blooms develop at slightly different times. I’ve gone through and cut most of the mature stems over the past two weeks. They are now drying out – in my house. It’s a bit tricky this year! I usually dry them in our ‘sitting room’ which isn’t usually used. But this year, the ‘sitting room’ is my husband’s office and my son has started playing our piano, which is also in that room. So if my husband isn’t in the room, my son is! Instead, the lavender is drying in our front hall. Some people hang their lavender. I hang my roses and other flowers to dry them, but I just haven’t managed to figure out how to hang the huge amount of lavender I have, yet. The lavender dries out really quickly – a few weeks, tops. I still have two plants with immature blooms, that should be ready for me to use next week (so I could make more wands if I wanted to!).

I will start making dried lavender wreaths in the next couple of weeks. Again, it is a bit tricky this year as the table I usually use for my crafts is now my work desk. It means that I’ll have to start and finish the task over the weekend – including cleaning up the mess! Boy do I miss the use of the ‘unused’ sitting room where I could come and go to craft, and just close the door to hide my mess until I was completely finished.

I hope you find the tutorials helpful! It is fun for me to look back on all of the different styles of wreaths and different colors of wands that I’ve made over the years. My lavender pages are by far the most popular pages on my website – I’m not alone in my enjoyment of making things from the garden! It is such a bonus to be able to enjoy the relaxing fragrance of lavender while working with it. 🙂

Will you make any lavender crafts this year?

In Peace,
Dana

July 10 front gate garden
It is traditional to post a picture of this bed! It has 2 lavender plants, Incrediball hydrangea, hydrangea paniculata, Lychnis Coronaria Rose Campion, Pittosporum Tom Thumb, Bergenia, and Syringa v. Beauty of Moscow.
Bunch of lavender wands
This season’s lavender wands in front of one of our lavender plants. The stems are a bright green when they are first cut, but will dry to a dark green over time.
lavender wands in lavender
Lavender wands are easy to make and mostly involve weaving ribbon through stems.
Lavender display
The easiest way to display lavender is to simply throw it in a vase (no water required)!
basket of lavender
This basket full of lavender is from part of one plant.
Lavender wreath in progress collage
It was a little bit challenging to make the wreath with one continuous piece of wire. But it was a lot faster than my usual method!
Wreath on playhouse collage
I used dried peony flowers (Sarah Bernhardt) as an accent.
lavender wreath inside collage
This is where the wreath lives now – in my kitchen.
fresh lavender wreath
A fresh lavender wreath hanging on our playhouse door.
Mom in the Garden with lavender
Sunny, blue skies are every reason to smile!

I hope your summer is sunny and full of fun for you 🙂

Step-by-step instructions to make Lavender Wands

Lavender, Hydrangea Incrediball in evening sunlight

Lavender, hydrangea Incrediball, hydrangea paniculata in mid-July

Hi there! What a summer we’ve had! The weather didn’t always cooperate, but we managed to get out, get moving and have fun just the same. I sit here now, looking back on all of the pictures I’ve taken and the summer seems to have passed in a blur! I vaguely remember making some lavender wands during a short window of opportunity, and noting that I wanted to blog about making them, but then moving on to a million other ‘summer’ things. So here I am writing the blog post for you to use *next* summer! 🙂

lavender bed July 20

My main lavender bed with mature plants in mid July, amongst hydrangea, lilies, a vase of daisies and some annual plants. The tall yellow plants in the background are fennel plants.

First things first: What is a lavender wand? A lavender wand is a whimsical way to preserve the lovely smell of the lavender flower. A quick description of how to do that would be to bend the stems of the lavender over the flower head and weave a ribbon around the stems! I’ll give more detailed instructions below. But first we need some lavender. The lavender I grow is ‘Lavandula angustifolia’ (English lavender). I have found that it is perfect for making wands, wreaths, and drying for sachets. It also looks really nice in the garden. It is easy to grow, too. I have plants that get only morning sun, and I have plants that get full sun. They are all happy, and don’t require extra watering. The plants spread and grow bigger over time. The 10 year old plant in the picture above is more than 3 feet across.

There is a one to two week window to make lavender wands, which is the time when the individual blooms just start to open. This time is best because the stems are still pliable, which is necessary in order to bend them without breaking them. As the summer goes on, the stems get more stiff and will break when bent. The established plant will have new stems (referring to the green part) every year which are quite thin with a smaller flower head, while ‘returning’ older stems will be thicker and longer, and the flower heads will also be much longer than newer ones. The thicker stems are the ones you want to use, to have ‘full’ wands.

ribbon label: 3/8 inch x 18 ft.

Wider ribbon is easier to use, and helps the weaving to go much faster! I prefer 3/8 inch (9 mm). 60 inches (152 mm) of ribbon will cover one wand.

lavender tied with ribbon

Tie a ribbon at the base of the flowers (not too tight or you’ll break the stems).

I use 25 stems for my wands to keep them nice and thick, and because inevitably, a stem or two will break, and starting with 25, the wand will still be full looking. I tend to cut my lavender long, cutting 2/3 of the stem, and then after grouping the 25 stems together, I will cut them to a shorter, more manageable length. Clear the length of the stems, taking off any green leaves or tiny side-blooms. The odd number is necessary to properly weave the ribbon through the stems. Sometimes the last group will have three stems, but this really doesn’t matter. After I’ve gathered the 25 stems and lined-up all of the flower heads, I tie the ribbon around the stems and make a knot just at the base of the flower heads. Using wider ribbon is easier to weave with – I prefer 3/8 inch (9 mm). Approximately 60 inches of ribbon (152 mm) will cover one wand.

lavender wand with stems folded over

After knotting the ribbon around the base of the flower heads, carefully fold the stems over the flowers

The next part is probably the trickiest: while holding the 25 stems in your hand, carefully bend the stems over the flower heads, keeping them tidy for the next step of weaving the ribbon. The next step is simple weaving: I group the stems in twos, just to make it easier. Weave the ribbon over and under each group of two stems, pulling tightly after each one, but not too tightly as to break a stem, or to bunch up the ribbon. Lavender wand top view

A (slightly blurry) top view of a lavender wand being made.

Lavender Wands top view end of August

Here’s a top view of the lavender wands after they have fully dried, in late August

Lavender Wand being made

Weave the ribbon around two stems at a time, covering the lavender flowers.

Lavender wand with inch worm

Can you see the inch worm on the green stem just under the ‘Mom in the Garden’ tag?

I prefer my wands to be nice and full. That means there will be a lot of flowers to cover! It helps to evenly space out the stems. You might still have some stray flowers poking out after you are finished. I think those are nice to see, especially when trying to explain to someone what exactly a ‘Lavender Wand’ is! 🙂

Lavender wand standing lavender ribbon

I’m just having fun with this picture. Still a bit more to go!

It’s good to keep the ribbon nice and tight, because as the lavender flowers dry, they shrink in size. A tightly wound ribbon will ensure a neat and tidy wand even after it dries. Weave until just past the bottom of the flower head. I like to have ribbon on the handle, too, and I found a website with pictures of the neatest way to cover the lavender handles. The site is called ‘How’s Robb’ blog. The thing is, they didn’t explain how to make the knots! But it really is simple, and I posted photos of the process here. You make a knot, turn the ribbon in the opposite direction, wrapping it round the stems and make another knot under the previous knot, all the way down the stem. I also did a video tutorial here. Sometimes I like watching videos to learn something new, sometimes I want pictures, and sometimes I want text. So now I have it all covered!

Lavender wands completed

Completed lavender wands

lavender wands in pink and blue

Some brightly colored ribbon really makes the wands stand out!

At this stage, I’ve used just about every color and style of ribbon on my wands. My favorite type is a shiny ribbon, 3/8 inch, and bright colors. Lighter colored ribbons tend to stain green from the stems, which isn’t ideal.  I think this year I liked the plum color best.

group of lavender wands

I like using all different color ribbons, but the purple shades are probably my favorite!

Lavender wands are just fun to have, and even more fun to give away as gifts. Honestly, mine last for years. To enjoy their scent, I just place the flower head part of the wand between both of my hands and rub back and forth a few times! You could bang it against something, too, but that might break the handle 🙂

lavender wands on scarf

This scarf, from a friend in Japan, was a perfect backdrop to use for taking pictures of the wands!

Lavender wands end of August

The stems change color as they dry. This picture was taken at the end of August of these wands which were made in mid-July.

So next year, just when the lavender flowers start to bloom, I will repost this post so we can all make beautiful lavender wands!

Here’s to getting things done, even if a little late. 🙂

In peace,
Dana

Lavender Season – a delight to behold!


Lavender up close

Lavender up close

We moved into our home four years ago. My husband and I really like living in the country, and our home suits us just right. The yard was more or less a blank canvas for us, except for the established lavender garden. What a treat! Lavender! So pretty to look at, and a scent to match that beauty!

One view of the lavender garden

One view of the lavender garden.  (As a side note, the fields in the background are planted with potatoes and the plants have bloomed with white flowers!)

Our first summer here, one of my sisters-in-law suggested I dry the lavender. I’ve been drying it and finding different things to do with it ever since. I have really grown to love it.   It is so fragrant that I don’t even need to brush past it to enjoy the scent; it is already wafting in the air.  It truly is a relaxing fragrance too.

Lavender garden with an old milk container squished in

Lavender garden with an old milk container squished in

Full lavender garden view with milk container

Full lavender garden view with milk container

Someone with so much lavender in their yard surely has to do something creative with it!  I surprised myself last year with the number of lavender wands I made.  The colors of the ribbons I used to weave the lavender were so pretty to work with.

Lavender Wands

Lavender Wands

I shouldn’t forget the wreath, either.  I was really delighted with how it came out.  This year I just haven’t had the time to spend on crafts, unfortunately.  That is a huge unfortunately, because I really enjoy making things with my hands.

Lavender wreath with dried roses

Lavender wreath with dried roses

There is still a bit of time left to work with the lavender, so I just might get something made.  This past week I have been cutting some of it to dry for bouquets.  (All is definitely not lost!)

If you would like to try your hand at making lavender wands, you can have a look at my post from last year:   https://mominthegarden.wordpress.com/2013/07/22/lavender-wands-my-first-lavender-wreath/

Lavandula angustifolia Lavender in our fruit and vegetable garden

Lavandula angustifolia Lavender in our fruit and vegetable garden

Even after working long days, it has been so wonderful to go into the garden and cut lavender. The lavender I just planted last year was the first in need of cutting. I can’t believe how much it grew!  Lavandula angustifolia Lavender.  It was just a bit bluer than my established lavender, and the blooms were a bit thinner, too.  But still beautiful.

Nature also enjoy the lavender

Nature also enjoying the lavender

I bet you didn’t think I could pose this many pictures of lavender, now did you?  Even the different times of day give it a different appearance!

Lavender in evening sunlight

Lavender in evening sunlight – this looks almost pink (but is definitely purple)

Clematis Bagatelle 'Dorothy Walton' and lavender

Clematis Bagatelle ‘Dorothy Walton’ and lavender

Lavender and play house

Lavender and play house

A sunny evening with dark clouds in the background

A sunny evening with a dark sky in the background

I loved how the lavender gave some pretty color to our fruit and vegetable garden.  I was sad to cut the color away…

Lavender close up

Lavender close up

One last view of the lavender garden

One last view of the lavender garden

And that is the story of my lavender this season!  I hope you have enjoyed seeing all of my pictures.  I wish I could share the beautiful scent with you too! Maybe one day we’ll have the technology to do that. 🙂

Dana


Moynalty Steam Threshing Festival … Just like the old days!

Moynalty Steam Threshing

At the Moynalty Steam Threshing Festival

My husband’s father’s family is from Moynalty, County Meath.  It is a lovely, picturesque, quaint village.  And every year, for the past 38 years, they host a Steam Threshing Festival which attracts upwards of 30,000 people.  It is always an enjoyable afternoon, and this year was no exception!

At the Moynalty Steam Threshing

At the Moynalty Steam Threshing Festival

I’m not a farming girl myself, so everything had to be explained to me.  Threshing is the process of beating the stem of the grain to separate the grain from the straw. Long ago, this was done by beating it by hand using a flail, but this graduated to using threshing machines powered by horses, and then later by steam engines.  Today, combines are used.

Threshing demonstration field.

Threshing demonstration field.

There is a tremendous amount of work involved, no matter which method is used!  It is lovely to be able to see how things were done “in the olden days” (which is really not all that long ago!).

One of the many steam engines.

One of the many steam engines.

The Moynalty Steam Threshing festival is a great day for the entire family.  They have vintage cars, antique displays, food, animals, crafts, and rides.  They, of course, have a web site: http://www.moynaltysteamthreshing.ie/

Steam Engine.

Steam Engine.

For us, we have the added benefit of being able to visit with family.  It is always fun to catch-up with everyone!  I must get pictures of the extended family next time! 🙂

Vintage steam engine.

Vintage steam engine.

The kids love to hear the whistles blow!  It’s classic.

Tractors through the ages!

Tractors through the ages!

Antique display of radios.

Antique display of radios.

Selling lavender at the festival.

Selling lavender at the festival with my helpers.

Having gone to the festival for years, I decided that it would be a perfect place to sell my lavender.  My lavender display was set up in the vintage car section.  I have to say that really, lavender sells itself!  The scent was enough to get people to come over to me (that’s the hard part!).  I think it worked well with the different variety of items that I had. I sold my lavender wands, mini-bouquets, larger bouquets, and two different sized pouches (sachets).   It was a lovely day!

It is always nice to find a fun festival to visit.

Dana
p.s. I most appreciated my husband taking all of the wonderful pictures in this post while I was busy selling lavender!

Lavender Wands & my first Lavender Wreath.

Lavender wreath with dried roses - all from the garden.

Lavender wreath with dried roses – all from the garden.

I love lavender!  Better still, I love having lavender in the garden.  Even just brushing past it produces the beautiful lavender scent.  July is the month for lavender here in Ireland.  I have lavender that can be quite showy, especially this month.  I was delighted to see 5 established plants when we moved into our home three years ago. I don’t know their exact variety, but I think they are possibly Grosso Lavandin, or maybe Lavandula x intermedia.  I will admit that I am really not sure!

My lavender - possibly Grosso Lavandin.

My lavender – possibly Grosso Lavandin (or maybe Lavandula x intermedia!).

Lavender prefers well drained soil, and lots of sun.  Honestly, I’m not sure why my plants do well.  This year, sure, it has been sunny and dry, but this is certainly not the case every year.  Last year was exceptionally wet, and I really thought the plants were lost to root rot. At the end of last year’s season I trimmed all of the stems off as I do every year (cutting off about 2/3 of the stem).  But I didn’t expect them to survive.  In fact, I ordered some more plants!

Lavender angustifolia in a raised bed.

Lavender angustifolia in a raised bed.

Six new plants!  Lavender angustifolia seemed to be a similar variety to my plants.  I put them in a new raised bed.  They seem quite happy!

Lavender.

My well established lavender plants.

Some of our lavender.

Some of our lavender.

It really is a fantastic amount of lavender.  Just this season I’ve made 24 lavender wands, and one very full wreath, and I still have a lot left to dry.  Yay!

The first year we moved into the house my sister-in-law suggested that I really should do something with all of that lavender!  She was right, and so I started with just drying the flowers.  Then with suggestions from friends, I moved on to making lavender wands, and this year I added making a wreath.

Making a lavender wreath.

Materials for making a lavender wreath:  a wreath form, floral pins (some are in the center of the wreath), some floral wire, and a wire cutter.

Small bunches of lavender.

Small bunches of lavender.

Floral pins to attach the bunches.

Floral pins to attach the bunches.

Easy peasy :-)

Easy peasy 🙂

Making a wreath is easy, once you have the right materials.  I like using a straw-form wreath. While I was home in the States,  I picked up this small 10 inch wreath for  just $2.99 at Jo-Ann fabrics. I first tied the small bunches of lavender with some floral wire, and then  I used floral pins to attach them to the wreath.  That’s it!  You just keep attaching small bunches and work your way around the wreath.

Work in progress.

Work in progress.

I have so much more appreciation for lavender wreaths now!  It does take some time to cut the lavender, wire it, and fill in the wreath.  It is usually helpful to have some Spanish moss, or some kind of filler for the very outside of the wreath. I didn’t have any of that so my wreath is quite full with lavender!

Super full!

Super full side view!

Some dried roses from the garden.

Some dried roses from the garden.

I’m still not sure about a ribbon.  For now, I really like just having the three small dried roses.  They are also fragrant!

Wreath with our Failte (Welcome) plaque.

Wreath with our Failte (Welcome) plaque in the front hall.

I knew that the wreath was going to use up a lot of my lavender, so before making it I made a bunch of wands.  They are rather quirky and unusual and I love them!  If you are wondering what to do with them, I have a few ideas.  They make a nice hostess gift, can go in clothes drawers or closets, a few in a vase are fun, or simply laying on the bathroom windowsill. The lavender scent will last for years.   I posted about making lavender wands last year. You can see that post here:  https://mominthegarden.wordpress.com/2012/07/16/english-lavender-in-full-bloom-lavender-wands/

Lavender wands.

Lavender wands.

The trick is to work with the lavender before the stems become woody.  Last week was the perfect time for mine.  I like to have a couple of stems with some blooms open, but for the most part they are made with lavender that isn’t yet open.

Tie up a bunch of between 21 and 23 stems.

Tie up a bunch of stems.  I use between 21 – 25 stems.

You weave the ribbon through the stems as you fold the stems over.

Weave the ribbon through the stems as the stems are folded over.

This year I discovered a new way to finish the wands.  I have to give credit to Robb, of the “how’s Robb” blog.  I came across it, and loved how he neatly knotted the ribbon on the handle of the wand so it doesn’t unravel.  Here is the link to his blog on lavender wands:      http://howsrobb.blogspot.ie/2013/05/how-to-make-lavender-wands.html

Knotting the ribbon.

Knotting the ribbon.

Simple knot, then turn and go in opposite direction.

Simple knot.

Then pull it tight, and go in opposite direction.

Then pull it tight, and go in opposite direction.

I just looked at his page, and with a few tries I figured out how he slipped the ribbon through a loop, and then turned it in the opposite direction to do the same again.  Easy!  And it keeps the ribbon nice and tight.  I’m glad I came across his page!

Lavender wands.

Lavender wands.

Lavender wands.

Lavender wands.

I love all of the different colors.  Did I mention how relaxing it is to work with lavender?  🙂  Between the weaving, and the scent of lavender, I enjoy my time working with lavender.   I discovered last year that I could sell the wands, too.  So I’m doing that again this year.  Right now I’m just selling locally, €5 per wand. But who knows, maybe sometime in the near future I’ll be selling globally!

I hope you’ve enjoyed my little lessons on working with lavender!

Dana

Some other flowers among the lavender.

Some other flowers among the lavender.

English Lavender in full bloom = Lavender Wands!

Lavender Wands.

It’s July and my lavender is in full bloom.  Just brushing past it gives off a wonderful scent. This usually happens in the evening as I’m pulling off slugs from the neighboring hosta and lilies, so it’s a welcome reprieve from such yucky work!  I came across lavender wands a couple of years ago, and have decided I really like making them.  It’s fun to work with my hands, and it smells so lovely during the weaving process.  It’s not difficult to do, either.    I gather a handful of stems, tie them together, fold the stems over the blooms, weave the ribbon, and finish with a little bow!  🙂  Here are a couple of pictures of the process:

I like my wands nice and full, so I usually collect between 19 and 23 stems. Look for stems that have some flowers open.   Inevitably, one stem will break in the folding-over process, so I’ll end up with 22 which works well for the weaving since I work with them in twos.

Tie a ribbon at the base of the flowers (not too tight or you’ll break the stems).

After you gather your stems and peel off any greens, line up the blooms and tie a ribbon at their base.  You can use 3mm, 5mm, or 6mm size ribbon. The wider the ribbon the less weaving you’ll have to do.  I think 5 mm is perfect. I figured this out after making lots of wands with 3mm!

Folding stems over the flowers.

Next, hold the flowers in your hand and fold two stems down (gently, so they don’t break), put ribbon either over or under these two, and bring two more stems down. I use two stems, but you can use one or three. I found one to be too much work. Then repeat the process, bringing the ribbon over and under the stems.

I had a lot of fun making these, and putting together a rainbow of colors.  You could hang these in your closet, or put them in your dresser drawers, or leave them on the window sill of the bathroom!  Because I have so many, I have mine in a vase in my family room.  They will last for years.   I am going to try and sell them at a fair coming up in a few weeks. We’ll see if there is any interest for Lavender Wands!

English Lavender in full bloom.

I can’t be 100% sure of the type of lavender I have since I didn’t plant it. But I believe it is an English hybrid (Lavandins), probably Abrialii.  This variety blooms after English lavenders finish their blooming and it lasts to mid summer.   They really have a strong fragrance, and are great for drying too, since the flowers are easily removed from the stems.  After the blooms are finished the stems should be cut by about a third to promote fullness for next season.

I really appreciate having such a lovely and fragrant plant thriving so easily. What a bonus to be able to bring some of it inside and enjoy it all year long!   What do you think, would you use a Lavender Wand?

Dana