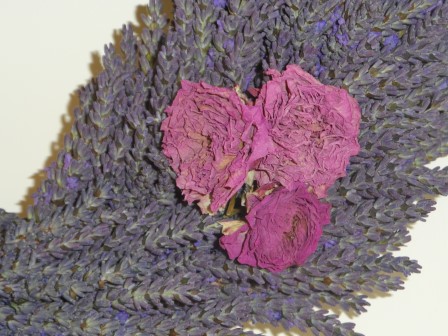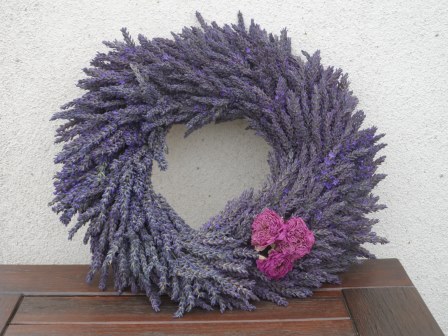
Lavender wreath with dried roses – all from the garden.
I love lavender! Better still, I love having lavender in the garden. Even just brushing past it produces the beautiful lavender scent. July is the month for lavender here in Ireland. I have lavender that can be quite showy, especially this month. I was delighted to see 5 established plants when we moved into our home three years ago. I don’t know their exact variety, but I think they are possibly Grosso Lavandin, or maybe Lavandula x intermedia. I will admit that I am really not sure!

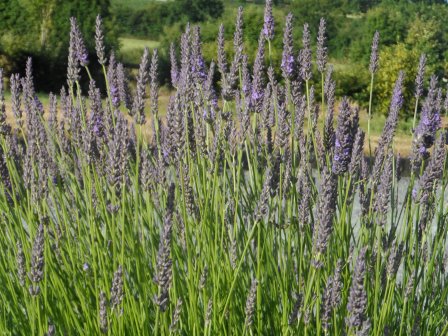
My lavender – possibly Grosso Lavandin (or maybe Lavandula x intermedia!).
Lavender prefers well drained soil, and lots of sun. Honestly, I’m not sure why my plants do well. This year, sure, it has been sunny and dry, but this is certainly not the case every year. Last year was exceptionally wet, and I really thought the plants were lost to root rot. At the end of last year’s season I trimmed all of the stems off as I do every year (cutting off about 2/3 of the stem). But I didn’t expect them to survive. In fact, I ordered some more plants!

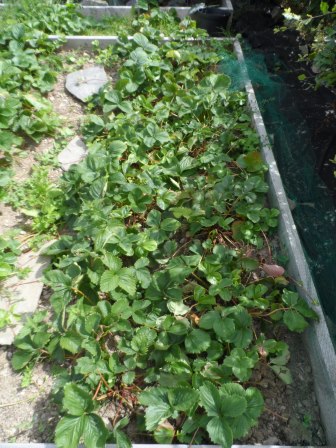
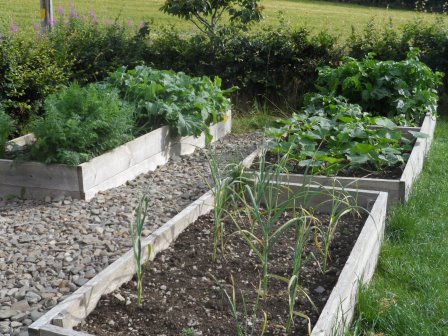
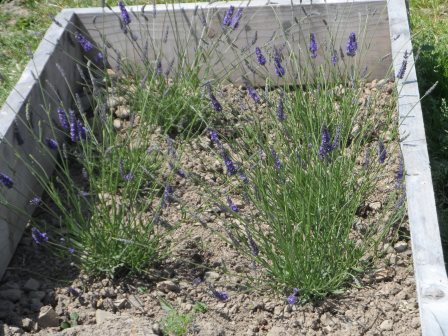
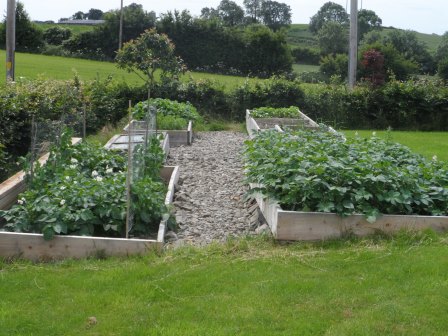
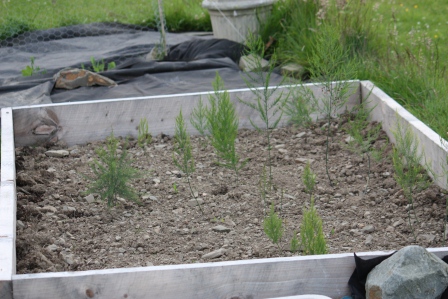
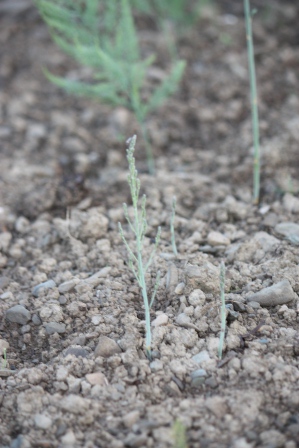
Lavender angustifolia in a raised bed.
Six new plants! Lavender angustifolia seemed to be a similar variety to my plants. I put them in a new raised bed. They seem quite happy!

My well established lavender plants.

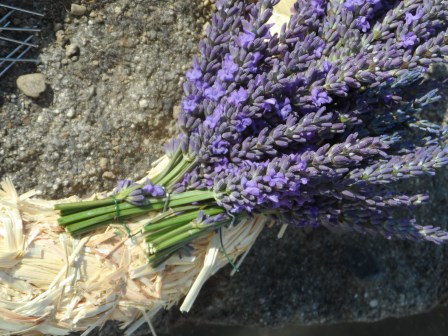
Some of our lavender.
It really is a fantastic amount of lavender. Just this season I’ve made 24 lavender wands, and one very full wreath, and I still have a lot left to dry. Yay!
The first year we moved into the house my sister-in-law suggested that I really should do something with all of that lavender! She was right, and so I started with just drying the flowers. Then with suggestions from friends, I moved on to making lavender wands, and this year I added making a wreath.

Materials for making a lavender wreath: a wreath form, floral pins (some are in the center of the wreath), some floral wire, and a wire cutter.
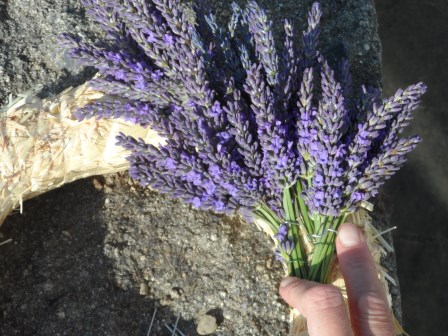
Small bunches of lavender.
Floral pins to attach the bunches.

Easy peasy 🙂
Making a wreath is easy, once you have the right materials. I like using a straw-form wreath. While I was home in the States, I picked up this small 10 inch wreath for just $2.99 at Jo-Ann fabrics. I first tied the small bunches of lavender with some floral wire, and then I used floral pins to attach them to the wreath. That’s it! You just keep attaching small bunches and work your way around the wreath.

Work in progress.
I have so much more appreciation for lavender wreaths now! It does take some time to cut the lavender, wire it, and fill in the wreath. It is usually helpful to have some Spanish moss, or some kind of filler for the very outside of the wreath. I didn’t have any of that so my wreath is quite full with lavender!

Super full side view!

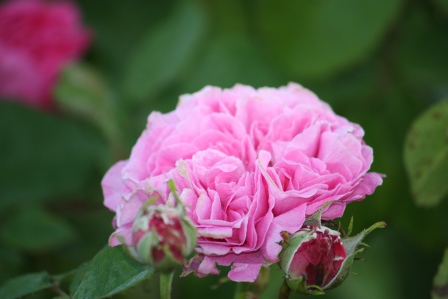
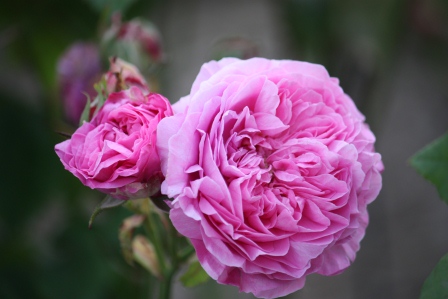
Some dried roses from the garden.
I’m still not sure about a ribbon. For now, I really like just having the three small dried roses. They are also fragrant!

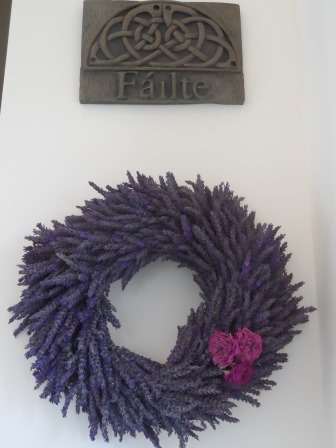
Wreath with our Failte (Welcome) plaque in the front hall.
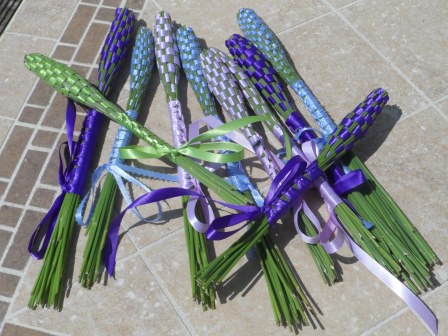
I knew that the wreath was going to use up a lot of my lavender, so before making it I made a bunch of wands. They are rather quirky and unusual and I love them! If you are wondering what to do with them, I have a few ideas. They make a nice hostess gift, can go in clothes drawers or closets, a few in a vase are fun, or simply laying on the bathroom windowsill. The lavender scent will last for years. I posted about making lavender wands last year. You can see that post here: https://mominthegarden.wordpress.com/2012/07/16/english-lavender-in-full-bloom-lavender-wands/

Lavender wands.
The trick is to work with the lavender before the stems become woody. Last week was the perfect time for mine. I like to have a couple of stems with some blooms open, but for the most part they are made with lavender that isn’t yet open.
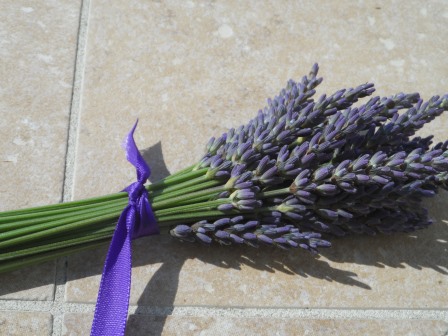
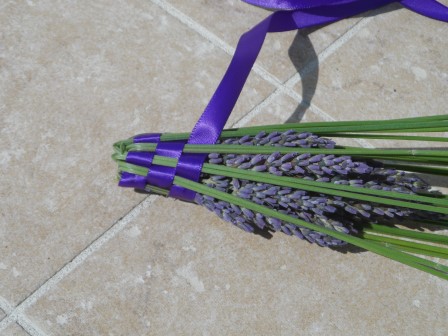
Tie up a bunch of stems. I use between 21 – 25 stems.

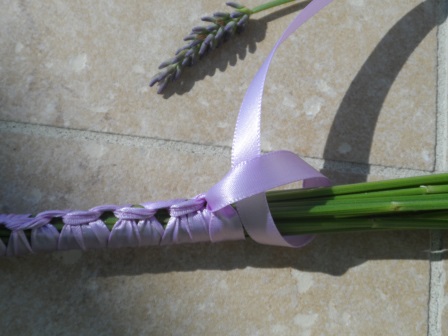
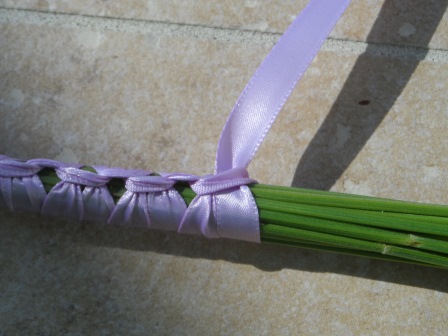
Weave the ribbon through the stems as the stems are folded over.
This year I discovered a new way to finish the wands. I have to give credit to Robb, of the “how’s Robb” blog. I came across it, and loved how he neatly knotted the ribbon on the handle of the wand so it doesn’t unravel. Here is the link to his blog on lavender wands: http://howsrobb.blogspot.ie/2013/05/how-to-make-lavender-wands.html

Knotting the ribbon.

Simple knot.
Then pull it tight, and go in opposite direction.
I just looked at his page, and with a few tries I figured out how he slipped the ribbon through a loop, and then turned it in the opposite direction to do the same again. Easy! And it keeps the ribbon nice and tight. I’m glad I came across his page!

Lavender wands.
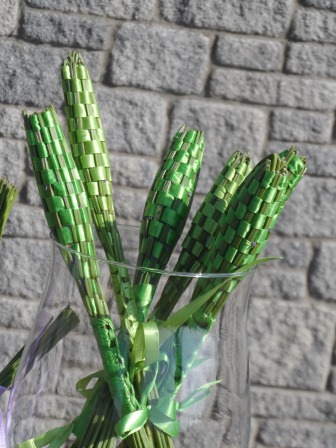
Lavender wands.
I love all of the different colors. Did I mention how relaxing it is to work with lavender? 🙂 Between the weaving, and the scent of lavender, I enjoy my time working with lavender. I discovered last year that I could sell the wands, too. So I’m doing that again this year. Right now I’m just selling locally, €5 per wand. But who knows, maybe sometime in the near future I’ll be selling globally!
I hope you’ve enjoyed my little lessons on working with lavender!
Dana

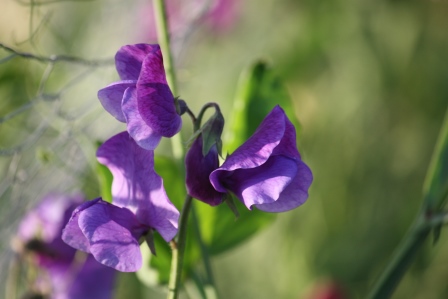
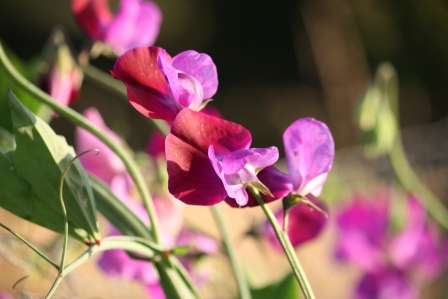
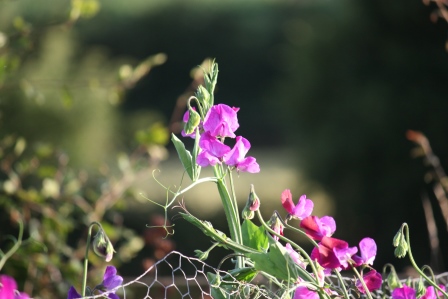
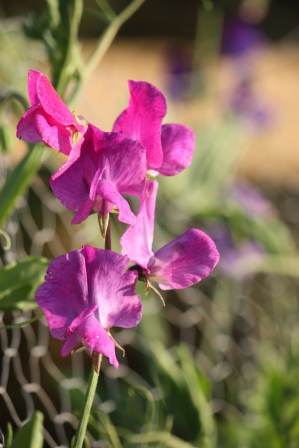
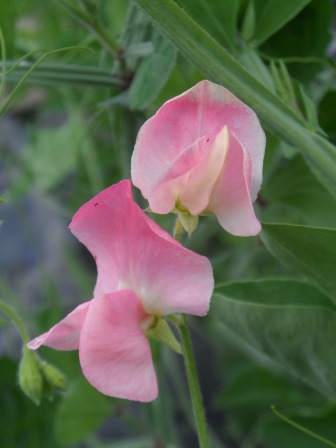
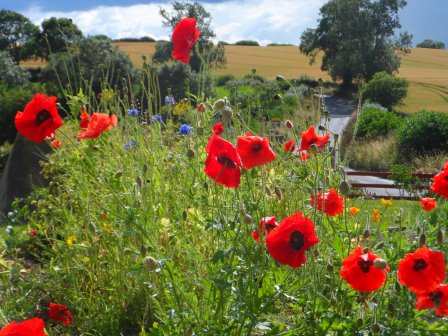
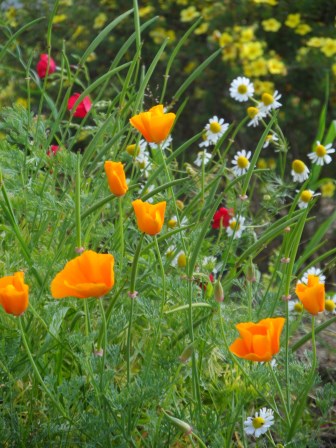
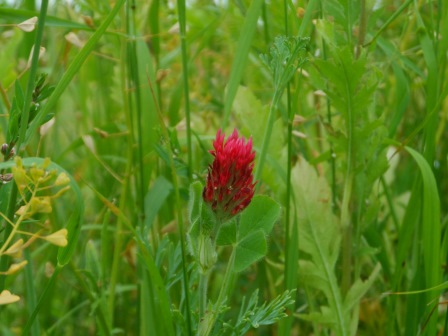
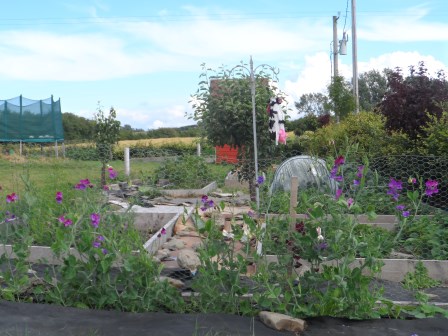
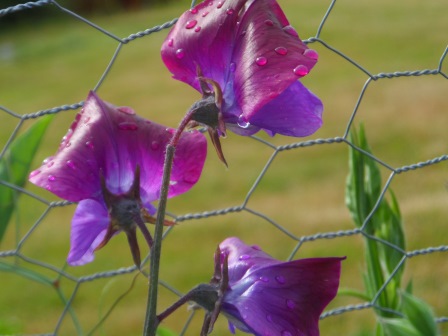
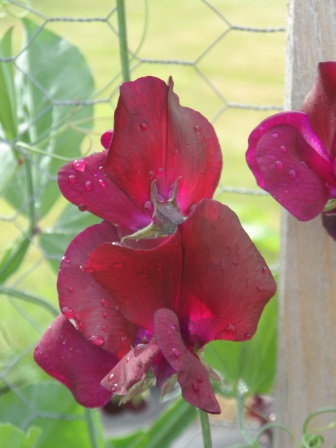
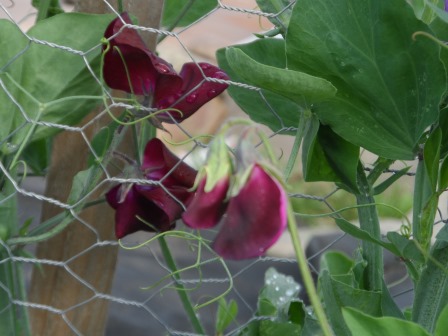
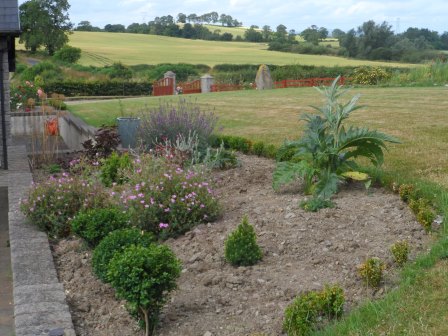
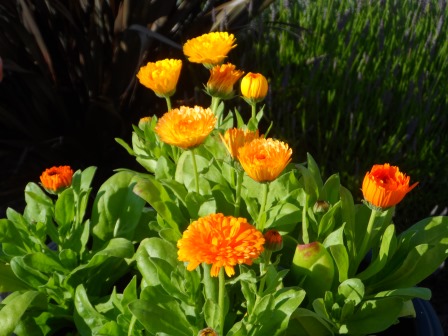
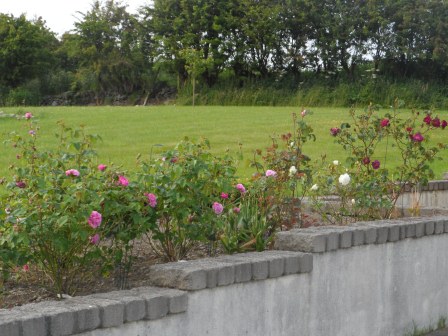
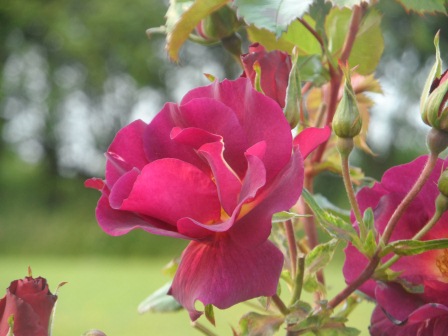
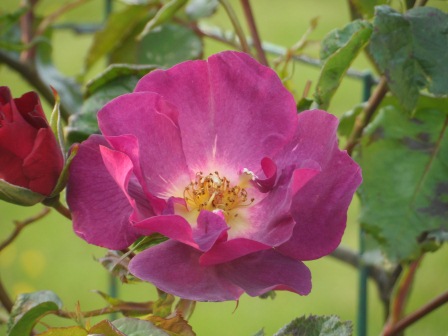
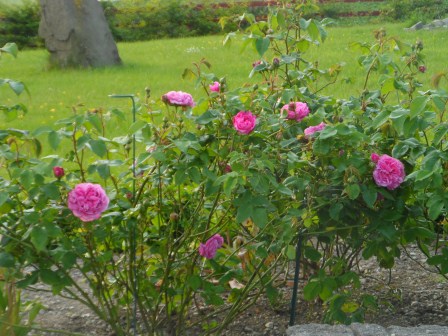
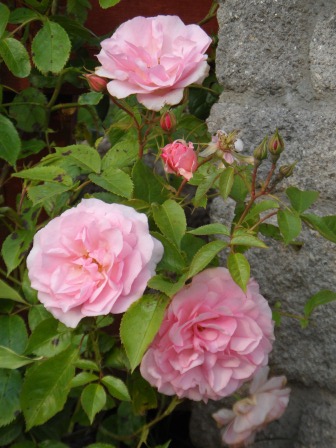
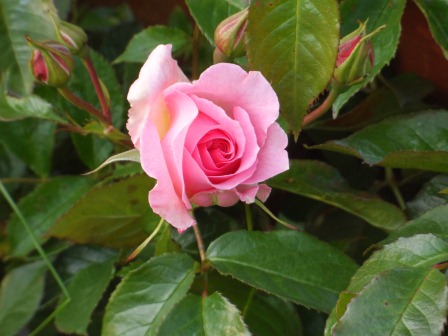
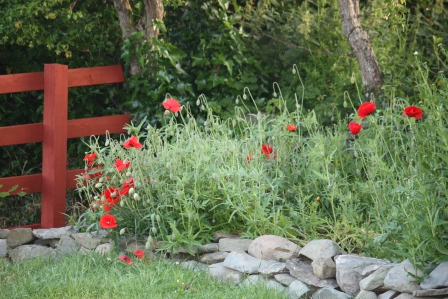
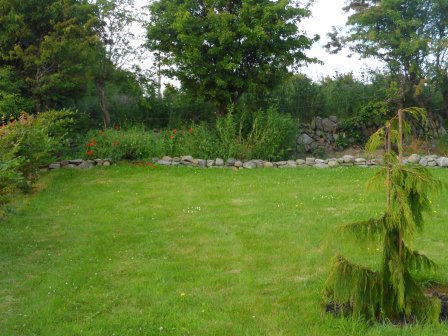
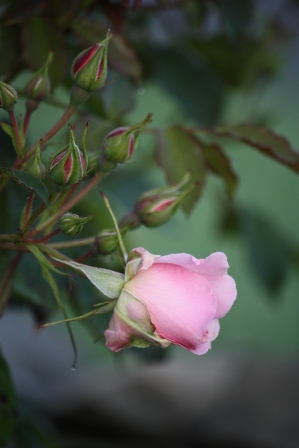
Some other flowers among the lavender.