Waiting for the fog to clear

Hi there! ‘Tis the season for foggy weather here in Ireland. I think it is so beautiful when the sun burns through the fog, giving it a majestic look. It’s not quite as nice when there’s no sun, and it simply blocks your view. It reminds me that sometimes we have to move forward, going on faith.

There is so much that I am thankful for. Being someone who is quite conscious of gray, cloudy days, I am most especially grateful to see the sun showcase beauty in the mundane. It is also nice to have some frosty crystals thrown in there, too!

frosty mop-head hydrangea

I’m fascinated how some flowers withstand the cold (roses and anemone, in my garden). This hydrangea was already past its prime when the frost hit. I still think it looks pretty.

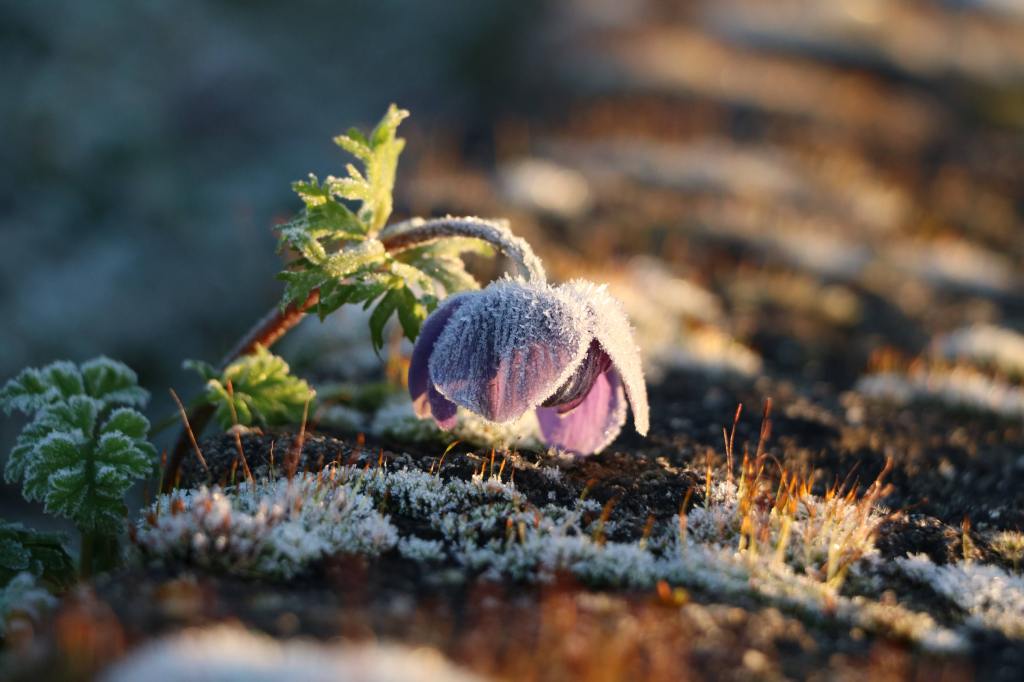
a frozen purple anemone bent over in the frost

The moss on the stone provides some lovely texture around this drooping anemone. The flower was back standing upright after the sun melted the frost away.

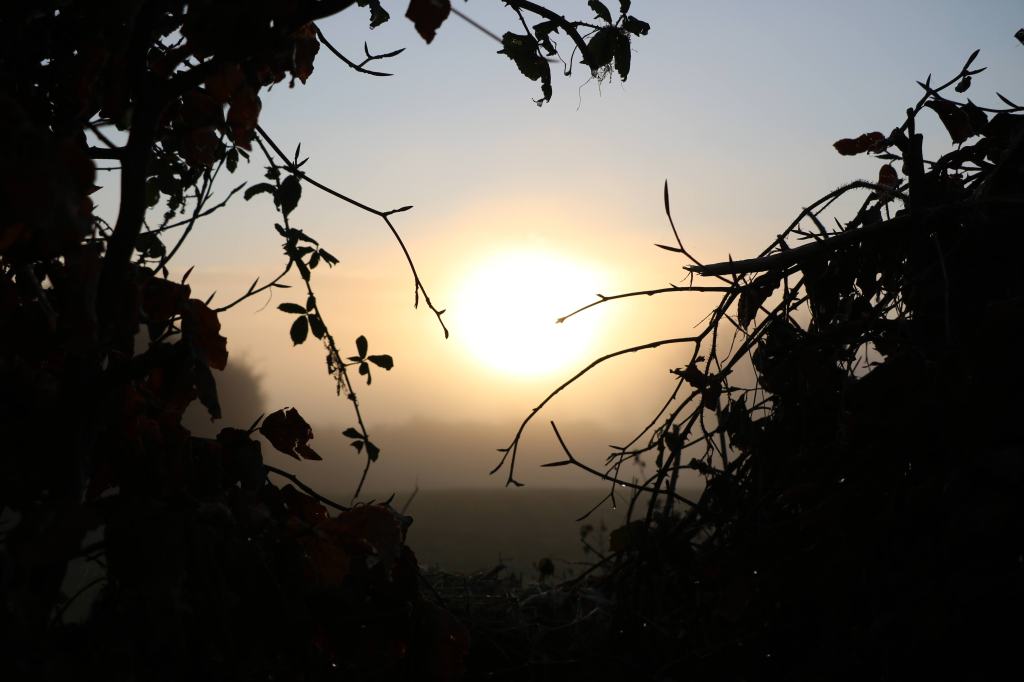
Early morning sun burning through fog, as seen through a break in the beech hedges.

I wish I could convey to you the beauty and joy that this magical morning brought to me. This picture sums it up for me as it is looking towards the bright, beautiful foggy sunlight from the darkness. Sometimes it is hard when we can’t quite see through the fog or there seems to be lots of darkness. All I can do during those times is have faith and keep going. Because eventually, the fog will clear.

In Peace,
Dana

A blue hydrangea arrangement

Hello! Welcome to my blog, where recently I have been on a roll of crafting and creating with florals from the garden. Today was one of those gray, dreary, and very wet days. It was relentless. My chickens spent most of the day hanging out underneath their house, which protected them from the rain. This was a bit unusual as they don’t mind getting wet. But I’m glad they decided that staying dry was a better idea today! For me, it was the perfect opportunity to make something with the last batch of hydrangea flowers I dried. Given that I don’t have any floral U pins to make a wreath, I figured I’d try making an arrangement for a change.

For this project, I had an idea in my head of what I was working towards. I picked a pottery bowl instead of a vase because I wanted a large opening and a short base, and also I wanted to hide the green oasis that I’d be using. I filled the bowl with the oasis, and then simply started adding stems. The great thing about dried flowers is that they don’t need water – just stick them in and they are good to go. Some of the flowers have a pretty burgundy coloring which I thought was perfect for fall. I mixed up the blues, greens and burgundy colors. Most of the stems were the perfect length for the height I wanted, which was very handy.

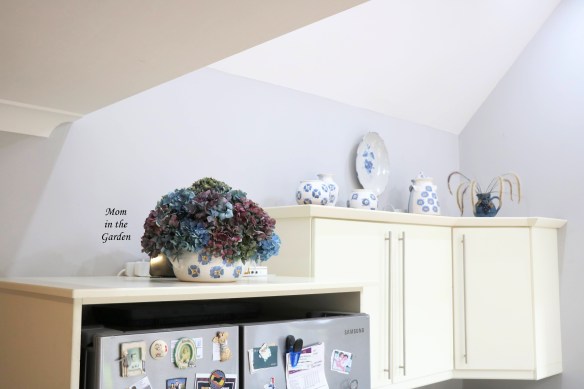
I was surprised by how quickly it all came together! I have it displayed on top of our refrigerator, hiding all of the wires from our WiFi router (well, mostly hiding them). Of course I had fun making it! No better way to spend some time than working with flowers!

It was nice to have a low-key day today. Everyone needs a day to recharge. I hope you were able to do something that was fun, too!

Take care and stay safe.

In Peace,
Dana

Blue hydrangeas on drying racks
This is how I dry most of my flowers.
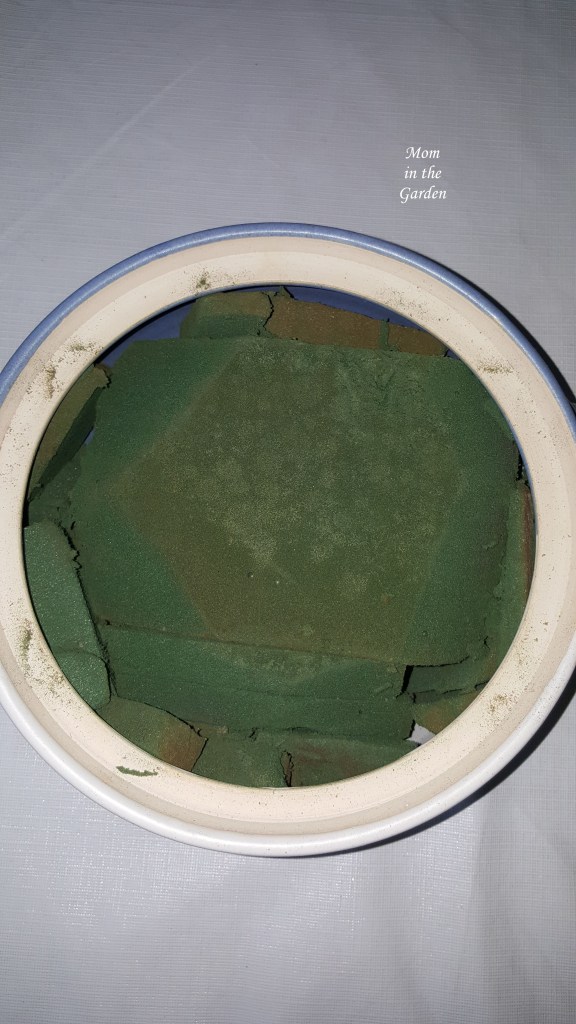
Oasis in the pottery
Not a pretty picture, but just a look at the reused floral foam / oasis which I used today.
Hydrangea arrangement in progress 2
I started with the tallest stem in the middle and worked around it by turning the container after each flower I added.
hydrangea arrangement in progress
There’s a little more progress with this picture.
Hydrangea arrangement full view
And before I knew it, it was complete!
hydrangea arrangement back view
This is the back (only based on the pattern of the pottery). The back just might be nicer than the front!
hydrangea arrangement side view on fridge
And here is where it now lives – on top of the refrigerator and mostly hiding all of those wires! You can see the flowers of the Fountain grass Pennisetum Advena Rubrum in the corner.
hydrangea arrangement side view on fridge 2
A side view of the arrangement (and some of the wires…).
hydrangea arrangement full view of cabinets
I think it is a nice addition to the kitchen!
hydrangea arrangement with pumpkins
There were even a few flowers left over for a tiny bouquet!
Iris the chicken up close
This is one of my girls on a lovely and sunny day!

As always, thank you for visiting! See you next time! 🙂

What’s happening in the garden in August?

Hello there! Is it just me, or is this summer going super fast? Do they say that as you get older, time goes faster? I think it is true! The garden is shifting to ‘end of summer’ mode, with a few plants finishing their season.

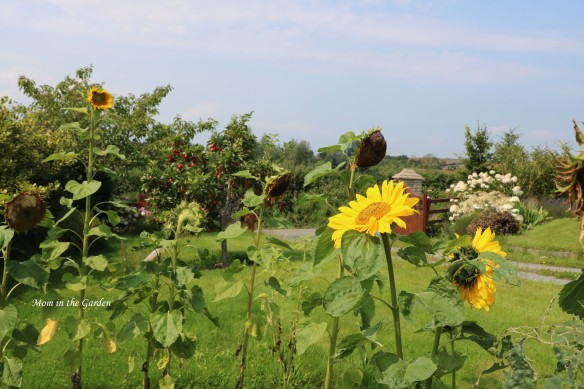
We have had some *terrible* weather recently – as in lots of rain and gale force winds. Not a great mix for plants. I have to say that the garden has held up pretty well (I’ve seen worse). Thankfully, I captured some nice pictures of my roses *before* the weather turned. Some roses still look well even after all of the bad weather. They’ve had a lovely season so far! I’m afraid that my sunflowers have definitely seen better days though. They just didn’t shine as bright this year as they usually do.

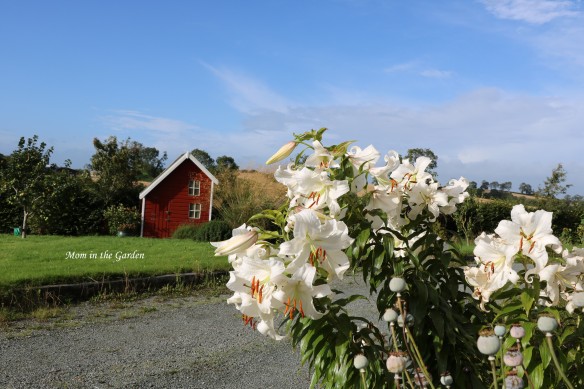
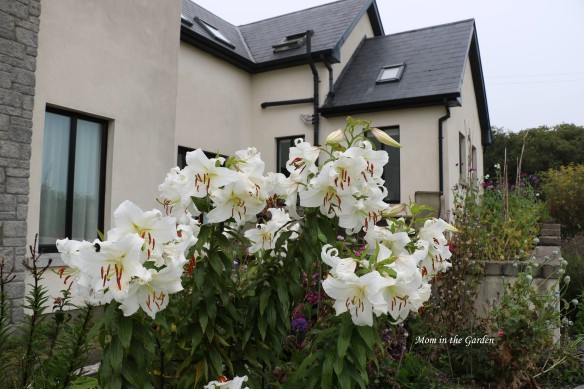
The lilies have finished off their season with a bang! They were just spectacular this year. I love flowers with fragrance, and they do not disappoint. Their many blooms are pure white atop tall strong stalks.

My project this weekend was to cut some of my mophead hydrangea. I have not (yet!) perfected the exact time to cut them to have the petals dry properly. By “properly” I mean that the petals stay open and keep their color. If I cut them too soon in the season, the petals shrivel up and it really is not pretty. But, if I wait too long before cutting them, they lose their color! I believe it has more to do with the maturity of the flower than the time of the season. I am hopeful that most of the flowers I cut today will be O.K.. Last week I cut some stems off of my Vanille Fraise hydrangea paniculata ‘Renhy’. I had mixed results with some stems drying well, and some shriveling up. But I tried again about 5 days later and they have dried perfectly. I had wanted to cut them before they turned completely pink, which is why I cut them a little early. I think I’ll have a good mix of white and pink. Did you see my Instagram stories where I showed the cuttings? 🙂

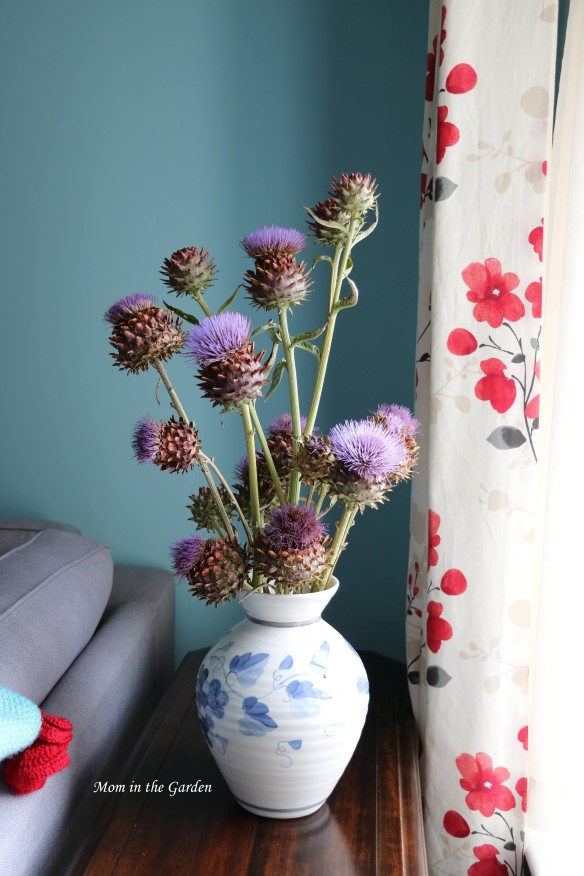
Another plant near the end of its season is the globe artichoke. My plant is well established in the garden, and takes up quite a bit of space. It has produced many, many artichokes this summer. This is another plant that I like to dry and use for decoration. Earlier this summer, I tried cutting teeny tiny baby artichokes to use in wreaths, but they just shriveled up and turned brown. I’ve discovered that if you cut them right after they’ve bloomed (after the thin purple spike-like form in the center of the artichoke appears) they keep their purple color. The artichokes themselves don’t keep their lovely green color, but have a molted coloring. I like how they look in a large vase, as they are quite unusual.

I hope you are well and enjoying good weather wherever you are in the world! Are there any flowers that you like to dry and use again?

In Peace,
Dana

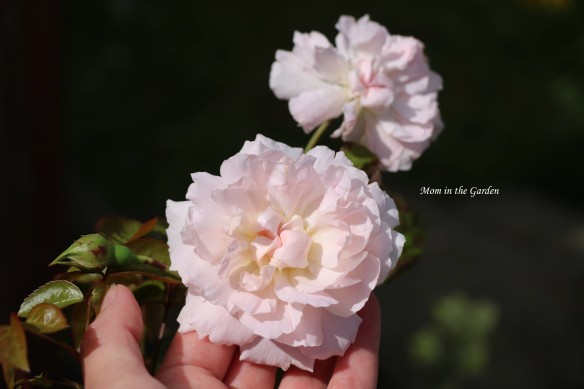
two Princess Anne David Austin Roses
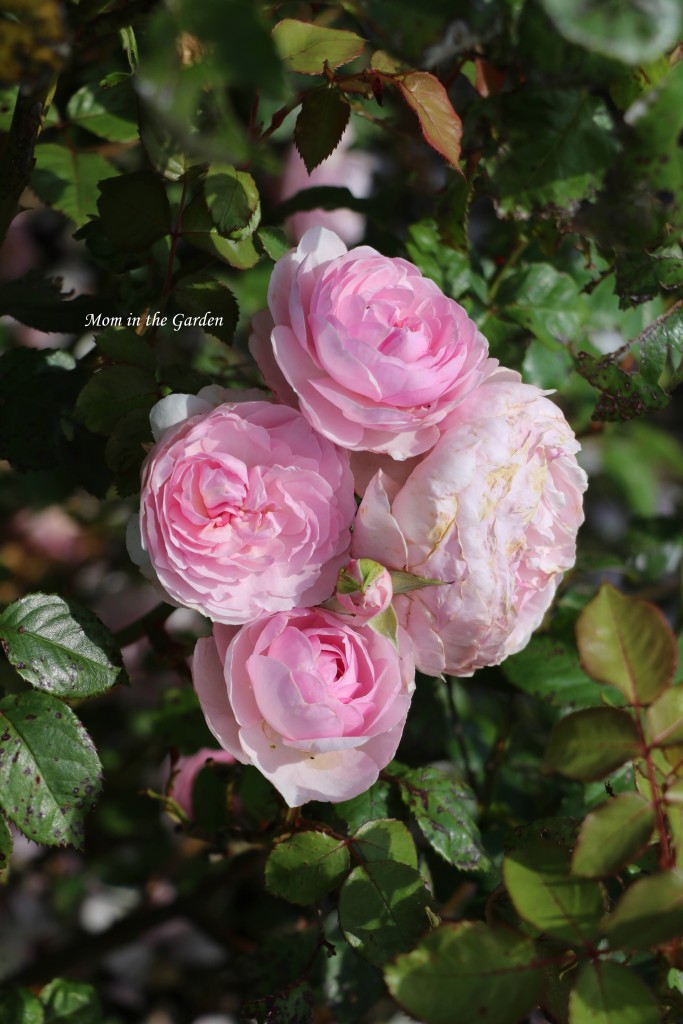
From David Austin, this is the Princess Anne shrub rose.

You might notice that the leaves of my roses will usually have black spot. I have some varieties that are more hardy, but at some stage it usually hits all of the roses. If I had a bit more time I’d treat them with a milk and water solution. I’ve done that before and it does work. But I now have a lot more roses and it would take a fair amount of time to treat them. This just goes with the territory when not using chemicals.

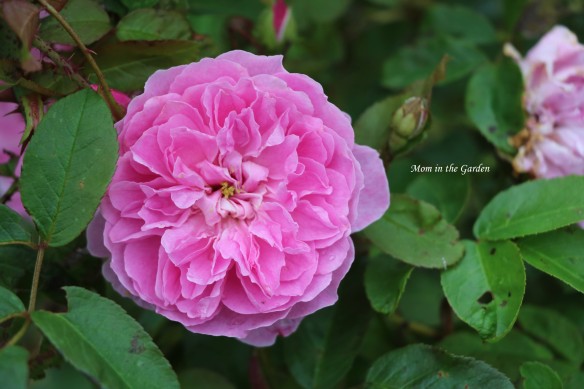
Ancient Mariner David Austin Rose close up
Ancient Mariner David Austin Rose
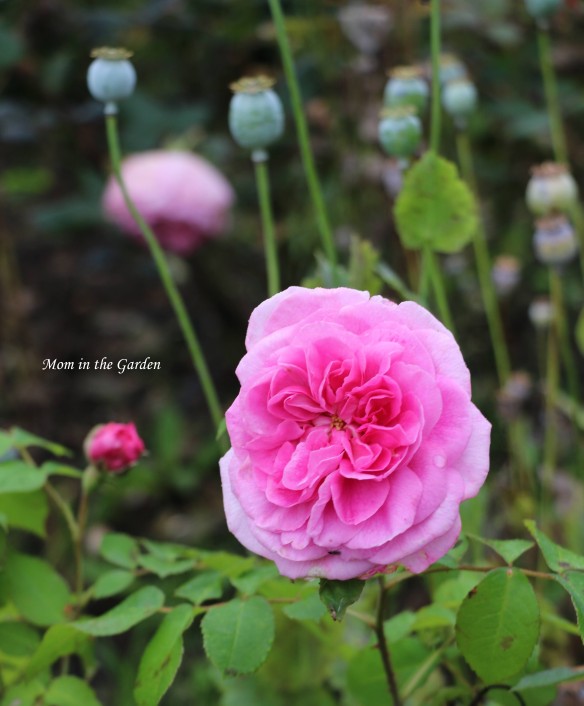
Gertrude Jekyll rose with poppy pods
Another David Austin rose, this is Gertrude Jekyll. This is actually a ‘replacement’ rose, as the first plant completely died on me. There is a three year guarantee with all of the David Austin roses and they very quickly sent me on another plant. It was a pleasure dealing with them and I’m happy to say that this plant is doing very well!
Harlow Carr group
Harlow Carr – of course a David Austin rose!
Eustacia Vye, from David Austin, a new addition to my garden.
Eustacia Vye David Austin Rose cluster
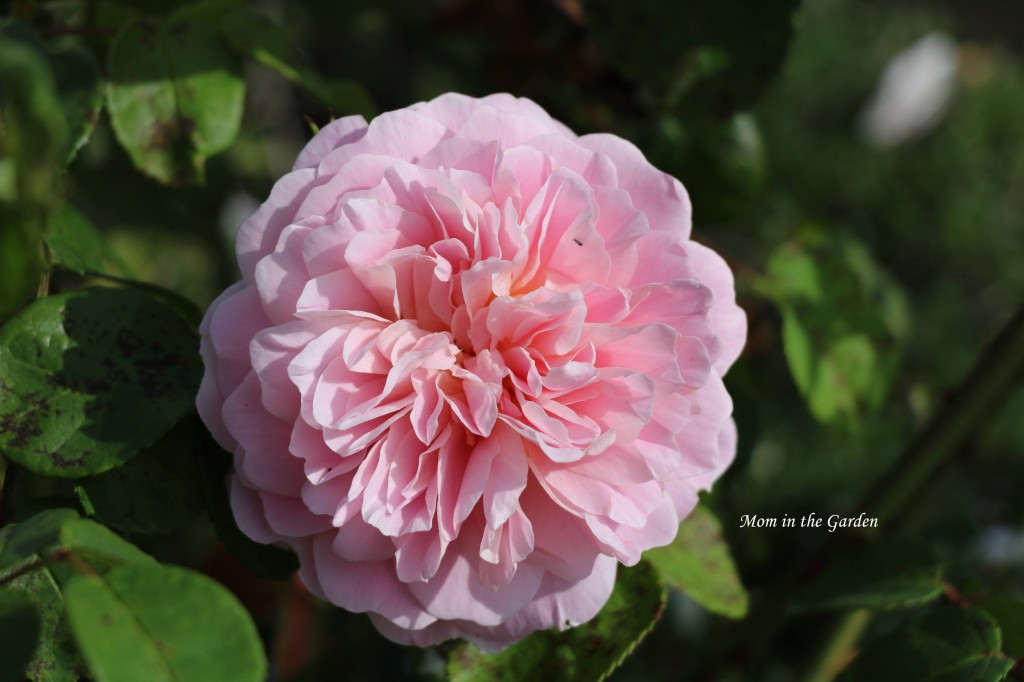
Eustacia Vye, a lovely light pink with apricot coloring.
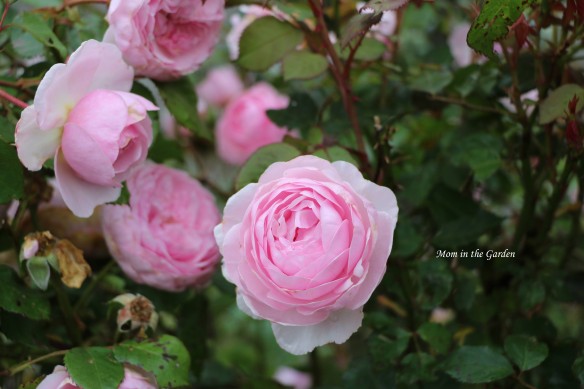
These light pink roses are called Olivia Rose Austin.
LIght pink david austin roses group
Deadheading is a full time sport when you have lots of roses!
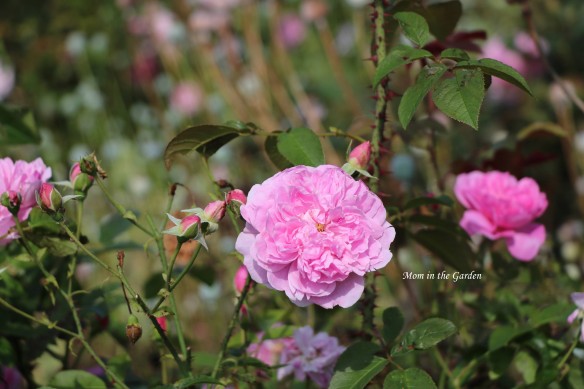
Here’s another light pink variety that I’m not sure of the name of – it is either Olivia Rose or the Ancient Mariner or Scepter’d Isle (all from David Austin). Two problems here: when I take a lot of pictures I don’t always remember where the plant is when I go back to name them. The second problem is that some of my plants no longer have their name tags (and I didn’t note which ones went where when I first planted them – BIG MISTAKE!).
two Lichfield Angel David Austin Roses
These two Lichfield Angel David Austin Roses are not in a rose bed, but mixed with other flowers in the Rainbow garden.
Englands Rose collage
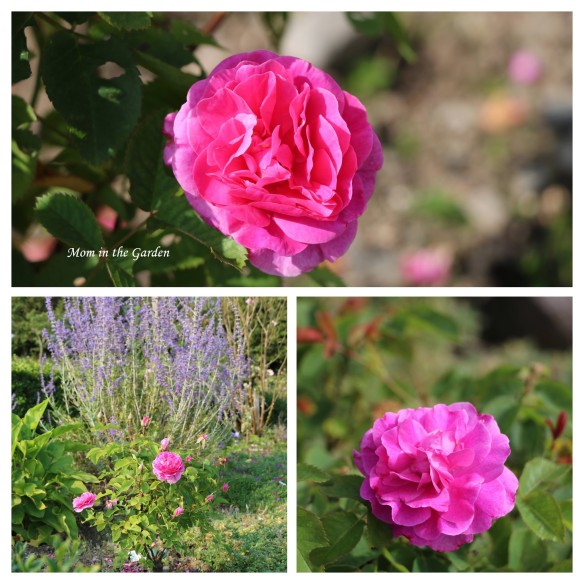
England’s rose, a David Austin rose
Scepter d Isle David Austin Rose collage
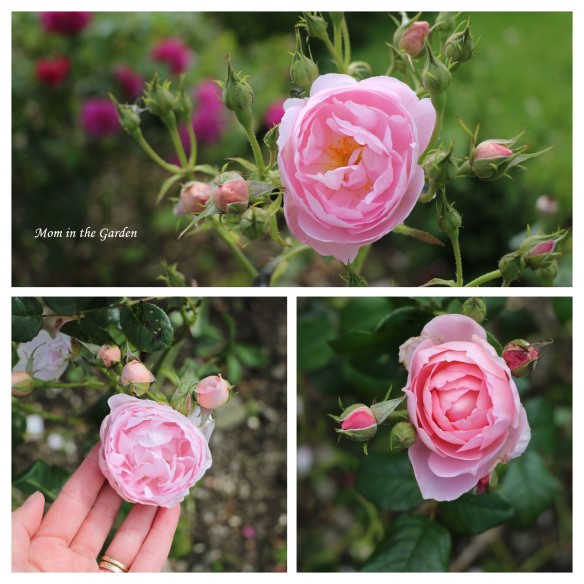
Scepter’d Isle, David Austin Rose
two Strawberry Hill Climber David Austin Roses
Two Strawberry Hill Climber David Austin Roses
Teasing Georgia David Austin Rose cluster mid August
A cluster of Teasing Georgia David Austin Roses in mid August
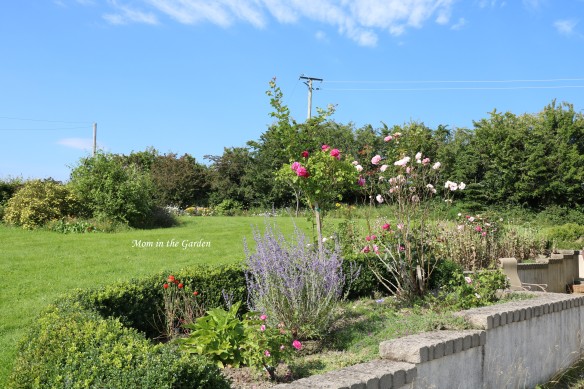
Garden view with roses
Blue skies make everything look beautiful! It helps though, when the roses are all in bloom!
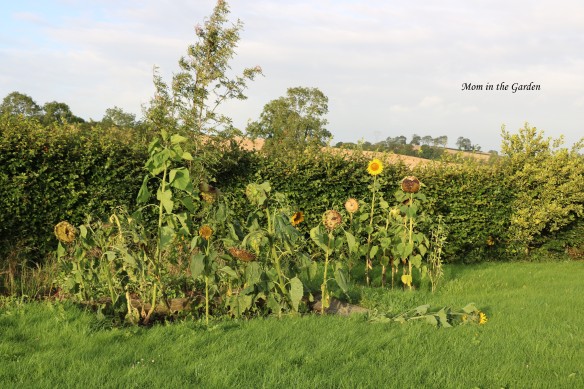
full view sunflowers morning sun
This is a full view of the two sunflower beds. The one flower on down on the ground will appear in a vase later in this post.
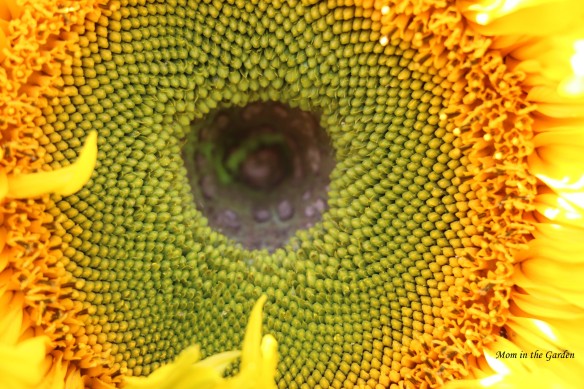
Sunflower center
A sunflower closeup
Sunflower bed in mid August
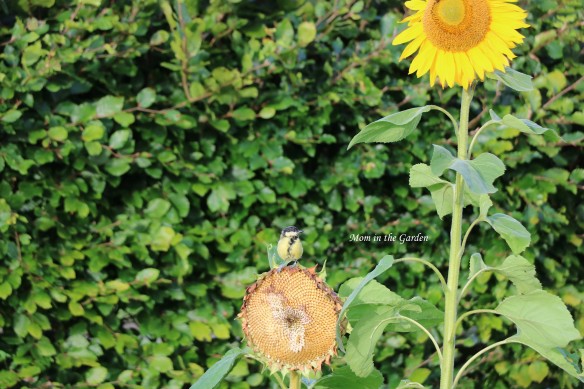
Blue tit eating sunflower
Blue tit bird eating seeds from a sunflower
Blue tit sitting on sunflower
Blue tit bird sitting on a sunflower
Sunflower beds higher view
View of Sunflower beds from an elevated view
Back deck flowers sunflower
The back deck flowers have a late summer look, including the sunflower which I saved after it was knocked over in a storm.
White lilies closeup in morning sun
Fragrant white lilies in morning sun
Full view white lilies
Every possible bloom opened!
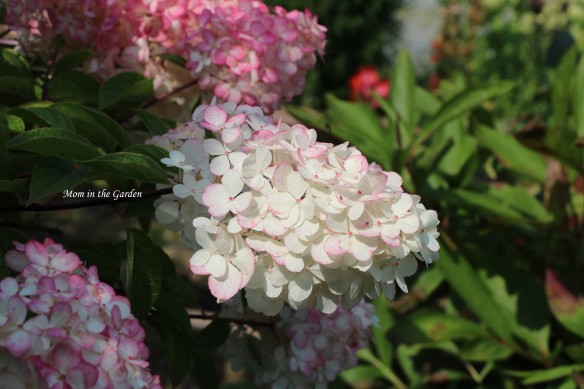
Hydrangea Vanille Fraise Paniculata Renhy full plant
A very full Hydrangea Vanille Fraise Paniculata ‘Renhy’
Hydrangea Vanille Fraise Paniculata Renhy close up of group
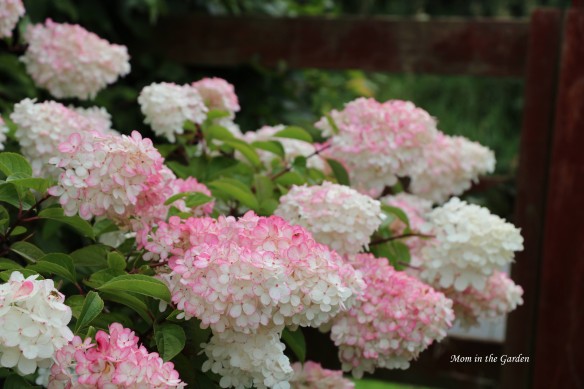
Hydrangea Vanille Fraise Paniculata ‘Renhy’ closeup. They start off white and turn pink as they mature.
hydrangea vanille fraise paniculata renhy white closeup
Hydrangea Vanille Fraise Paniculata ‘Renhy’ – a bloom that is still white!
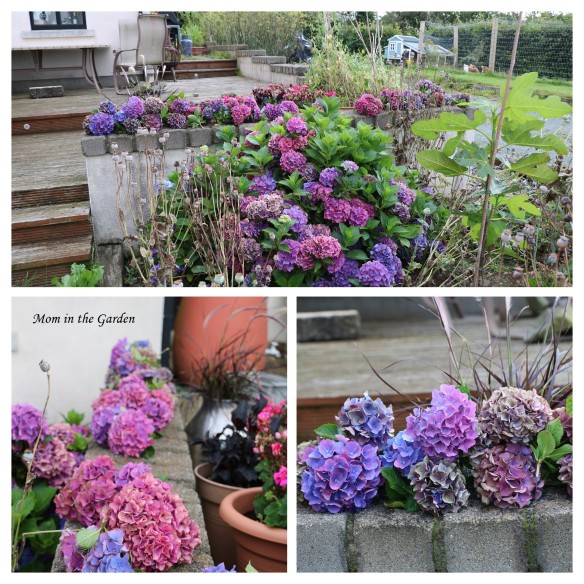
hydrangea collage
One mophead hydrangea was so full of blooms!
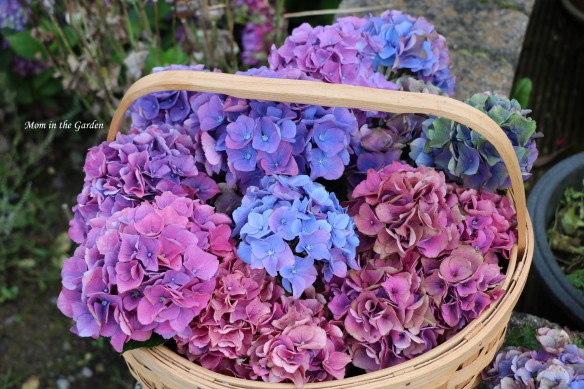
basket of hydrangea
This is a very special basket, given to me by my nieghbor Betty, when we lived in Manlius, NY. Betty loved gardening and flowers, so I love it when I can use it in the garden.
Globe artichokes in vase closeup
An arrangement of globe artichokes. I wasn’t kidding when I said it was unusual looking!
Globe artichokes in vase room view
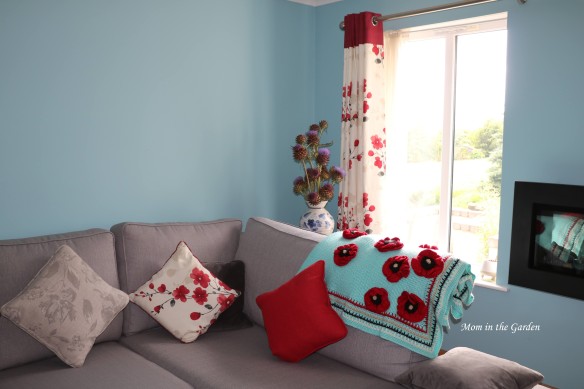
The globe artichoke arrangement fits right in to our family room! (on the couch is the ‘poppy blanket’ which I crocheted).

Phew! There were a lot of photos for this post! I hope you enjoyed them all. 🙂

Take care!

Having fun making hydrangea wreaths

straw wreath frame

a plain straw wreath frame with a hanging wire

Hello there! I’m very happy to report that I have two more wreaths completed (so far!) this season and I am very happy to share pictures of how I made them. The wreath making process starts weeks before actually putting flower to frame, when the flowers need to be gathered and dried. About a month ago I went out to the garden and cut as many hydrangea stems as I could. I’ve found that the stems need to be sturdy (not young), or they will just wither. I then hung the stems from drying racks (we usually hang our socks from these – I’m not sure what their official use is!). It doesn’t take that long to dry out flowers, maybe a couple of weeks. For me, the tricky part is finding enough time in one ‘go’ to start and finish making a wreath. My life is such that I squeeze in these projects in between ‘life’. I think I’ve mastered ‘ad-hoc’ project making! Anyway, I made these two wreaths in half of the time it took to make my last lavender wreath – it’s great working with large flowers! They were super simple to make and it was fun to use up all of my dried flowers.

hydrangea paniculata flowers

These stems are from my Hydrangea ‘Vanille Fraise’ Paniculata ‘Renhy’

Confession time: I have several wreaths around my house. I hate throwing things away if they still have some life in them. But hydrangea and lavender wreaths do fade with time. I might get two good years out of them, but not more than that. So for this first wreath made from my Hydrangea ‘Vanille Fraise’ Paniculata ‘Renhy’, I stripped down an old wreath, leaving just the Spanish moss since that is the background and doesn’t really age.
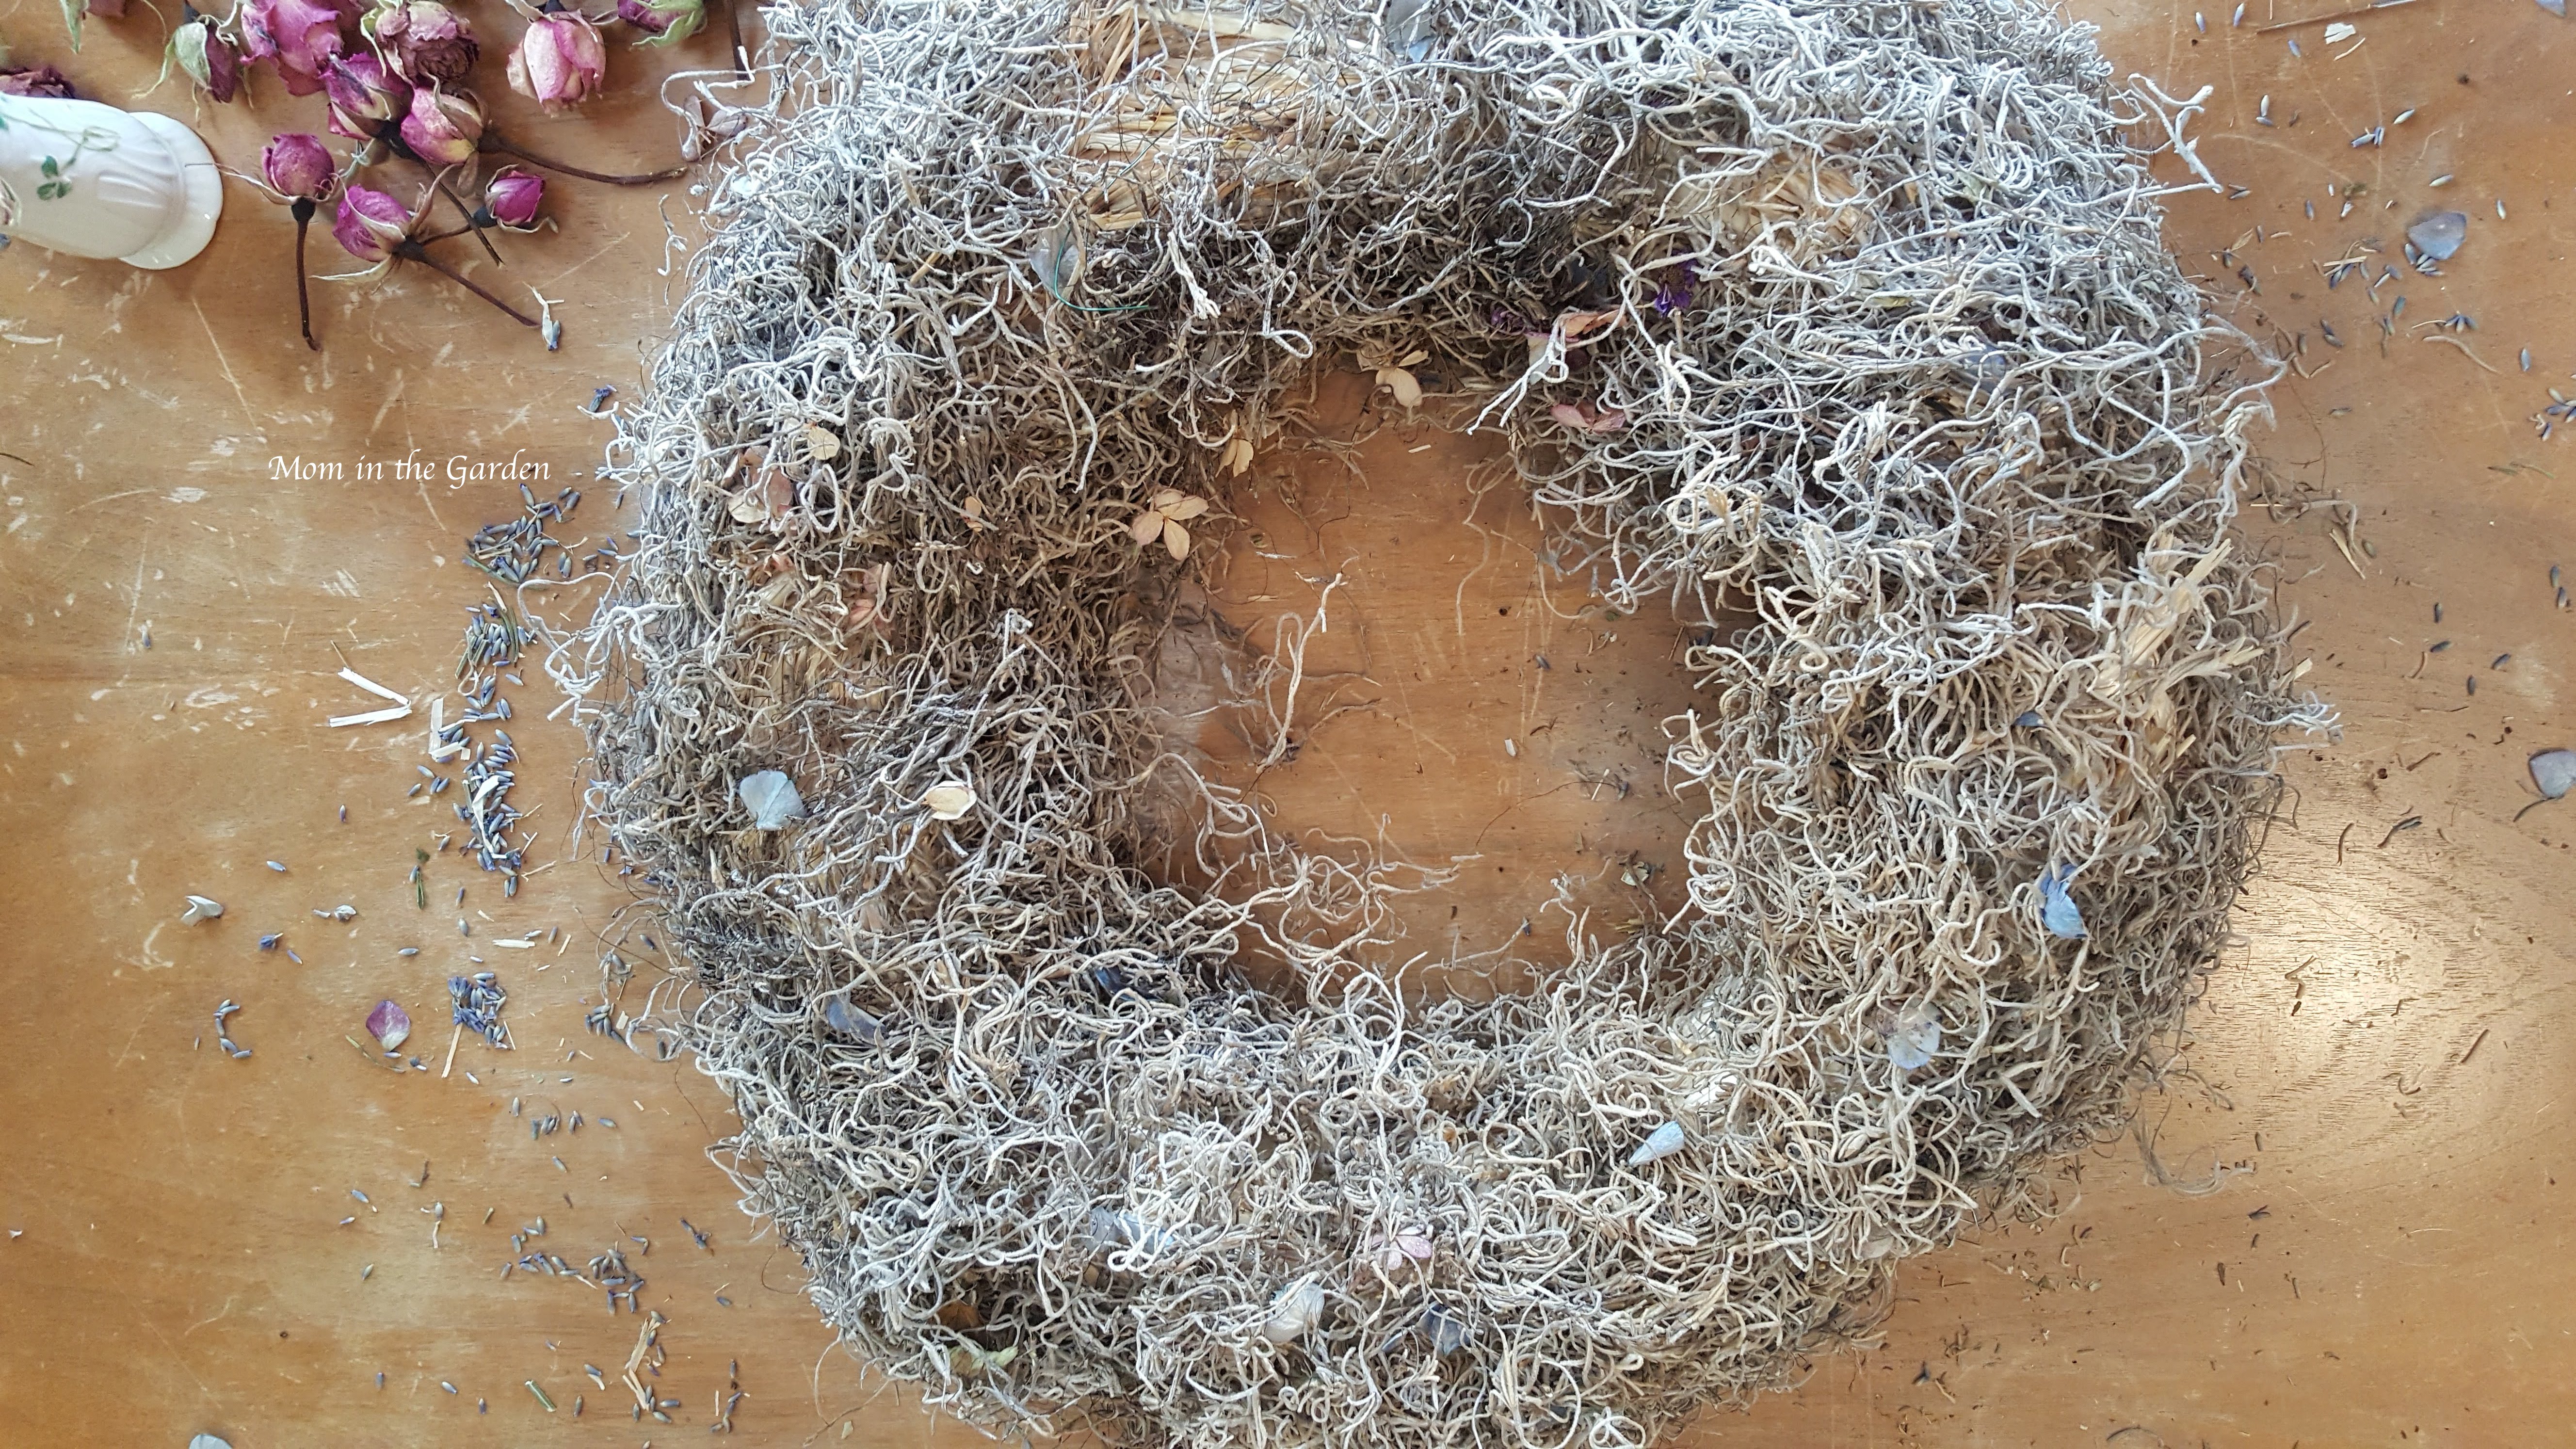
Spanish Moss covered wreath

Spanish Moss covered 15″ (38 cm) wreath

I used floral ‘U’ pins to attach everything, and 15″ (38 cm) straw wreaths. All of the flowers are from my garden. Now, it was interesting making this first one because the shape of the flowers are pointy. It looked really funny as I was making it, but I think I was able to balance it out in the end. Well, maybe it still looks funny, but I love the shapes in it and the textures and the quirkiness about it!

Hydrangea 'Vanille Fraise' Paniculata 'Renhy'

The first layer: Hydrangea ‘Vanille Fraise’ Paniculata ‘Renhy’

The hydrangea plant is not that old, and this is the first year that the flowers were a substantial size (they were quite small before!). They are the prettiest colors as they change from cream to pink to dark pink. It’s a lovely plant to have.
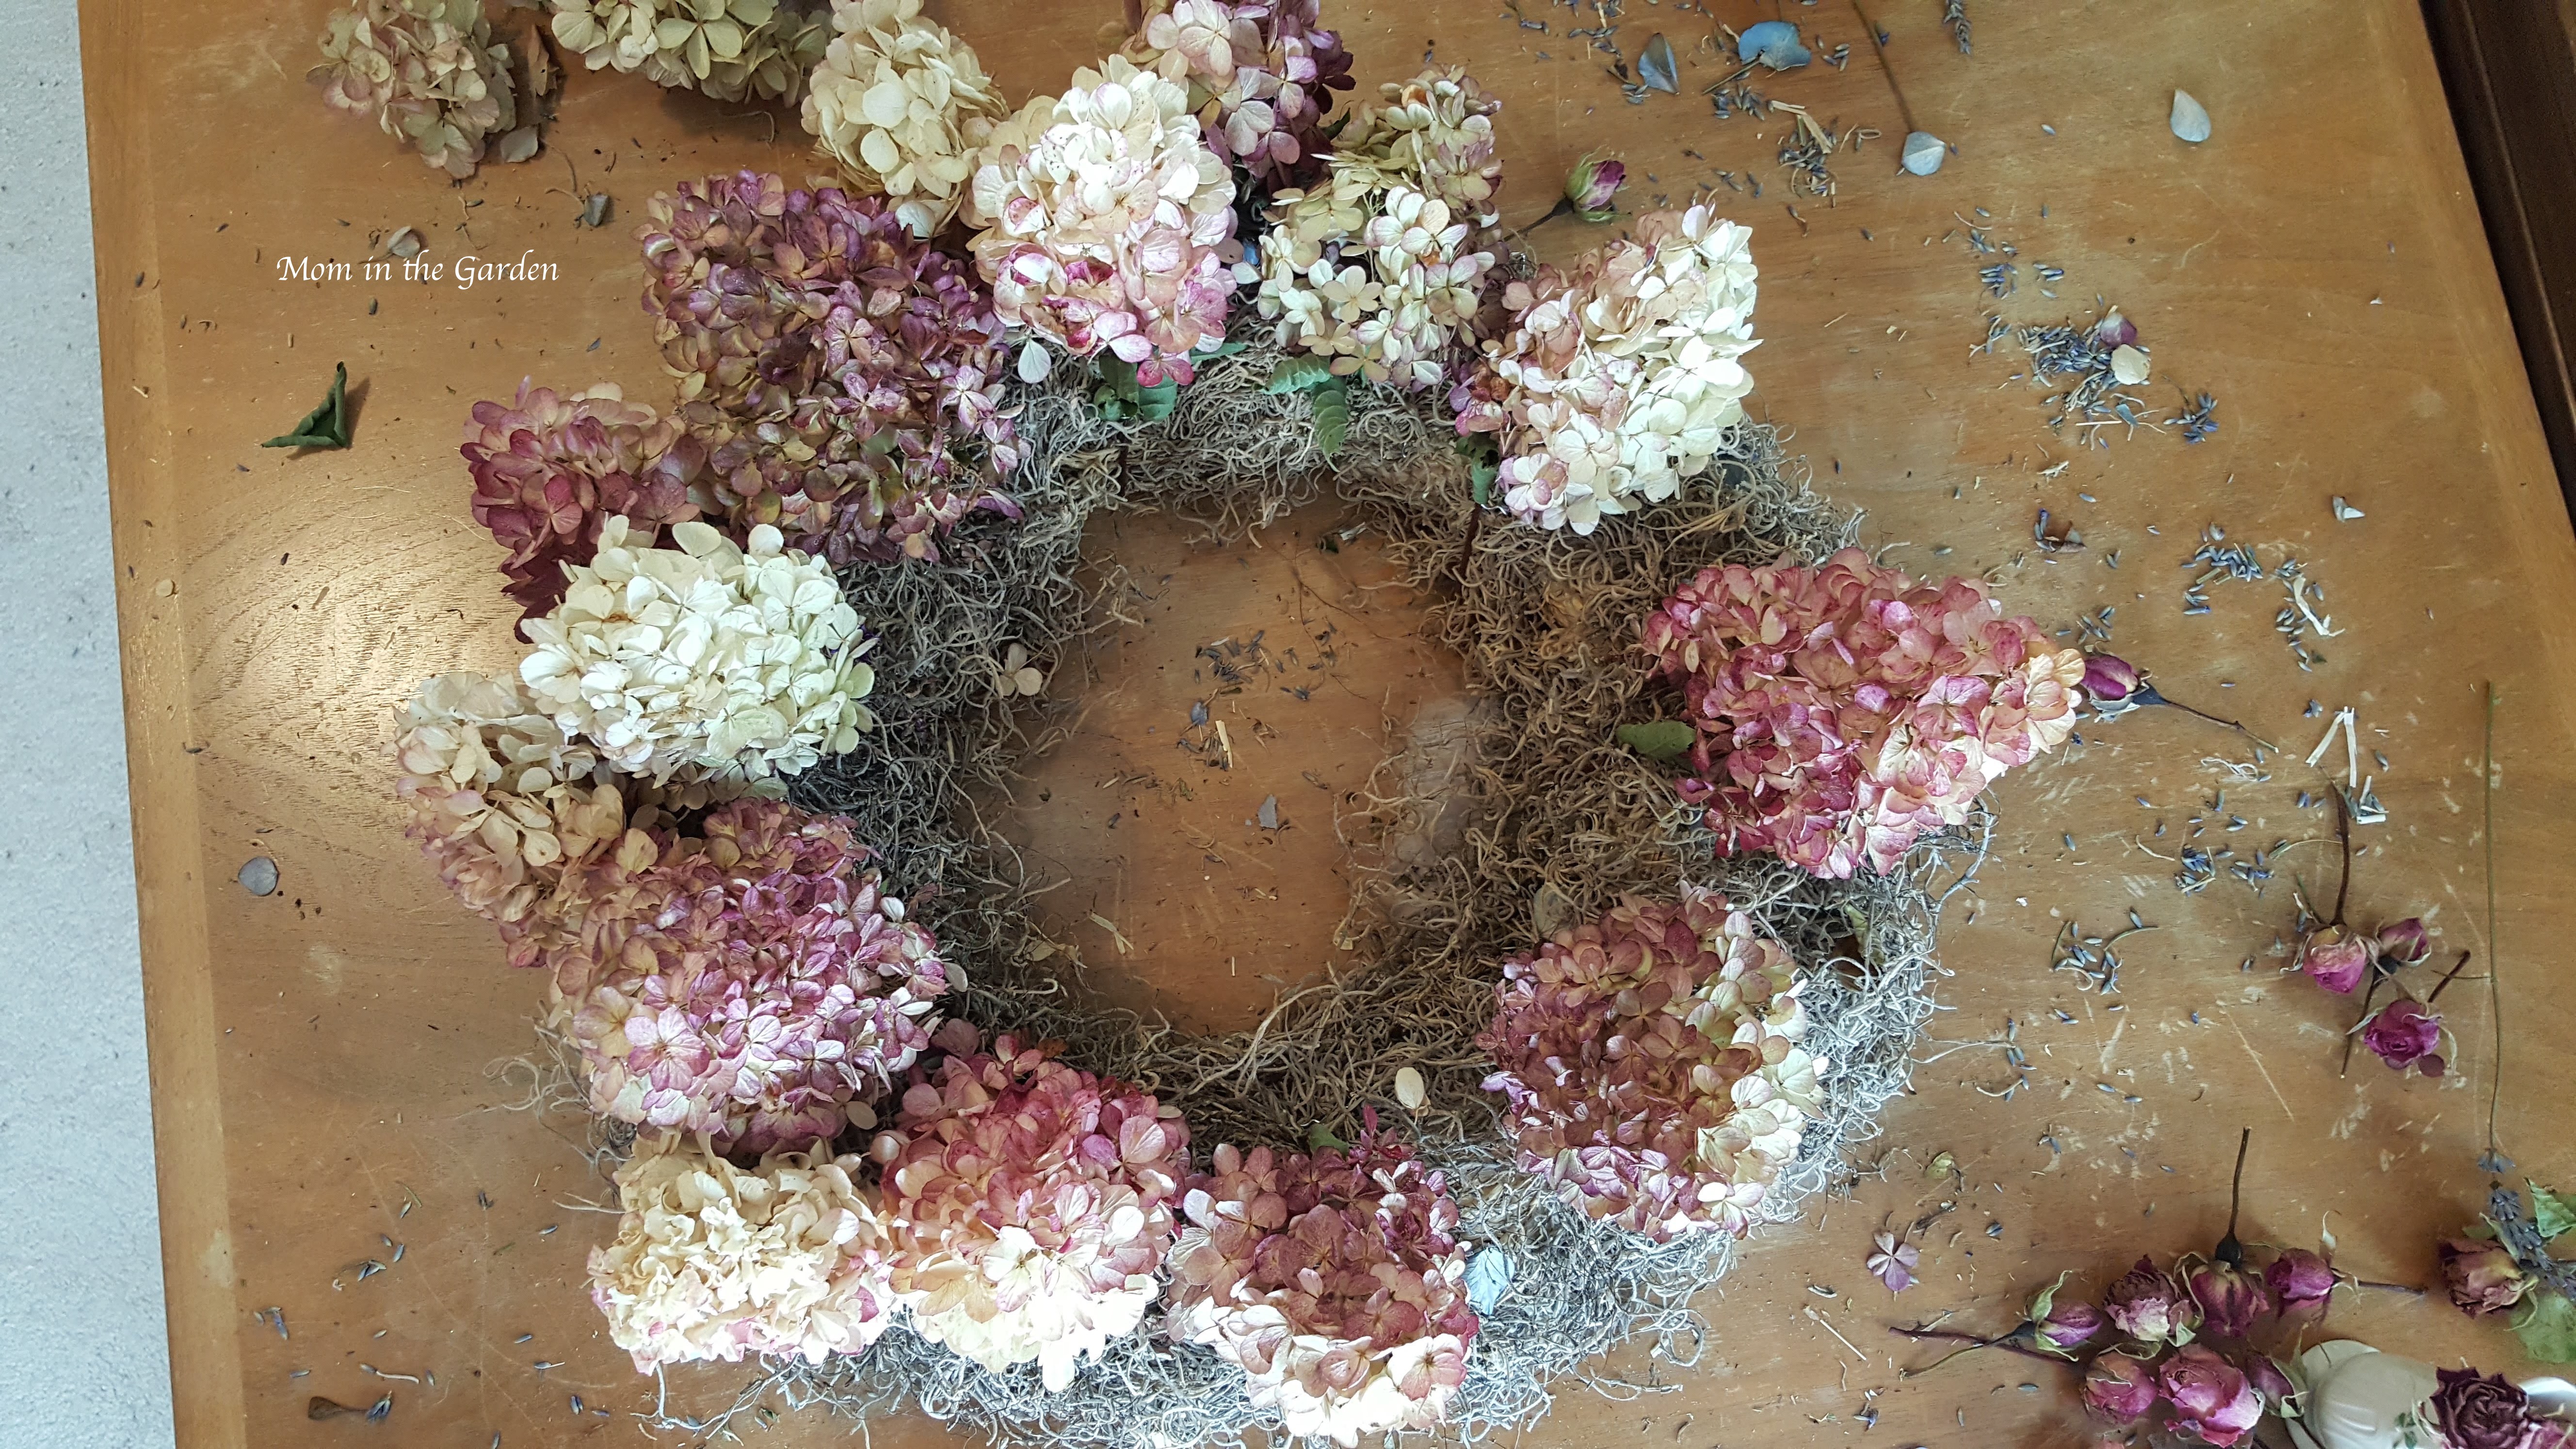
Hydrangea 'Vanille Fraise' Paniculata 'Renhy'

Adding on a second layer:Hydrangea ‘Vanille Fraise’ Paniculata ‘Renhy’

I was trying to soften the pointy-ness of the blooms by having an outside layer. I’m not sure if that happened or not!

blue hydrangea for wreath

Adding in a change of shape and color with this blue mophead hydrangea

Ah, yes, interesting picture. See the heat stain on my table in the picture above? I learned that lesson 25 years ago – never put a hot pot directly on a wood table (duh, right?)! This table is my craft table now 🙂

Hydrangea 'Vanille Fraise' Paniculata 'Renhy' wreath

Mophead hydrangea and paniculata hydrangea used to create this wreath.

Oh my gosh I just think it is the neatest thing ever! My mophead hydrangeas are quite funny looking (I sense a pattern in my garden…). It’s not that they don’t dry well, they are somewhat closed even when I cut them. I’m not sure if it is lack of water, or what. I’m still learning!
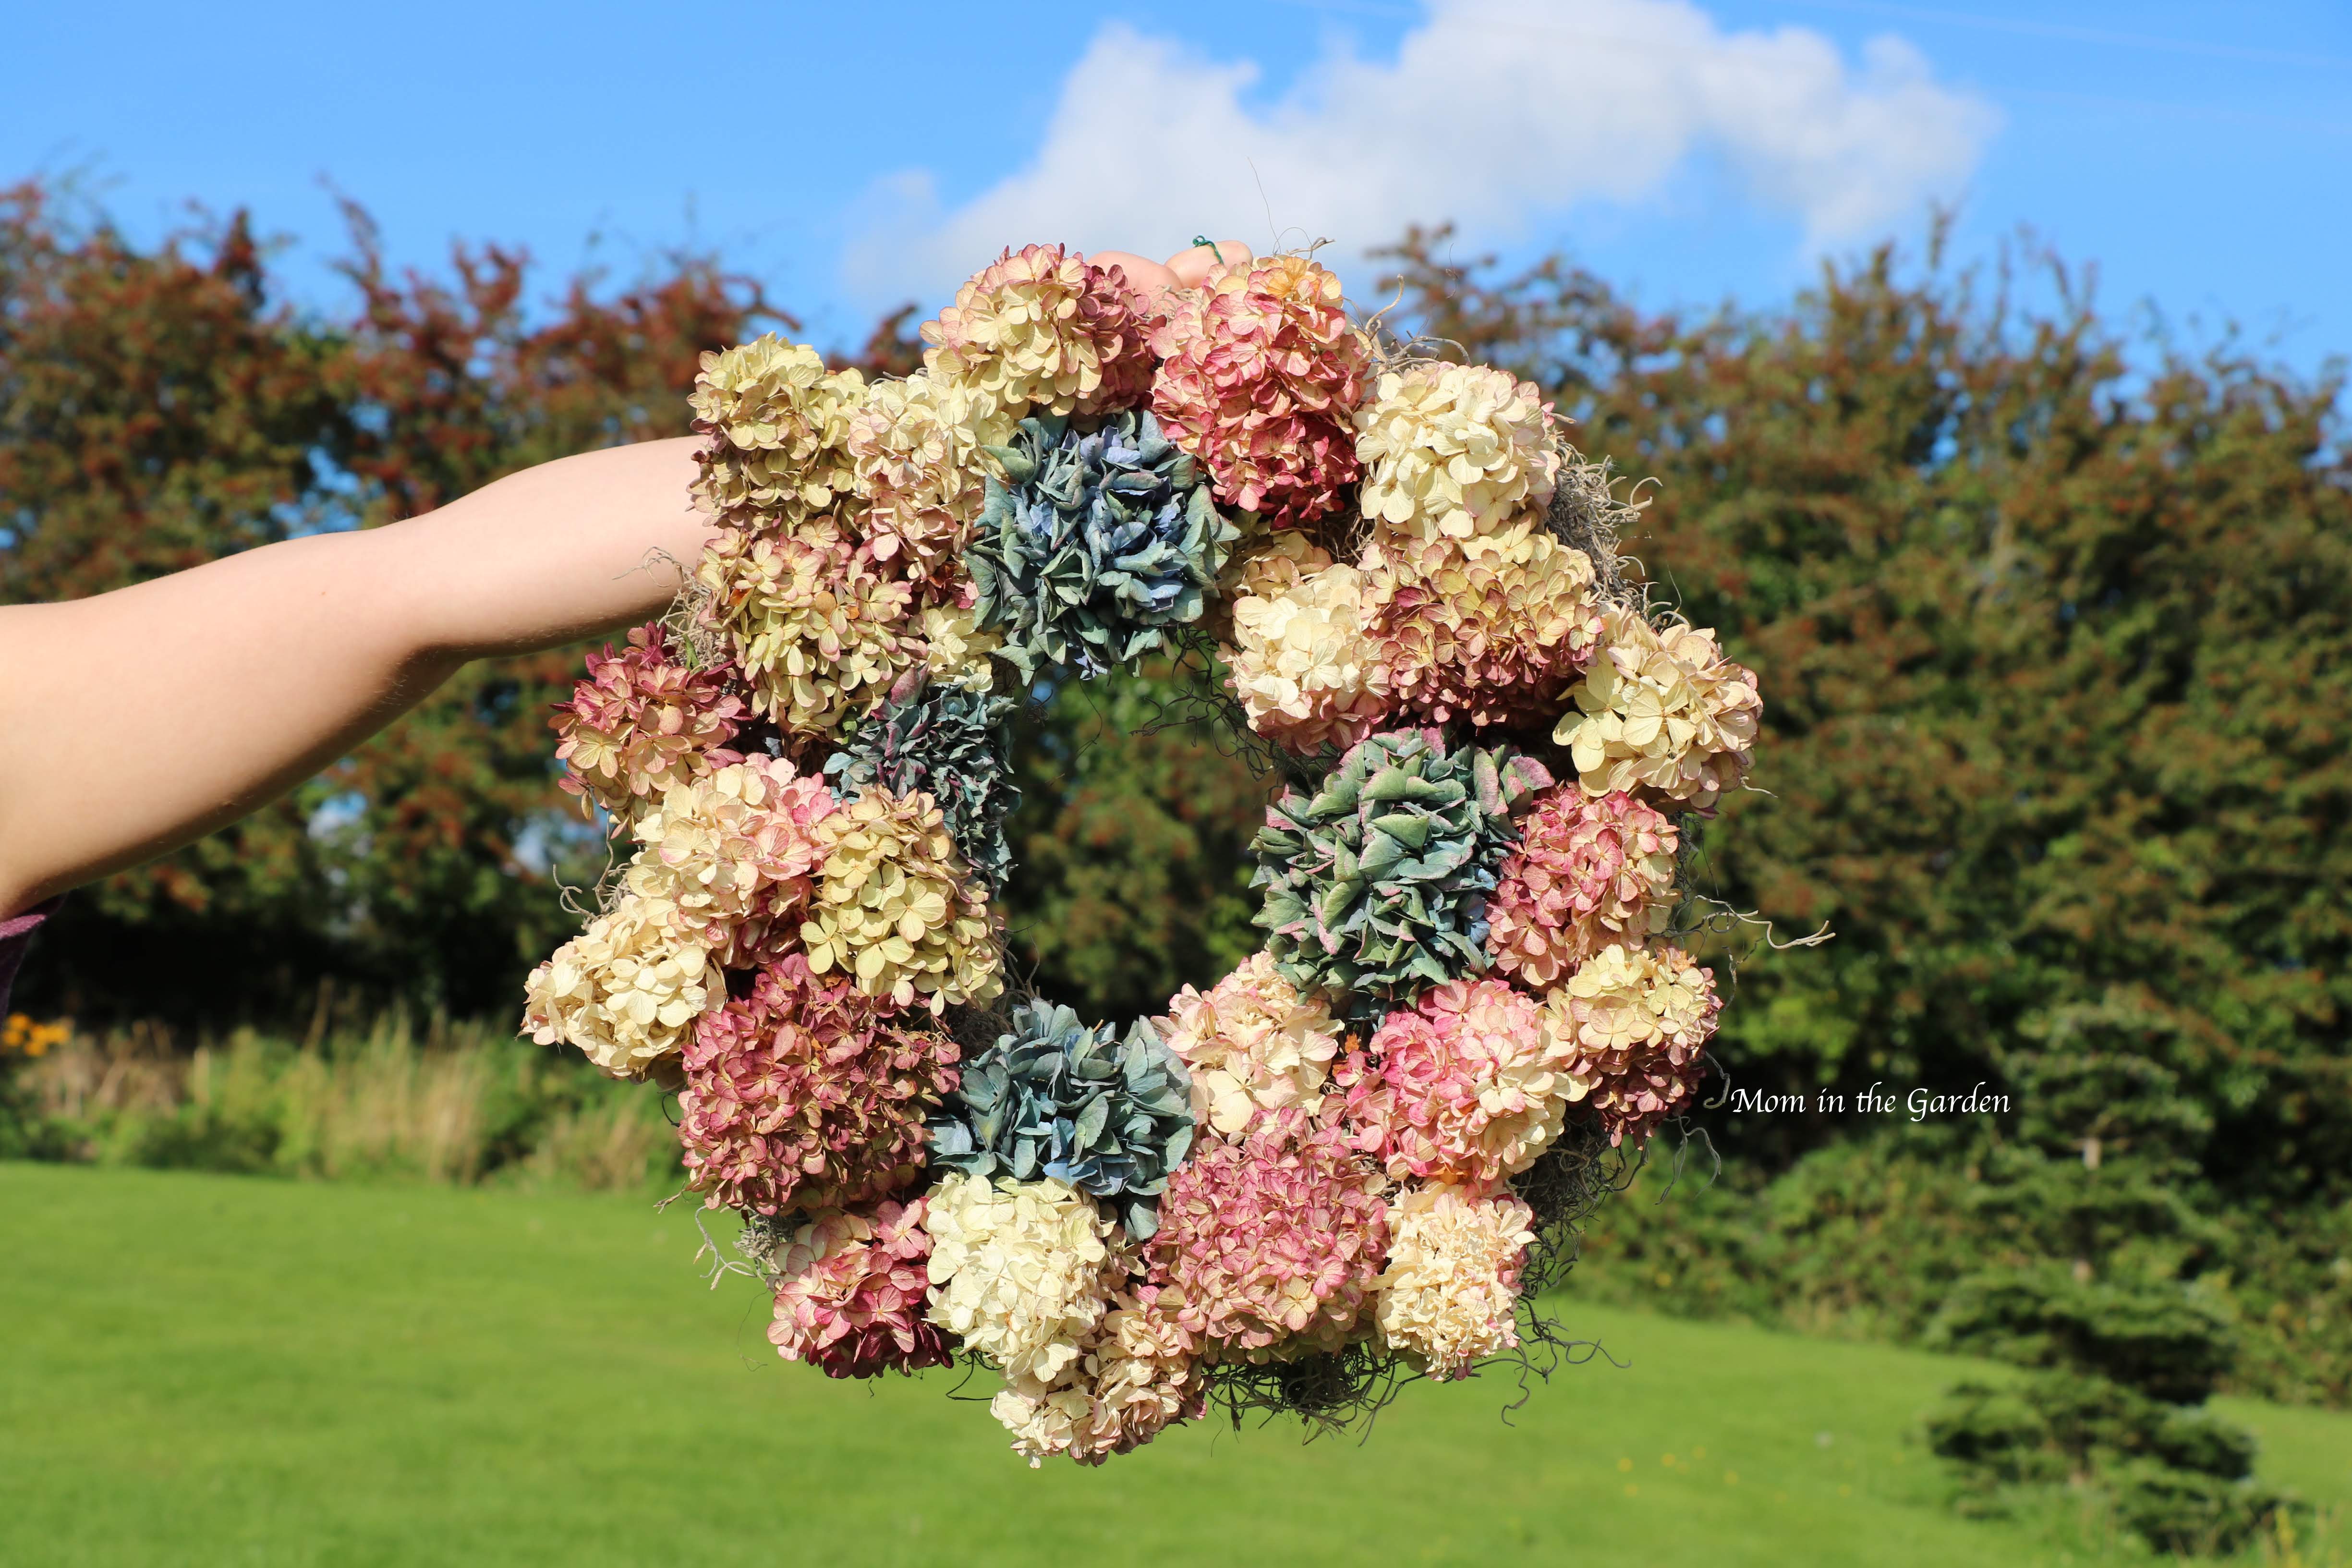
Hydrangea 'Vanille Fraise' Paniculata 'Renhy' wreath

Wreath made of hydrangea ‘Vanille Fraise’ Paniculata ‘Renhy’ along with some mophead hydrangea stems.

Wreath made of hydrangea 'Vanille Fraise' Paniculata 'Renhy' along with some mophead hydrangea stems.

Wreath made of hydrangea ‘Vanille Fraise’ Paniculata ‘Renhy’ along with some mophead hydrangea stems.

hydrangea paniculata wreath

This is the wreath hanging in my kitchen

Nothing ventured, nothing gained! That was the first wreath I made that day and it had gone so quickly and I still had time in my ‘free time’ window, that I jumped right into making a second one. This time I only had mophead hydrangea stems.

blue(ish) mophead hydrangea flowers to begin a wreath

blue(ish) mophead hydrangea flowers to begin a wreath

You can see in the picture above how short I cut the stems. Thankfully, the stems were quite strong and I was able to pin them in place with the floral ‘U’ pins. The flowers were big enough that when looking at the front you couldn’t see the sides of the wreath, so I wasn’t concerned with covering the sides.

blue hydrangea wreath outside view of stems

blue mophead hydrangea wreath view of side and pins
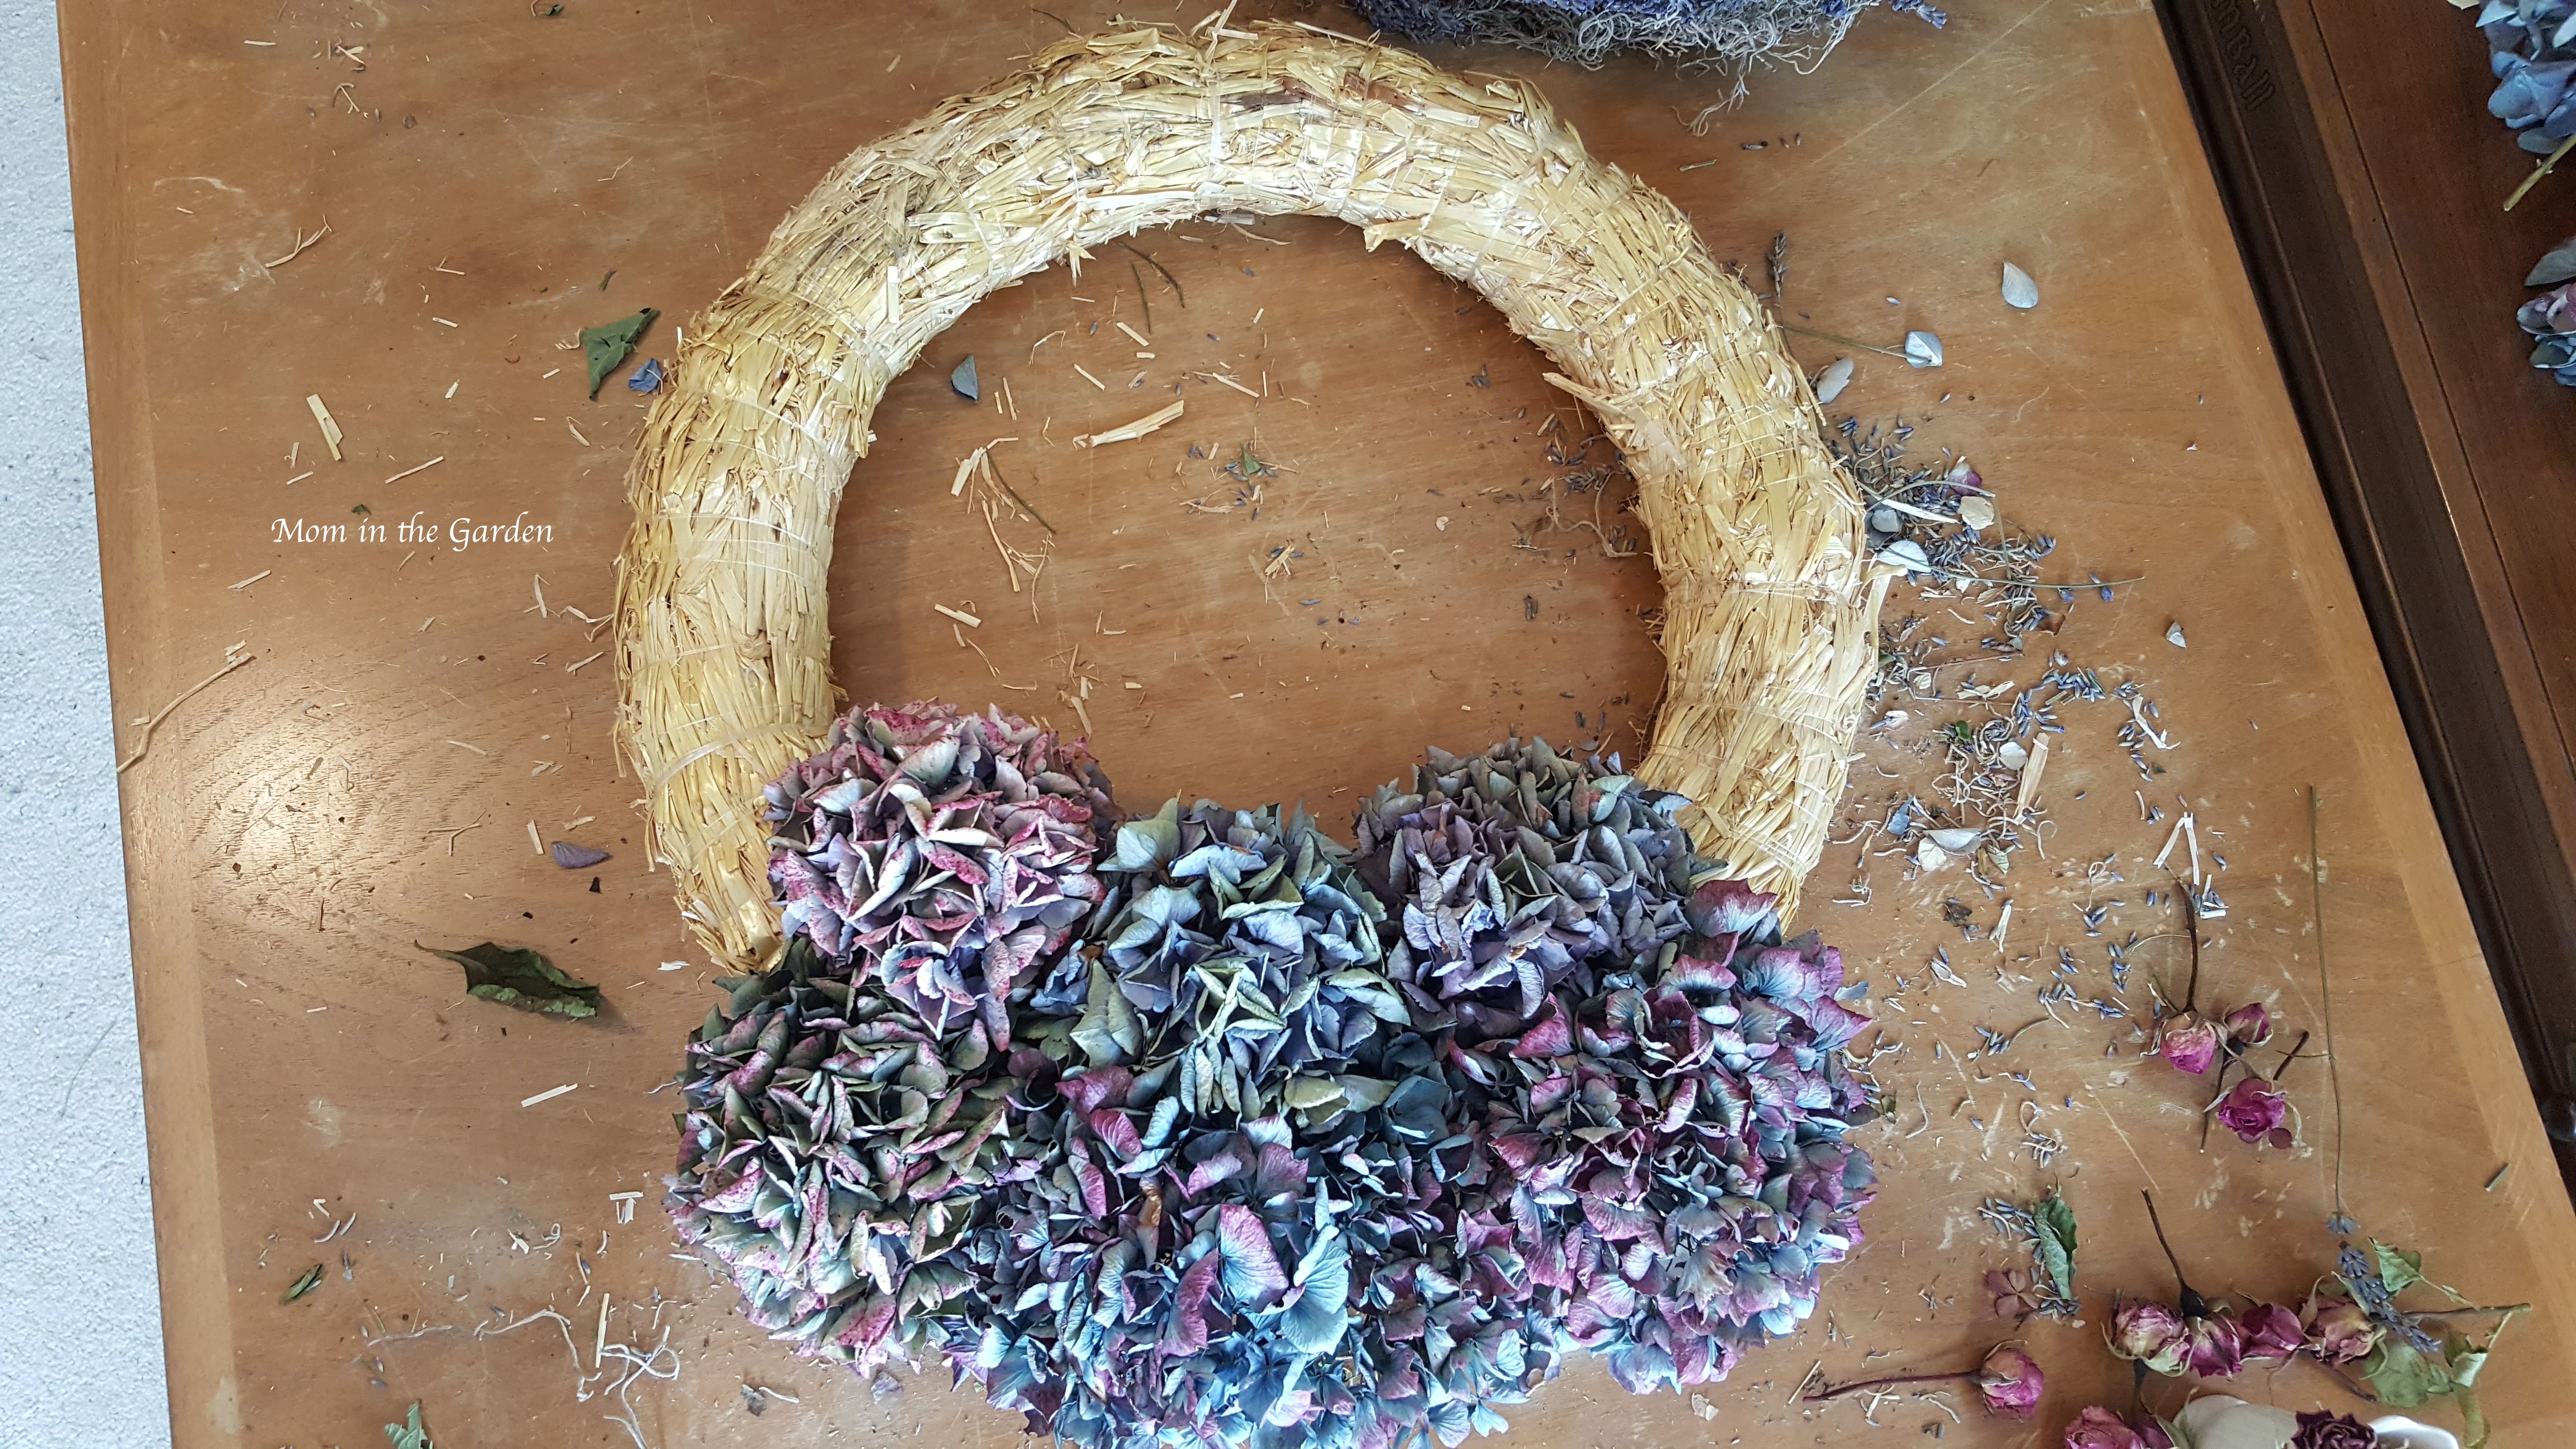
blue hydrangea wreath in process

One by one, the straw wreath gets covered.

With the large flower heads, it was easy and fast to cover the straw wreath frame. The colors are a mix of blues, greens, and pinks – and I reflect back to my garden trend of funny looking colors!

blue hydrangea wreath half finished

It was a simple process of adding a flower to the inside of the frame and then one to the outside. I used the larger of the flowers for the outside to cover as much of the side as possible.
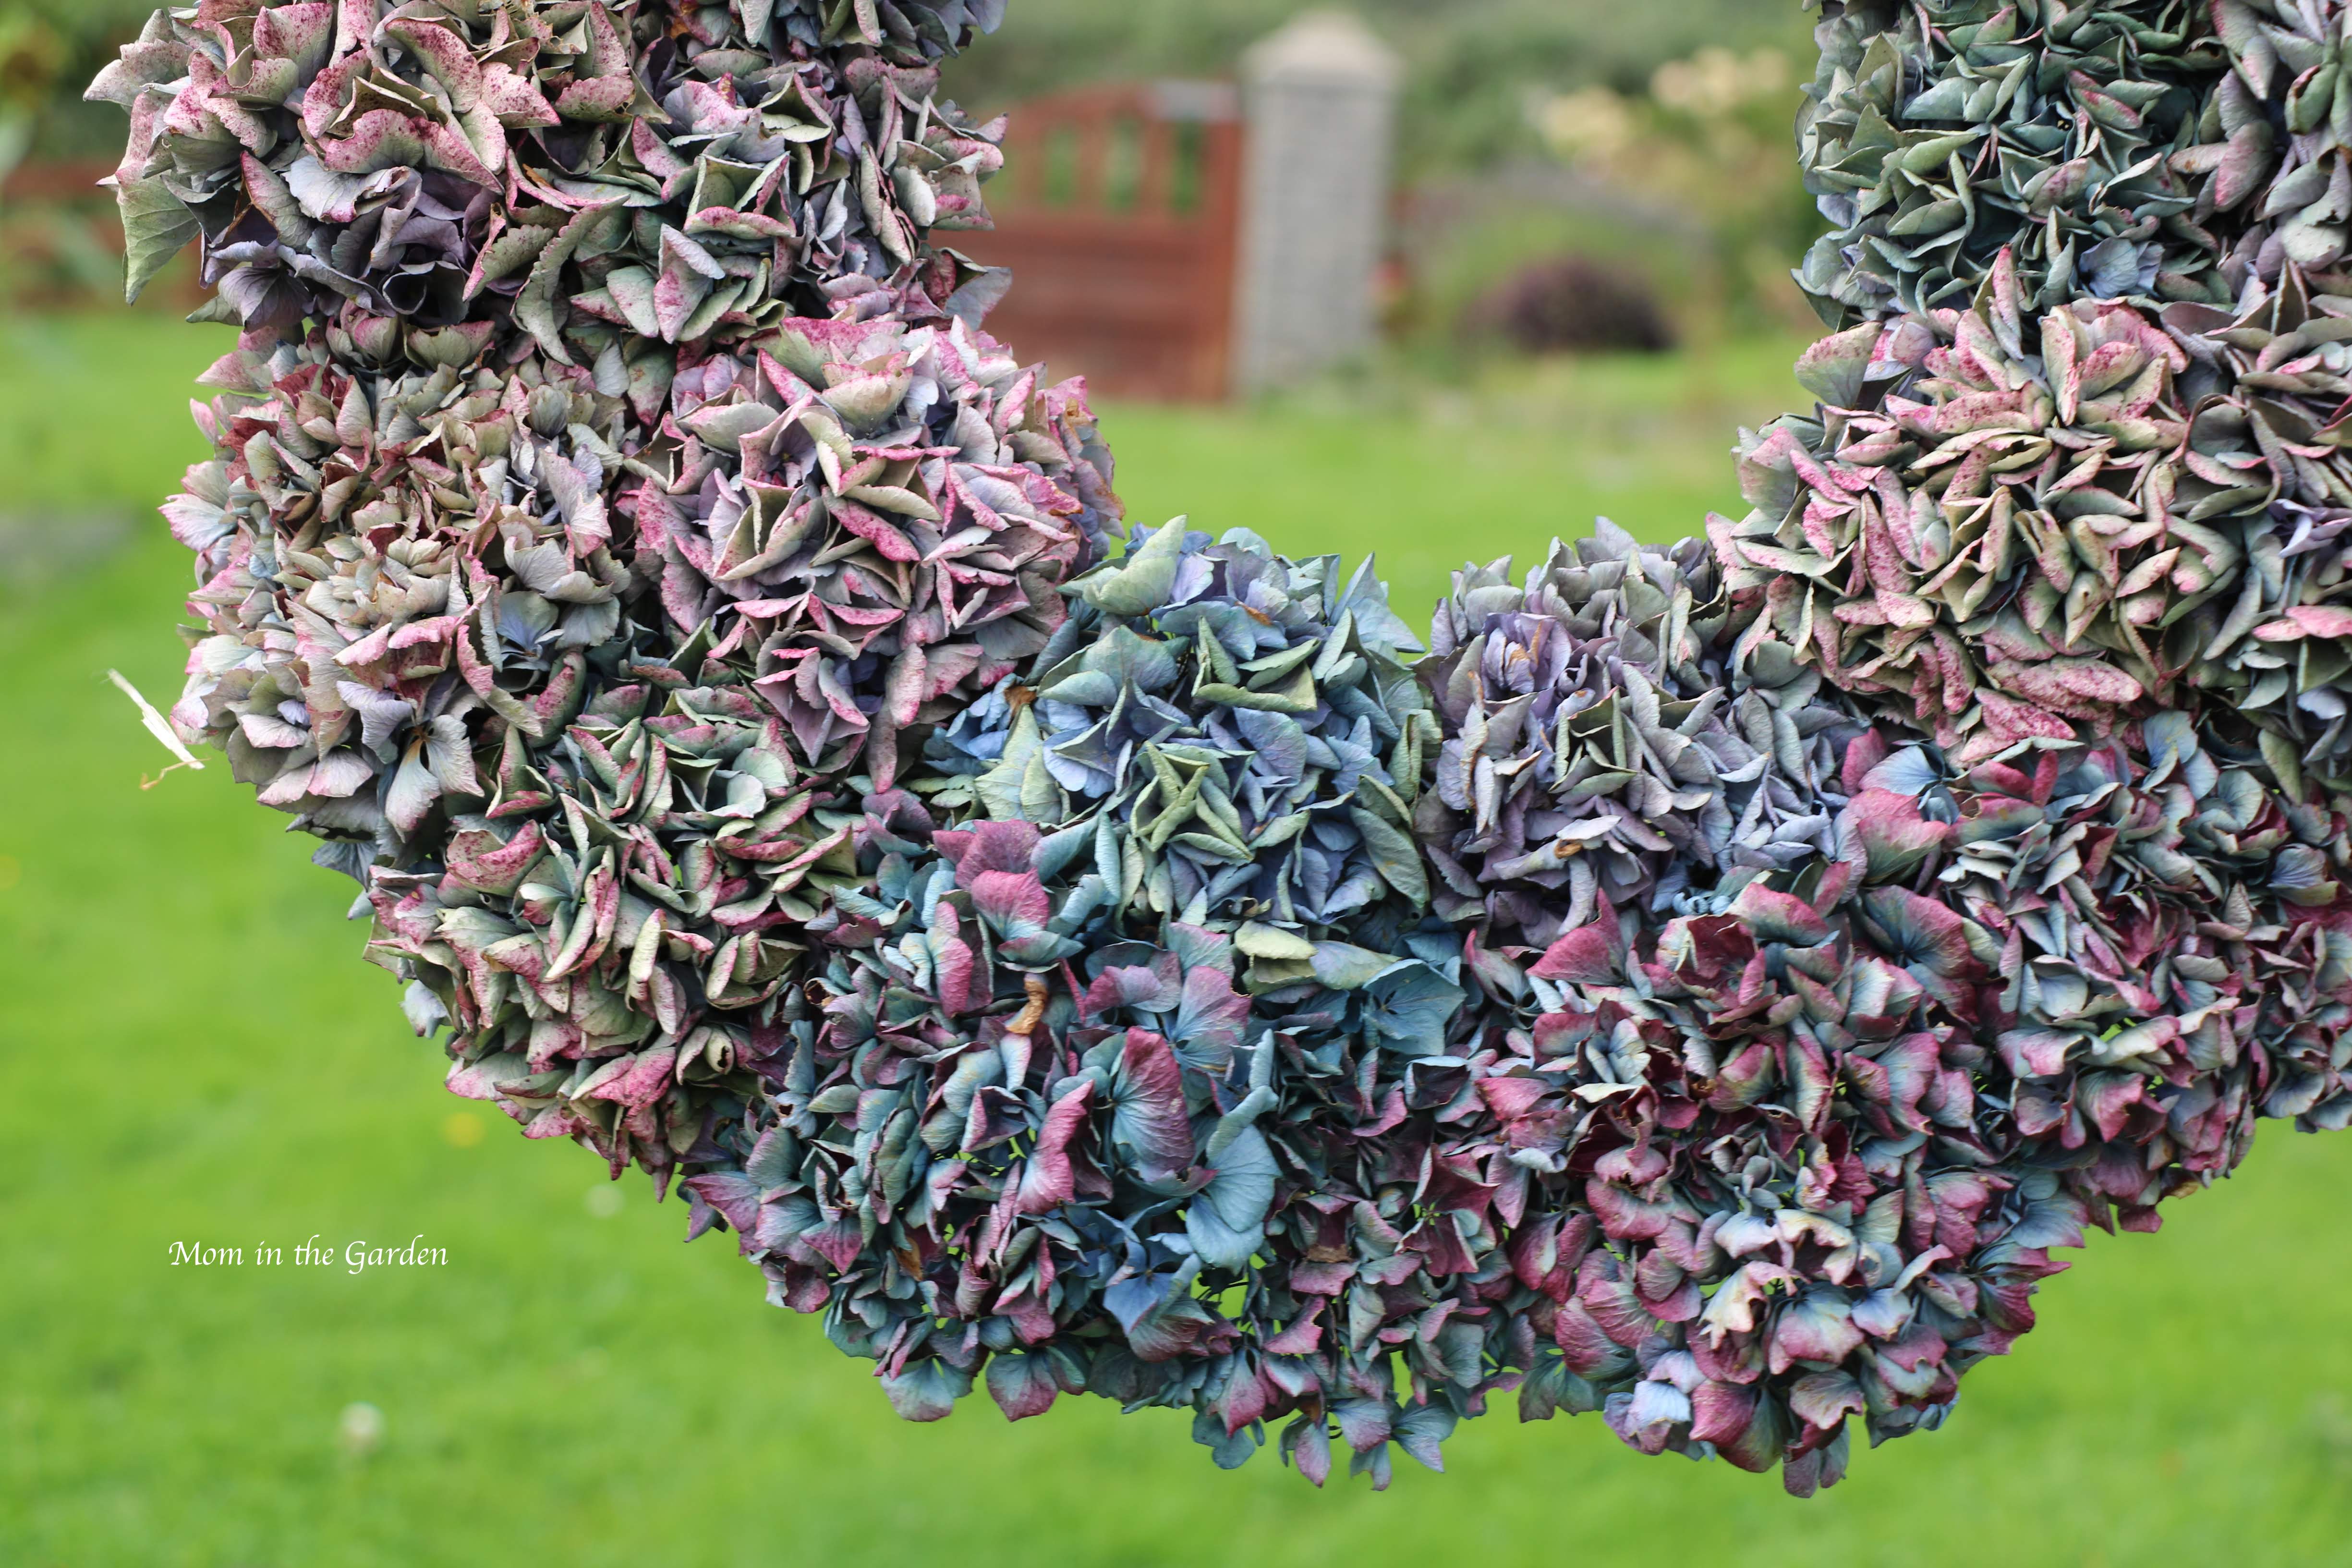
blue hydrangea wreath bottom half close up

texture!

I like it! It’s just something fun, quirky, and from my garden. I still have LOADS of lavender left, too, so plans for more wreaths are working away in my head! 🙂
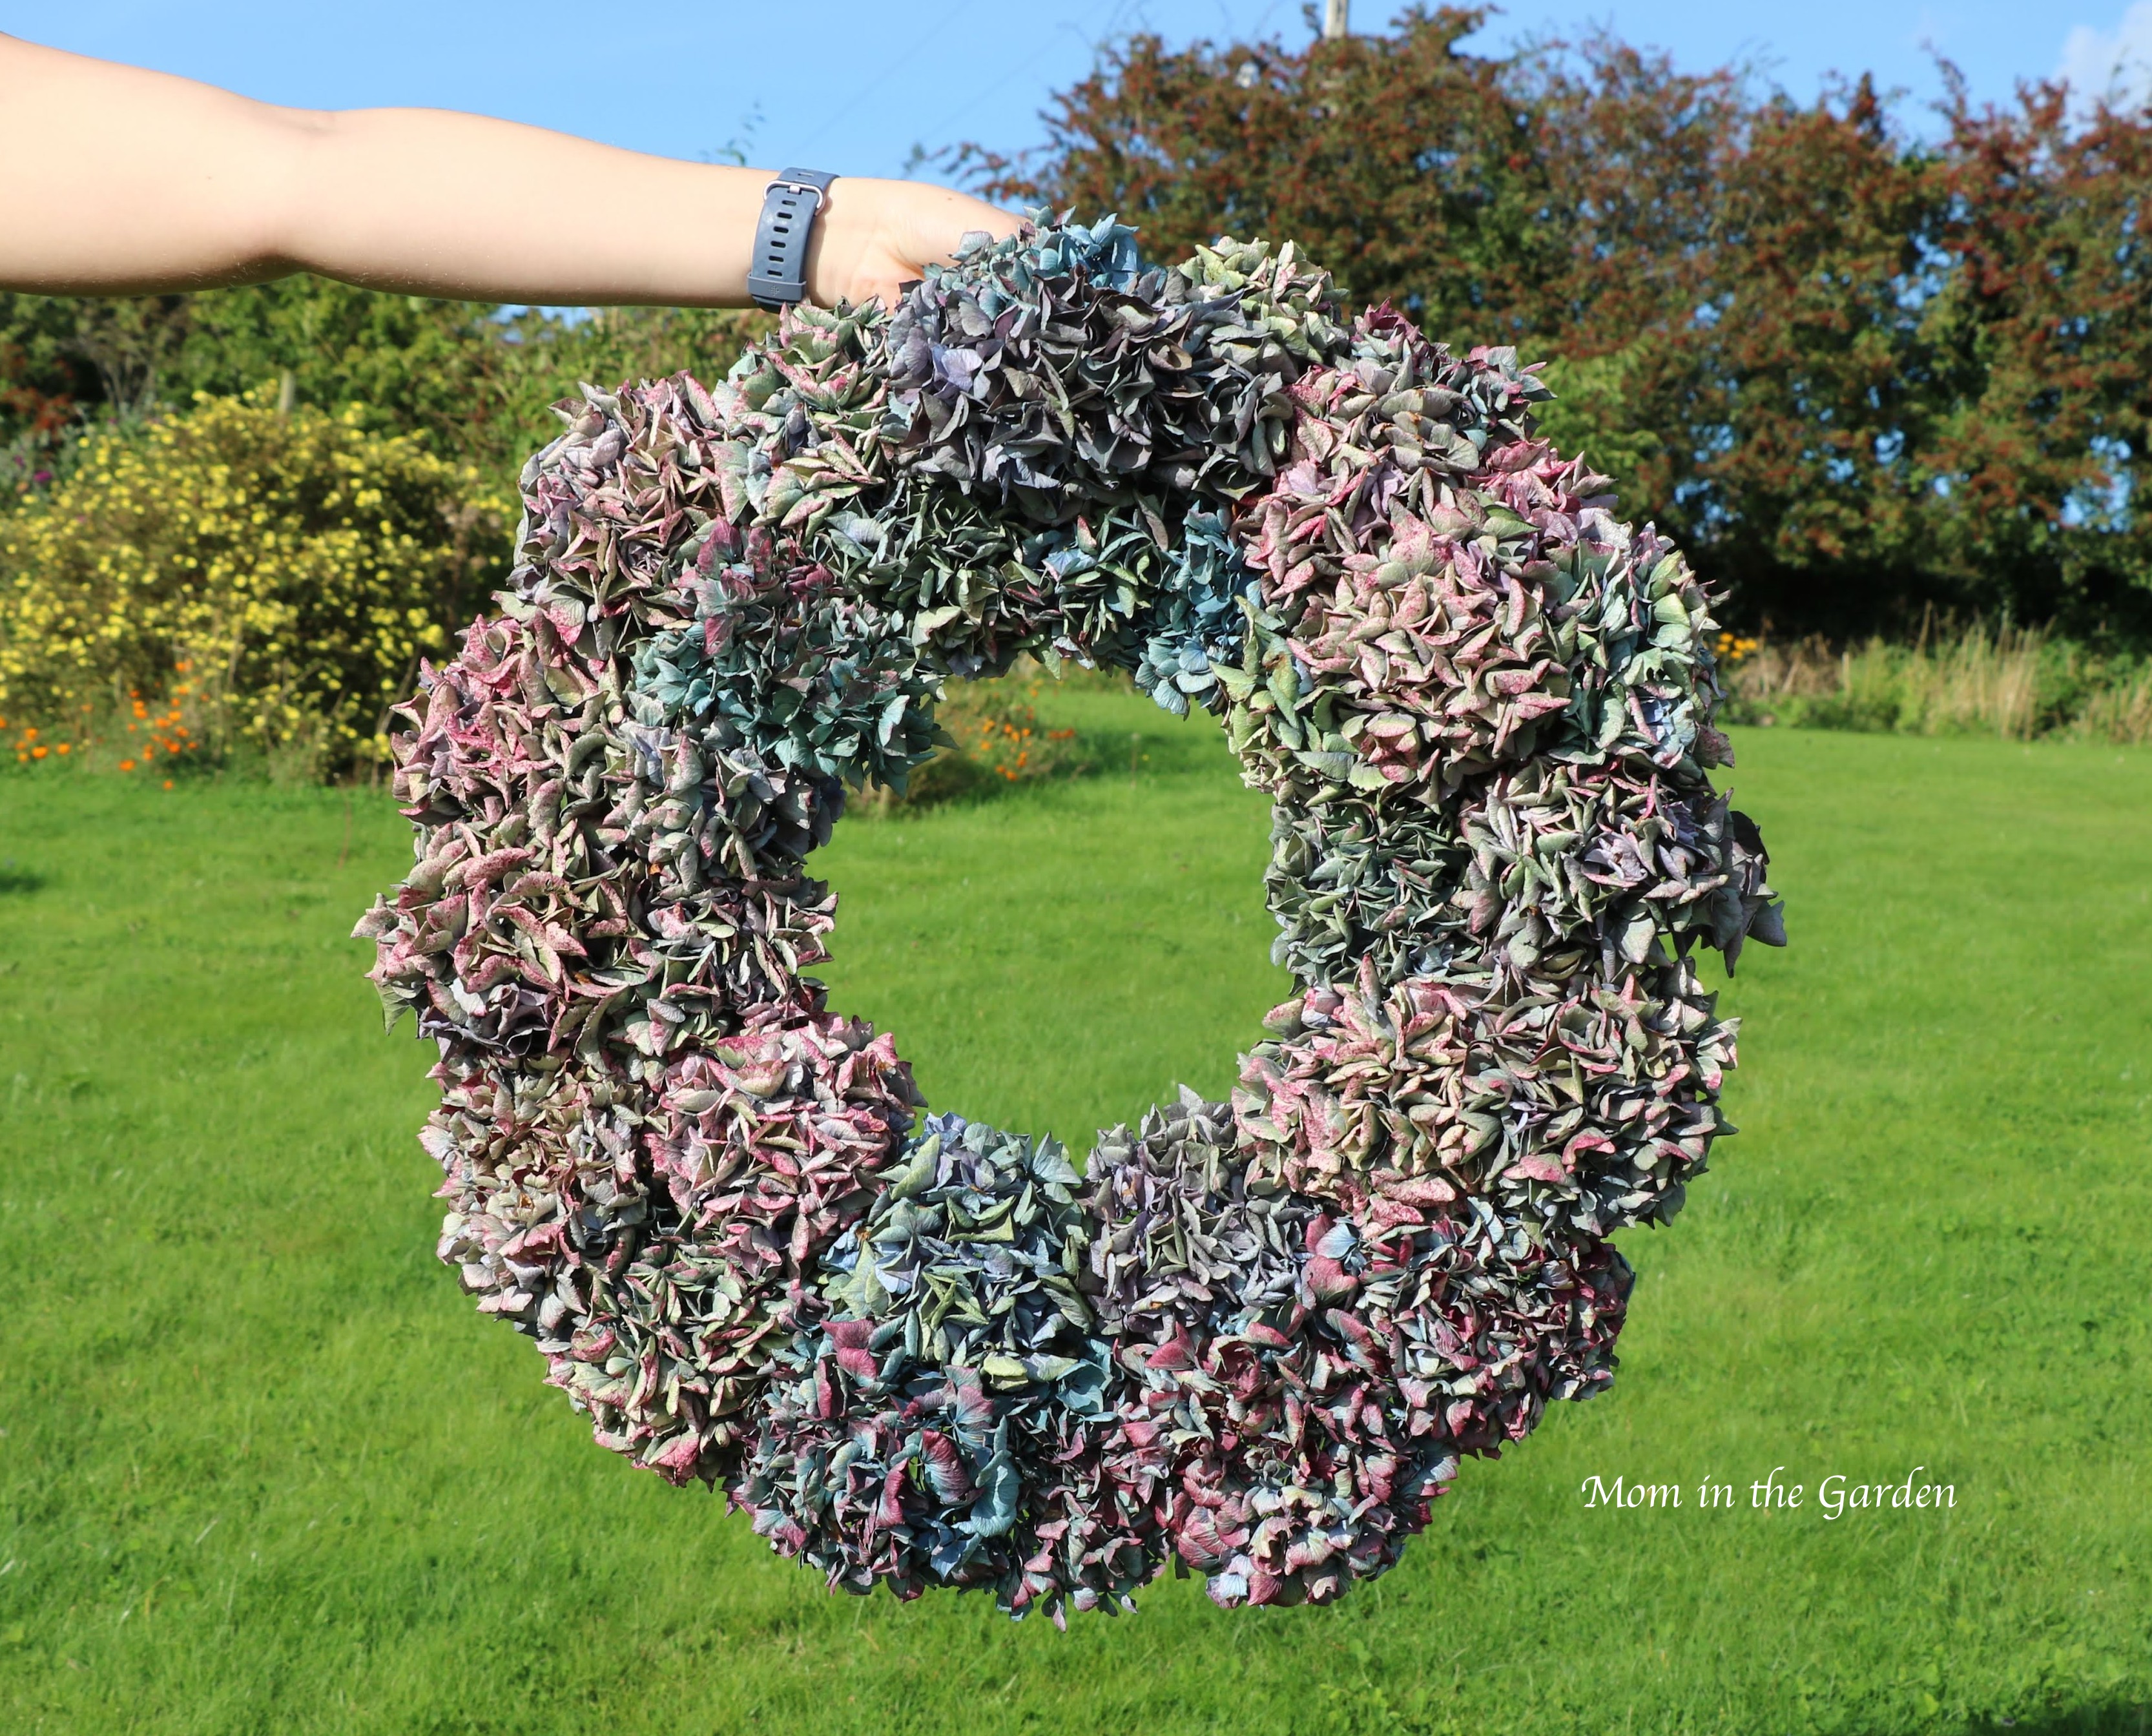
ta-da! completed hydrangea wreath
ta-da! completed hydrangea wreath

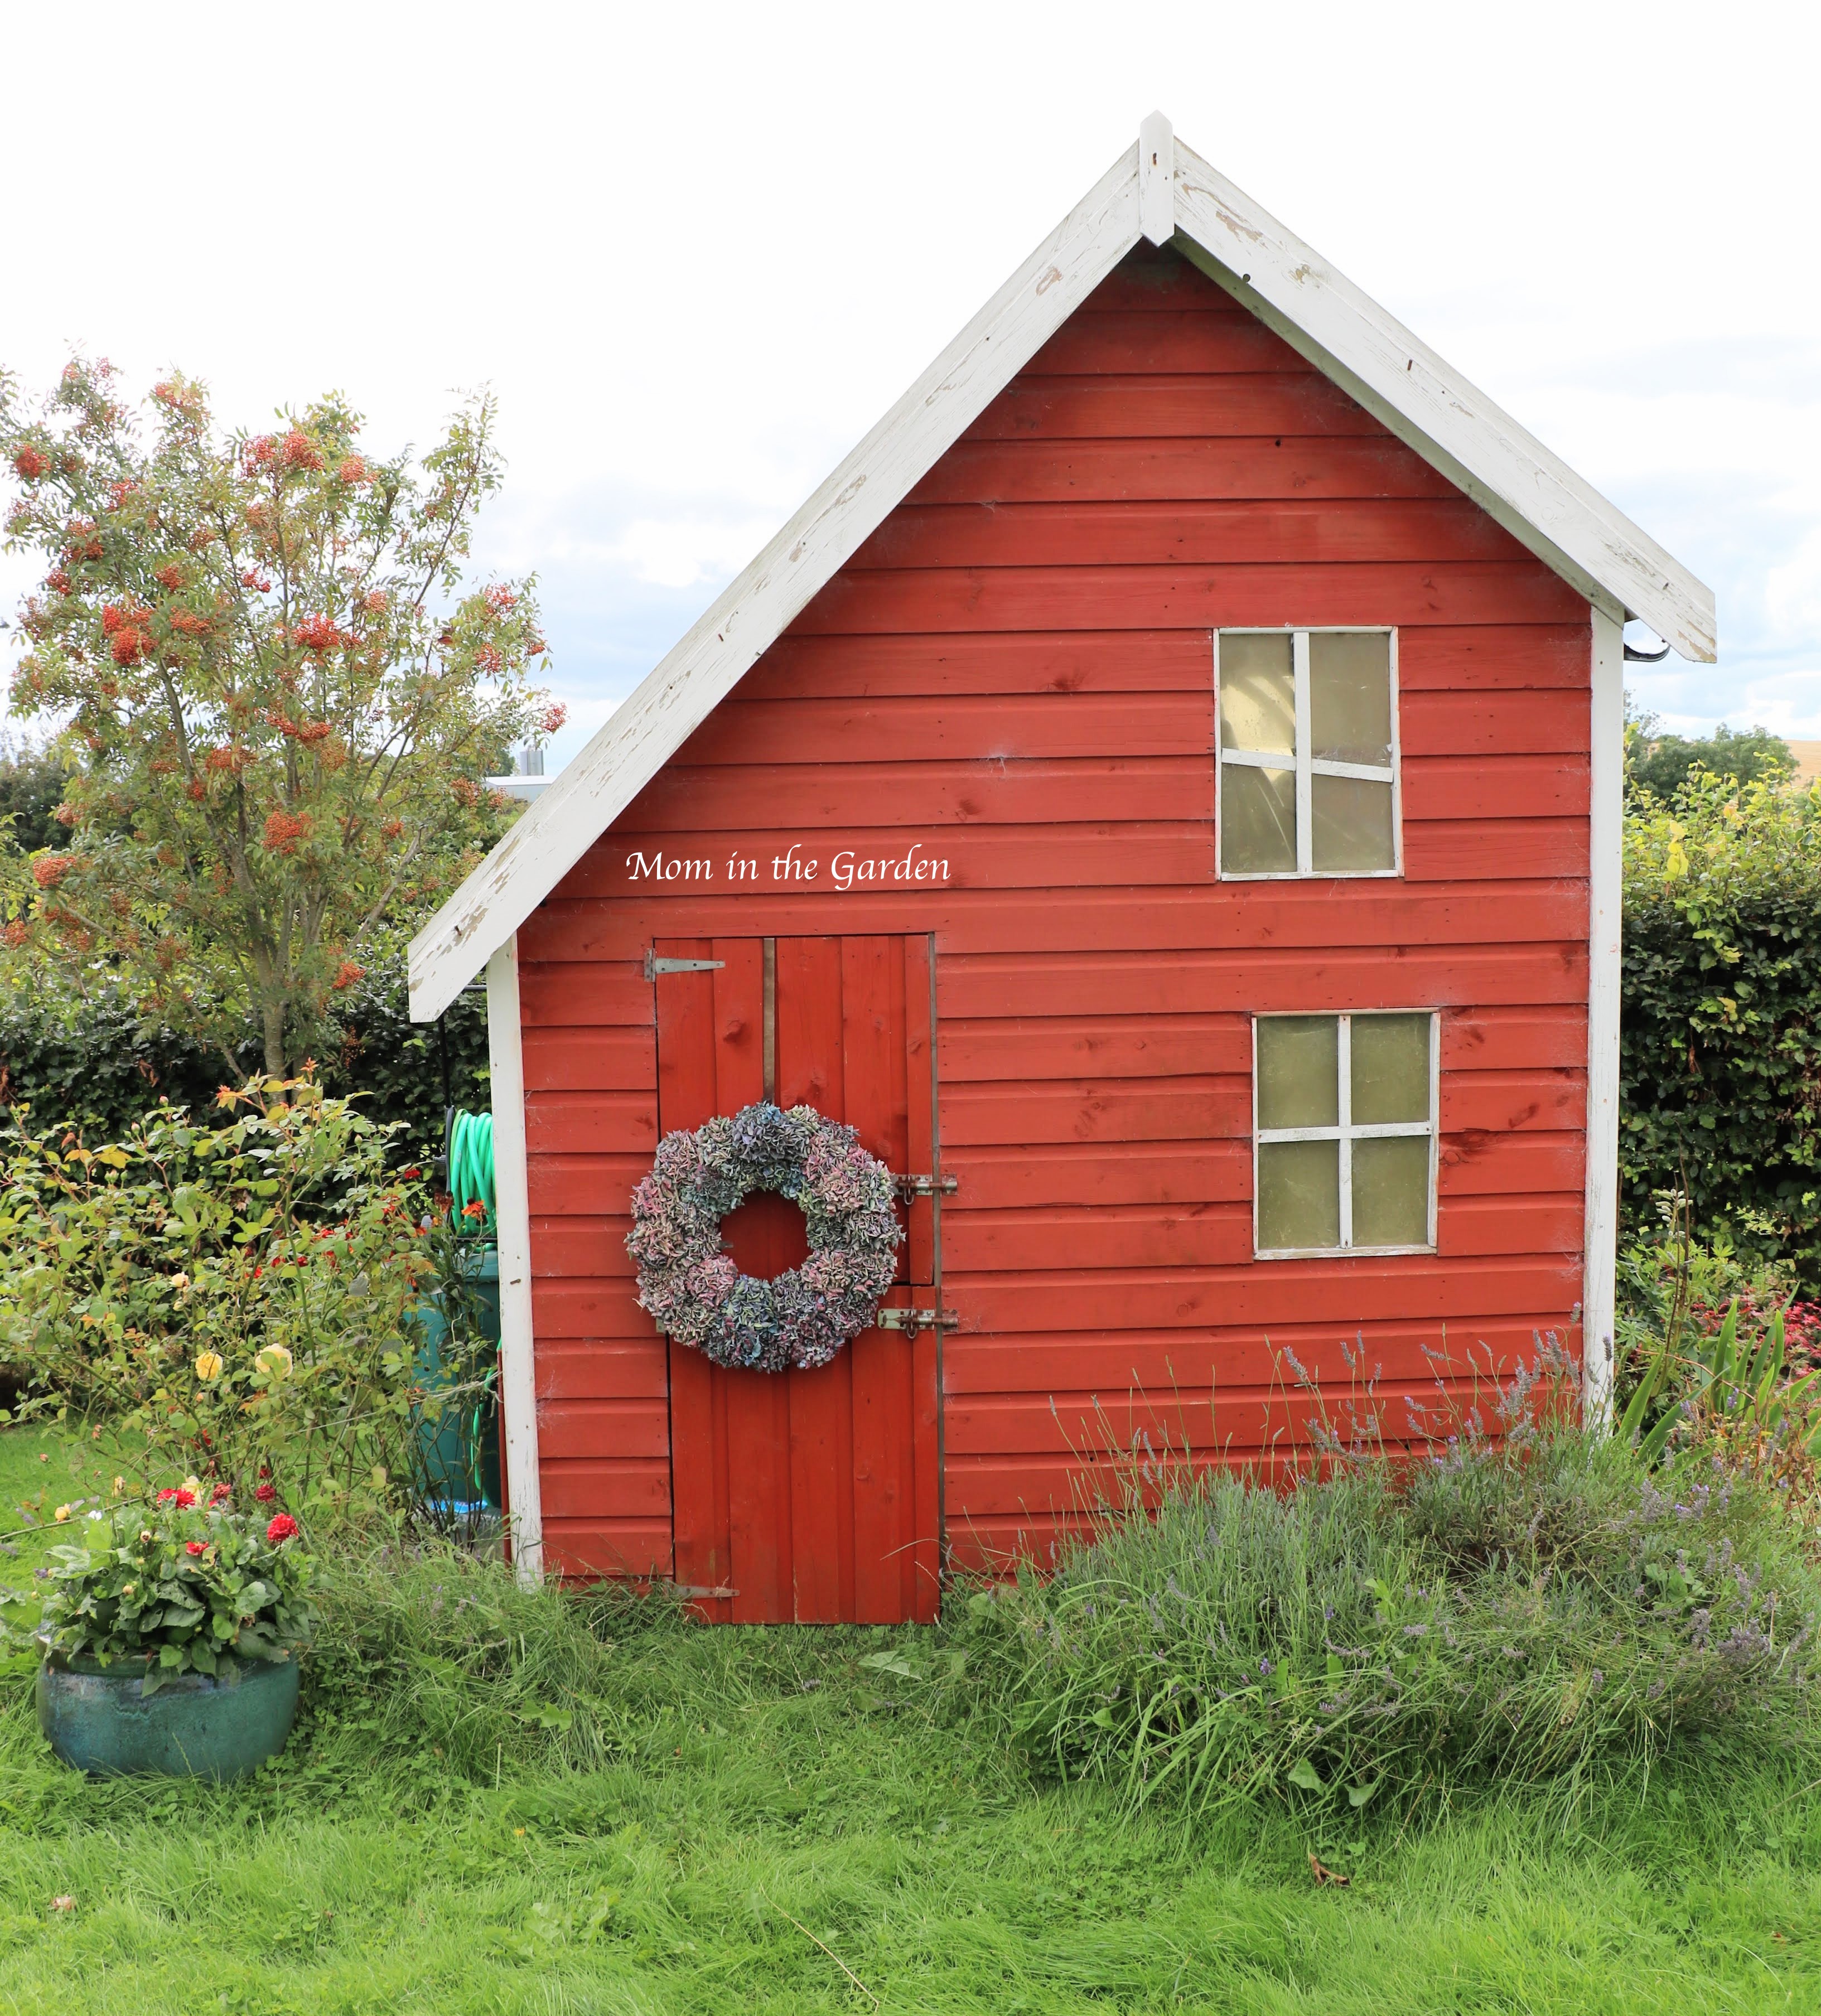
blue hydrangea wreath on playhouse

Requisite picture of the wreath on our playhouse

All that in just a couple of hours! It took longer to work around the sun’s schedule to take pictures than it did to make the wreaths.

hydrangea paniculata wreath playhouse + chickens
The chickens roam the yard full time, so they’re bound to be in pictures and never in a pretty posed way!

Being creative is a wonderful way to express ourselves, no matter what the medium. What is your creative outlet? 🙂

In peace,
Dana