
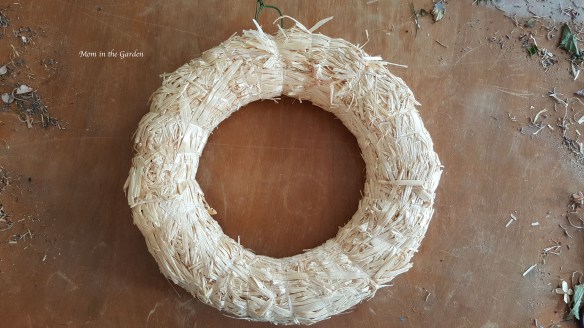
a plain straw wreath frame with a hanging wire
Hello there! I’m very happy to report that I have two more wreaths completed (so far!) this season and I am very happy to share pictures of how I made them. The wreath making process starts weeks before actually putting flower to frame, when the flowers need to be gathered and dried. About a month ago I went out to the garden and cut as many hydrangea stems as I could. I’ve found that the stems need to be sturdy (not young), or they will just wither. I then hung the stems from drying racks (we usually hang our socks from these – I’m not sure what their official use is!). It doesn’t take that long to dry out flowers, maybe a couple of weeks. For me, the tricky part is finding enough time in one ‘go’ to start and finish making a wreath. My life is such that I squeeze in these projects in between ‘life’. I think I’ve mastered ‘ad-hoc’ project making! Anyway, I made these two wreaths in half of the time it took to make my last lavender wreath – it’s great working with large flowers! They were super simple to make and it was fun to use up all of my dried flowers.

These stems are from my Hydrangea ‘Vanille Fraise’ Paniculata ‘Renhy’
Confession time: I have several wreaths around my house. I hate throwing things away if they still have some life in them. But hydrangea and lavender wreaths do fade with time. I might get two good years out of them, but not more than that. So for this first wreath made from my Hydrangea ‘Vanille Fraise’ Paniculata ‘Renhy’, I stripped down an old wreath, leaving just the Spanish moss since that is the background and doesn’t really age.

Spanish Moss covered 15″ (38 cm) wreath
I used floral ‘U’ pins to attach everything, and 15″ (38 cm) straw wreaths. All of the flowers are from my garden. Now, it was interesting making this first one because the shape of the flowers are pointy. It looked really funny as I was making it, but I think I was able to balance it out in the end. Well, maybe it still looks funny, but I love the shapes in it and the textures and the quirkiness about it!

The first layer: Hydrangea ‘Vanille Fraise’ Paniculata ‘Renhy’
The hydrangea plant is not that old, and this is the first year that the flowers were a substantial size (they were quite small before!). They are the prettiest colors as they change from cream to pink to dark pink. It’s a lovely plant to have.
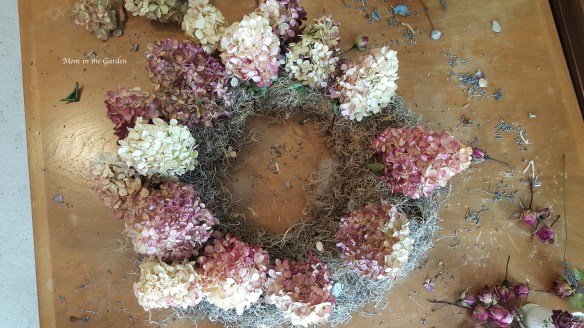
Adding on a second layer:Hydrangea ‘Vanille Fraise’ Paniculata ‘Renhy’
I was trying to soften the pointy-ness of the blooms by having an outside layer. I’m not sure if that happened or not!

Adding in a change of shape and color with this blue mophead hydrangea
Ah, yes, interesting picture. See the heat stain on my table in the picture above? I learned that lesson 25 years ago – never put a hot pot directly on a wood table (duh, right?)! This table is my craft table now 🙂
Mophead hydrangea and paniculata hydrangea used to create this wreath.
Oh my gosh I just think it is the neatest thing ever! My mophead hydrangeas are quite funny looking (I sense a pattern in my garden…). It’s not that they don’t dry well, they are somewhat closed even when I cut them. I’m not sure if it is lack of water, or what. I’m still learning!

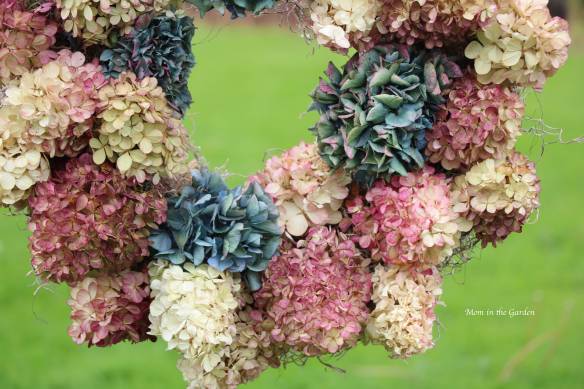
Wreath made of hydrangea ‘Vanille Fraise’ Paniculata ‘Renhy’ along with some mophead hydrangea stems.

Wreath made of hydrangea ‘Vanille Fraise’ Paniculata ‘Renhy’ along with some mophead hydrangea stems.
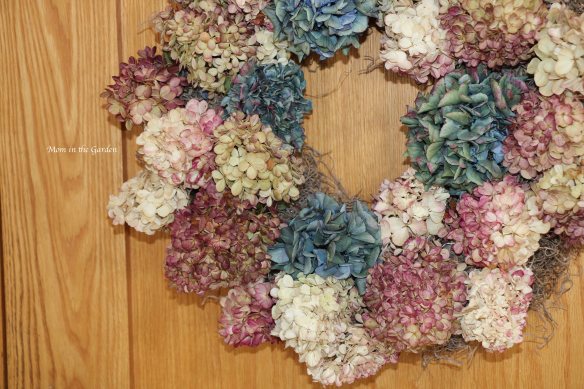
This is the wreath hanging in my kitchen
Nothing ventured, nothing gained! That was the first wreath I made that day and it had gone so quickly and I still had time in my ‘free time’ window, that I jumped right into making a second one. This time I only had mophead hydrangea stems.
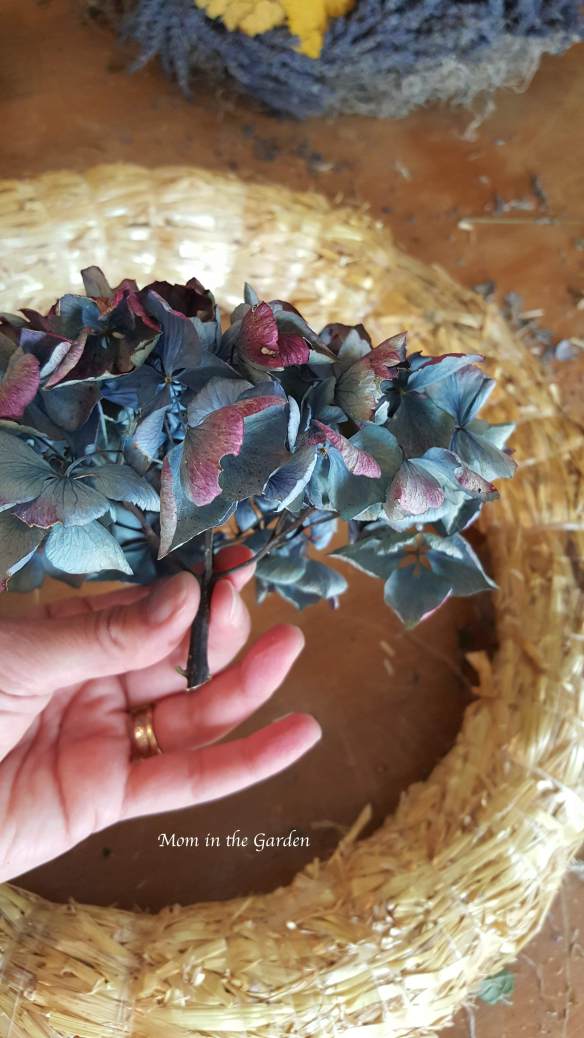
blue(ish) mophead hydrangea flowers to begin a wreath
You can see in the picture above how short I cut the stems. Thankfully, the stems were quite strong and I was able to pin them in place with the floral ‘U’ pins. The flowers were big enough that when looking at the front you couldn’t see the sides of the wreath, so I wasn’t concerned with covering the sides.

blue mophead hydrangea wreath view of side and pins

One by one, the straw wreath gets covered.
With the large flower heads, it was easy and fast to cover the straw wreath frame. The colors are a mix of blues, greens, and pinks – and I reflect back to my garden trend of funny looking colors!

It was a simple process of adding a flower to the inside of the frame and then one to the outside. I used the larger of the flowers for the outside to cover as much of the side as possible.

texture!
I like it! It’s just something fun, quirky, and from my garden. I still have LOADS of lavender left, too, so plans for more wreaths are working away in my head! 🙂

ta-da! completed hydrangea wreath
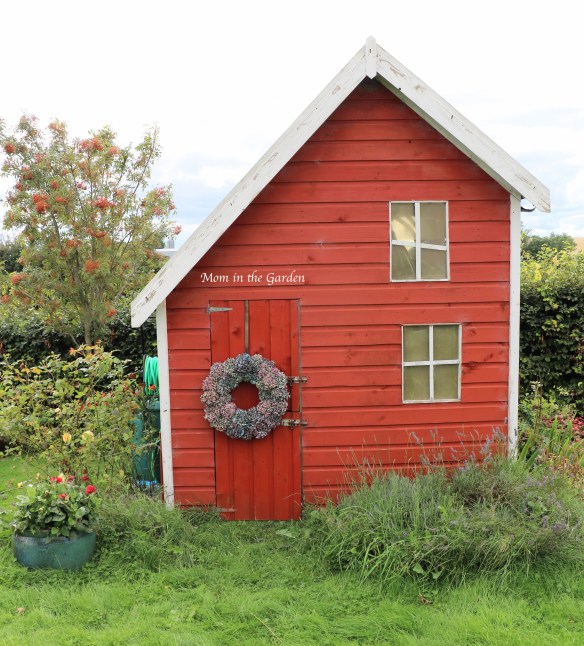
Requisite picture of the wreath on our playhouse
All that in just a couple of hours! It took longer to work around the sun’s schedule to take pictures than it did to make the wreaths.
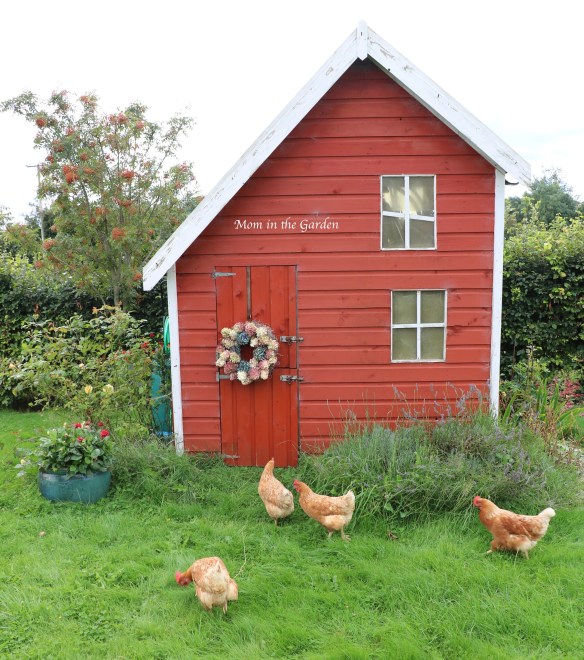
The chickens roam the yard full time, so they’re bound to be in pictures and never in a pretty posed way!
Being creative is a wonderful way to express ourselves, no matter what the medium. What is your creative outlet? 🙂
In peace,
Dana


I like your hydrangea wreaths myself and the “girls” probably thought they added a certain charm as well. 😊 Nice job.
Thank you Karen! Oh the girls love to be a part of things 🙂
Pingback: Creative fun designing a Hydrangea Wreath | Mom in the Garden