This is one of our bookshelves. You could say we like to read…
The libraries of Dublin City have chosen James Plunkett’s Strumpet City as their One City, One Book for 2013. This summer my book club decided to join in and read it too. I am so glad we did! What an incredible story.
100 years is really not all that long ago. 1913 Dublin City. Workers worked, yet weren’t paid enough to live on. Families lived in deplorable conditions. There could be 100 people living in the tenement houses (which were meant for much less than 100 people). Finally, in August 1913, the workers had had enough, and demanded more of what they deserved. The employers answered by locking them out of work – for four months. Strumpet City tells the story of the lockout through the lives of its characters; the very rich, the very poor, and the very misguided.
I loved learning about the history of the lockout. There were characters to love and definitely characters to hate in the book. It was sad to learn how some working class people couldn’t pick themselves up from the life of poverty. Even more sad were the rich people who felt superior to those in poverty. … I wonder, how much has changed in 100 years?
If you have the time (it’s a big one! 550 pages are divided between three books) I would highly recommend reading Strumpet City.
I thought this post would tie in nicely with my recent visit to Dublin’s St. Stephen’s Green Park. You know, the book takes place in Dublin, and the park is in Dublin. I think that works! 🙂 I took a lot of photos. It is a beautiful park, and it was a beautiful day. The park was filled with both locals and tourists. O.K., lots of tourists! But lots of locals were also enjoying the park and the beauty it has to offer.
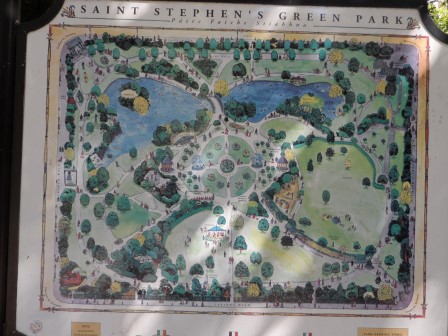
St. Stephen’s Green Park map.
At 27 acres, this Victorian park is a beautiful reprieve from the fast pace of Dublin. The Office of Public Works have a brochure about the park that I found fascinating. Here are some facts about the history of the park which I’d like to share with you: The name comes from a church which used to be in this area (that goes back to the 13th century!).

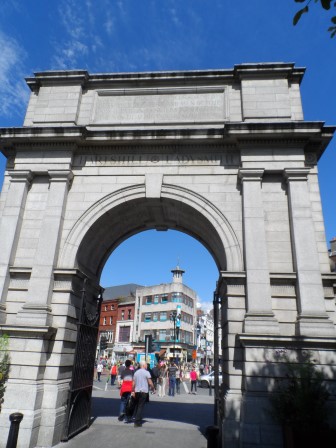
Fusiliers Arch built in 1907. Gateway arch into the park located at the top of Grafton Street. It was built in dedication to the men of the Royal Dublin Fusilier’s who died in the Boer War in South Africa (1899 – 1900).
In 1635 a law was passed which made the park open and available to the public to use. The first paid gardeners started tending the park in 1670. This part of Dublin has always been “the place to be”. Even going back to 1708 which is when Grafton Street opened, this is where the fashionable of society were seen. The Dawson Street opening followed in 1723, as much sought after properties were also built in the area at that time.
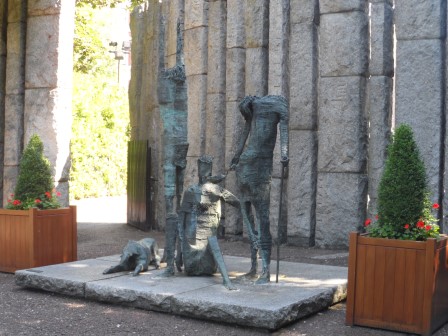
The Irish Famine Memorial is on the north-east corner of St. Stephen’s Green, the background consisting of a semicircle of rough stone pillars.

The Irish Famine memorial.
Unfortunately, by 1814, the park was in need of an overhaul. Thankfully, this was seen to, with new ornate Victorian railings built around the perimeter of the park, new walks were constructed, and trees and shrubs were planted. Ignoring the law of 1635, the Commission closed the park to the public and made it available only to those who could afford to rent keys to the park.

Statue of the Three Fates, presented to Dublin in 1956 by West Germany in gratitude for Irish aid after WWII.
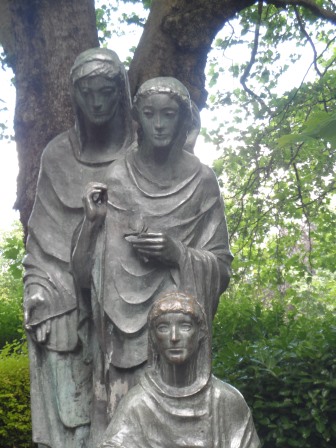
Close-up of the statue of The Three Fates.
The general public had to wait until 1877 to have free access to the park again. Having grown up in the area of St. Stephen’s Green, Sir Arthur Guinness, also known as Lord Ardilaun, purchased the Green from the Commission, paid off all the outstanding debts, and opened it to the public. Not surprisingly, he and his family were well known for their generosity. The revamping and designing of the park was begun, and Sir Arthur was very much a part of this process.
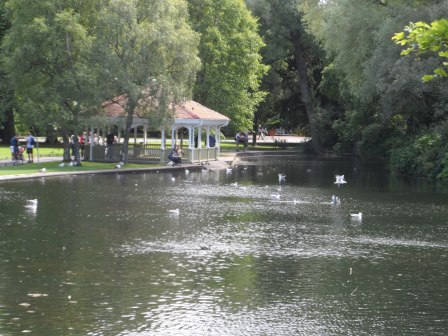
The man-made lake.

Another view of the water.
A 3 acre man-made lake, a bridge, formal flower beds, and fountains were all a part of the new design. The landscape of the park today very much reflects that work from 1880. The center of the park is designed as a formal garden with symmetrical patterns of paths, lawns, and flower beds. There are two granite fountains at the center of the design.

The formal central part of the park.

Perfectly manicured beds.
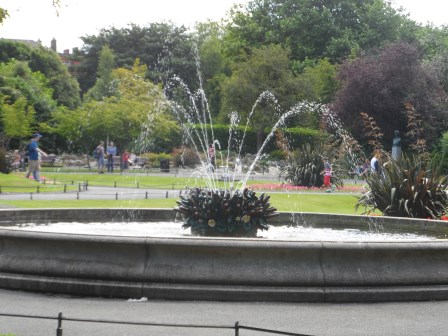
One of the two fountains.

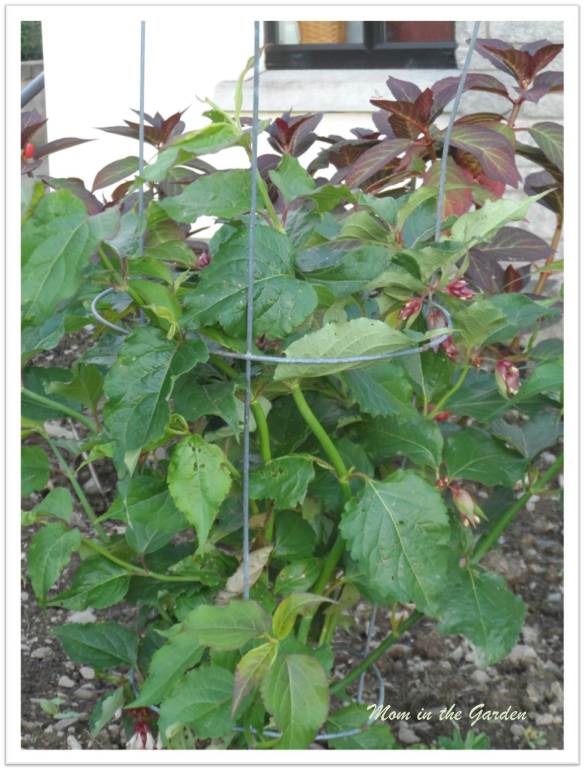
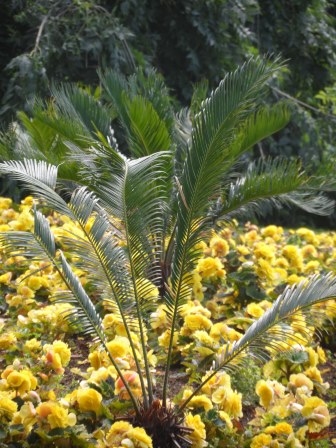
This picture is just to show you the palm tree. Funny enough to me as I associate palm trees with really warm weather, but there are lots of them in Ireland!
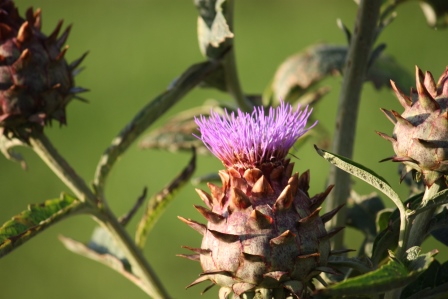
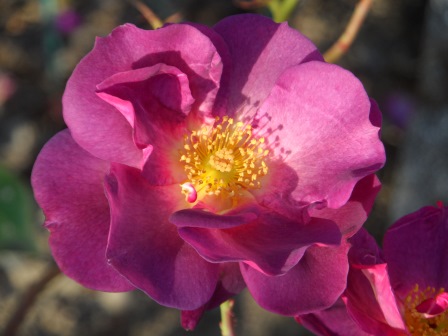
An herbaceous border can also be found in the park (near Leeson St. gate). Also notable of what is in the park: The Bog Garden, Garden for the Blind, The Children’s Playground, and The Bandstand.

Monarda (bee balm).

Helenium ‘Waldtraut’.

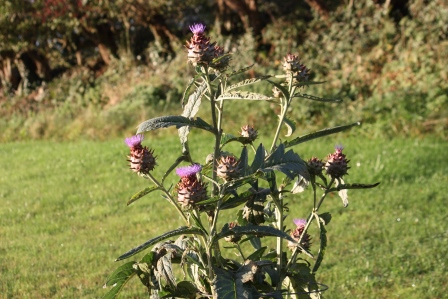
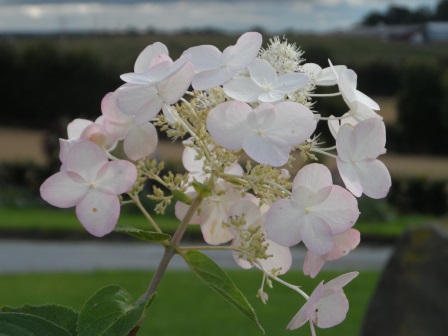
More photos of the herbaceous garden.

Different colors along the path.
There are over 750 trees! The park is able to keep out much of the traffic noise of the city, not to mention pollution, from the many trees planted along the border.

This path leads to the W.B. Yeats memorial. Careful or you’ll miss it!

Memorial to W.B. Yeats by Henry Moore.

Completely hidden away behind trees is this area that is used for drama productions (or so I’ve been told!). It is in this area (behind me when I took this picture) which the W.B. Yeats memorial stands.
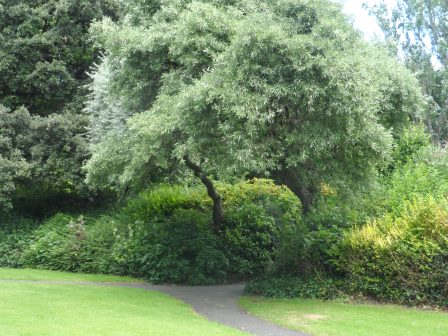
I do have lots of pictures of trees. I love trees. Especially really big, old ones! I will just show you my favorite one!

(I’d love to just write the caption “tree”!)
It is such a lovely park. It is well worth a visit. And after you visit the park you can go shopping!

Stephen’s Green Shopping Center beautifully adorned with flowers.
The shopping on Grafton Street is always good, too! I love to see the flower stalls.

Flower stall on Grafton Street.
I hope you’ve enjoyed my little tour of St. Stephen’s Green. There are really so many things to do in Dublin (it is a great city to visit!). For me, on that day in the park I enjoyed both walking along the paths and sitting down on the benches (people watching!). It was a day to savor!
I hope you’ll come and visit!
Dana