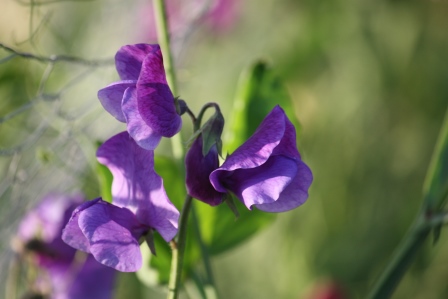
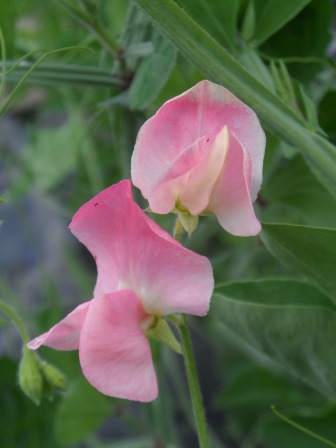
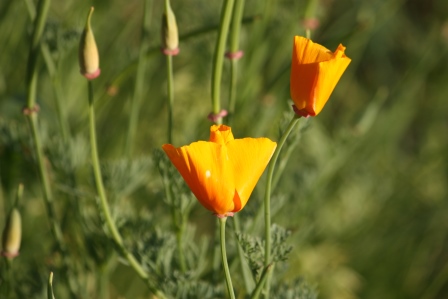
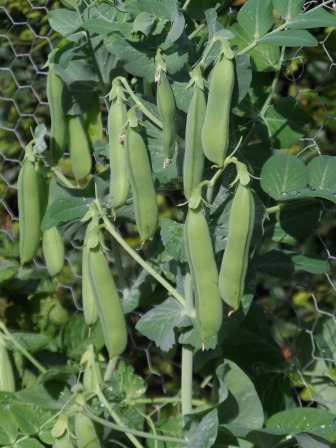
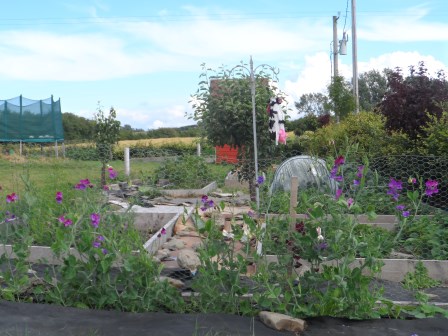
Organic Pea Karina with a sweet pea flower
Life has seriously gotten busy recently, so I do apologize for having neglected my blogging, and for not having visited your blogs as well. I am very much looking forward to sitting down and reading what all of my gardening and cooking blogger friends have been up to! When exactly that is going to happen is another story…
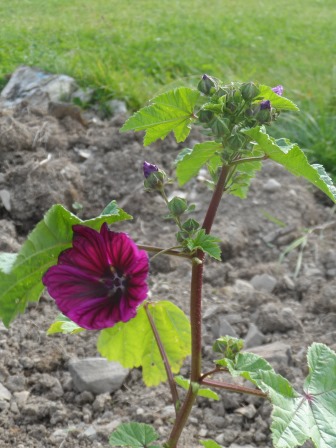
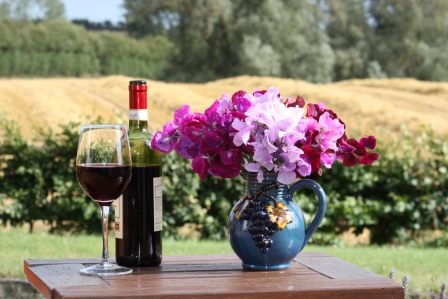
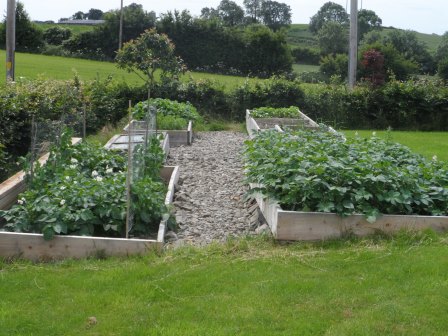
My last post was about my summertime flowers. I feel I have split loyalties, between my flowers and my vegetables. I do love having both of them, but when it comes to taking pictures the flowers are just a wee bit more glamorous. And I love taking pictures! I’ll do my best to show off my vegetables looking fab (which might just be covered in muck!).

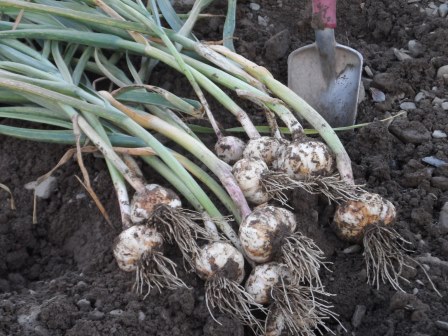
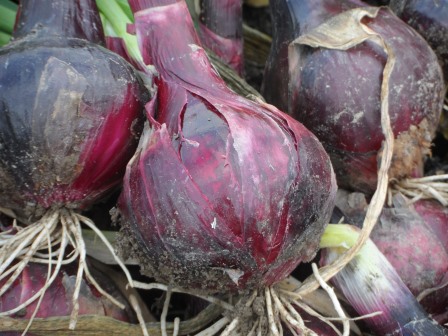
Red Robejla organic onions
My red onions did very well this season. That picture above is of them before I dug them out. They were very nearly out of the soil already.

Red Robelja organic onions
I think I will try and grow more next year. There doesn’t seem to be a lot there!
A nice size Robelja onion

Red Robejla organic onion
After the stems started to dye down, I dug them out and placed them atop of my garlic bed which had already been cleared. We were lucky enough to have some dry weather so I left them there for a week or so. They are now finishing their drying in my back room.

My onions drying out
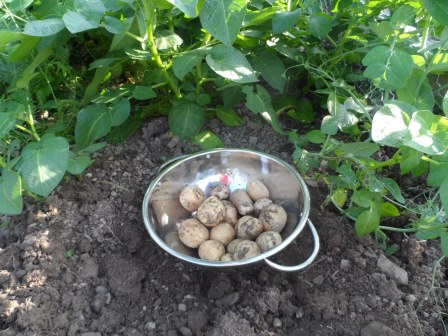
I’ll throw in a picture of my potatoes for good measure. They are not glamorous, but they did taste good! Sarpo Mira is the variety, which is blight resistant. I’ve grown them for 2 years now. I think next year I will be adventurous and try a different variety.

Peeled spuds (Sarpo Mira)
I have only one picture of my carrots and it is not pretty! They are good large, sturdy carrots ( organic yellowstone), not like the orange ones you typically see. But they taste good!

Organic Yellowstone carrots.

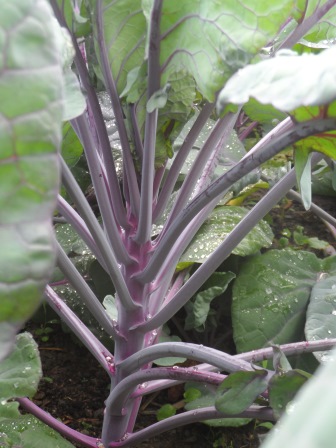
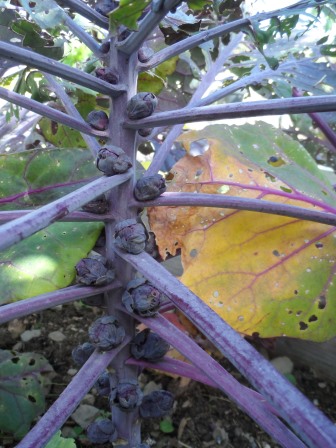
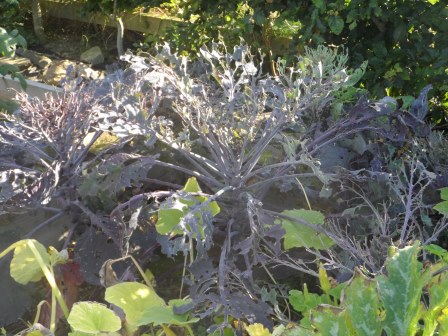
Organic Brussels Sprouts Rubine Red
Talk about winning the prize for the least glamorous vegetable! My Brussels Sprouts were completely covered with caterpillars on a regular basis. What I’m sure would be beautiful leaves if left uneaten by those critters, is simply ugly after all of that destruction.

Organic Brussels Sprouts Rubine Red
We do have sprouts! I’m really not sure if they will be worth it though. That process of picking off caterpillars is really for the birds.
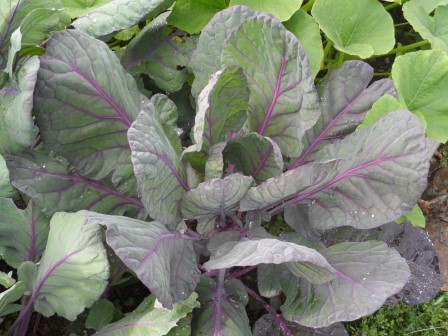
Organic Brussels Sprouts Rubine Red
Did the critters leave anything for us?
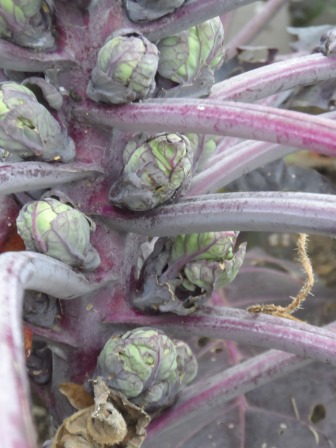
Organic Brussels Sprouts Rubine Red
Another view of the least glamorous vegetable in the garden.
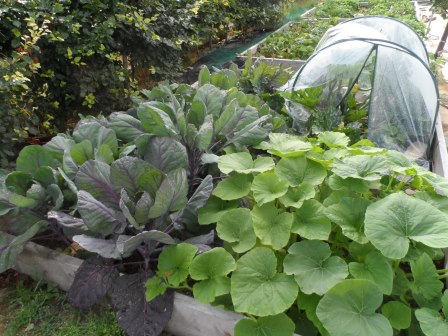
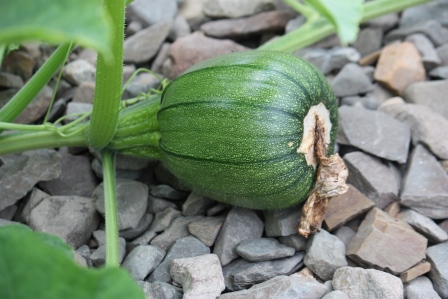
Let’s talk pumpkins! We planted pumpkins in a few different spots, but they thrived in one bed in particular. Guess I know which bed had the best soil! Pumpkins like a lot of food. Also, to get bigger pumpkins, you can cut the vine after the pumpkins are formed which will force all of the energy to go into growing the pumpkin and not on growing the vine and further pumpkins on the vine. The problem is, I really like the flowers! 🙂
 Not to worry, I did get some pumpkins and their size will do just fine for me. They are baking pumpkins, actually, so would be on the smaller size anyway. I have quite a few photos because I thought it was neat to see how the color changes. I only have a couple that are orange, but the rest are on their way.
In the beginning…
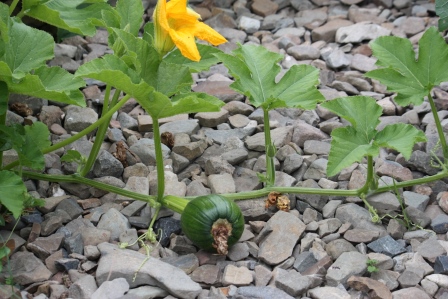
A long, long time ago…

Phew! Finally a size that is respectable! My favorite pumpkin with a nice round shape.
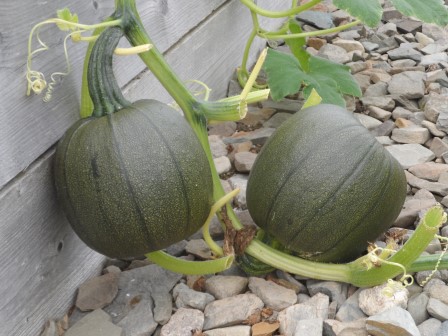
Two hangin’ together.
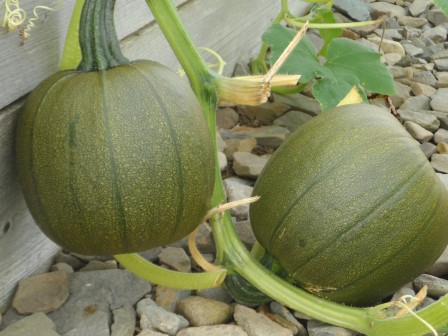
The two hangin’ and changing color!

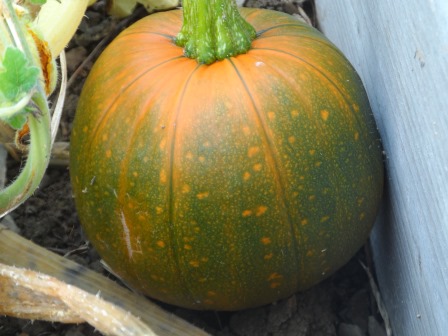
Love the speckled look.

One orange pumpkin!

This is the same orange pumpkin, but with my foot in the picture which shows you how small it is! (the pumpkin, not my foot)
Can you believe how many photos of pumpkins I’ve taken?
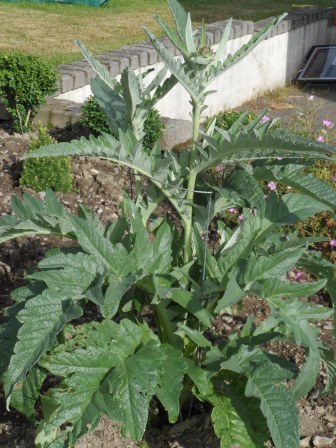
I’m moving on from pumpkins. I have a feeling you’ll be seeing more of them in my blog throughout the fall. I bought a globe artichoke plant in May and I am so glad I did. I didn’t manage to eat any of the artichokes, but the benefit of that is that they form really interesting flowers!
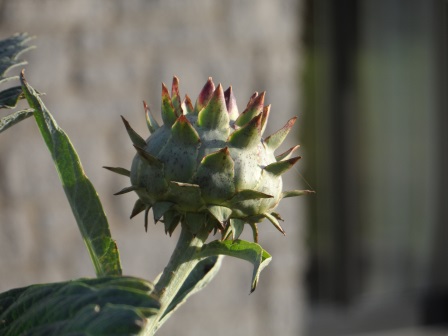
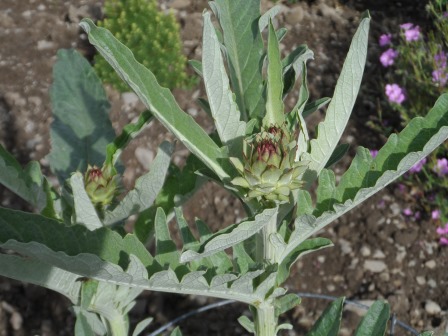
Globe artichoke Cynara Scolymus before blooming.
Oh but wait, it gets much better!
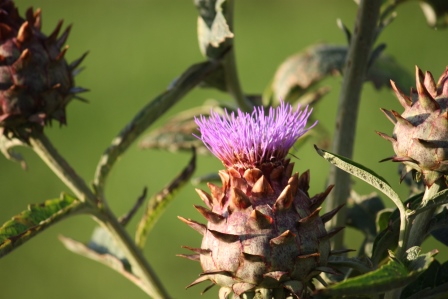
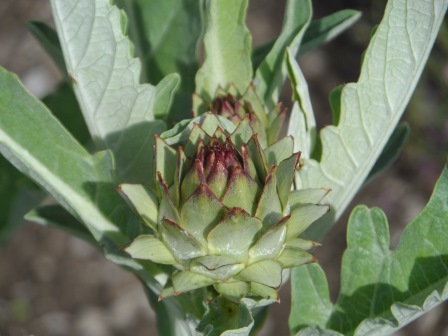
Globe artichoke Cynara Scolymus in bloom.

Globe artichoke Synara Scolymus
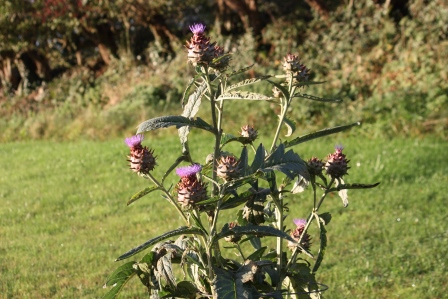
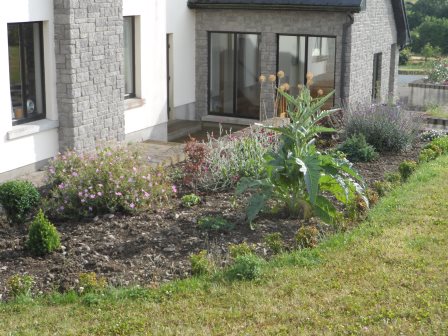
The entire plant is coming into bloom!

Globe artichoke Cynara Scolymus. Something interesting to look at!
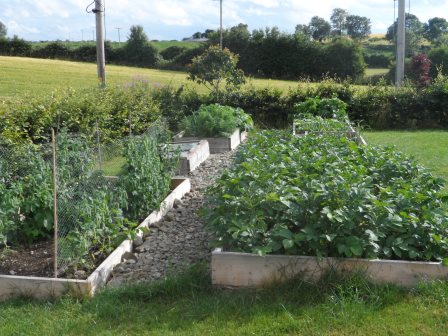
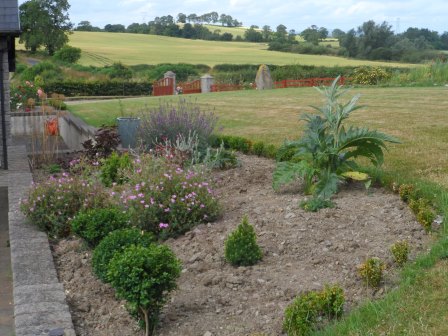
The globe artichoke plant is so different from anything else in the garden, and I love that. I must show you how that particular garden has really shaped up this past year. That will be for my next post!
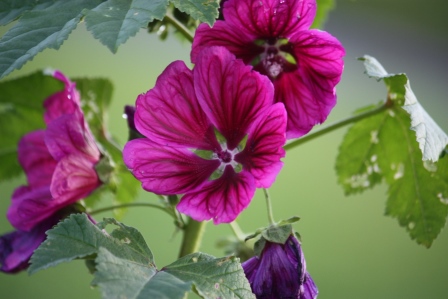
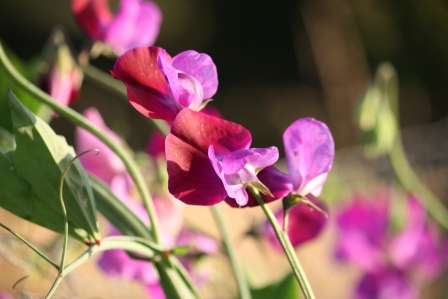
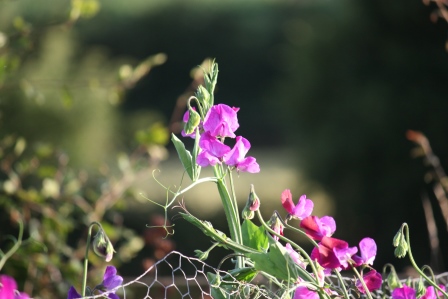
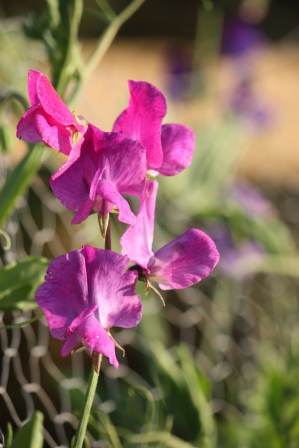
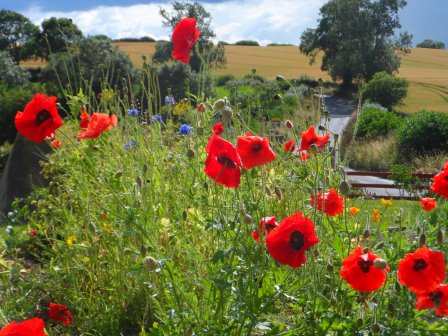
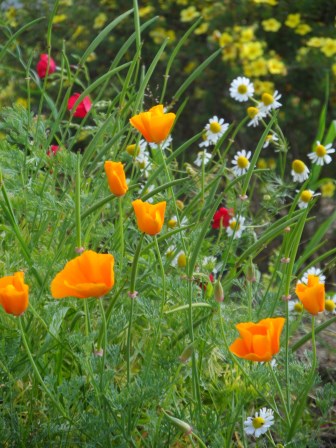
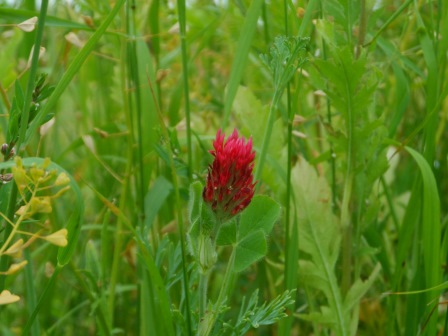
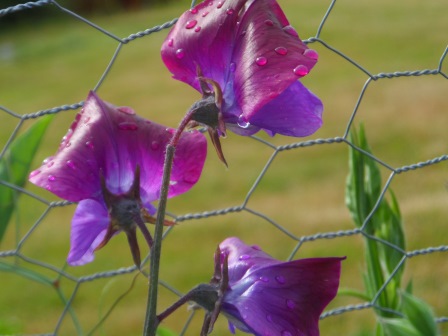
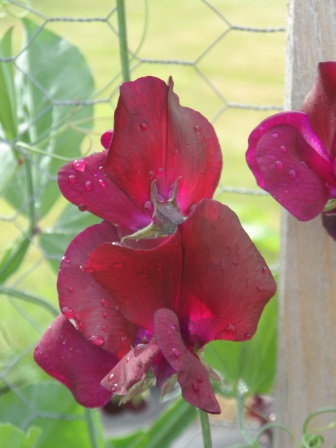
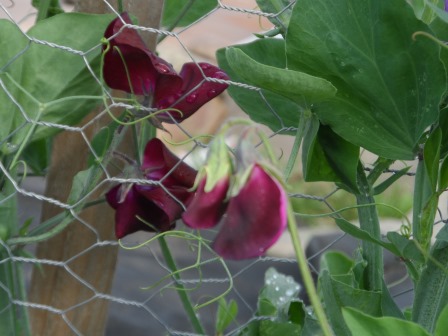
But before I go, I’ll leave you with some more flower pictures.
I hope your schedule is less hectic than mine has been!
Dana
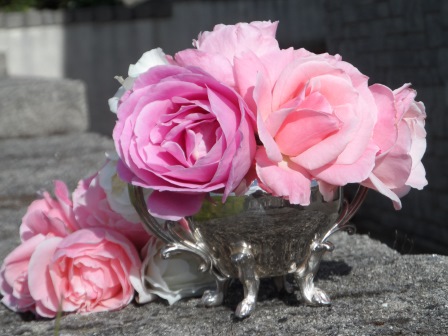
Fall roses in my silver sugar bowl. Just because.

Fall roses tumbling down!

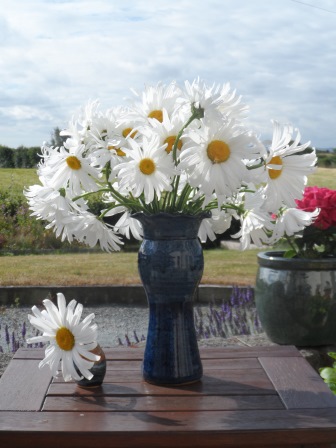
Fall flowers from the garden in my Polish Pottery vase.

Fall flowers in the evening sunlight.
Oh yes, I definitely favor flowers to veggies for pictures! 😉