Dorothy Clive Gardens Visitor’s map
Two of my children are Irish dancers, and for the past year they have been working really hard towards the goal of dancing at the World Championships in London. Those championships were last week and dance they did! It was a wonderful experience for all of us, and their teams danced really well (spectacular, really!). I know I mentioned it before, but proud mama moment here: My sons’ team is 1st in the World for under 16 mixed ceili, and my daughter’s team is 3rd in the world for the Under 11 mixed ceili!
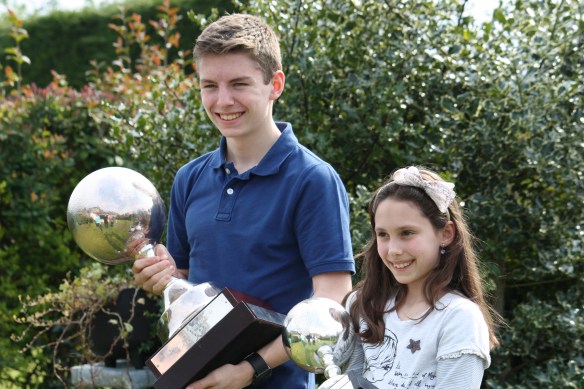
My son & daughter holding their Irish dancing teams’ globe trophies! 1st & 3rd place
As part of our “going to London” family vacation experience we took time to drive through some beautiful English countryside. It was so lovely! It really is a simply enjoyable experience seeing the different style country houses and gardens. The brick houses are so pretty, and just that bit different than what we would see in the Irish countryside. Our first day we stayed at Slater’s Country Inn in Newcastle, Staffordshire which was lovely and cozy http://www.slaterscountryinn.co.uk/ and fit the bill perfectly for us. The restaurant provided delicious traditional English food with a personal touch. Best of all, it was just up the road from the Dorothy Clive Gardens which is where we were heading the next day.

Slater’s Country Inn in Newcastle, Staffordshire, England
I was very lucky. The weather was mild and sunny. I’m not sure how amiable my kids would have been if we’d brought them to gardens in the rain! But given the day that was in it, they happily enjoyed going around the garden (and playing a bit of chase). There were some visitors there who I’m sure would have preferred them to walk quietly. But sometimes you just have to give a little.

Pond at entrance to the gardens
The gardens! Dorothy Clive Gardens are in Staffordshire ( http://dorothyclivegarden.co.uk/ ) . The entrance fee was 6 pounds 75 cents per adult and 2 pounds per child which I found to be a reasonable price. There are 12 acres of gardens to roam through. I loved so much about it! For starters, I like the rustic fencing and beech hedges of the entrance.

Entrance into the gardens

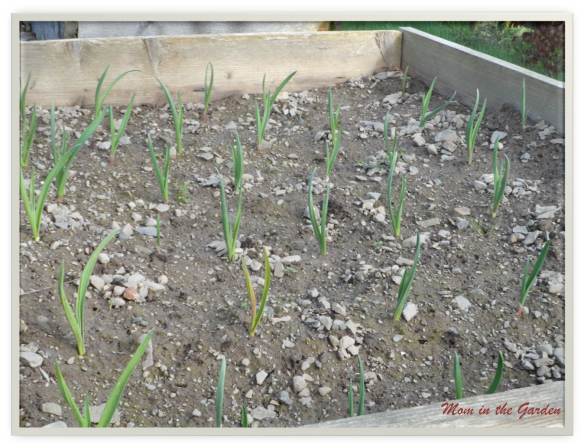
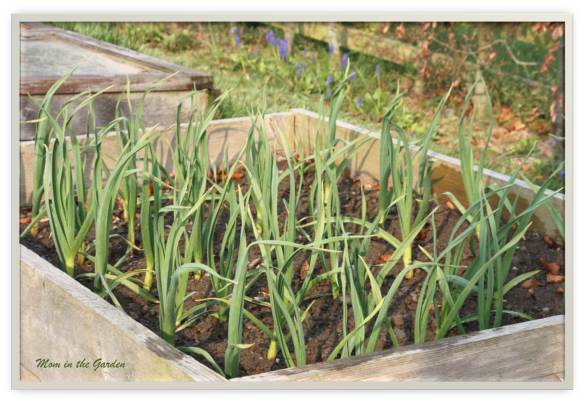
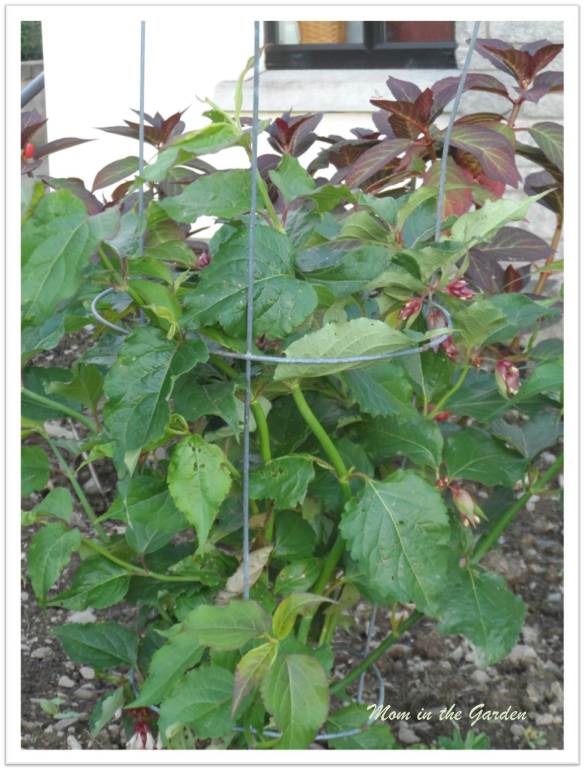
Plant supports
Here are some natural and rustic looking plant supports. I like how this blends in with the garden. This actually is in the formal part of the gardens. One section is now hosting tulips and hyacinth.

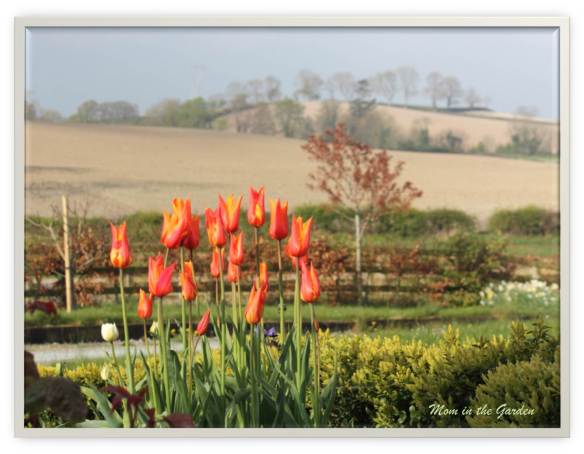
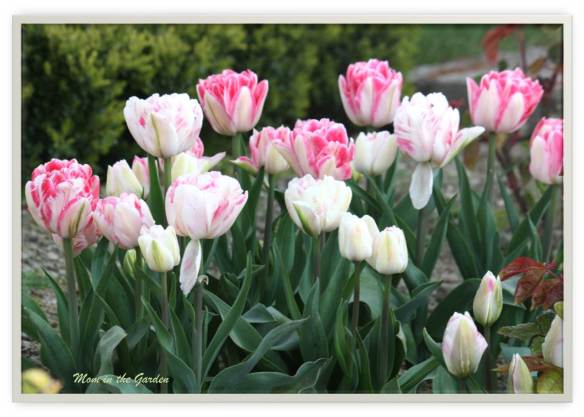
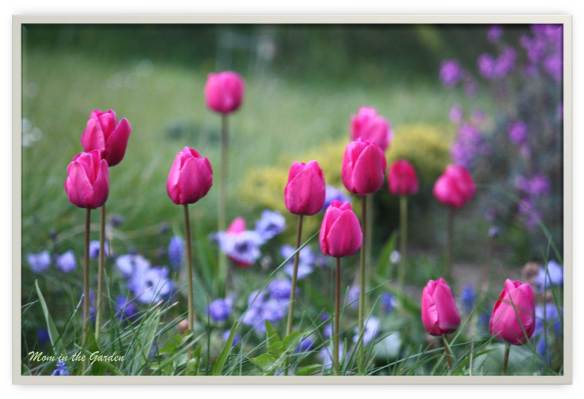
Tulip walkway

Tulip garden
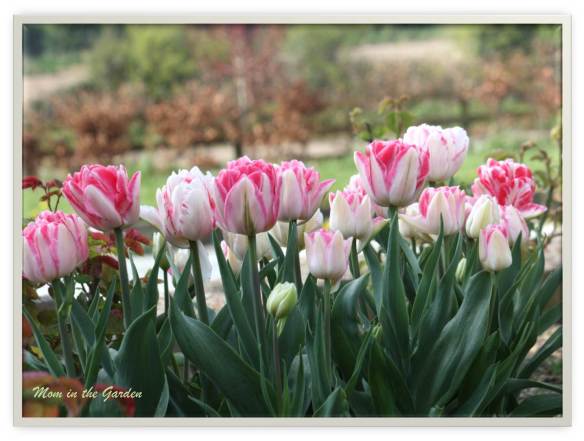
The tulips were spectacular! They definitely made me want to plant MANY more tulips in my garden!

Tulip garden
I’m getting ahead of myself here! Before we even reached the tulips, as we were walking up the hill, we could smell the sweet smell of hyacinth. They lined both sides of the walkway and were lovely to see.
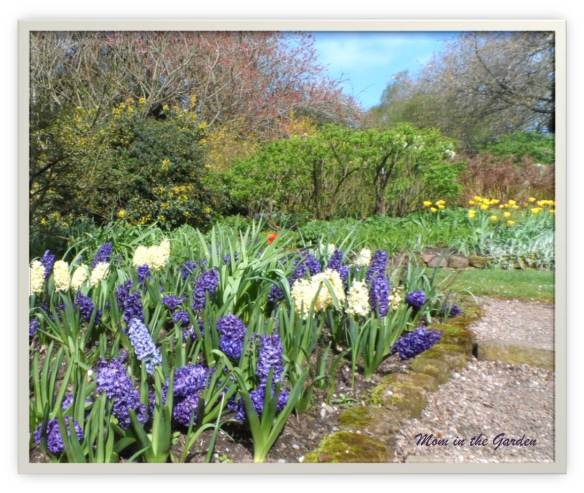
Hyacinth

More of the formal gardens
There were a few benches that the pathways lead to. Here is one that I really liked:
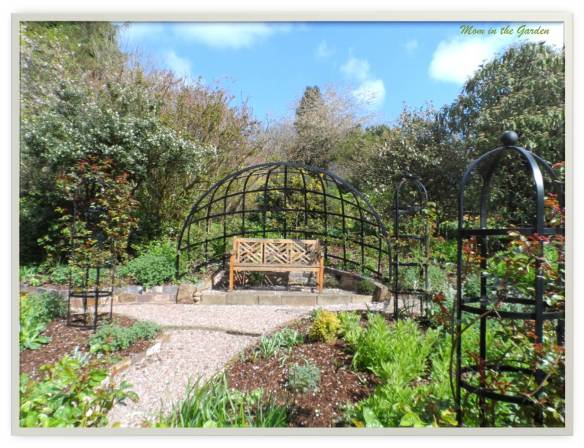
Pathway to a rest-stop! Imagine the plants that will shade that bench! The matching obelisk are lovely, too.
Another part of the formal garden included a beautiful Laburnum arch. It is at it’s best (in bloom) for about two weeks at the end of May. I thought it looked quite pretty even now. Those allium are going to be fabulous when they bloom all around the arch!
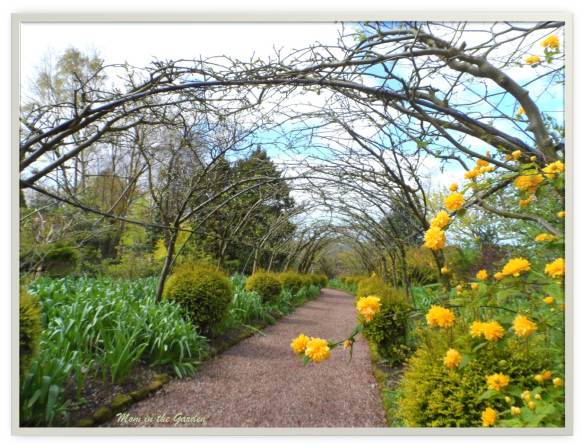
Dorothy Clive Gardens (Laburnum Arch)
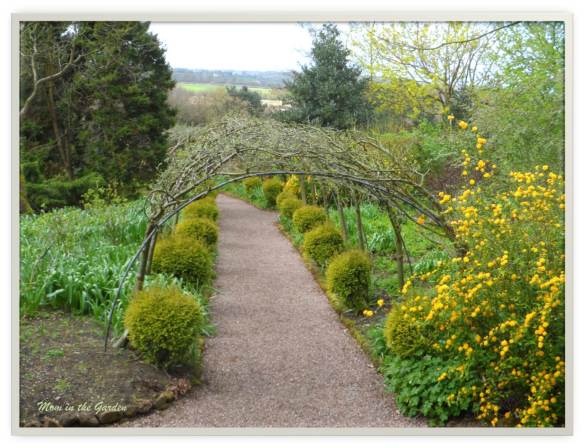
Archway
Leaving the perfectly manicured section of the garden, we entered the woodlands. Such a completely different feel to the garden, very relaxed and “messy” yet so beautiful in a completely different way.
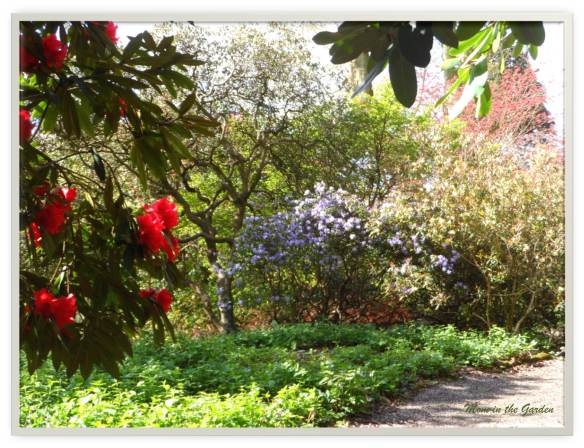
Walking among the rhododendron
I had a harder time capturing the overall feel to the woodlands, than of individual flowers. But take my word for it, please, that it was beautiful!

Red rhododendron

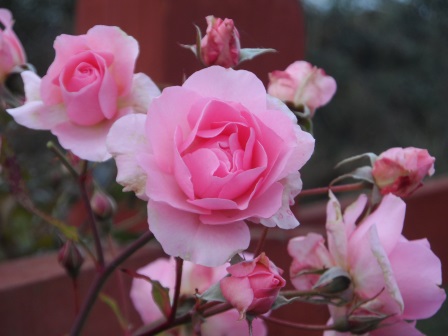
Pink rhododendron
Rhododendron and azalea are growing throughout the entire garden! Yeah, so I tried to get a shot of every color… I hope this isn’t too much rhododendron for you!
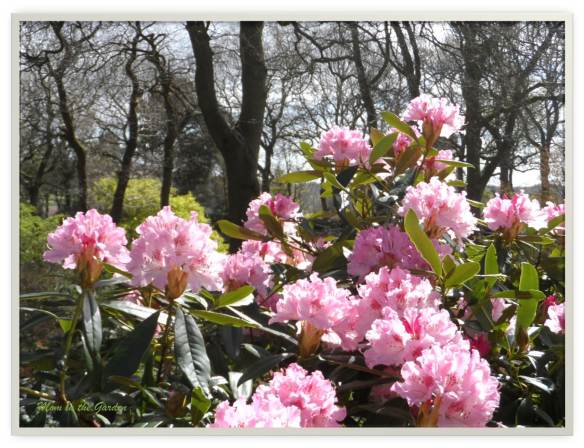
Light pink rhododendron

pink stripe rhododendron

A bench to sit and enjoy the view

White rhododendron

Woodlands walk
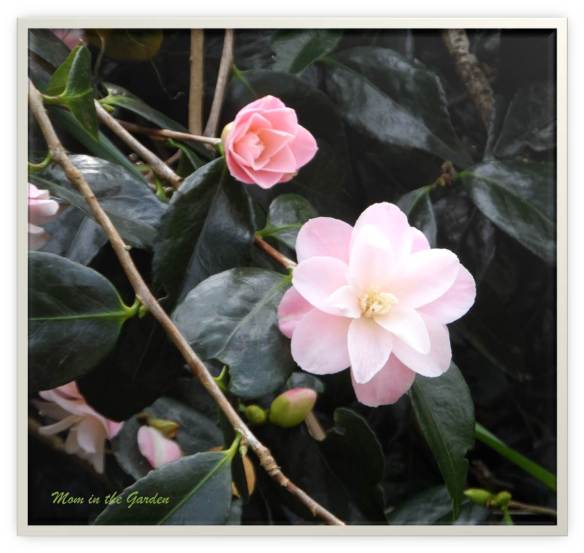
Rhododendron weren’t the only plants, though. There were lots of camellia – more than 50 varieties. This is down from the 125 varieties which were planted during the 1970’s! Harsh weather has brought the number down to what it is today. They were still beautiful even as they near the end of their blooming season.

My favorite Camellia (we called it the star camellia)

Camellias
Light pink camellia

pink camellia
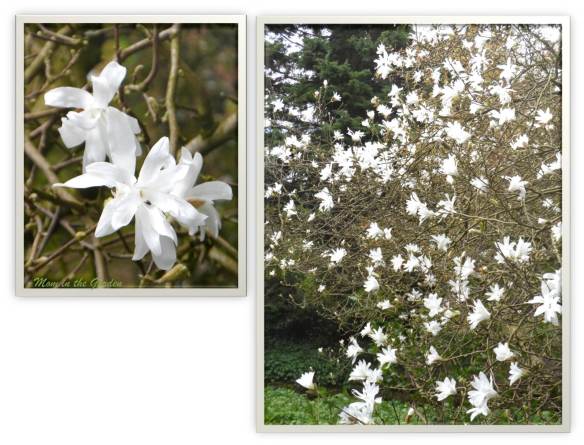
Magnolia
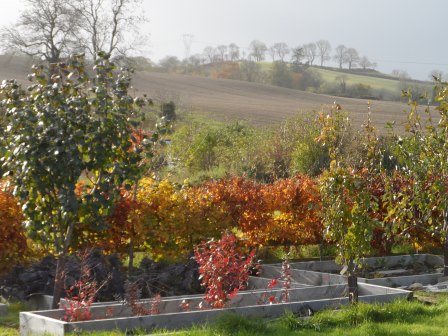
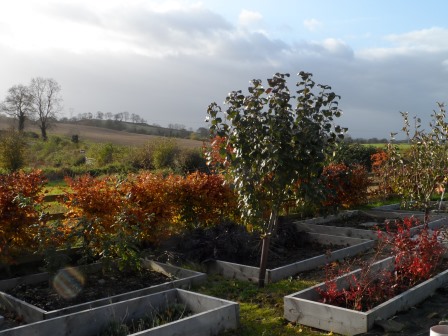
There were plenty of paths to choose from. We wandered for quite a while. If you keep going up, these are the views you’ll see:

View from the very top of the gardens

View from the very top of the gardens
We really did enjoy our time in the gardens. After making our way down the hill, we came upon the more kid focused section. They had an amazing Insect Hotel!
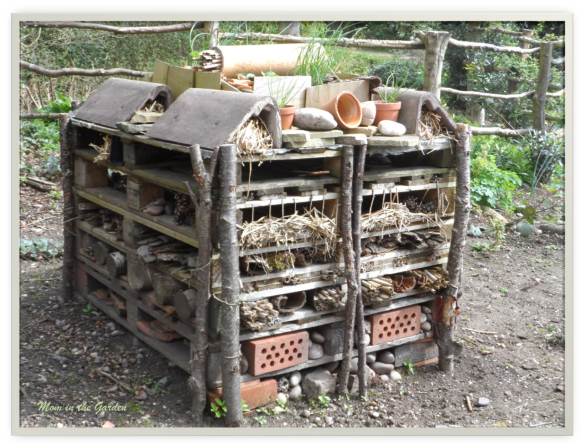
Insect Hotel
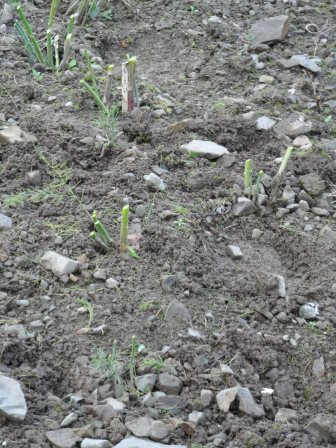
The kids were enticed to try some of the edible garden!

Edible garden
There was a small cafe & gift shop (of course!) too. I was so glad we had visited this garden. It was a lovely day out for our family.
I hope you have enjoyed my garden tour, too!
Dana

grape hyacinth