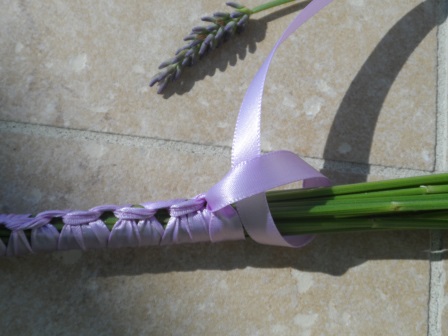
Leaning on our garden bench
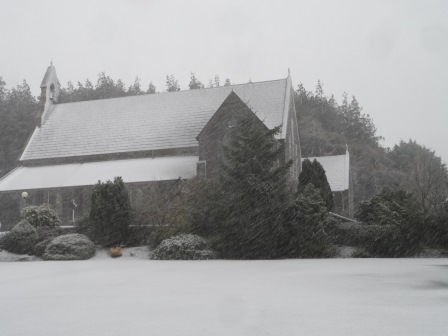
Our organic Vallelado garlic was a huge success this year. We harvested it more than a few weeks ago and I have been airing it as much as possible. Our weather hasn’t been perfect. The norm for Ireland is to have some sun, some rain, some wind, and back to sun again… every day! So it was precarious setting out the garlic and making sure it didn’t get rained on, etc.
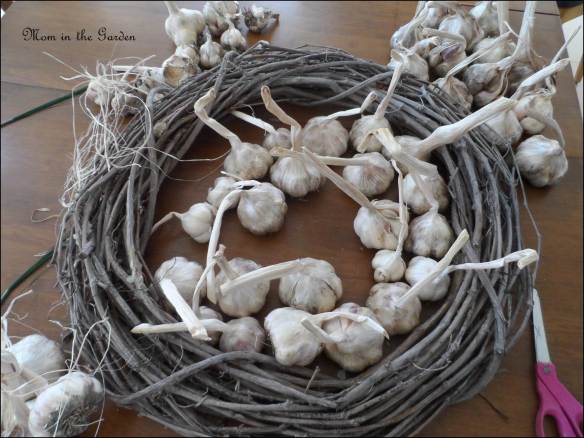
loads of organic garlic
Today I decided I wanted to hang some of the garlic in the kitchen. There are quite a few things I need to get organized this week, and for me the garlic was at the top of the list. (truth be told, I love creating, but I am not really looking forward to the other organizing items on the list…)

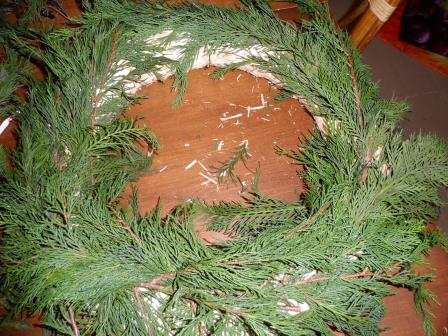
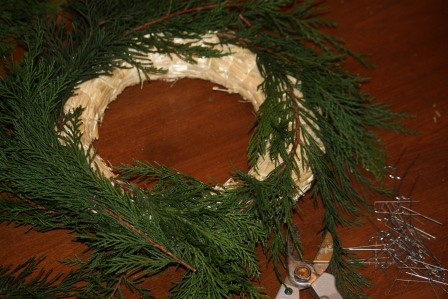
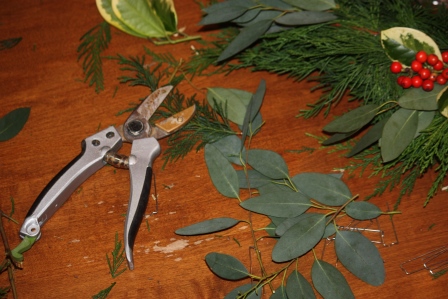
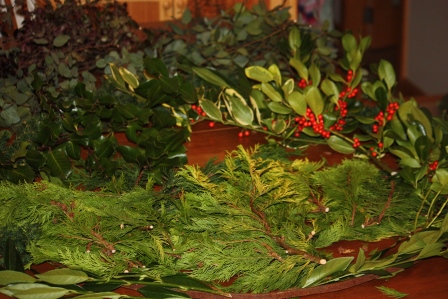
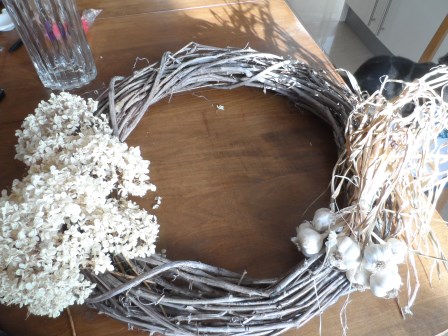
What to add to the wreath…
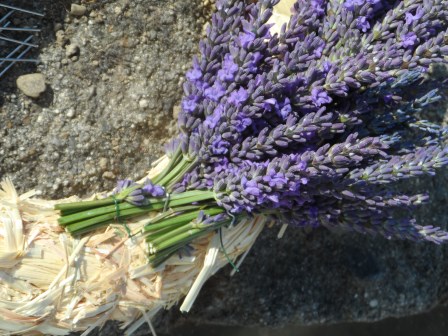
Hang it in the kitchen… I had one wreath left so I didn’t have any choices to make there. I also want to be able to use the garlic, so it is attached with raffia and green florist wire, instead of with a glue-gun which might have been a bit easier and faster!

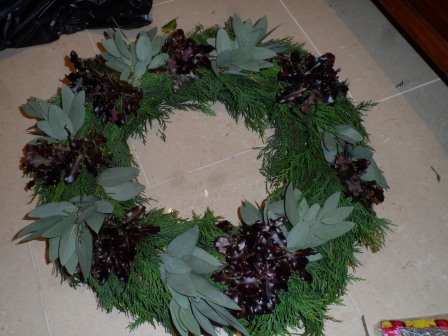
Adding the artichokes

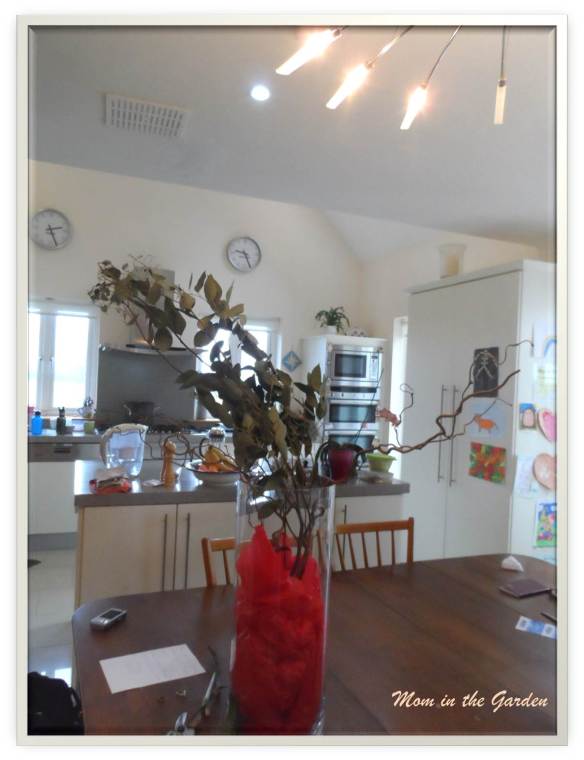
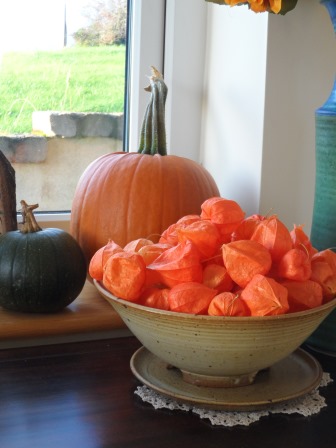
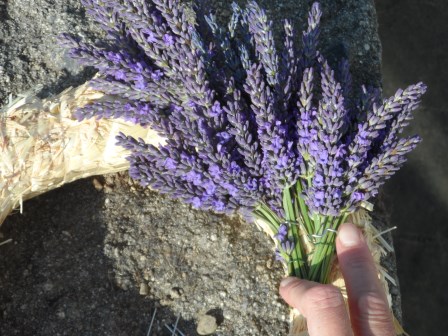
You might remember this picture from a couple of weeks ago
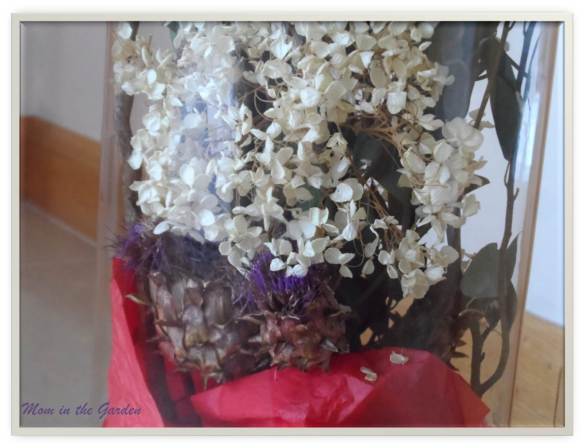
For those who know me, you know that I am all about reusing and recycling. I also like to grow things in the garden that I can use in arrangements or/and dry. The artichokes are still in the drying process, but their purple plume seems to be holding. They have been in the kitchen for the past couple of weeks (not in water) and have looked really well. I’ll miss them in the vase, but I like them on the wall, too!

tied garlic

Artichokes up close
It all came together fairly quickly, and easily. This was “play time” for me, so I really had to get it done quickly!

Garlic with dried roses and artichokes from the garden
I’ve been hanging roses every now and then this summer. I have a clip-on drying rack (schools use them to hang art work to dry, I usually use mine to hang socks to dry). I’ve been clipping the roses upside down and then totally forgetting about them. The roses are quite fragrant, so the room smells lovely now too.

Artichoke and garlic up close
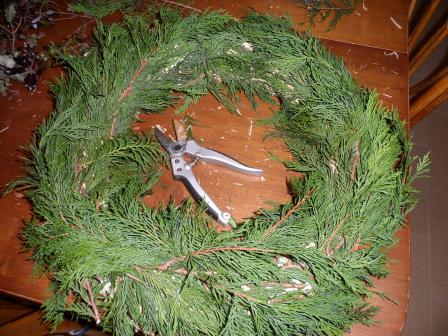
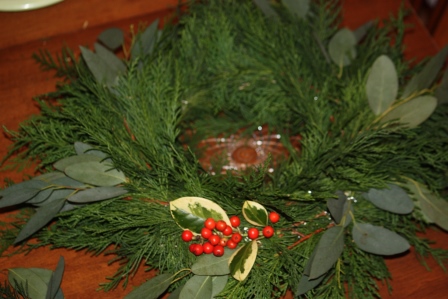
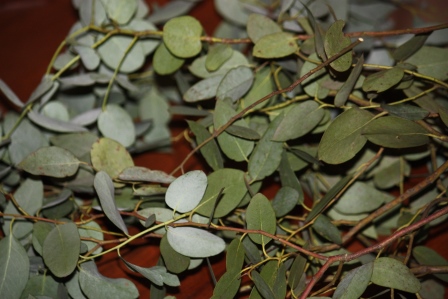
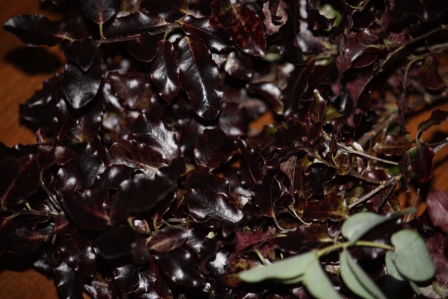
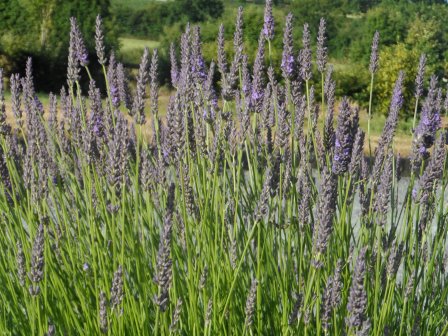
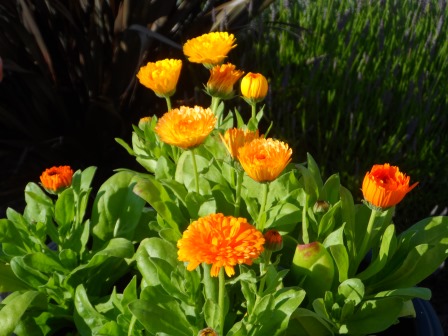
I’m still not sure what the greens are. They are not dry. I just cut them this morning. But I used them because I know they will dry easily on the wreath. The plant seems to be quite happy with me for “pruning” it! It is now full of purple flowers.

Garlic Wreath with artichokes and roses
I tried hanging the wreath where I normally take my wreath pictures. But it was too big! So I have it resting on a table. The lighting inside just doesn’t do it justice. I like this time of year when the fields are full of bales, especially when it is sunny out!

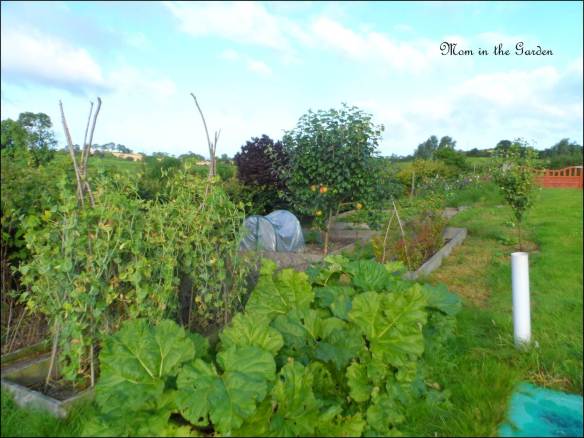
Harvest time

Harvest time view from my back door
Such an easy thing to do, making a garlic wreath. What will you make today?
Now, to get the rest of my things organized!
Thanks for stopping by 🙂
Dana
P.S. If you’d like to read more about growing garlic, please click here: https://mominthegarden.wordpress.com/2014/08/12/organic-garlic-sitting-pretty-in-a-hand-carved-wooden-bowl/