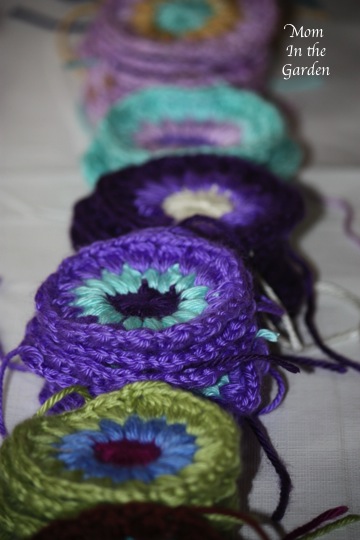
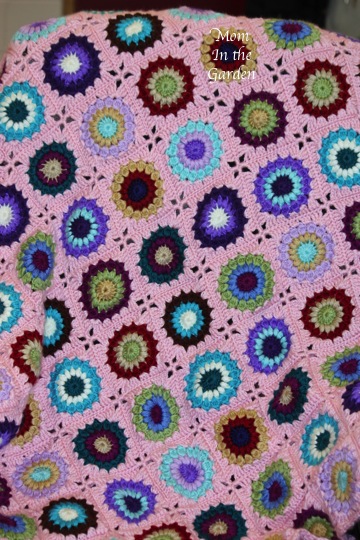
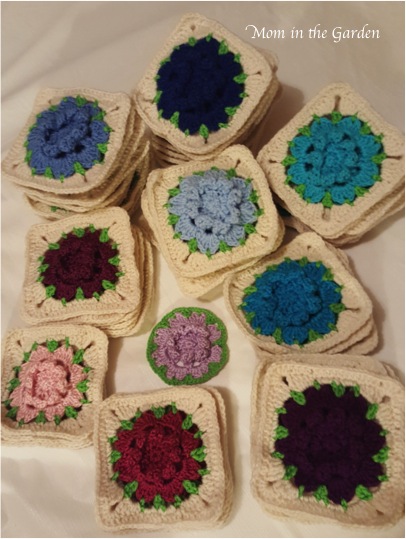
first we start with some flowers…
Happy New Year! Well, almost Happy New Year. My forte has never been to have perfectly timed posts, something that perhaps I should work on. Thankfully, this isn’t earth shattering stuff, and a light hearted post about a crocheted blanket can really be a “perfect” read any time at all.
The caption under the first photo above (“first we start with some flowers…”) is in fact, incorrect. The first photo and caption should be of Pinterest.com. THAT is where it all begins. Lots of time scrolling through endless photos, searching for that one look that not only captures my attention, but seems reasonable enough for me to attempt to make it.
Not surprising to myself, my finished product looks nothing like the blanket for which it is based on (pin above). I have a knack for that… I also had to make small adjustments due to the fact that my yarn was heavier than what she used. But I must give credit to the very talented woman who made this pattern, and who’s blanket is simply beautiful. Here is the link to where I found it:
http://atime4allseasons.blogspot.ie/2015/04/rebekahs-flower-afghan.html?spref=pi
I like to learn something new with all of my projects. With this one I learned a few things. First I learned about not mixing different brands of yarn. Yeah, I know, I’m sure everyone knows that already. But due to lack of ‘stash’, and the colors I wanted to use, some of my flowers are made of Caron Simply Soft yarn, while the majority of the blanket is made of Redheart Supersaver yarn. I think to the untrained eye, this isn’t a problem. But to anyone who works with yarn it is blaringly obvious. I also learned that it is most ideal to have all of your yarn purchased before you begin a project AND that you actually know what the project is going to look like when finished (again, before you begin).

starting out small at my desk
I’ve discovered that my creativity is unpredictable and rather unreliable. I couldn’t visualize the blanket at the start, so I just had to go with it and see where it brought me (not a great strategy for planning ahead!).

still early days
This project evolved from a small throw to a rather large throw. The colors also changed as I went along. It really was crazy, because I didn’t know what pattern of colors I was aiming for: rows of colors, random colors, diagonal colors. I’m not sure how to describe the pattern I chose in the end: an arrow? It fit the bill as something different…
two new colors were added two months into the project!
I started the blanket in October. I have a day-job, so I worked on the blanket every spare moment. My family really helped out too, pinch-hitting for me by doing all of my typical house-jobs. It took three months, and everyone was happy when I finished it!
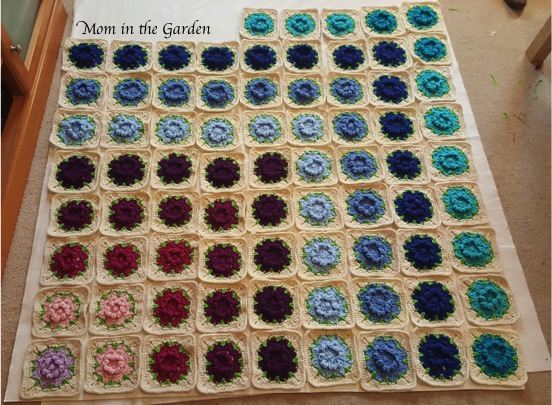
taking over the family room on a white table cover

working on the border while in the car
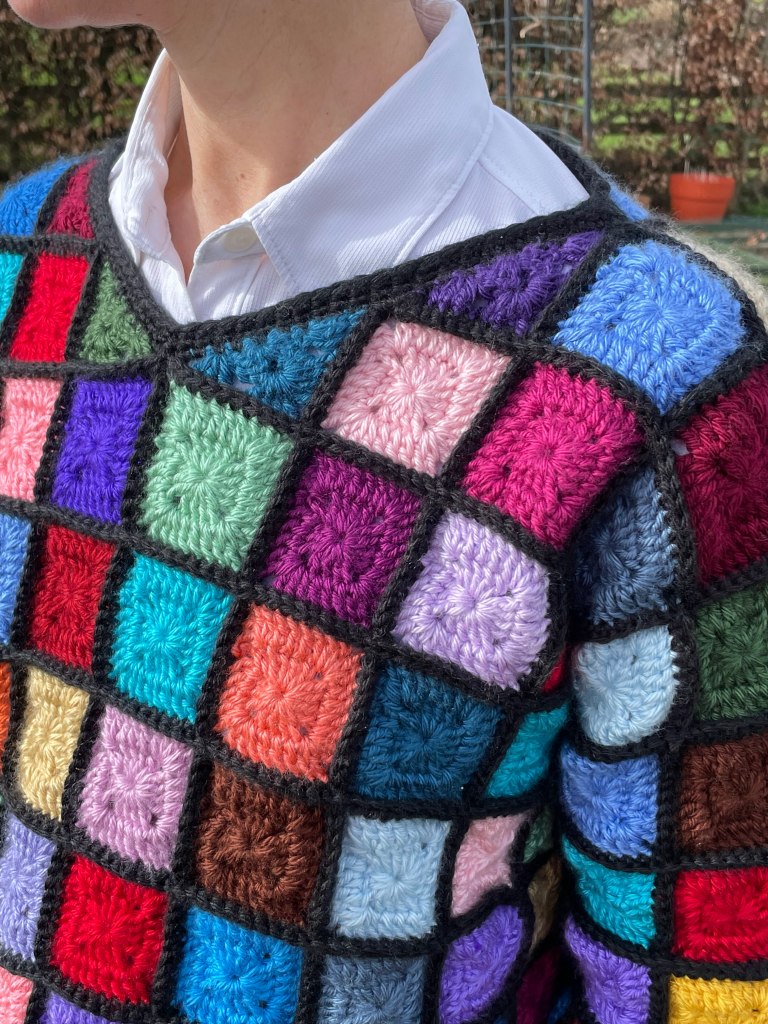
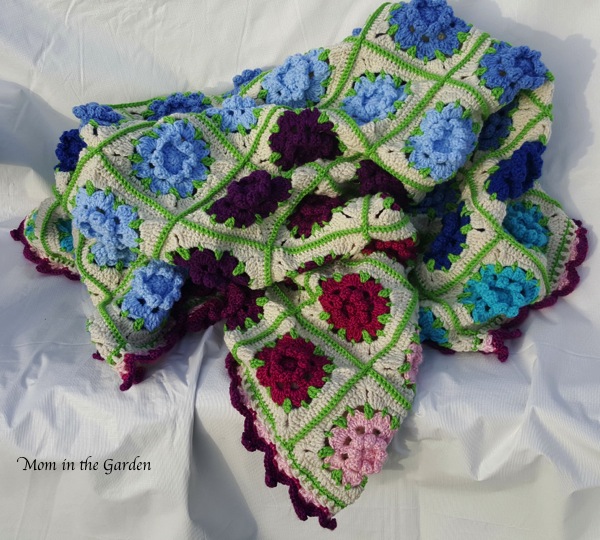
I love flowers. All of the different colors of flowers in the blanket reminded me of our visit to Monet’s garden. The green within the squares are like leaves (in my head!), and I decided to join them with green to brighten it up, versus joining with cream which would have been a more conservative option. {Thanks goes to my daughter for helping with that decision.}

only joined together horizontally
It was absolutely a labor of love. I so enjoyed making it and it was being made for a very special someone. She is someone who is always doing for others, and yet is somehow in the background and never seeking attention. It really is the little things that people do which make them so appreciated and loved.

almost there … and a view of my laundry drying outside and on the other side of the blanket is my very messy compost heap 🙂

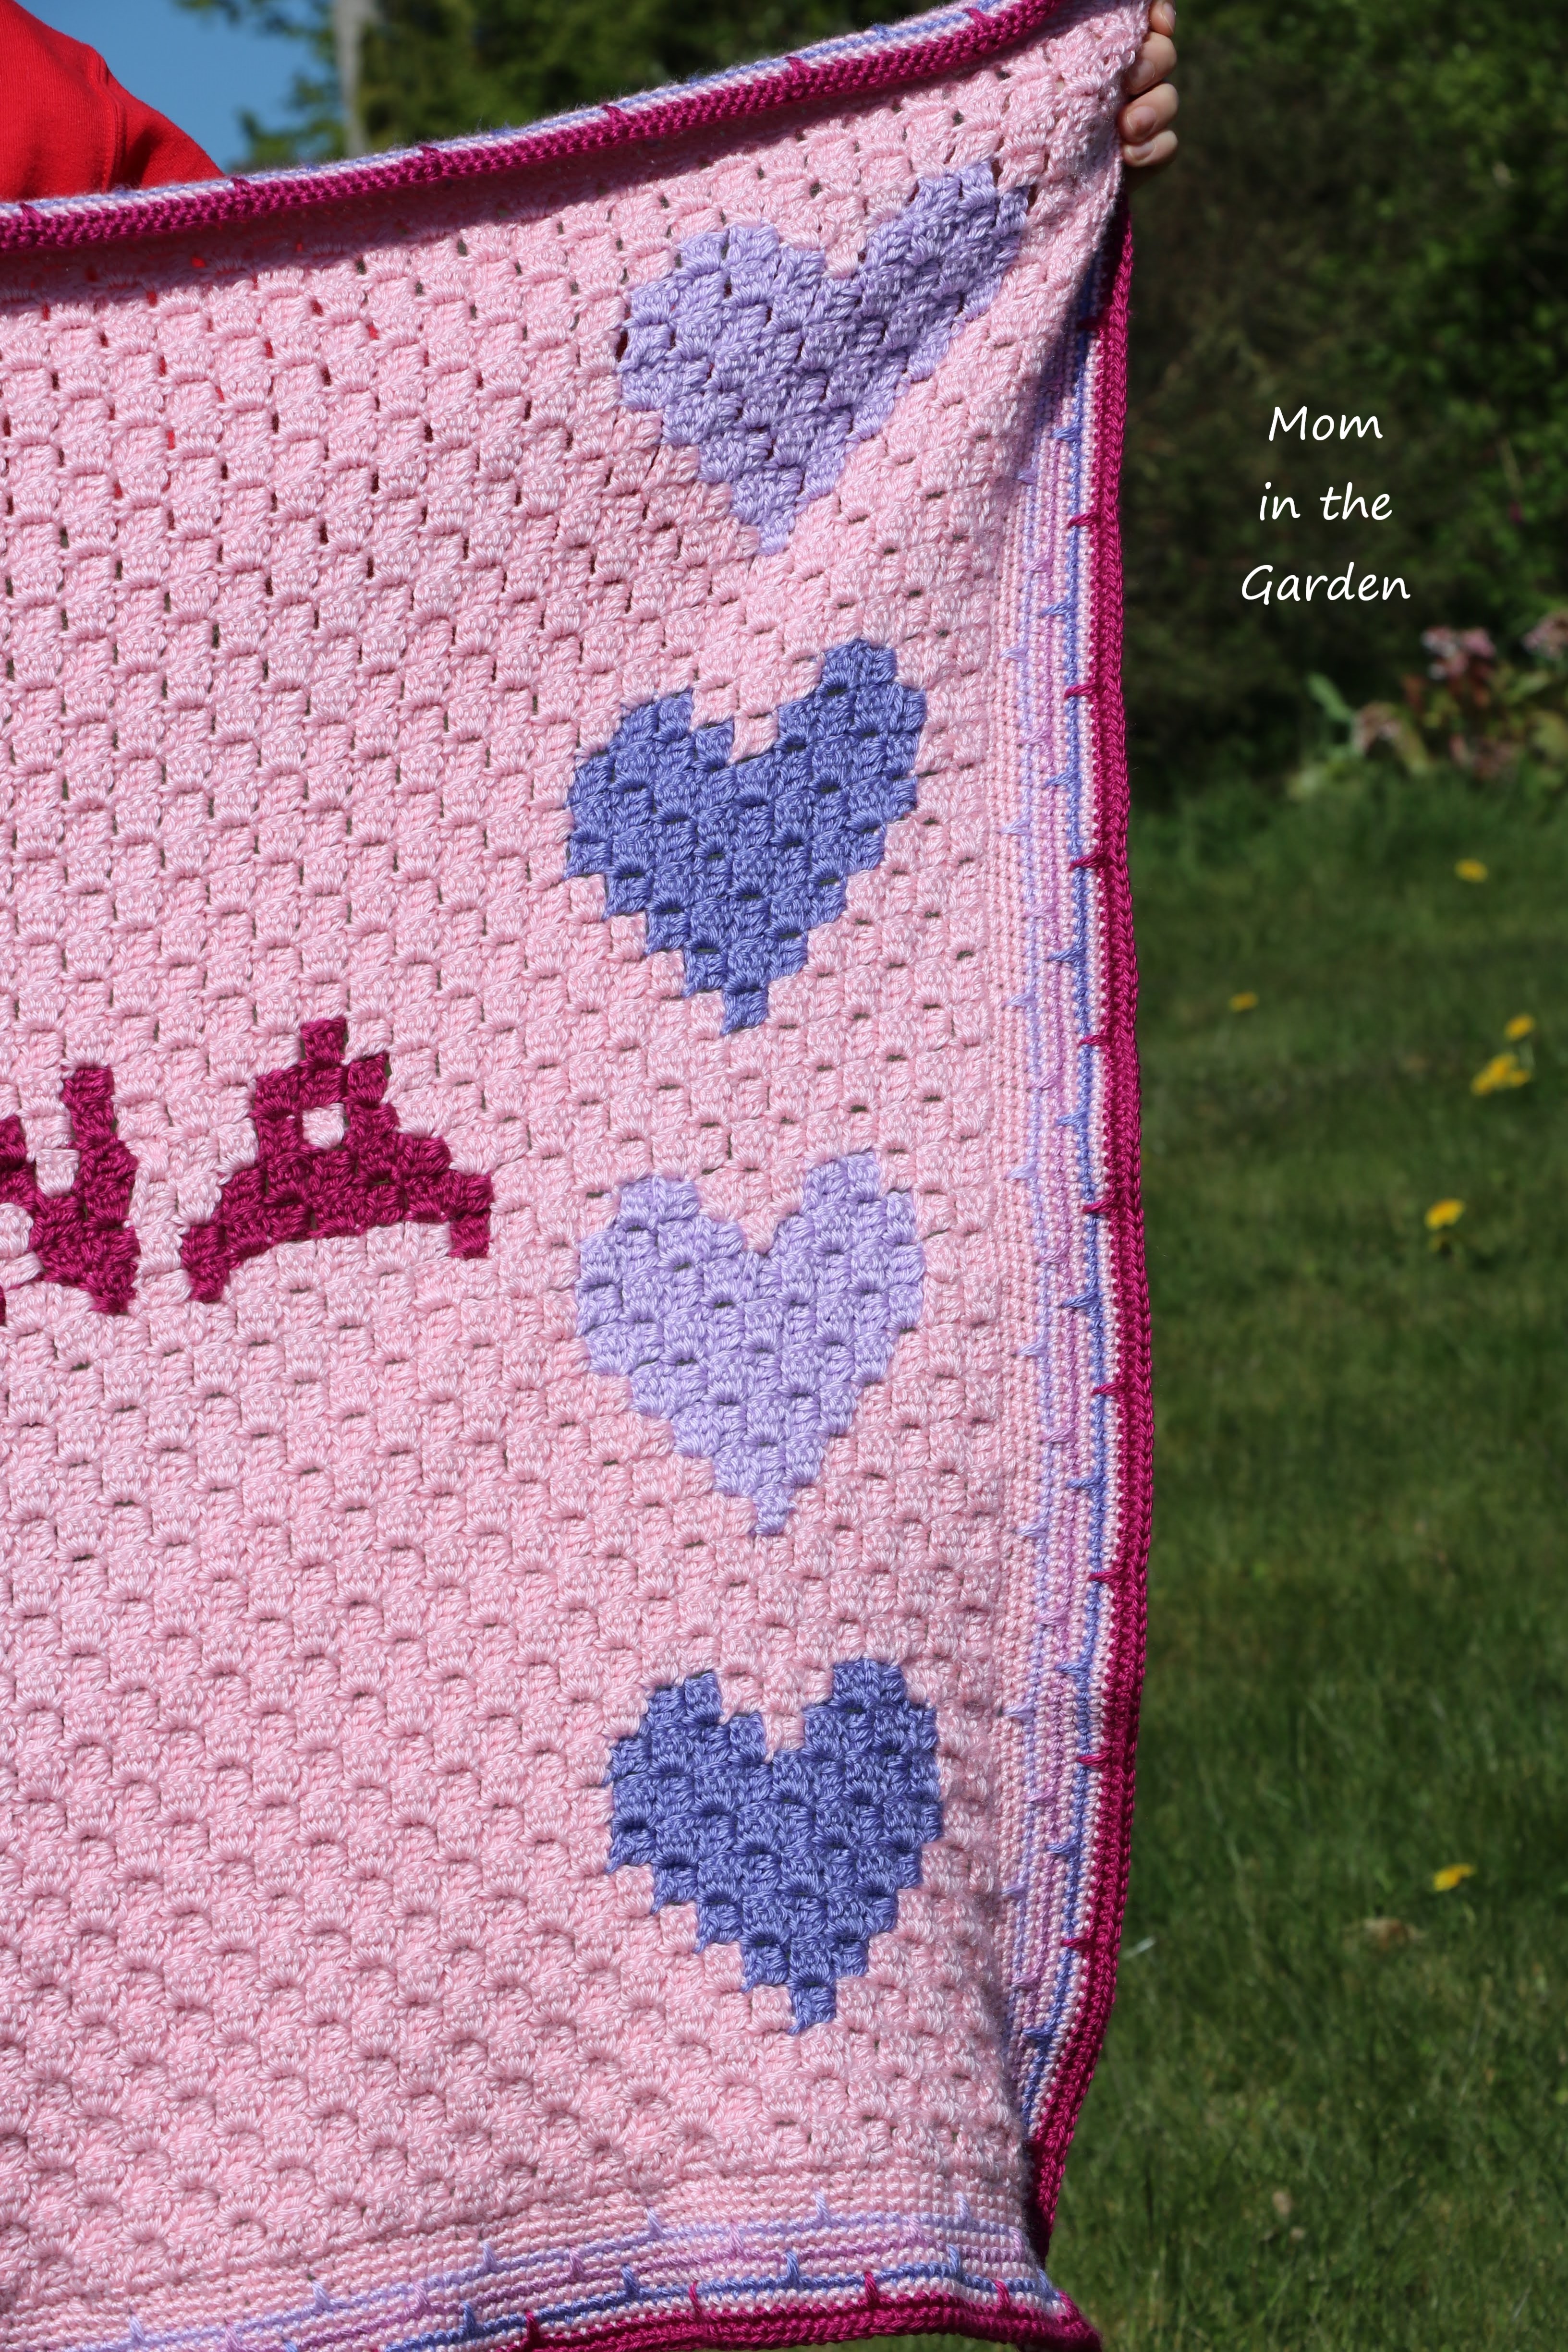
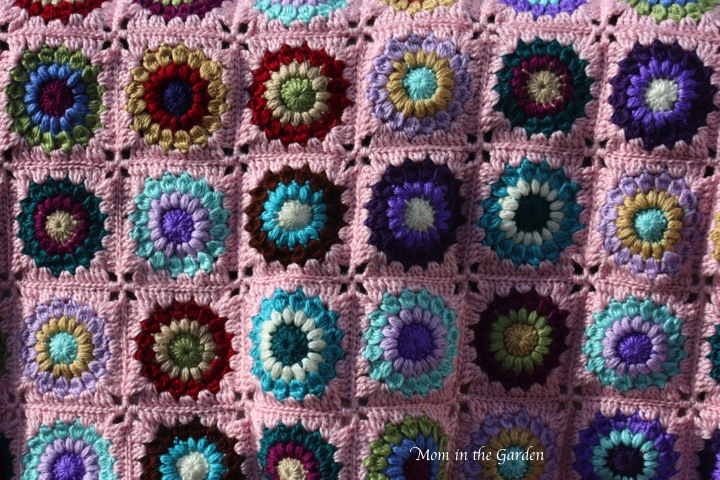
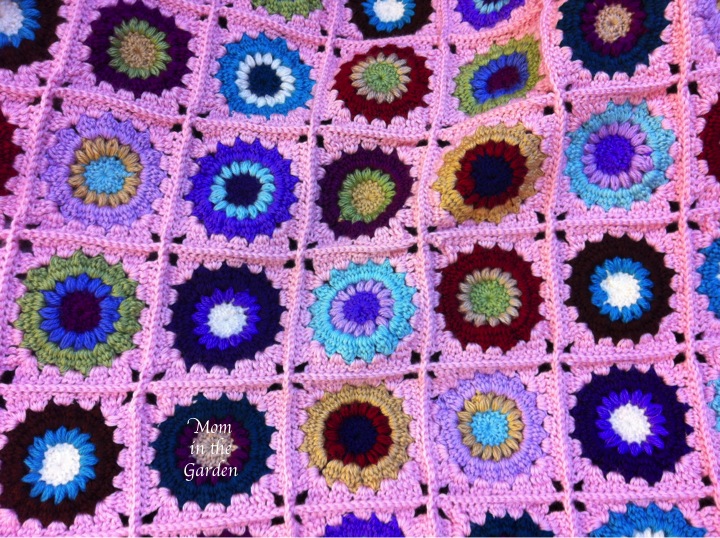
a close-up before the border is completely finished (graciously being held up by my daughter)

the pinks
I enjoyed making the border, too. The entire blanket is lined in green. I think if I were to be critical, I would say that I should have made a more substantial cream border before moving on to the pinks. Time was not on my side at this stage (it was a Christmas gift), and my hands were in a permanent cramped state, so I really couldn’t undo it once I’d moved on.

the final border, which apart from the lack of cream color, turned out quite nice
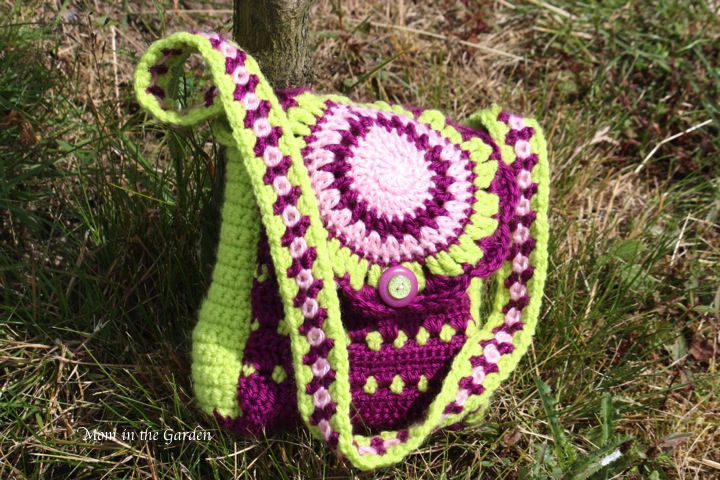
I went back to a blanket I made a couple of years ago for the final round with the trefoil motif:
while I copied this lovely pin for the first three rows of the border:
See, you can get lots of great ideas from Pinterest!

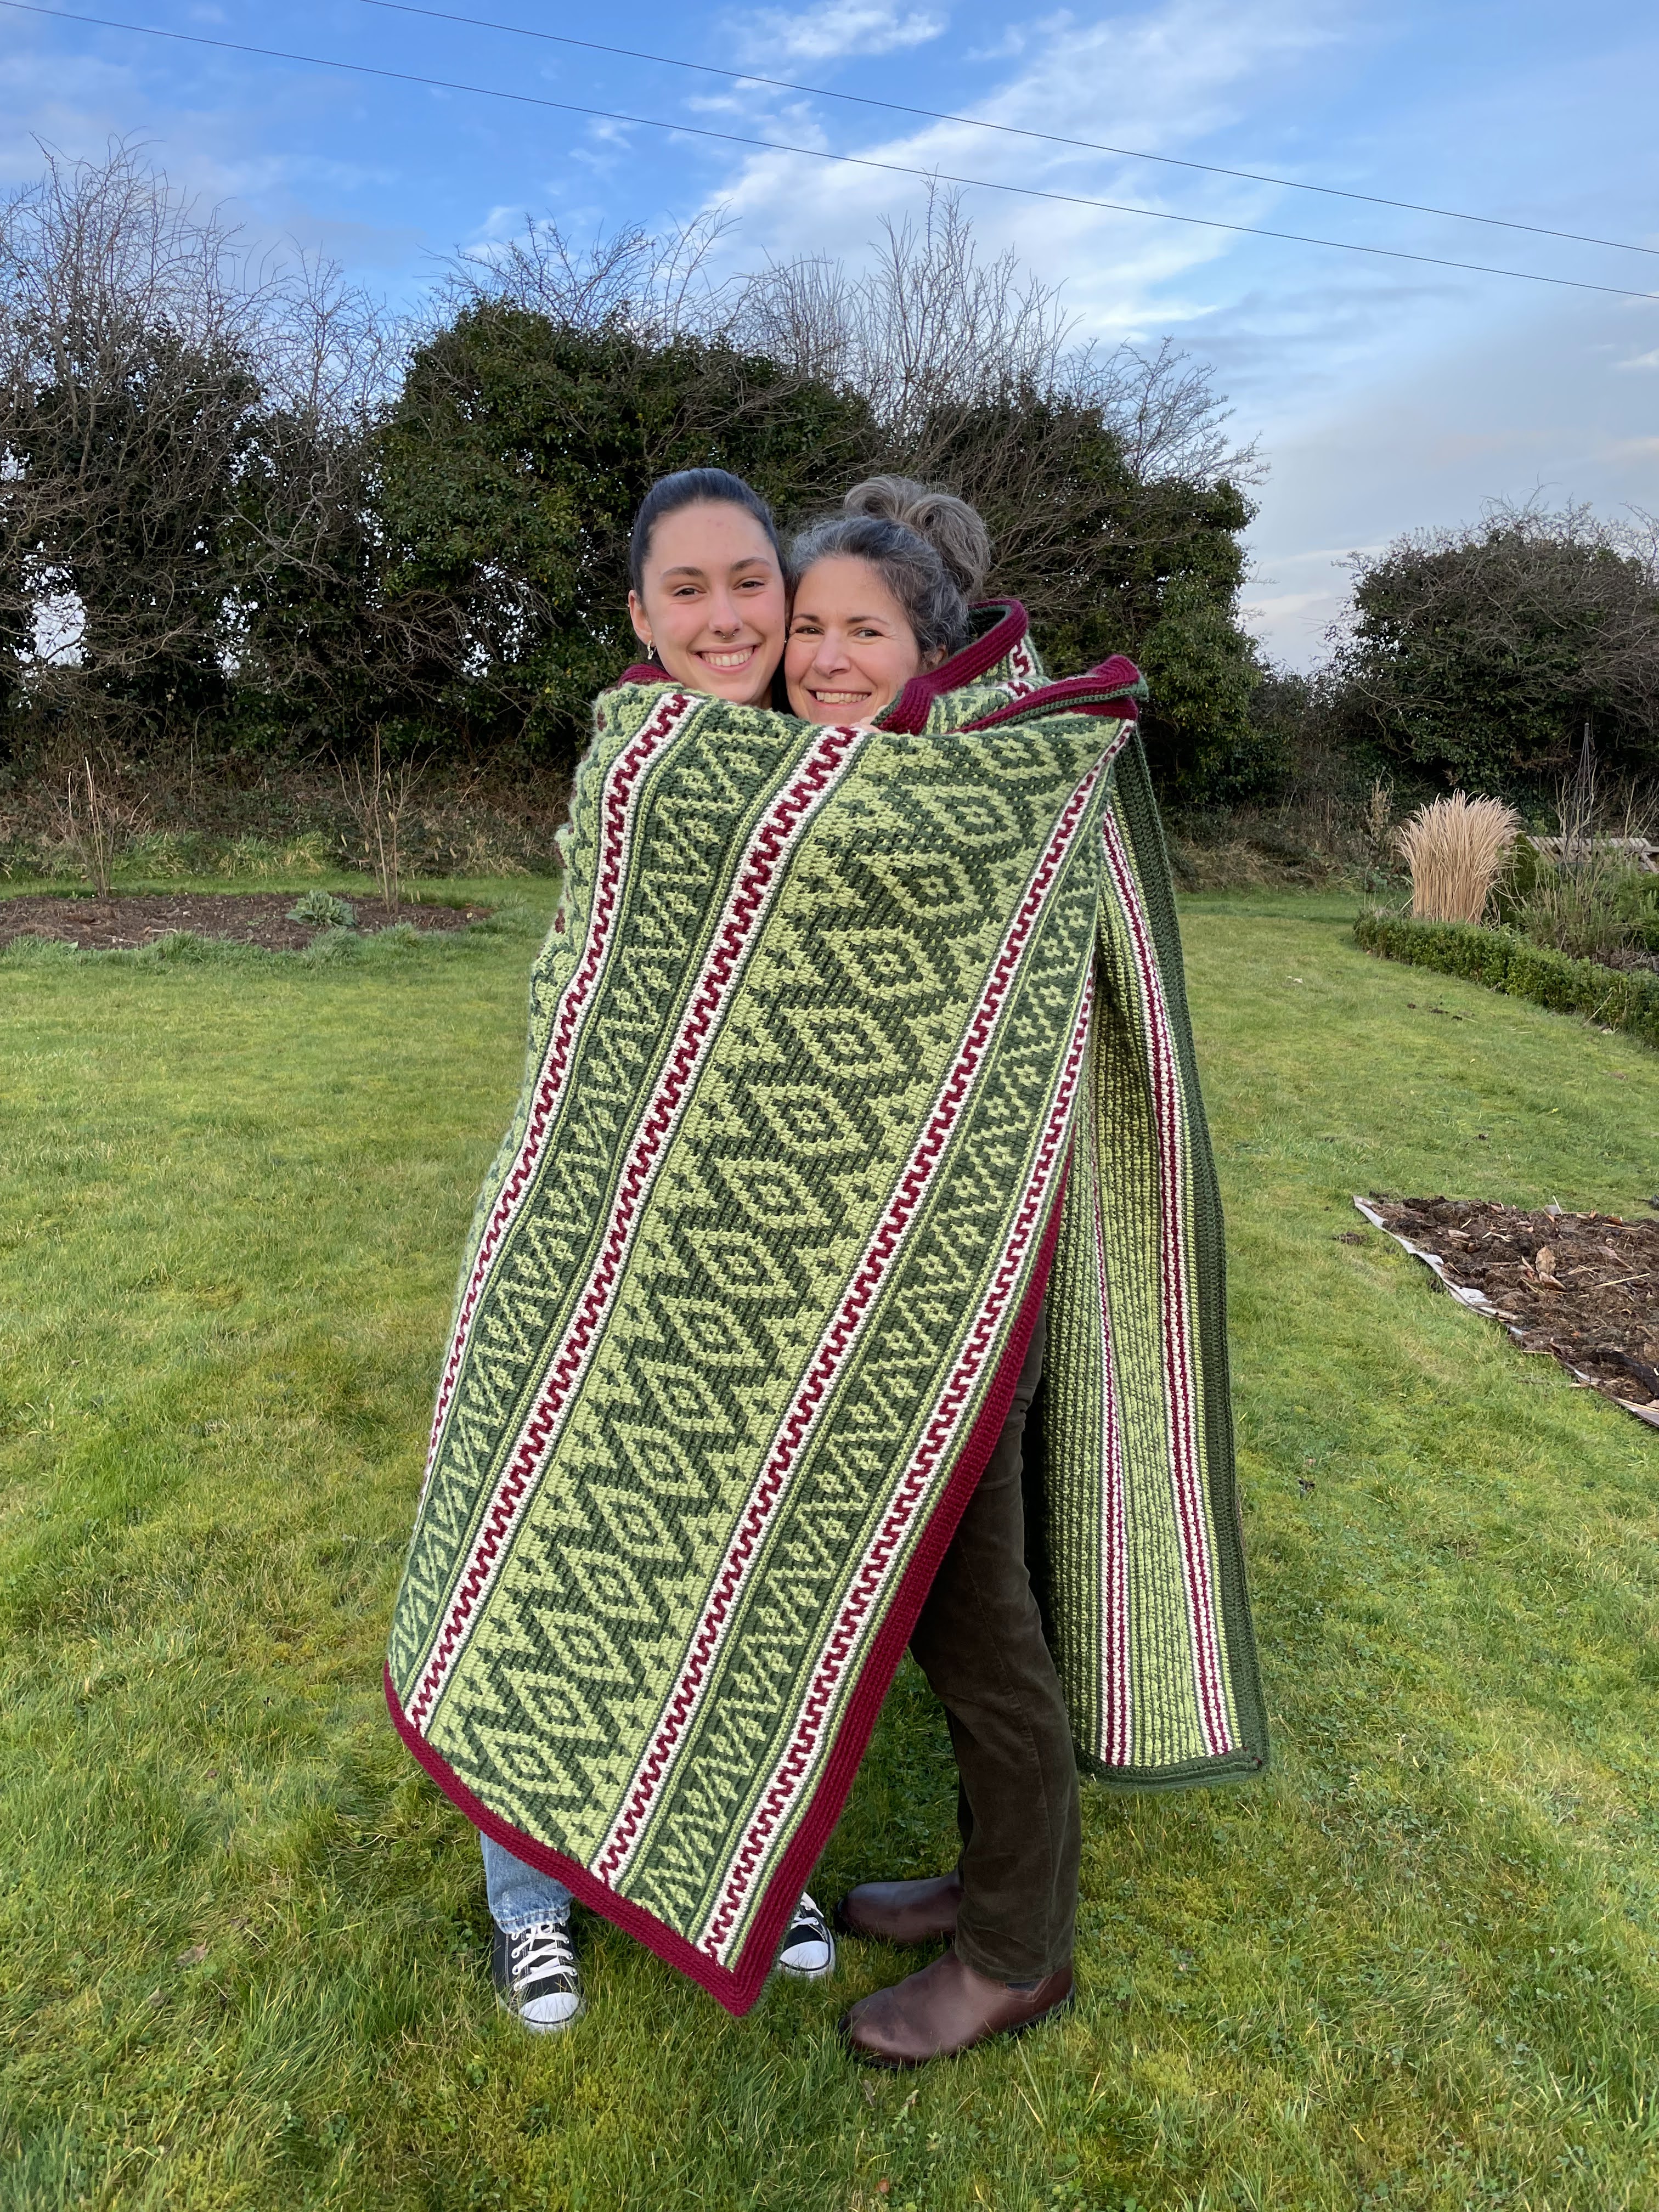
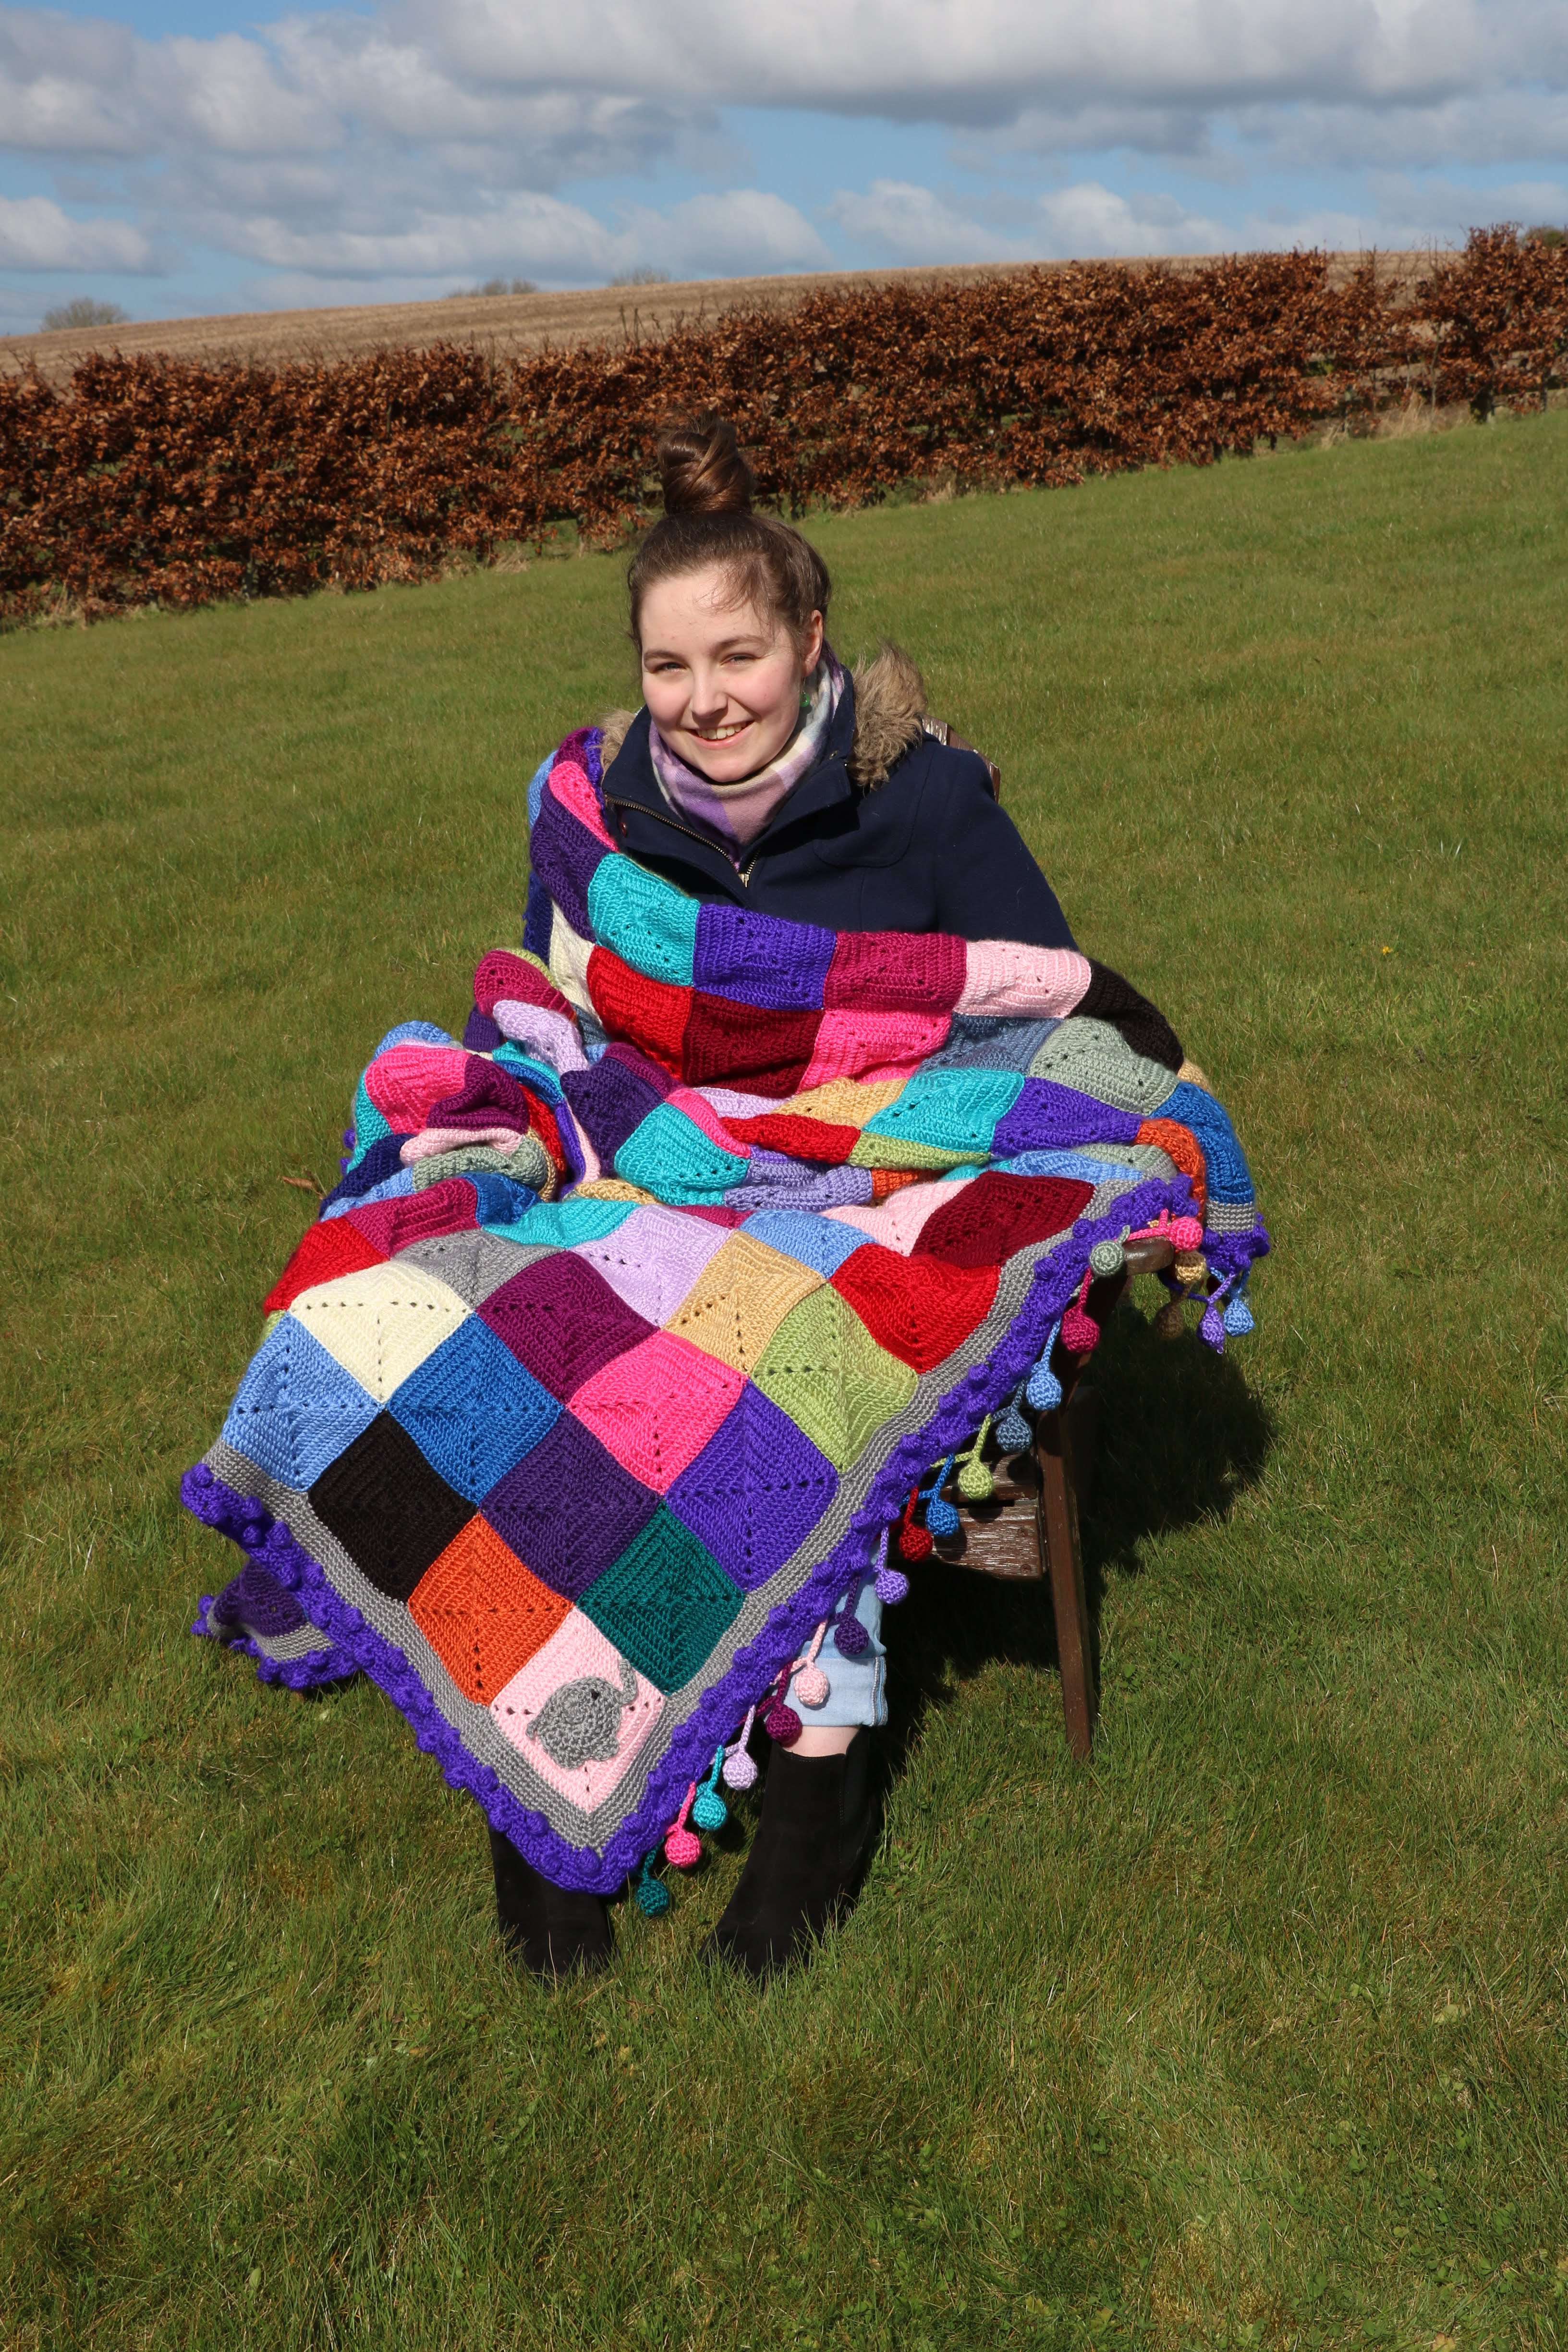
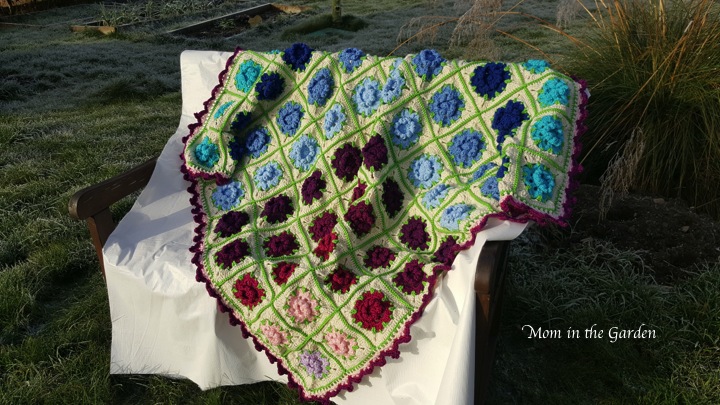
our final ‘ta-dah!’ with the frosty garden as a back-drop
The blanket is an awkward size, making it difficult to photograph the entire thing. Natural lighting is always best to capture the colors, so on the first sunny day I ran outside and took as many pictures as possible. I know the white beneath the blanket (a table cover) looks unattractive, but everything was wet & frosty not to mention not the cleanest so there wasn’t much I could do.

a frosty sunny day
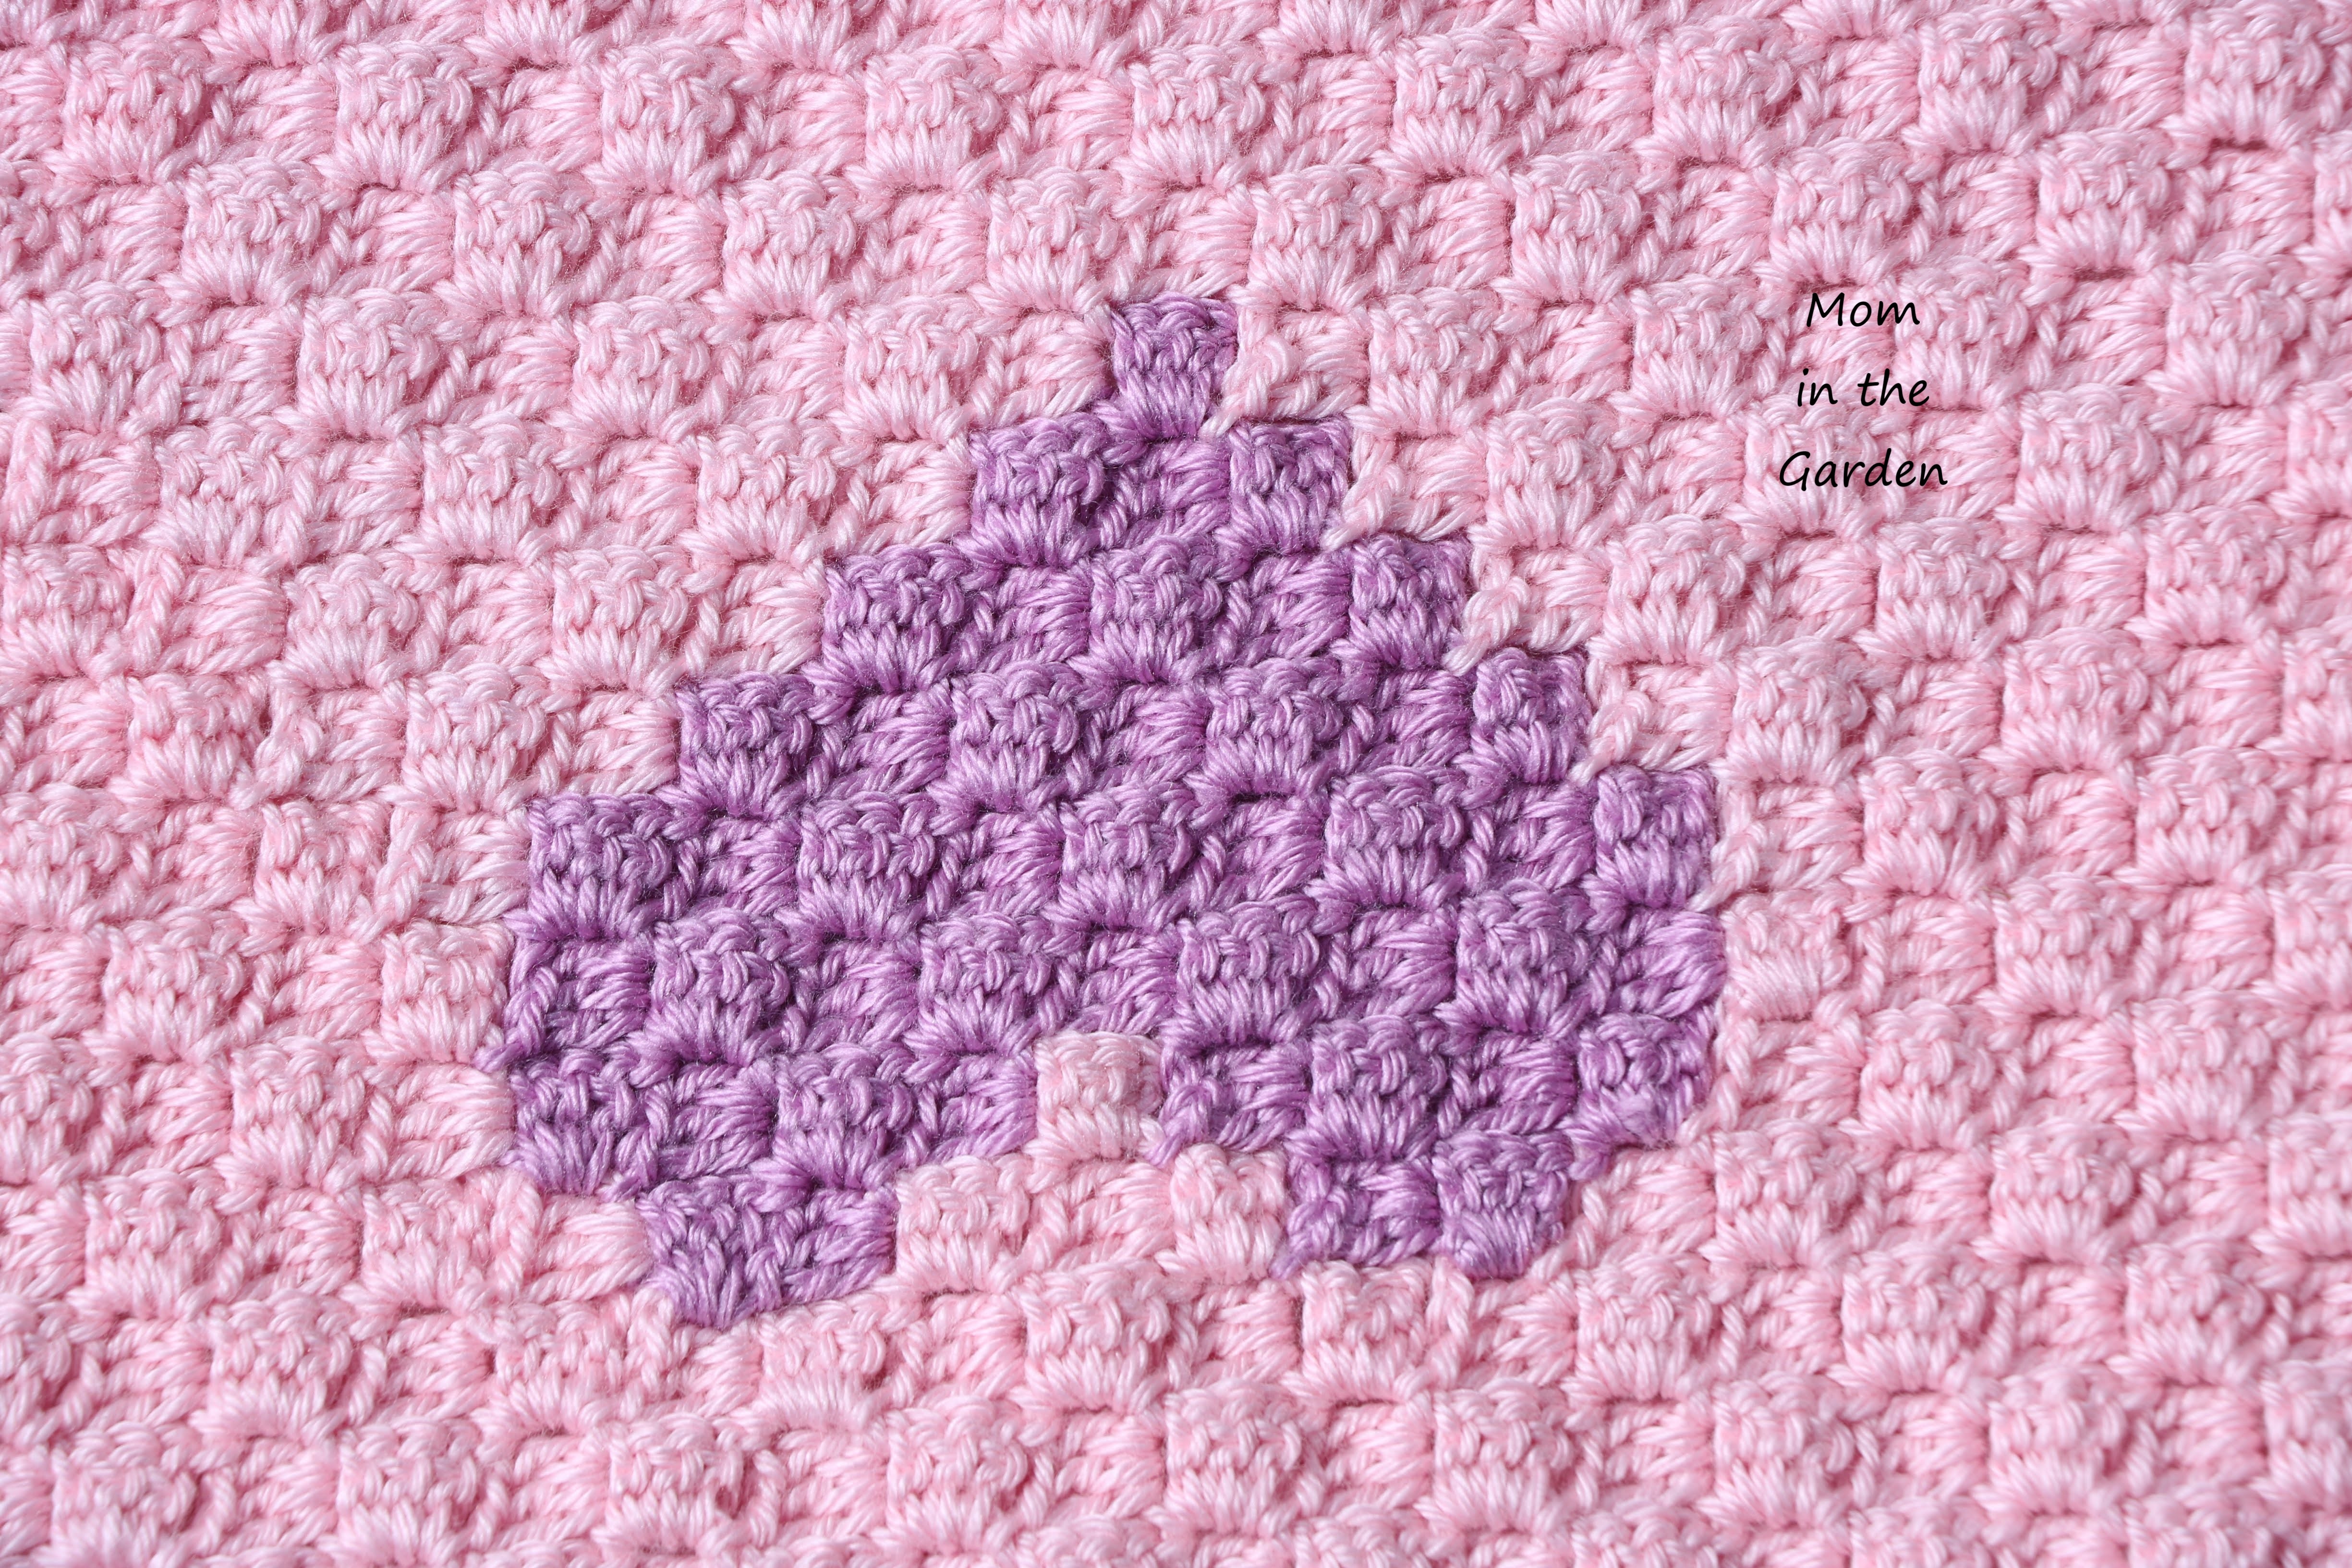
close-up

the blues!
all scrunched up
I’m happy to say that the recipient likes it (phew!).

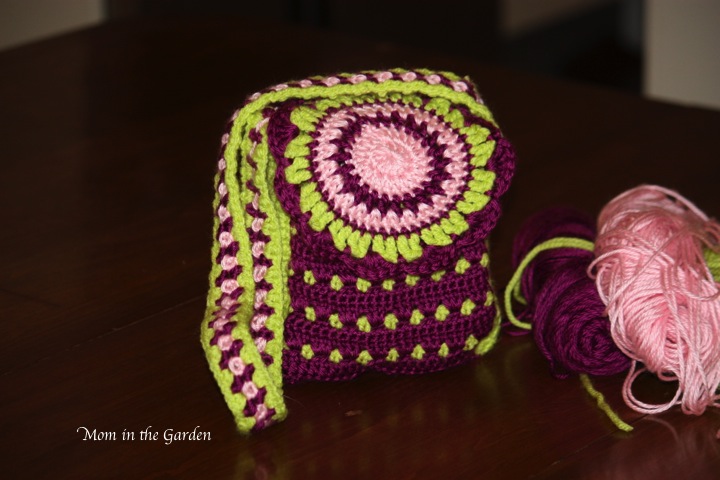
folds up neat and tidy (isn’t big and bulky)
Kitty sitting on our hutch
And that is a wrap. 2016 is nearly finished. I hope that your 2017 will be everything that you want it to be and so much more.
Thanks for stopping by, for reading, and for your lovely comments.
In peace,
Dana