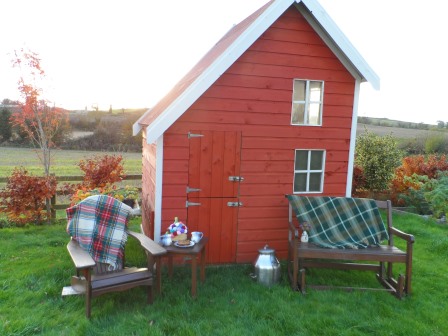
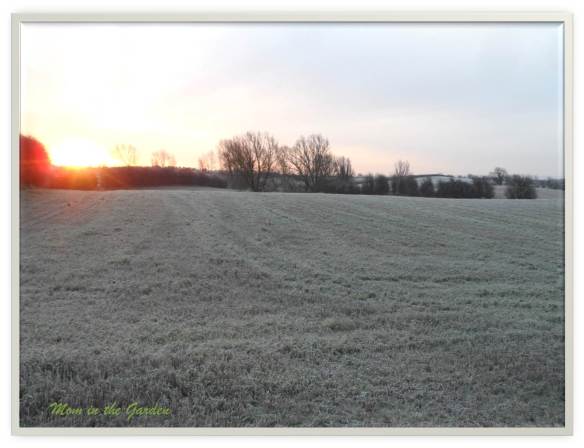
A fine fall afternoon.
Wouldn’t it be nice to sit back, relax, and just enjoy the nice fall weather we’ve been having? I have to confess that I don’t do that nearly enough! But today is our American Thanksgiving. So today, especially, is a day to take note of all of our blessings, each and every one of them. For this blog post I’m just going to focus on my garden (my family and friends, of course, would come ahead of the garden!).

The last two slices of zucchini (courgette) bread.
Time for a relaxing cup of tea with some zucchini bread. These two slices were taken from the last loaf from our freezer. Good thing I now have pumpkins to make some pumpkin bread. My kids enjoy the breads for their after school snack. You can find the recipe for zucchini bread here: https://mominthegarden.wordpress.com/2012/09/01/time-for-a-cuppa-zucchini-bread-with-crumb-topping-is-perfect-for-your-break/
If you’ve been following my blog for a while, you’ll know how thankful I am for my garden. I find my time in the garden to be peaceful and sanity saving. Even if I sneak in just a little bit of time here and there, it rejuvenates me. I love it. Honestly, it isn’t a spectacular garden. But I’m creating it, nurturing it, and continually growing and changing it; all as organically as I can.

The last of my potatoes.
My potato bed had just a few spuds left in it. Since I wanted to plant some rye in the bed, to protect the soil and benefit the soil as well, I dug them up. I think the potatoes were my favorite veggie in the garden. They really were very good potatoes. Even so, next year I am going to try a different variety. It’s nice to try something new!

The last of the spuds (Sarpo Mira).
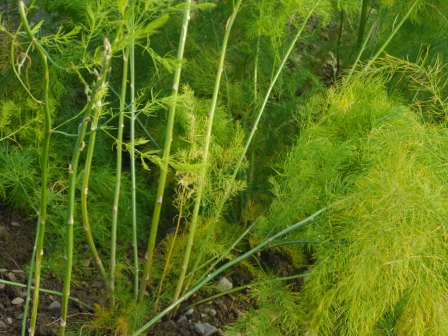
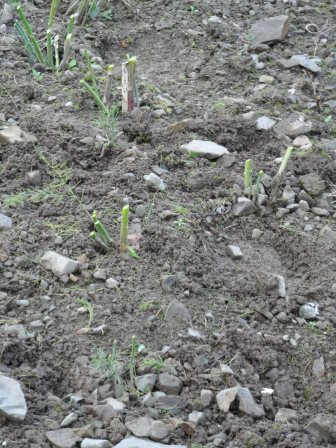
Let me show you how well the rye is growing. I know, it is crazy, but stuff like this just makes me all happy!

Rye from just a few weeks ago.
Remember my post on rye at the beginning of November? https://mominthegarden.wordpress.com/2013/11/08/fall-plantings-of-green-manure-its-just-rye-organic-vallelado-garlic/ It is already taking off and doing great!
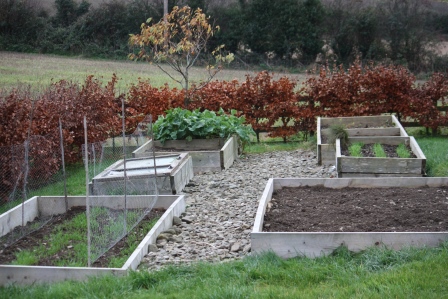
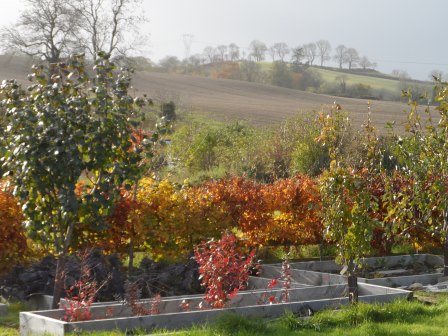
The front bed on left (with the chicken wire) and middle bed on the right have rye growing already.
In the two beds above, I planted the rye in rows. Yeah, I think it doesn’t matter, but for the potato bed, and my newest bed (can’t be seen in this picture) I scattered it. Really, I don’t think it matters… Says she to herself, to convince no one in particular…
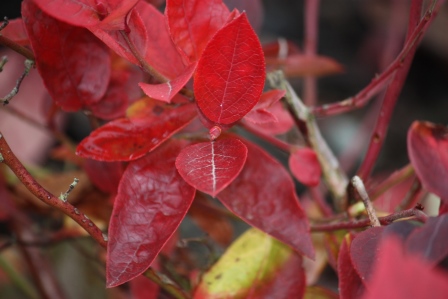
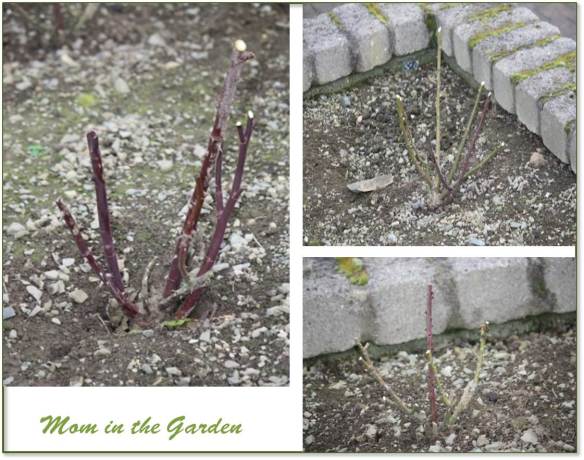
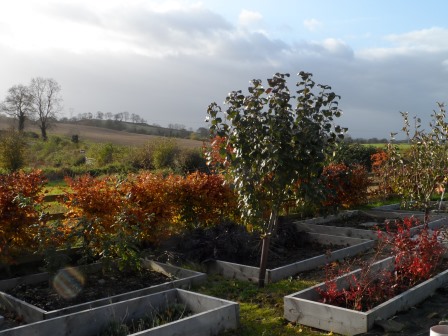
Blueberry bush in November
What does the rest of my garden look like on Thanksgiving? My blueberry bushes are a vibrant red! What is not to love about that color?

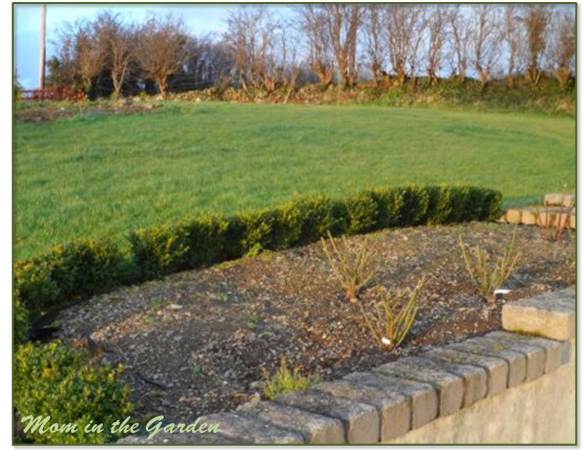
November look at the garden

Organic Brussels Sprouts Rubine Red
My Brussels sprouts are still growing. I like the purple look to the plants.

Organic Brussels Sprouts Rubine Red
I’m being a bit impatient as it really feels like they are taking forever to grow!

Organic Brussels Sprouts Rubine Red

The top of a Brussels Sprout plant
My littlest one is hoping they never get picked from the garden. But the rest of us really like Brussels sprouts. I can’t wait to try them!
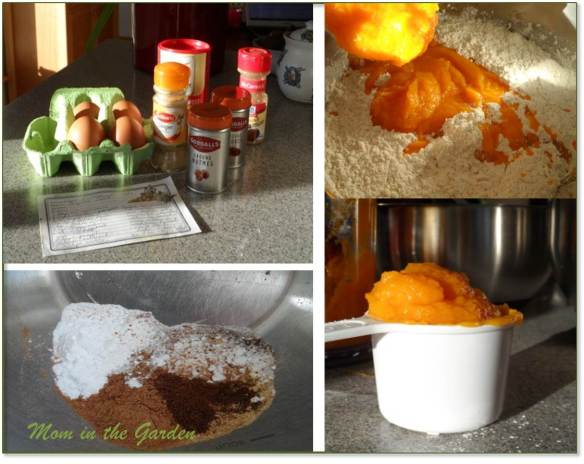
Fall harvest with quite a few pumpkins
Here is a peek at some of the pumpkins from our garden. Look! They are all orange! Remember when they were green?

Green pumpkins sitting on the wall in October
They all turned orange after I brought them inside. Our front hall is rather chilly, but it was warm enough to turn them orange, and cool enough so they aren’t going rotten (thankfully). My geraniums are quite happy in the hall, too.

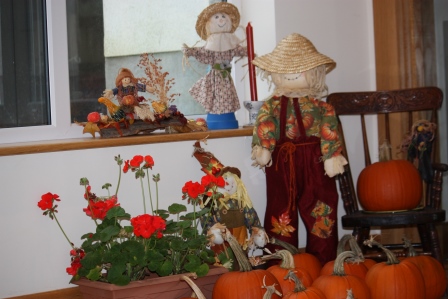
Geraniums looking happier inside than they did outside!
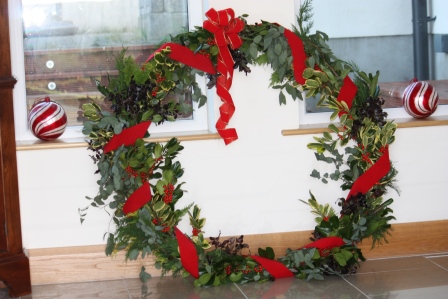
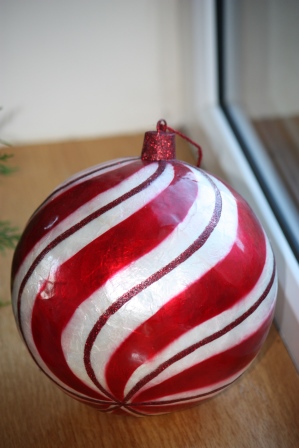
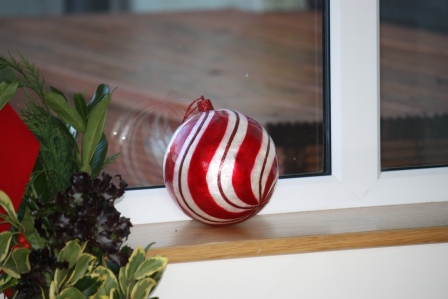
Most of my fall decorations are in my front hall. They just seem to fit nicely there. Lots of fall colors, scarecrows, and pumpkins! I’ll be sad to take them down this weekend. But I’m looking forward to decorating for Christmas! But really, one holiday at a time please.

My scare-crow was given to me by a special friend.

Shine on Harvest Moon!

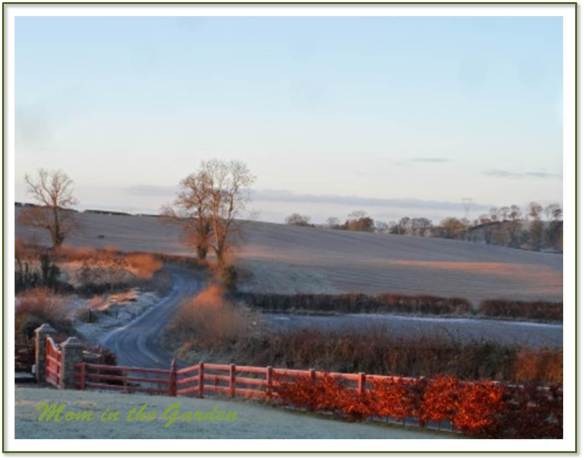
A lovely sunset in November.


Give Thanks
Happy Thanksgiving!
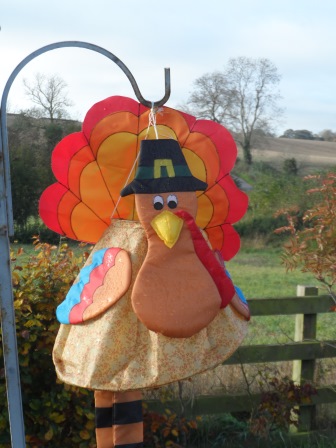
Oh now isn’t that turkey just what you’d expect to find in my garden? I hang it for the kids. And for me. 🙂
Happy Thanksgiving, to my friends, family, and blogging friends!
In peace,
Dana


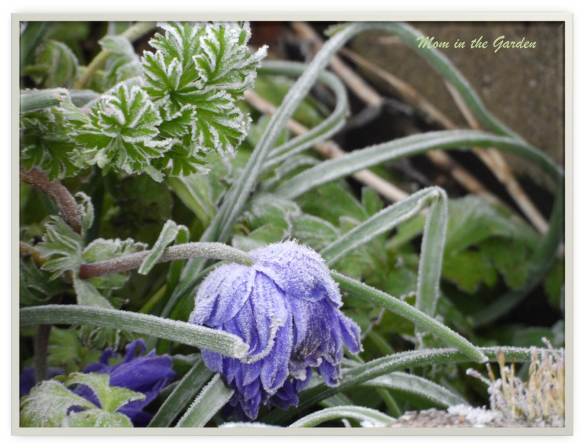
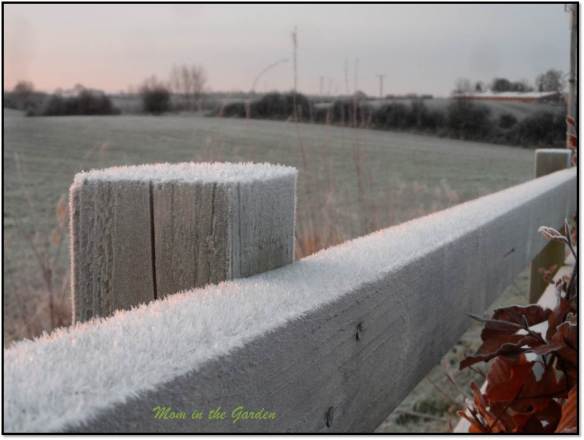
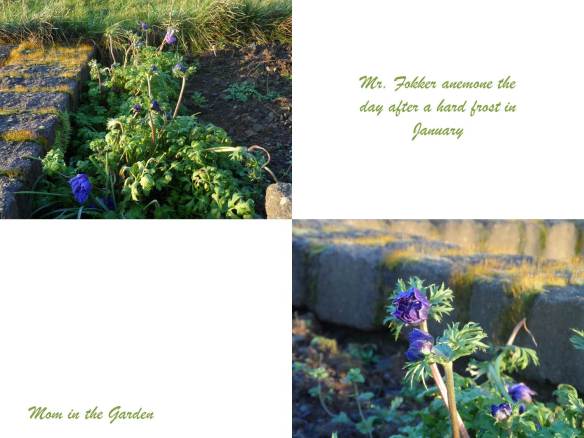
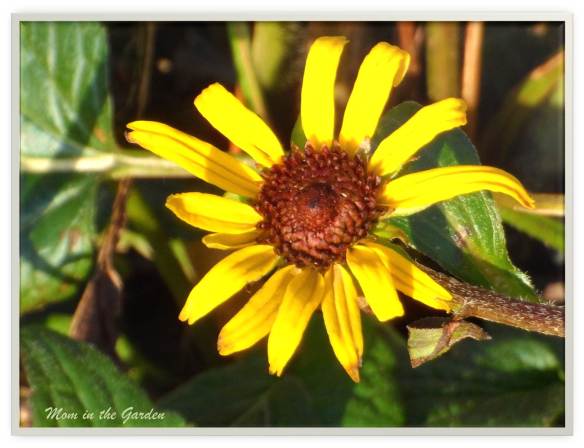
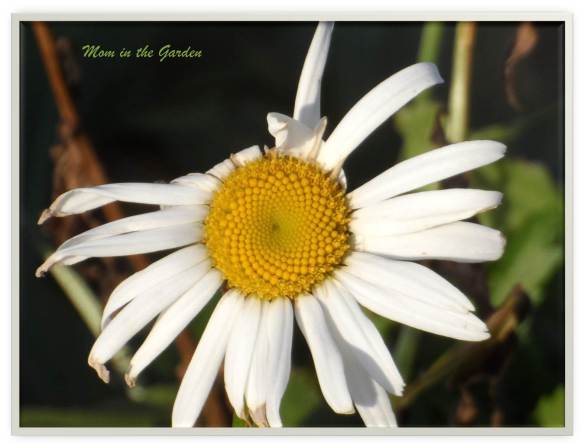
 Today was yet another mild day, 8 degrees Celsius, and sunny. I am not complaining, I just hope it has been cold enough to keep the slugs at bay! My garden has a few flowers which are blooming. The anemone have multiplied over the past few years. They don’t seem to mind that it is January. Also giving some color in the garden are a few daisies and a black-eyed Susan plant! I think they are simply confused. The primrose are a lovely bright color. There is also a lot of green in my ditch wall garden from poppies. Lots and lots of poppies!