Wordless Wednesday – Lilacs

Syringa v. Beauty of Moscow

Syringa v. Beauty of Moscow

Wordless Wednesday … man that might be hard for me!  I always have something to say 🙂

Syringa v. Beauty of Moscow

Syringa v. Beauty of Moscow

The first few pictures are of my pink lilac tree (Syringa v. Beauty of Moscow).  It is 2 years old and this is the first year we have blooms.  The tiny flowers are pink until they open, and then they transform to white.  It is very pretty!

Syringa v. Beauty of Moscow

Syringa v. Beauty of Moscow


Syringa v. Beauty of Moscow

Syringa v. Beauty of Moscow

This next little shrub is called Syringa meyeri ‘Palibin’.  We bought it at the same time as the Beauty of Moscow and just the same, this year is the first that it is blooming.  It wasn’t on my “list” of plants to buy, but I was convinced to give it a try  by the owner of the nursery.  I have to say that I am pleased that I did as it gives off a lovely fragrance, much stronger than the lilac tree.

Syringa meyeri 'Palibin'

Syringa meyeri ‘Palibin’

Syringa meyeri 'Palibin'

Syringa meyeri ‘Palibin’ before the flowers opened

Syringa meyeri 'Palibin'

Syringa meyeri ‘Palibin’ oh so fragrant!

The next photos are of lilac that doesn’t belong to me.  I drive through a lovely little village called Drumconrath to bring two of my kids Irish dancing.  I passed this lilac tree a few times before I decided that I had to stop and take some pictures.  I love the darker color of the blooms!

Lilacs along the road in Dromconrath

Lilacs along the road in Drumconrath

As it happened, the owner was outside when I stopped to take pictures.  She is a lovely woman, and offered for me to take some home with me! She didn’t know the variety of lilac, unfortunately.

lilac

lilac

I had fun taking pictures of the flowers at home.  I love taking pictures of flowers! 🙂

lilacs in a vase

lilacs in a vase

lilacs in a vase

lilacs in a vase

lilacs in a vase

lilacs in a vase

lilacs in a vase

lilacs in a vase

And that is my version of a Wordless Wednesday!
Happy Wednesday
Dana

Planting Organic Seed Potatoes (Rudolph) and watching them grow!

Empty beds

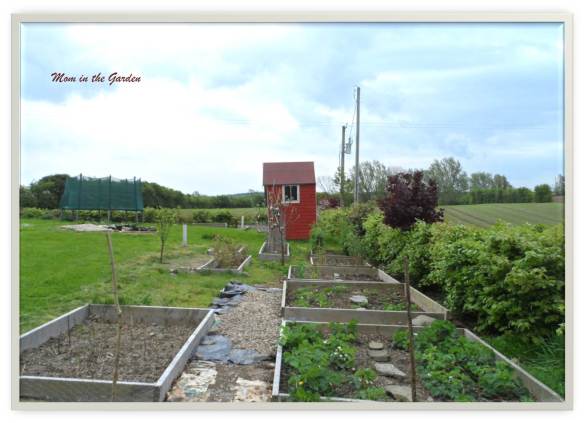
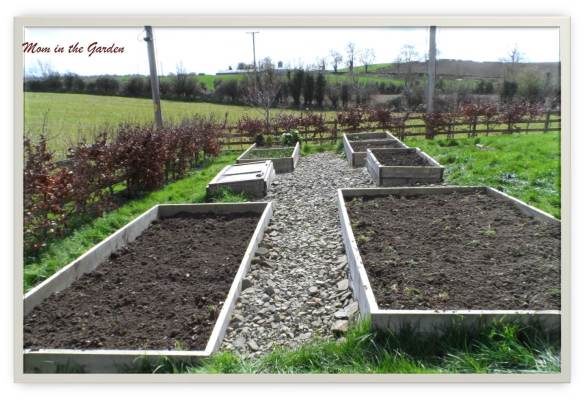
Empty beds in early April.  The beech hedges are still brown.

Living a healthy lifestyle with exercise, eating whole foods, and taking care of my garden is what makes me happy and keeps me going.  I like living this way!  I am so thankful for my time in the garden as it always makes me feel good.  Yeah, I know, that sounds really corny, but I’m sticking with it.  Watching the garden change through the seasons and watching it mature through the years is such an amazing thing to experience.  I think it is important to be able to appreciate nature and all its wonder.  My family doesn’t always agree with me on this though!  What we grow in the garden is dictated by what will be eaten.  My friends can’t believe that we don’t grow lettuce, but my family doesn’t eat salad!  So we plant what they do eat: lots of fruit, and a few different vegetables.   Potatoes are a favorite, and they are the first to be planted early in the spring season.

Planting Organic seed potatoes

Planting Organic seed potatoes

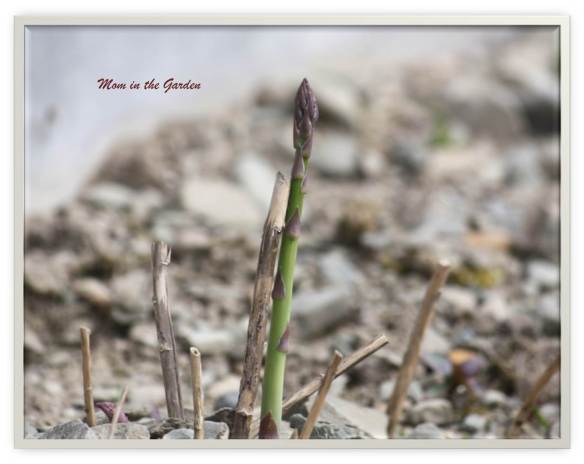
The first thing to do, actually, is order the organic seed potatoes early!  I ordered mine in January from Fruit Hill Farm in Cork https://www.fruithillfarm.com/ .   After they arrive, I put them in egg cartons and leave them in a non-sunny place as part of the chitting process.  This helps the spud to grow faster once planted in the ground.  Here is a picture of the sprouts forming.  Those are placed up in the ground when planted.

The potatoes "chitting"

The potatoes “chitting”

When to plant?  Here in Ireland St. Patrick’s Day is a general guideline for when to plant potatoes.  I didn’t plant any “early” varieties this year, so for me it is usually around the end of March or beginning of April.   I just took a little walk down memory lane and visited my posts on planting potatoes from last year and the year before. My how the garden has grown! You can have a look here:

https://mominthegarden.wordpress.com/2012/03/19/planting-early-potatoes-and-raspberry-plants/

https://mominthegarden.wordpress.com/2012/04/10/planting-maincrop-potatoes-on-easter-weekend/

https://mominthegarden.wordpress.com/2013/04/23/planting-sarpo-mira-spuds-and-extending-the-stone-path/


Setting up the potatoes

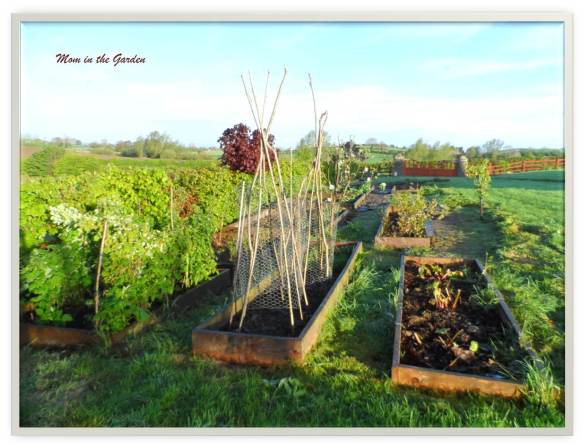
Setting up the potato beds

My husband is the potato planter (and the pea planter, and pickling cuke planter, and strawberry planter!…).  It’s funny how that works!  I’m glad he also enjoys working in the garden.  It is definitely a team adventure.

Planting  potatoes

Planting potatoes

He digs the trench, sets up the potatoes, and covers them up.  They are planted 6 inches deep and about 12 inches apart.  When the time comes he’ll also earth them up.  That is when you work the soil up to cover the plant as it grows to keep light from the potato.  We don’t have to start that until the plants are about 8 inches.  The earthing up process covers all but the top 2 inches of the plant.

Covering up the potatoes

Covering up the potatoes

They are just now growing into nice little plants.

Potato plants in May

Potato plants in May

Potato plant

Potato plant

Potato plants in May

Potato plants in May

It is fun to check on them and see how they are growing.  They seem to be doing very well!

Vegetable beds in May

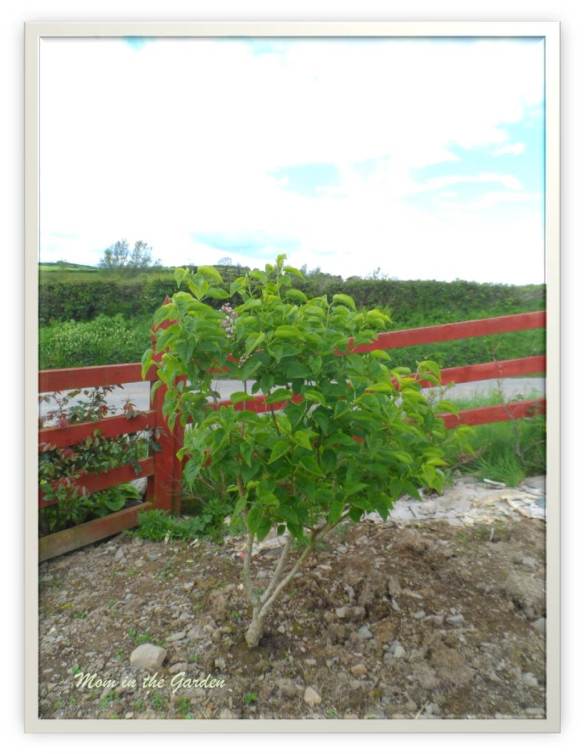
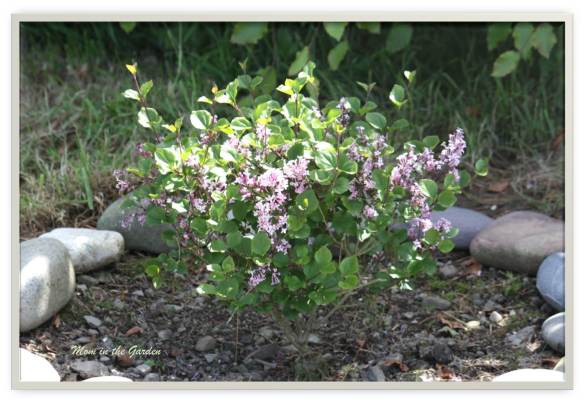
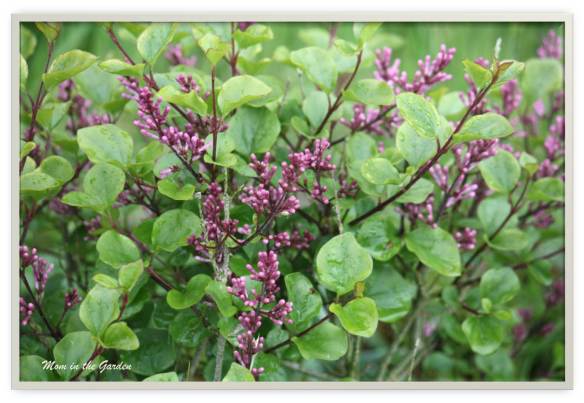
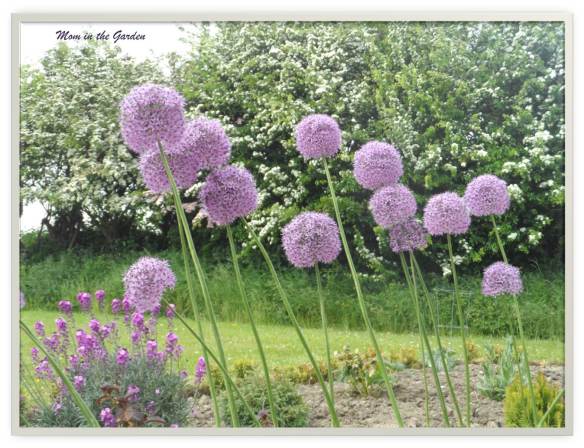
Vegetable beds in May. The beech hedges are now green and the cherry tree is in full bloom.

The large bed on the right is where we planted our potatoes last year.  I’m giving that bed a rest from potatoes for now.  Overall the growing season and the garden is doing well!

We had an amazing sunset the other evening.  I’ll end the post with that picture as it is one of my favorites!  I hope your planting is also going well!
Dana

A golden evening with a rainbow in May

A golden evening with a rainbow in May

My “flowers from the garden” Wreath

Flowers from the garden Wreath

Flowers from the garden Wreath

It has become rather popular on Thursdays to post pictures from the past on facebook and refer to “Throw back Thursday” on the post.  Sure, when isn’t it fun to look through old photos?  I found myself doing that today, and decided to join the Throw back Thursday movement and post about a wreath I made last summer.

My lavender

My lavender

I have to say that I am a rather practical gal most of the time.  If it is possible to recycle or reuse something I will try to do so.  That includes what I grow in the garden!  I like growing flowers which can be dried.  I love my lavender for this reason!  I’ve learned how to make lavender wands, and last year I made a lavender wreath for the first time.  (of course I posted about it! https://mominthegarden.wordpress.com/2013/07/22/lavender-wands-my-first-lavender-wreath/ ).

Roses & hydrangea

Roses & hydrangea

Roses and Lavender from the garden

Roses and Lavender from the garden

I have some lovely old fashioned roses that are beautifully scented.  I dry them in my clothes closet and it smells so lovely every time I open the door!

Roses from my garden

Roses from my garden

lavender, roses, and hydrangea

lavender, roses, and hydrangea

The wreath is easy to make.  I use Spanish Moss as filler between the smaller flowers.  The hydrangea comes from my friend Susan’s garden. I have planted some hydrangea plants though, so I am hoping I’ll be able to use them (eventually)!

Susan's blue hydrangea

Susan’s blue hydrangea

Look at that blue!  I know in my yard they grow pink, and I’m happy enough with that.  I just might visit Susan around July though, and see how her blooms are doing! 🙂

My pink hydrangea

My pink hydrangea

Annabelle hydrangea

Annabelle hydrangea

The Annabelle hydrangea is the next plant I’m going to try growing.  It is simply majestic!

Flowers from the garden Wreath

Flowers from the garden Wreath

At the top-right of the wreath is some dried allium. I’ve used allium before, but only after spray painting it silver for a Christmas arrangement.  So using it plain was something new for me.  I like the different texture it gives the wreath.

Allium from my garden

Allium from my garden

I’ve had the wreath hanging in my kitchen throughout most of the year.  It is getting time to replace some of the flowers, though, as they’ve lost their vibrant colors.  That is O.K. as I like to keep things looking fresh!

Throw back Thursdays – I think I like that theme!

Happy Thursday!
Dana

Patience in growing Asparagus pays off

Asparagus

Asparagus

“The proof is in the pudding” is what springs to mind when talking about our asparagus!  You have to taste it to know just how delicious it is.  For those who don’t know, asparagus isn’t harvested the first year planted.  That first year you have to just watch as the plant grows (and grows and grows).  Only in the fall do you cut down the plants (fronds) and put them in the compost.  I posted about planting asparagus here: https://mominthegarden.wordpress.com/2013/11/18/preparing-the-asparagus-bed-for-winter/

Asparagus

the second year of asparagus planted from crowns

This year, most of the asparagus is a nice size: not too thick and not too skinny!  We haven’t had an overabundance of it this year.  I’ve been able to harvest a small bunch at a time.

Some asparagus to add into dishes

Some asparagus to add into dishes

See?  There is just enough here to add into a pasta dish! But the taste of it makes it worthwhile. Cooking it is so easy: steam for a few minutes, or bake in the oven for a few minutes (high heat). Just don’t over cook! 🙂  When preparing them, I snap off the bottoms instead of cutting them. It’ll just naturally snap at the end of the tough part.  It’s hard to know where that point is if you cut them.

Asparagus

Asparagus

Full asparagus bed May 5th

Aasparagus bed May 6th

I have a few that need to be cut in the bed at the moment. They are at what should be their maximum height.  You cut them just below the surface of the soil.  There are still a few that are quite thin, that I’ve let go to seed.  They should be thicker next year.  Turns out that slugs also enjoy asparagus.  I’ve been visiting the bed in the evening to pick off the little critters.  yuck!

View of the fruit garden standing at the asparagus bed

View of the fruit garden standing near the asparagus bed

The asparagus bed is on the left, while we have two beds of strawberries on the right. Beyond them is a bed of garlic, then raspberries.  Blueberries fill a bed across from the raspberries (Bramley apple tree in between them).  Everything is looking good!  I have started the very slow process of collecting stones for the pathway between the beds.  I did this two years ago for our vegetable beds in the far part of the yard. (of course I posted about it! https://mominthegarden.wordpress.com/2012/03/25/a-stone-pathway-between-raised-vegetable-beds/  ) I’ve really gotten fed up with how messy the paths always looked here.   It’ll be a slow process, but I’m sure will be worth it in the end.

View of fruit garden standing at raspberry bed

View of fruit garden standing near raspberry bed

It has been raining the past few days, so when the sun came up this morning I made sure to snap a picture of the garden.  The sun makes everything more beautiful!

Strawberry flower May 6th

Strawberry flower May 6th

The strawberry plants look really pretty.  It’s nice to see everything doing so well!  What do you think, will you give growing asparagus a try?

Here’s to patience, and payoff!
Dana